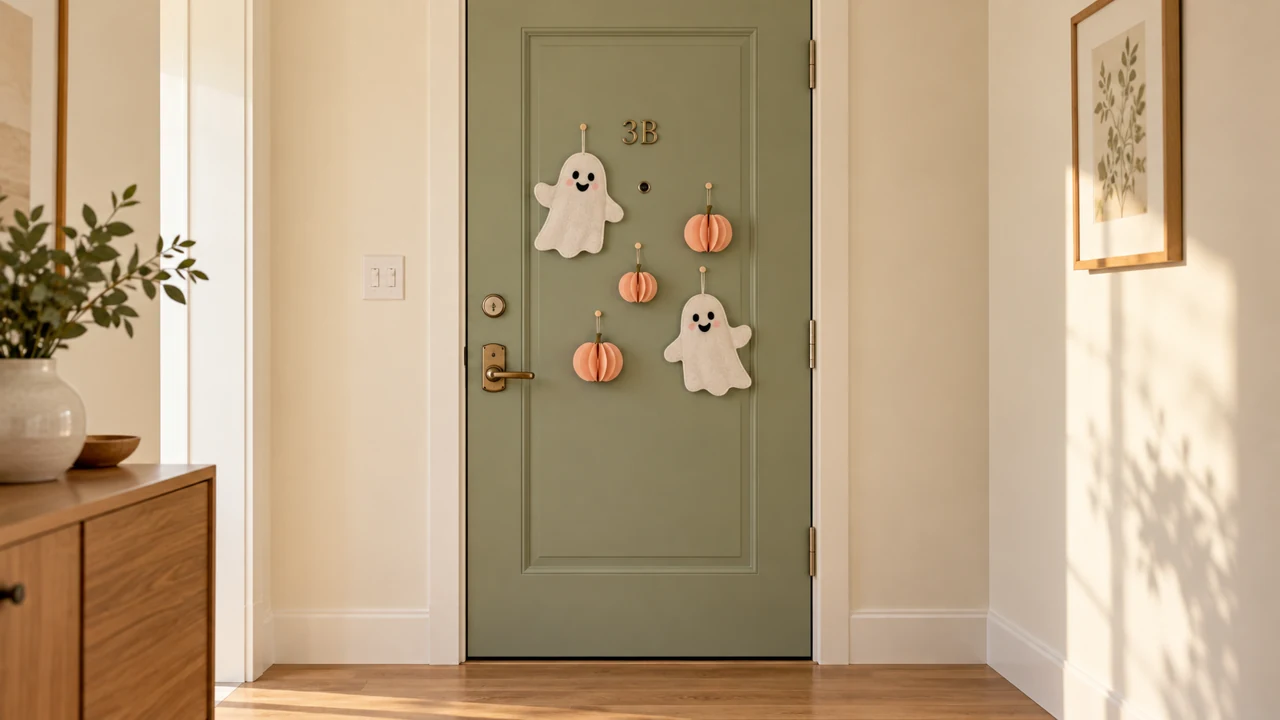
A Halloween door can feel cheerful without turning your entrance into a haunted house. Think soft colors, friendly faces, and one small detail that makes you smile when you come home. These cute Halloween apartment door decor ideas stay on the door itself, so you won’t need baskets, pumpkins, or extra things underfoot.
First, check what your building allows and whether your door can be decorated. Don’t alter a fire door. Keep the peephole, apartment number, lock, handle, edges, and full swing clear. Choose a surface-compatible mounting method only where permitted, and test it as directed. A removable label isn’t a promise that a finish won’t mark.
1. Blushing Ghost Pair
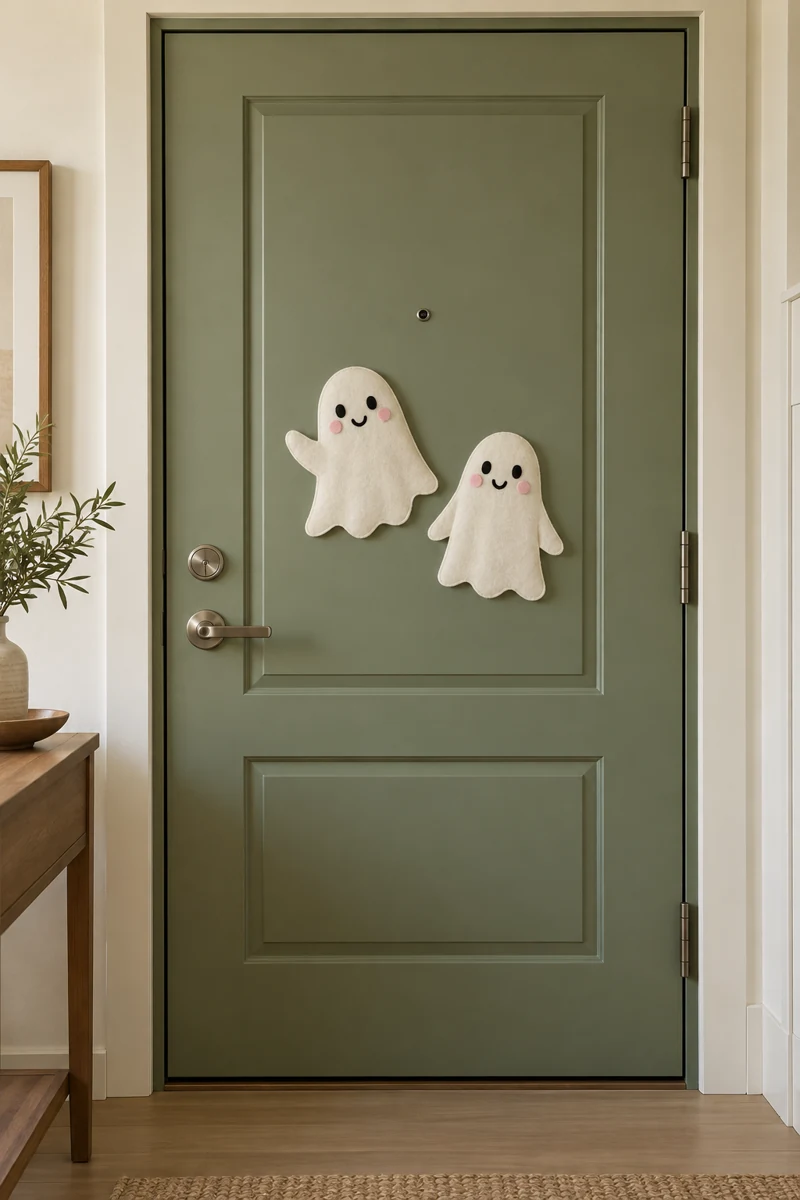
Two ghosts look friendlier than a crowd. Cut rounded shapes from white felt, then add tiny black eyes and pale pink cheeks. Give one ghost a tilted head and the other a waving arm. Their expressions should do the work, so skip extra lettering and keep the surrounding door plain.
Position the pair together on a clear central panel, below any peephole and away from the handle. A sage or dusty blue door makes the white shapes easy to see. If felt feels too bulky for your approved mounting method, use smooth white card with the same simple faces instead.
2. Peach Pumpkin Trio
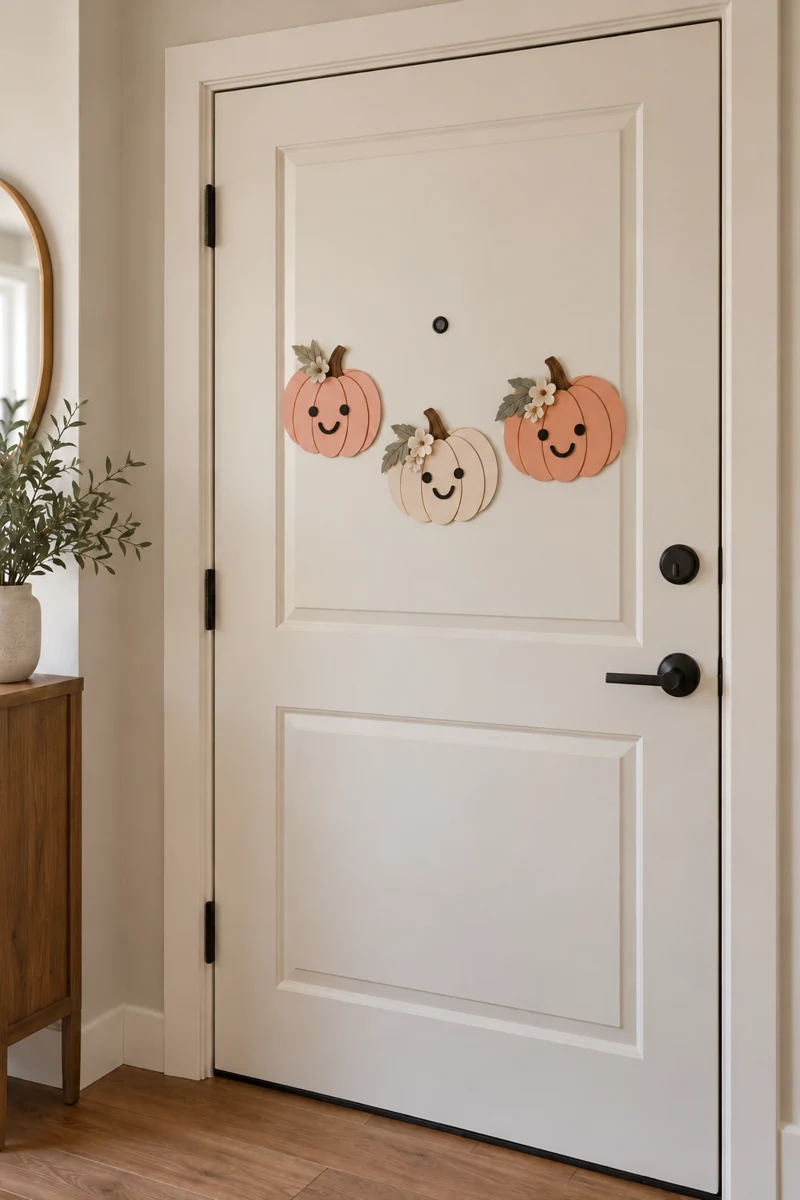
- Choose three flat pumpkin shapes in peach, coral, and cream.
- Give each one a different small smile.
- Use short brown stems rather than loose trailing vines.
- Arrange the pumpkins in a gentle upward curve.
Keep the largest pumpkin near the middle and let the smaller two act as companions. This makes the grouping feel intentional without filling the whole door. A warm white background suits the softer palette, while dark charcoal gives it more contrast. Leave generous empty space between the grouping and your hardware.
3. Bow Tie Cat
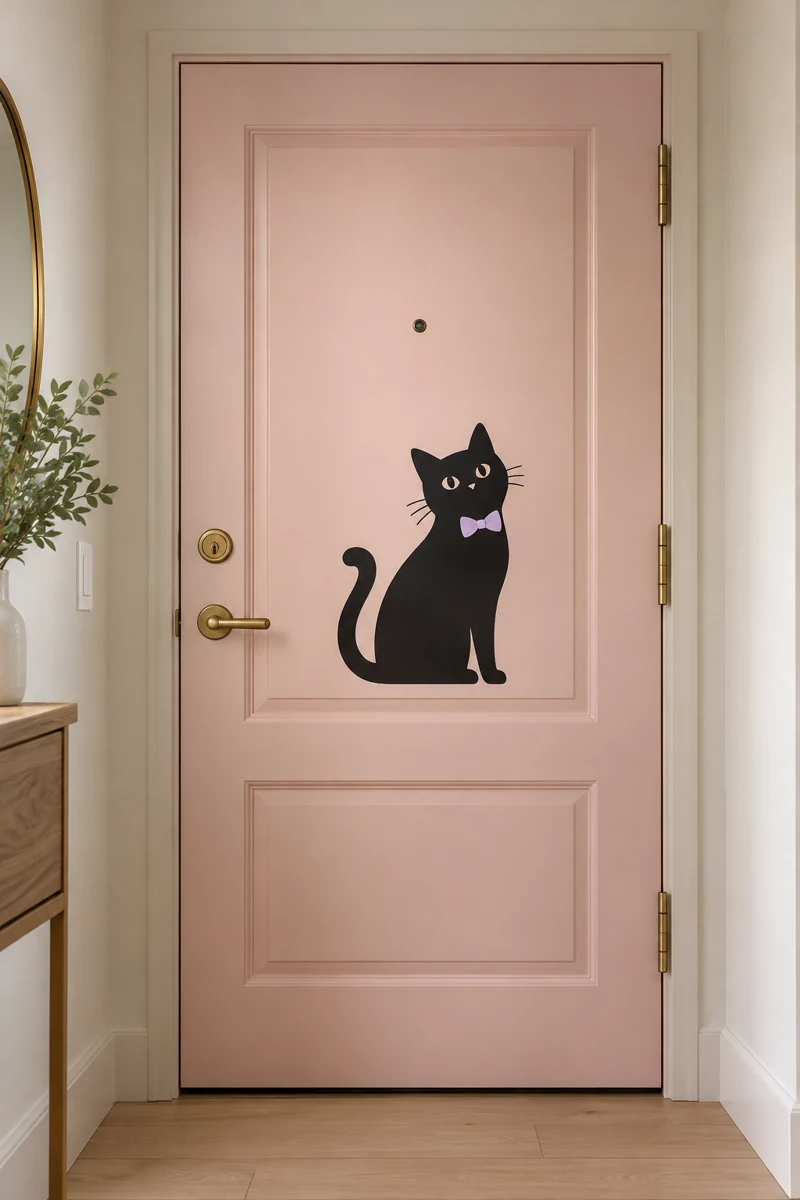
Quick Tip: A round face and upright tail make a black cat feel playful. Add a little lilac bow tie instead of sharp teeth or glowing eyes.
Build the cat as one flat silhouette with its bow fixed to the body. That keeps the details together when you take it down. Place it on the lower middle panel, high enough to avoid everyday scuffs. A pale pink or cream door lets the black shape stand out clearly.
4. Candy Corn Smiles
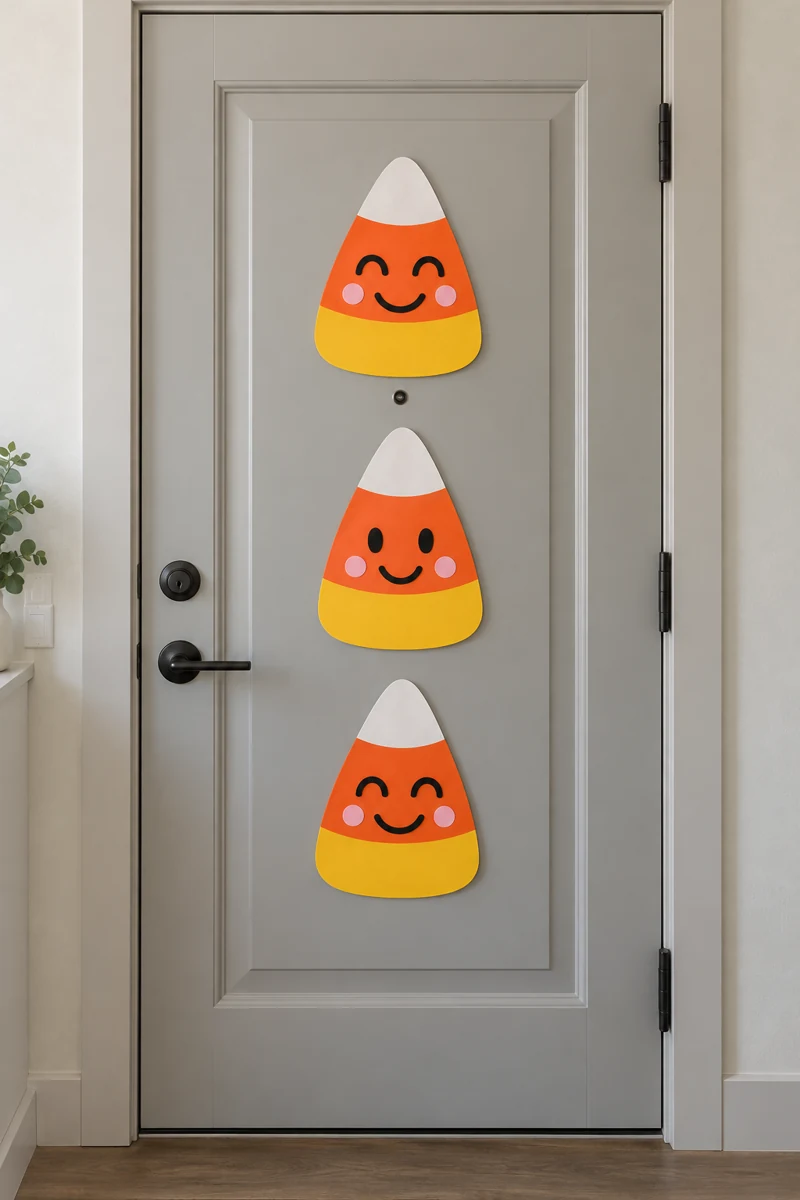
Before: One large candy corn shape can look a little lost on a tall door. Its bright stripes also need a calmer background.
After: Three small smiling shapes sit in a tidy vertical row. Each has a slightly different expression, so the design feels lively without extra props.
Use cream, honey yellow, and muted orange instead of very bright colors if you want a softer finish. Keep the shapes separate rather than linking them with string. The gaps help the door breathe visually, and you can adjust the row to fit around existing hardware without stretching it across panels.
5. Pastel Monster Face
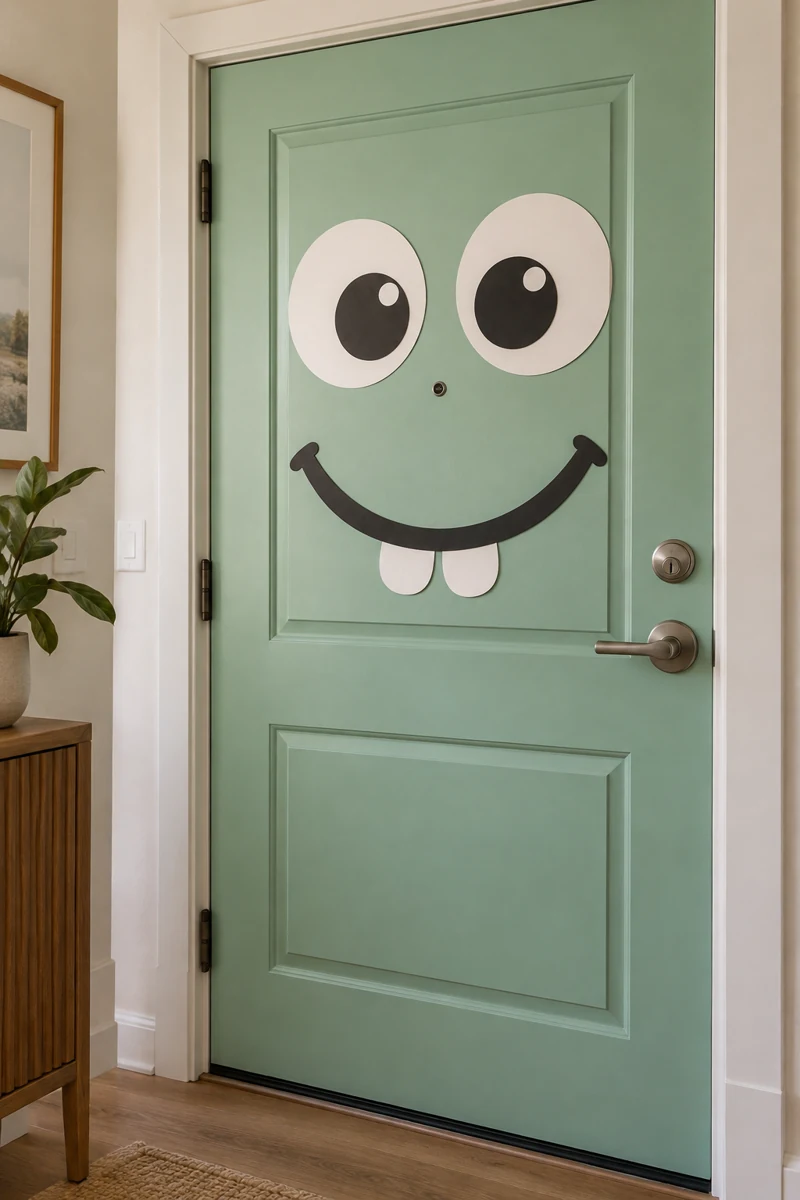
- Cut two large round eyes from lightweight card.
- Add smaller pupils looking in slightly different directions.
- Make a curved smile with two rounded teeth.
- Arrange the pieces inside one clear door panel.
Let the door color become the monster’s face instead of covering it with paper. Lavender, mint, or pale blue works especially well. Keep the expression gentle by using curved shapes rather than pointed brows. Plan the face below the peephole so your practical viewing spot stays completely separate from the decoration.
6. Polka Dot Pumpkin
| Detail | Paper pumpkin | Felt pumpkin |
|---|---|---|
| Surface | Smooth and crisp | Soft and textured |
| Dots | Drawn or paper circles | Small stitched circles |
| Storage | Flat document folder | Flat fabric pouch |
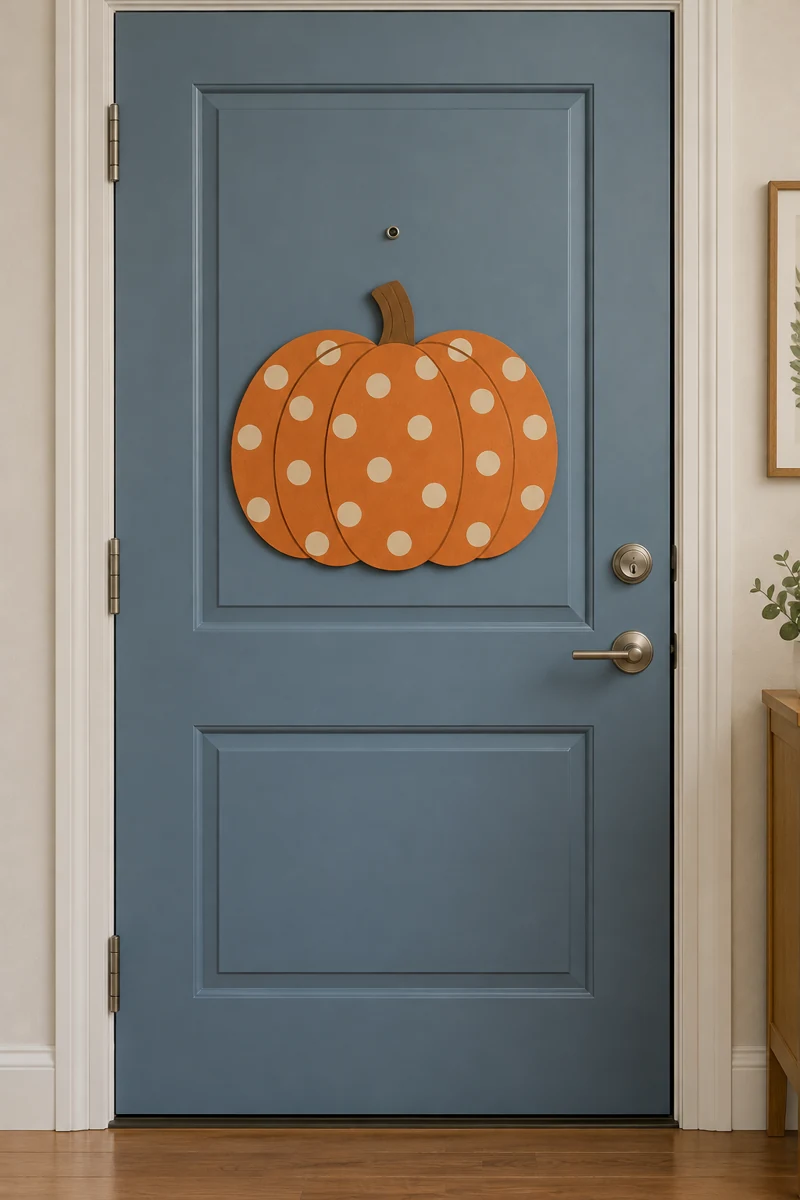
A single oversized flat pumpkin looks sweet with cream dots scattered across a dusty orange body. Keep the dots different sizes but use only one color. A short green stem finishes the shape. This is a good choice when you want one easy focal point rather than several separate decorative pieces.
7. Friendly Spider Friends
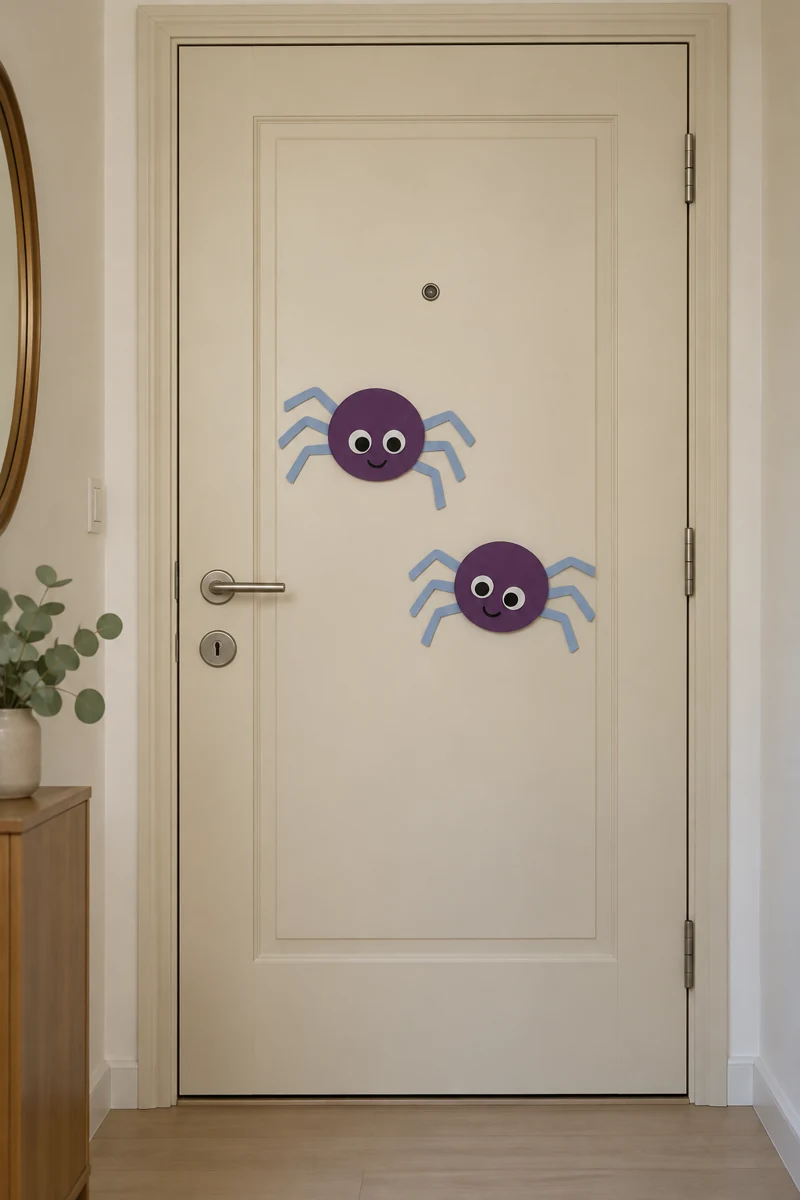
Do
- Use rounded bodies and cheerful eyes.
- Keep all legs short and flat.
- Group two spiders at different heights.
Don’t
- Stretch loose webs across the door.
- Let legs reach onto the handle.
- Add strings that can catch on clothing.
Try plum bodies with pale blue legs for a softer take on spiders. A small smile helps the shapes read as characters rather than realistic creatures. Place the pair toward one side of a clear panel, leaving the rest empty. Their offset arrangement supplies movement without anything actually dangling or swinging.
8. Ghost Postage Stamp
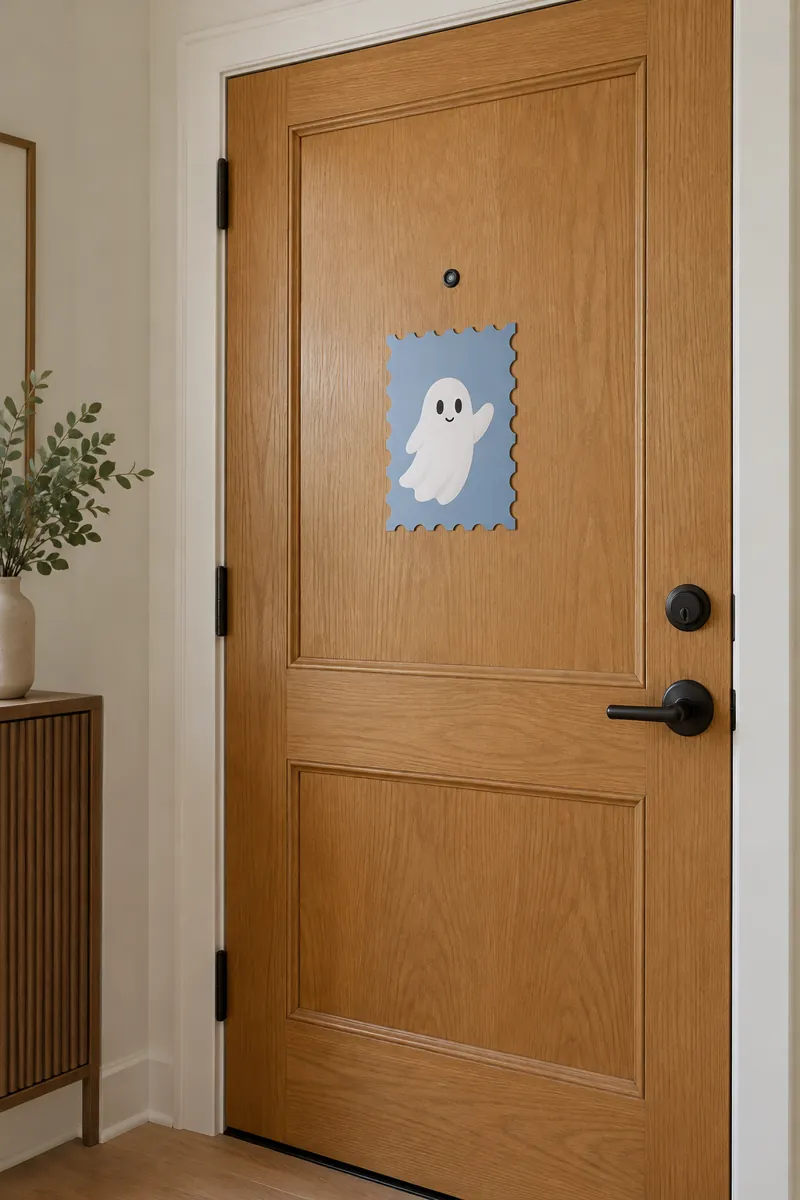
Shape: One rectangular card with a scalloped outer edge.
Character: A tiny waving ghost in the center.
Palette: Powder blue, cream, and a touch of peach.
Finish: Matte card with clean, visible edges.
This postage stamp idea gives you a compact design that feels like a little illustration. Use a plain border instead of numbers or tiny writing that won’t read from a distance. Keep the ghost large enough to recognize. It works especially well on a wood door where a small pale rectangle adds contrast.
9. Sleepy Crescent Moon
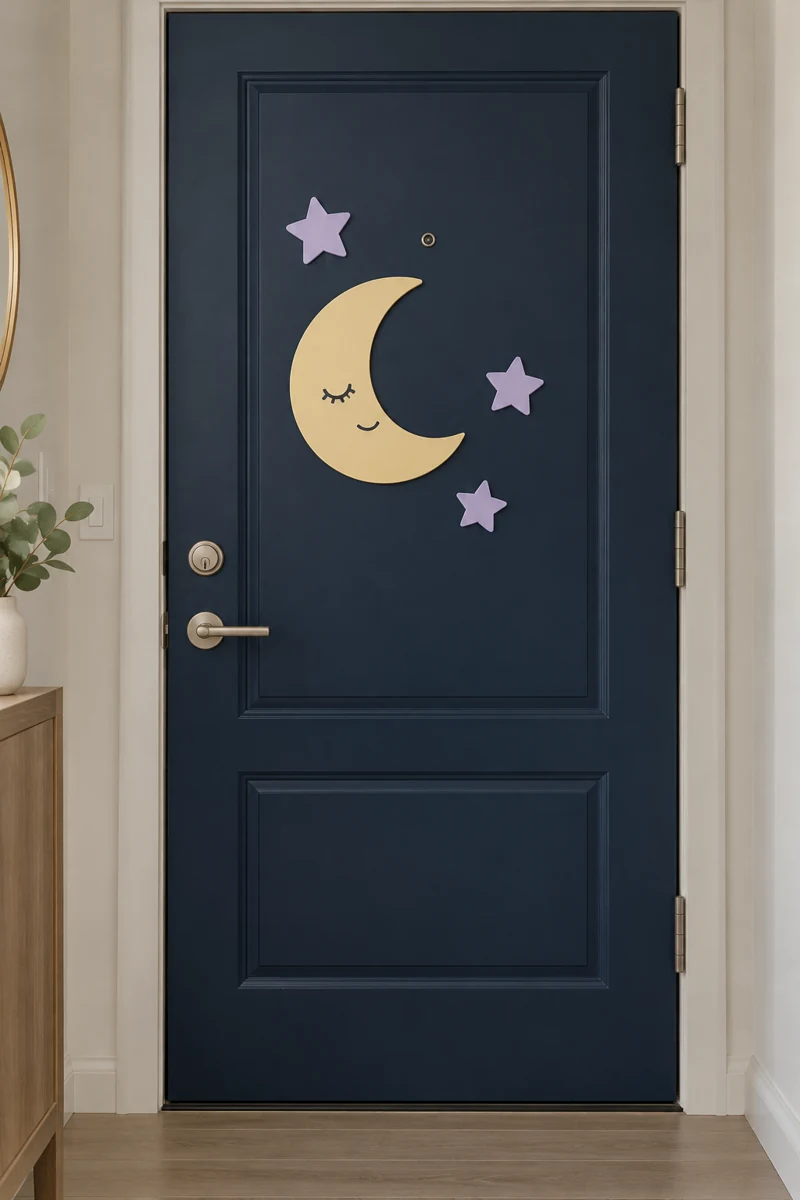
A yellow crescent with closed eyes adds a quieter kind of Halloween charm. Pair it with three lavender stars, keeping their shapes chunky and simple. The closed eyes can be curved lines. You don’t need a full face or slogan to give the moon personality.
Place the crescent slightly off center, then group the stars nearby rather than spreading them over the entire door. A navy or deep green background gives this gentle design a bedtime feel. Carry those soft colors into your small bedroom Halloween decor if you want the seasonal look to continue inside.
10. Little Ghost Bouquet
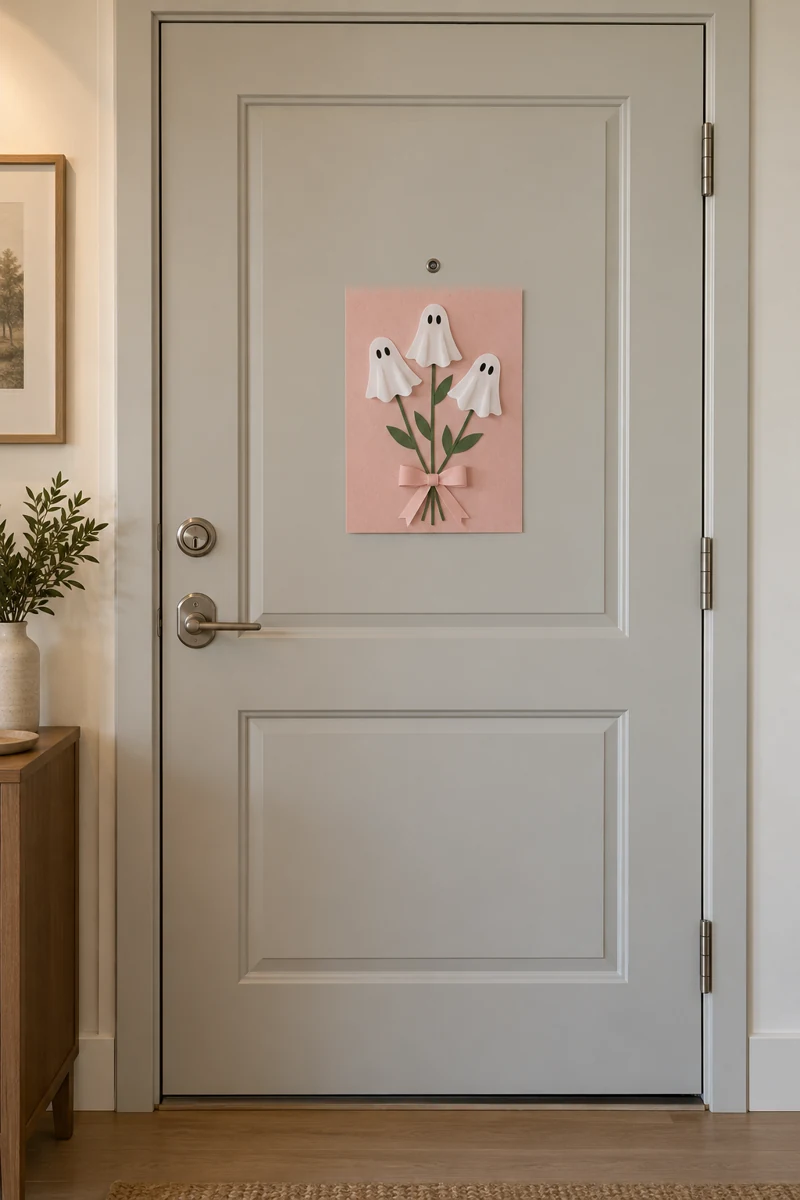
- Cut three tiny ghost shapes with different rounded outlines.
- Fix each ghost to a drawn stem on one backing card.
- Add a simple paper bow at the bottom.
- Keep the entire bouquet flat and compact.
The backing card is what makes this bouquet practical: there are no loose stems or real flowers to knock loose. Choose blush pink for the card and white for the ghosts. Place the design at eye level on a clear panel. Small leaf shapes make the bouquet readable without turning it into a wreath.
11. Pumpkin Patch Badge
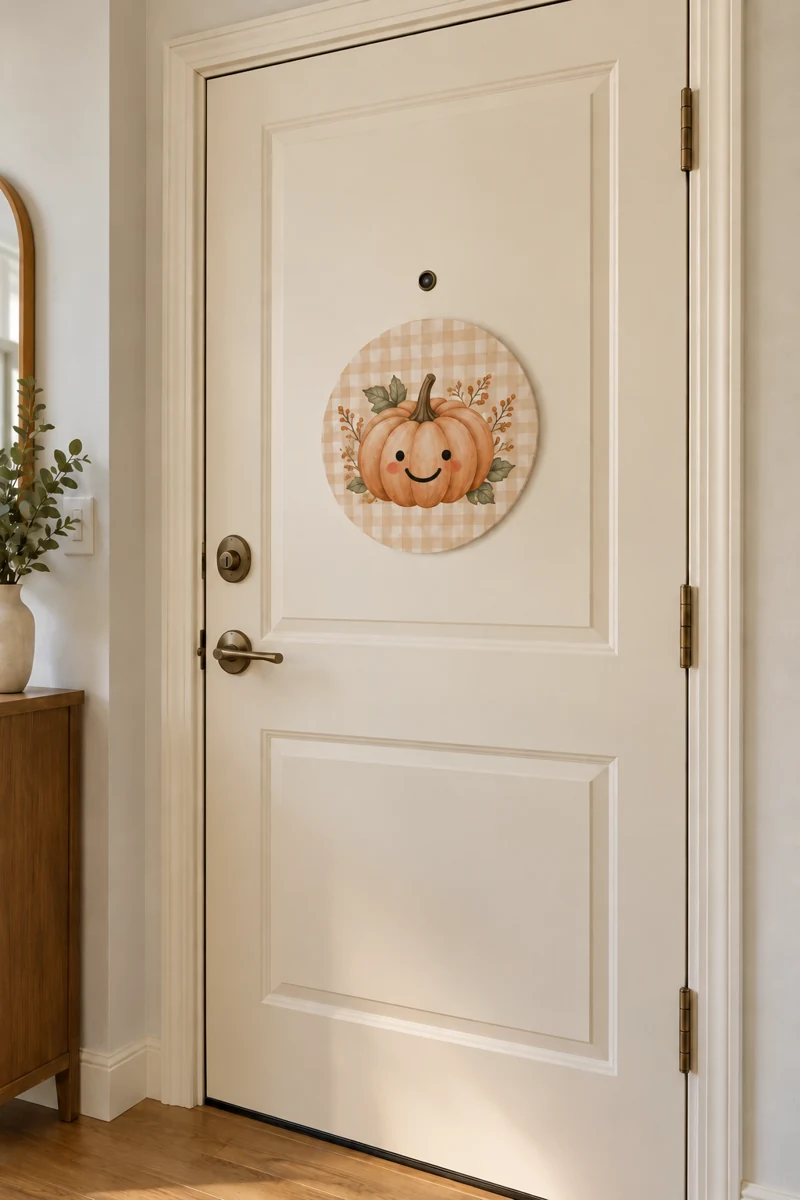
Quick Tip: A circle of pale gingham can make one smiling pumpkin feel finished. Use printed paper instead of loose fabric if fraying edges bother you.
Center a flat apricot pumpkin on the checked circle, leaving a visible border all around. Keep the face small and friendly, with round eyes and a curved mouth. This badge suits a cream door with brass hardware. Avoid layering on bows, leaves, and lettering; the pattern already supplies plenty of detail.
12. Tiny Witch Hat
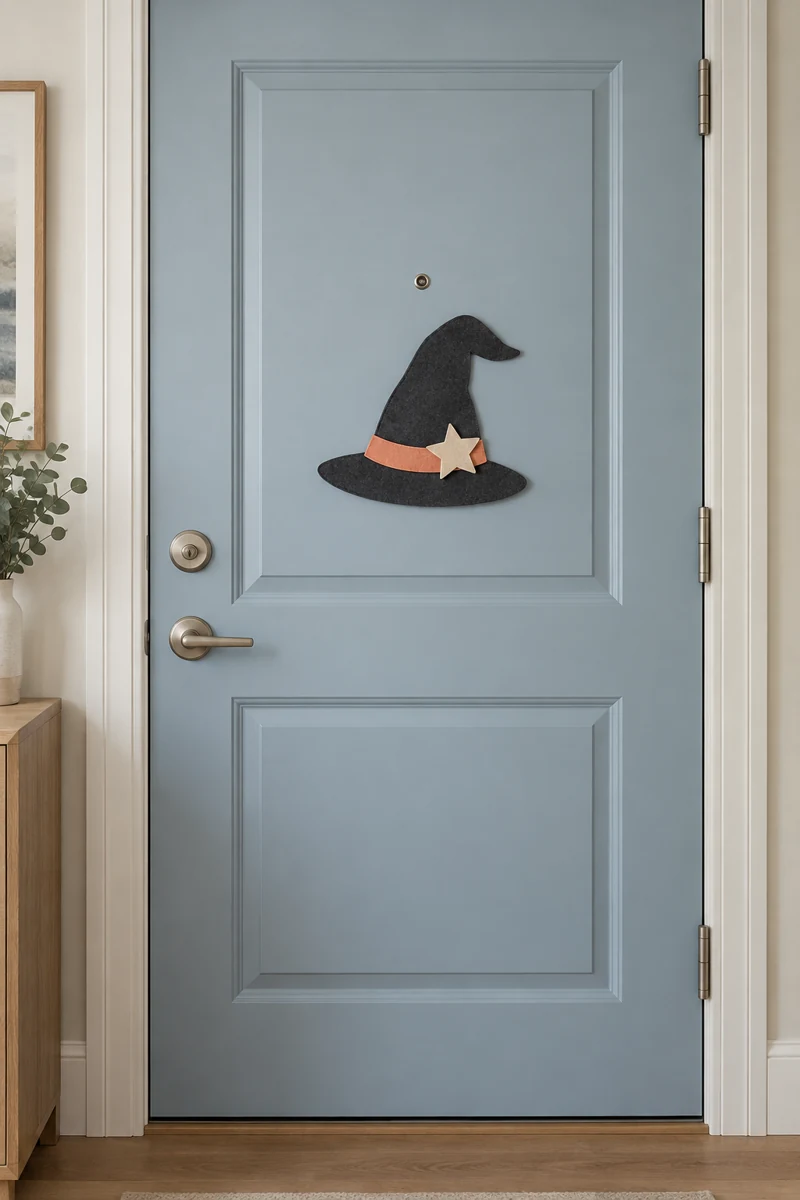
Before: A large pointed hat can dominate a narrow door. Long ribbons can also get in the way when you open it.
After: A small, slightly floppy paper hat sits on one clear panel. A pastel band and rounded star make the familiar shape feel sweet.
Choose charcoal rather than jet black if you want a softer contrast against a pale door. Add a peach or lilac band, but keep it flat to the hat. The little bend at the tip gives it character. Leave nearby panels empty so this simple shape doesn’t need competing decorations around it.
13. Smiling Bat Duo
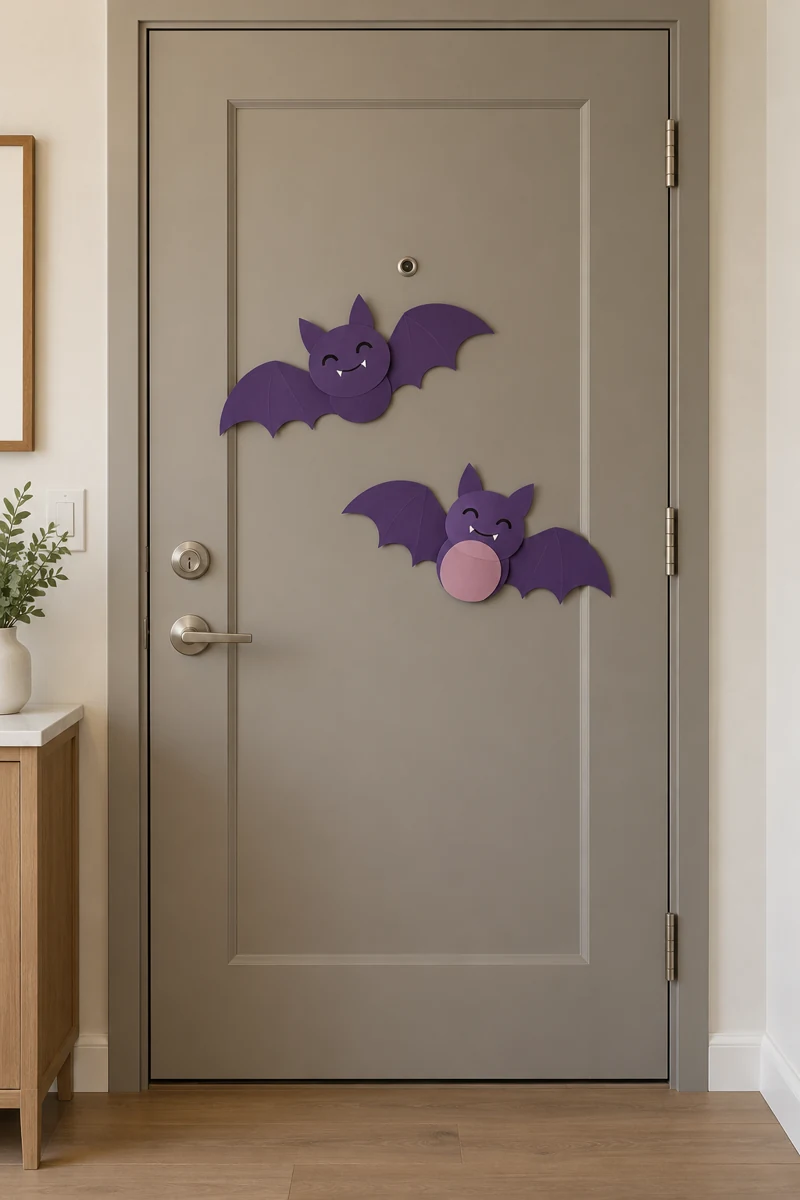
- Cut two small bats with broad, rounded wings.
- Add tiny cream eyes and curved smiles.
- Give one bat a pale pink tummy.
- Place them diagonally within the same open panel.
These bats should look like friendly storybook characters rather than a flock sweeping across the entrance. Keep the wings flat, with no folds sticking into the door’s path. A warm gray door makes a useful background for deep purple shapes. Two sizes create variety while keeping the overall arrangement easy to read.
14. Ghost Window Picture
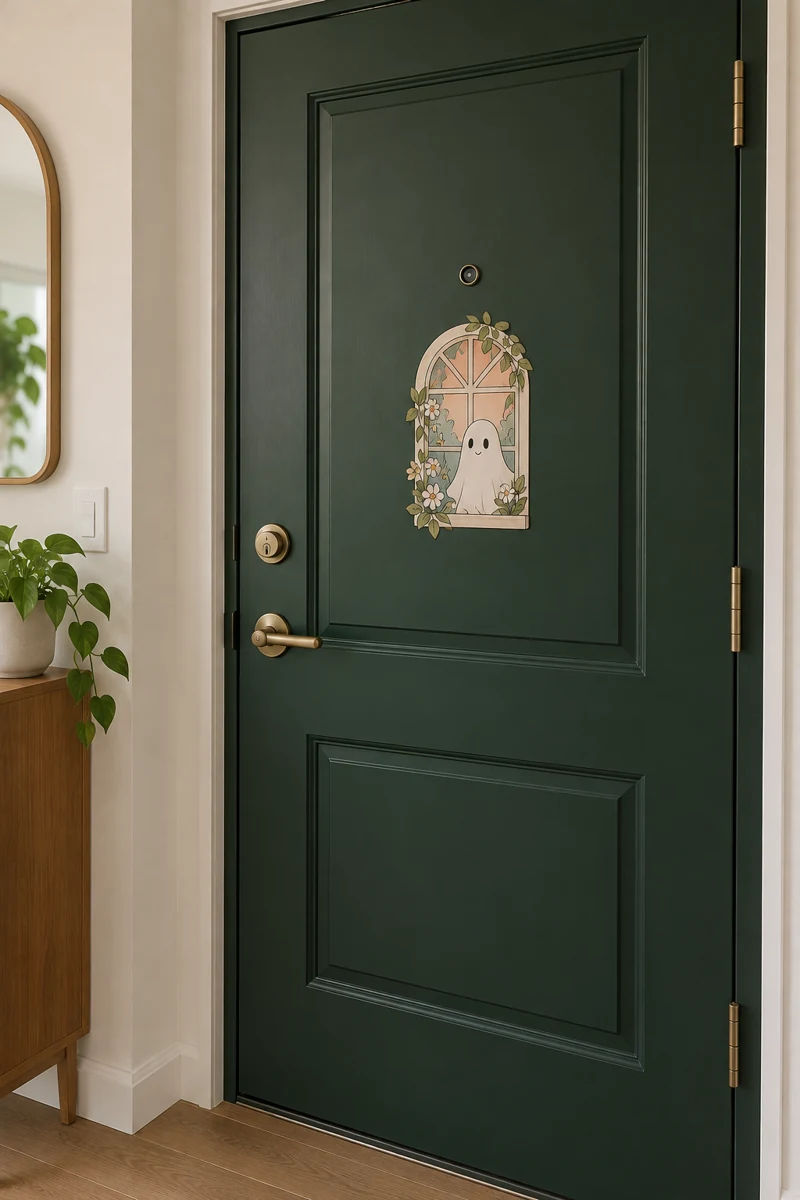
| Detail | Rounded window | Arched window |
|---|---|---|
| Mood | Playful and simple | Storybook cottage |
| Frame | Chunky cream border | Slim pastel border |
| Ghost | Peeking from one side | Centered below the arch |
Make a pretend window as a single lightweight picture, with a cheerful ghost peeking through it. This is an illustration, so don’t cover any actual door glazing or viewing panel. Soft green around a white ghost feels fresh. Keep the picture modest in size and place it on an uninterrupted solid panel.
15. Candy Wrapper Shapes
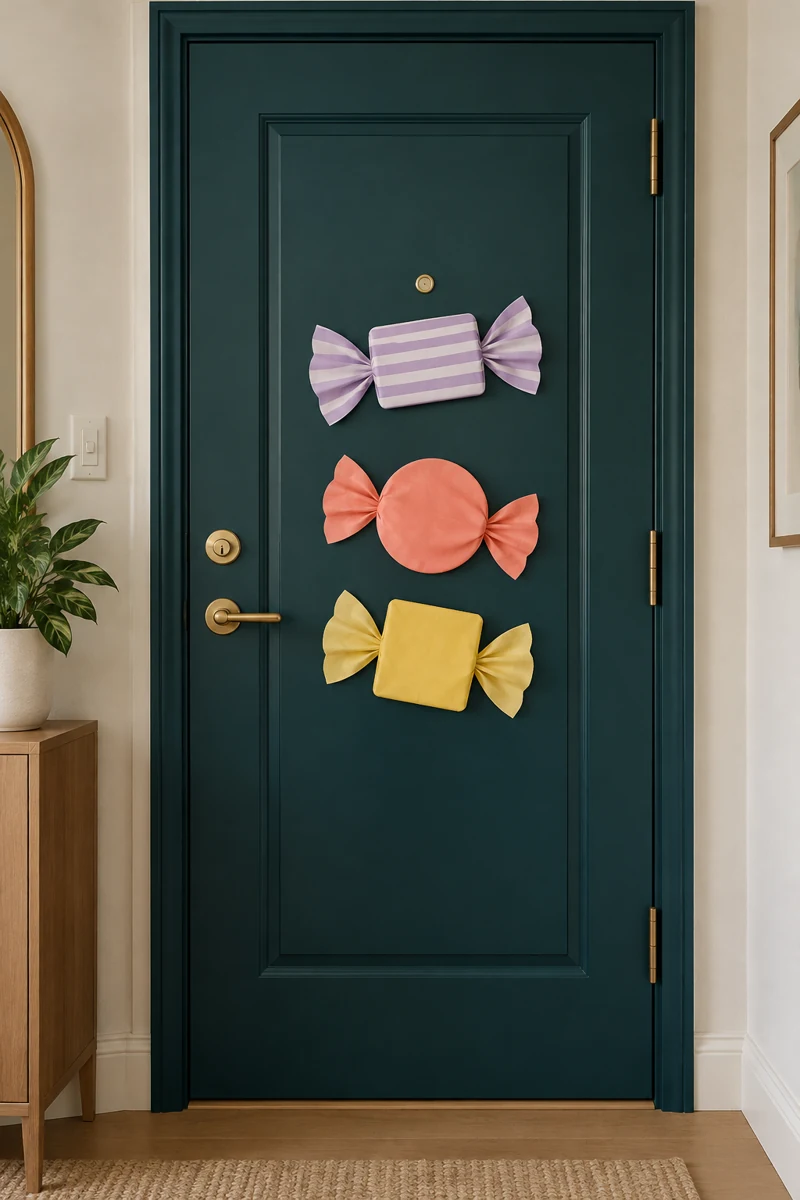
Do
- Use two or three flat wrapped candy shapes.
- Mix stripes with one solid color.
- Keep the wrapper ends short.
Don’t
- Attach actual sweets to the door.
- Use loose cellophane tails.
- Scatter tiny pieces across every panel.
A lavender striped sweet, a coral round sweet, and a pale yellow square create a cheerful little grouping. Make the wrapper outlines part of each card shape so nothing hangs loose. A dark teal door brings out the colors. Cluster the pieces near the center rather than creating a busy border around the entrance.
16. Pumpkin Cat Portrait
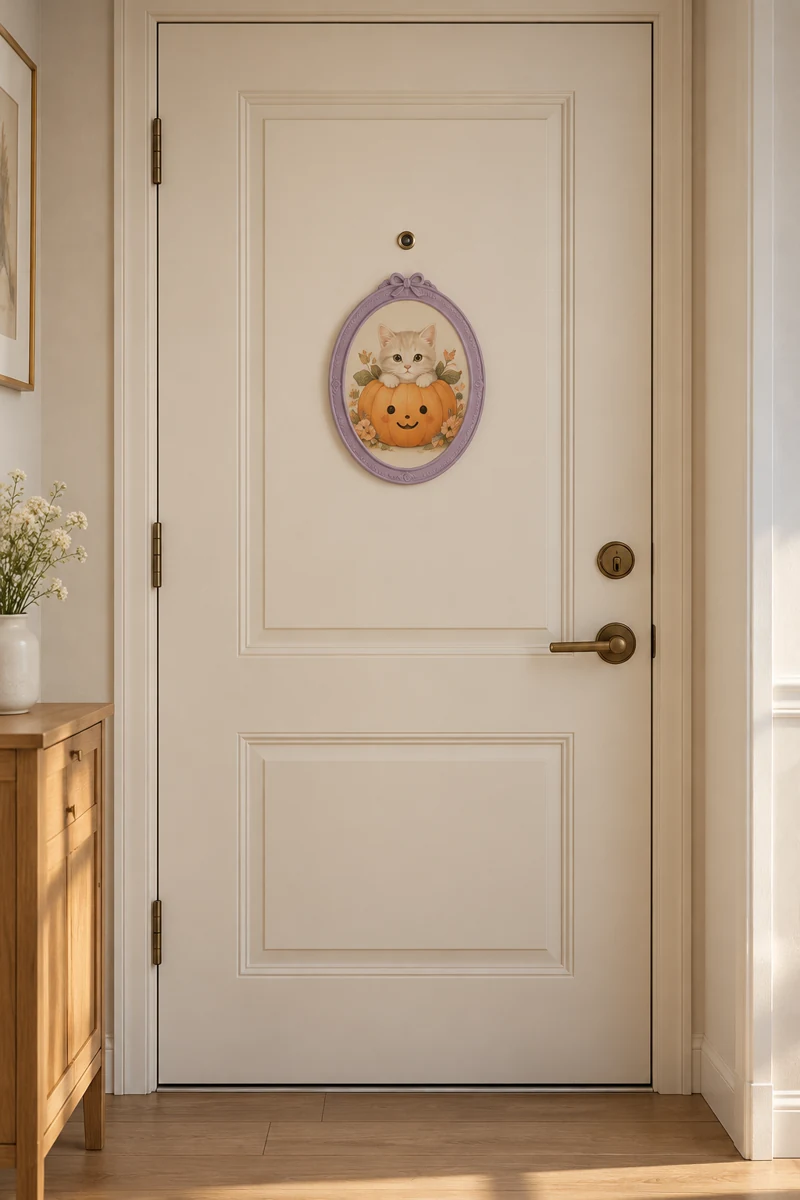
Character: A cream kitten peeking from a peach pumpkin.
Frame: A narrow oval border in muted lilac.
Material: A single printed or hand-drawn card.
Placement: One clear panel away from moving hardware.
This mini portrait combines two cute motifs without needing separate pieces. Keep the kitten’s paws visible over the pumpkin edge, and use simple black eyes on both faces. The oval border helps it read as a finished picture. It is especially useful on a panelled door where a small composition fits better.
17. Pastel Ghost Confetti
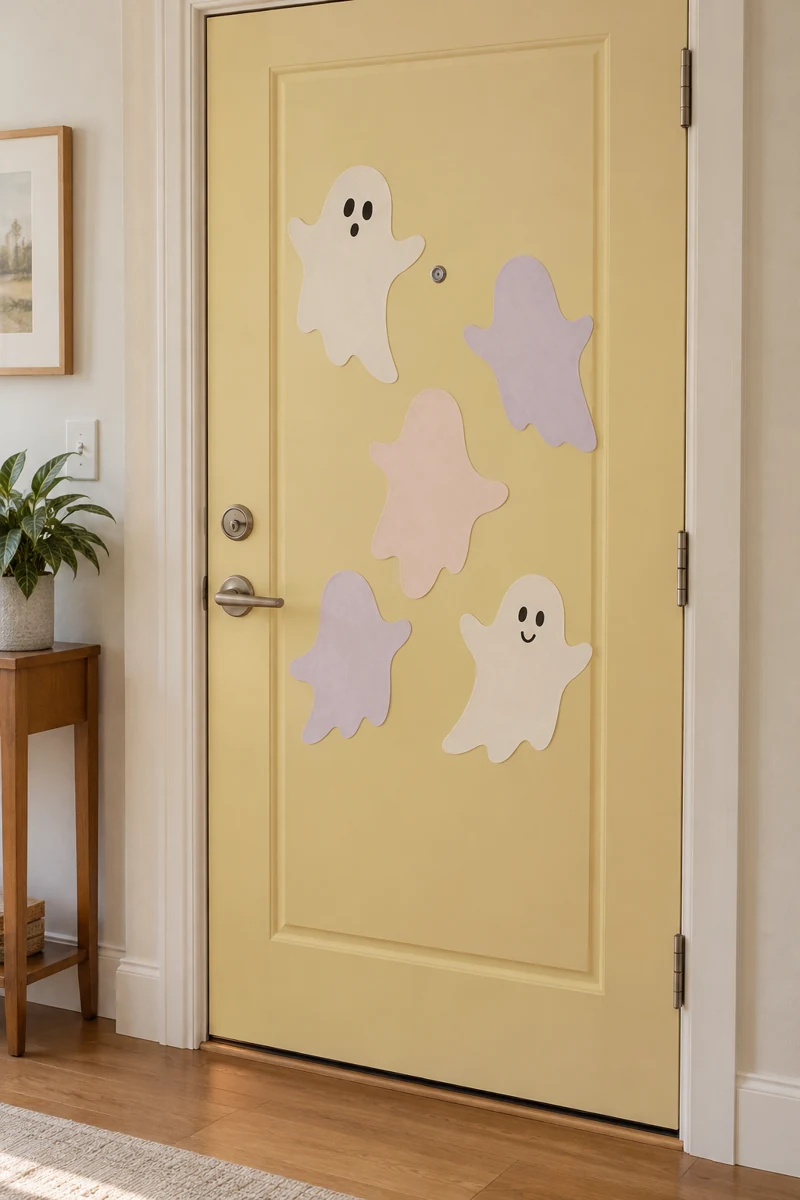
Tiny ghosts feel like confetti when you use a few shapes with space between them. Choose five flat silhouettes in cream, blush, and pale lilac. Give only two of them faces, letting the others stay simple. The mix keeps the design from looking like a sheet of repeated stickers.
Arrange them in a loose cluster on the upper half of a panel, not around the frame or hardware. Use leftover card from another project. Repeat one pastel shade in your simple fall living room decor for a gentle connection between your door and the room beyond.
Frequently Asked Questions
How do I keep Halloween door decor looking cute?
Choose rounded shapes, small smiles, and a limited color palette. Two or three larger characters usually look calmer than dozens of tiny pieces. Skip realistic insects or harsh red lighting if you want a gentle mood.
Can I decorate an apartment fire door?
Don’t alter a fire door. Ask building management what, if anything, is allowed on your specific door. If door decoration isn’t permitted, move your idea to an approved interior wall or a freestanding picture inside your apartment.
Will removable decorations leave marks?
They can. The result depends on the product, finish, condition, and removal method. Check the product instructions and your building’s rules, test where permitted, and don’t assume a renter-friendly label means damage-free removal.
What should I do if my door has very little clear space?
Choose one small flat picture rather than a face made from many pieces. Keep your number, peephole, locks, handle, door edges, and any glazing clear. If there isn’t a suitable place, decorate elsewhere inside your home.
A Small, Cheerful Welcome
Cute Halloween apartment door decor works best when one friendly idea gets enough room to shine. A blushing ghost, smiling pumpkin, or tiny cat can bring the seasonal mood without filling every panel. Pick the colors that already suit your door, make a small paper mockup, and check the placement before mounting anything.
Keep the everyday jobs of the door first: easy opening, clear viewing, and accessible hardware. If your building doesn’t allow door decorations, these same little characters can become framed art inside. The goal is a playful welcome that still feels simple to live with once the crafting is done.
Community
Join the conversation
Add a useful idea, ask a specific question, or share what worked in your space. Every comment is reviewed before it appears.