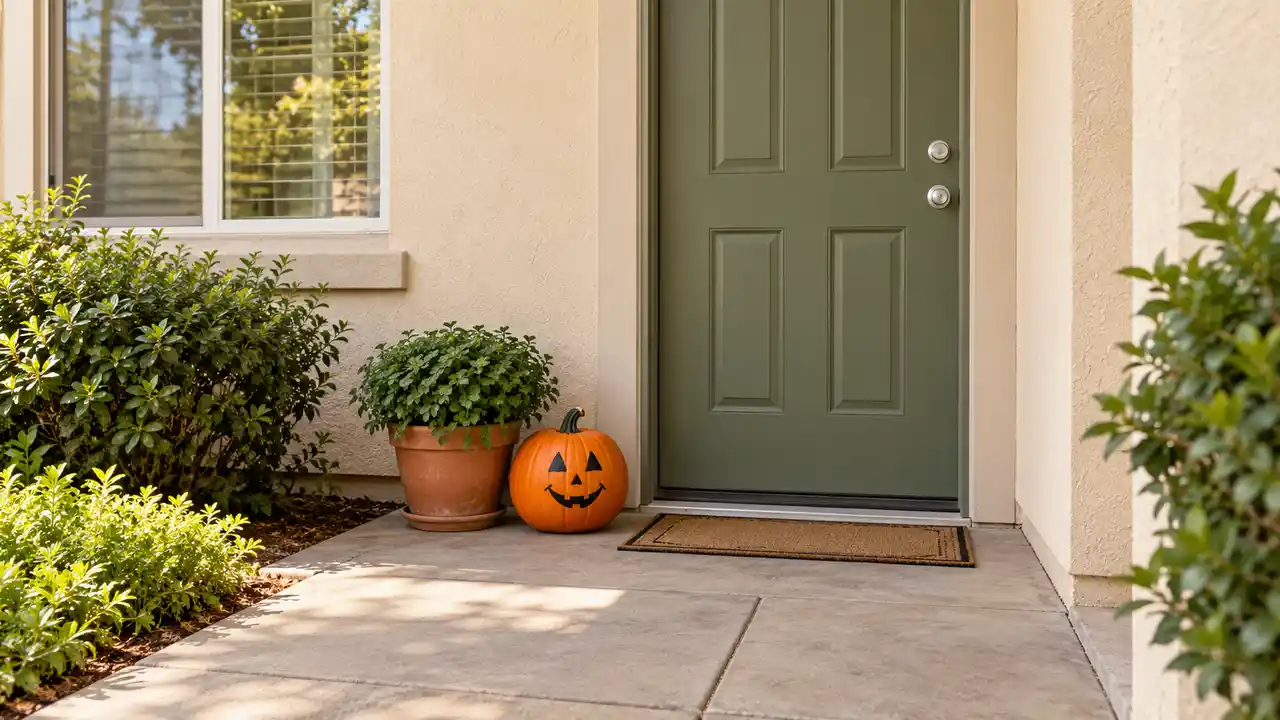
A search for apartment halloween decor outdoor simple should lead to ideas you can put out quickly and pack away without a project. One painted pumpkin, a small planter accent, or a seasonal cushion can make your own outdoor corner feel festive without buying a whole display. These nineteen ideas focus on single additions and easy swaps, with no decorating required on the door itself.
Start by checking what your lease and building allow in your private exterior area. Shared corridors, stairs, and escape routes must stay clear, and no decoration should cover hardware, numbers, alarms, or signs. Renter-friendly does not mean every product suits every surface. Keep changes on your own movable belongings, choose weather-suitable materials, and follow CPSC Halloween guidance on battery lighting and clear approaches. Skip flames and artificial outdoor spiderwebs.
1. Single Smiling Pumpkin
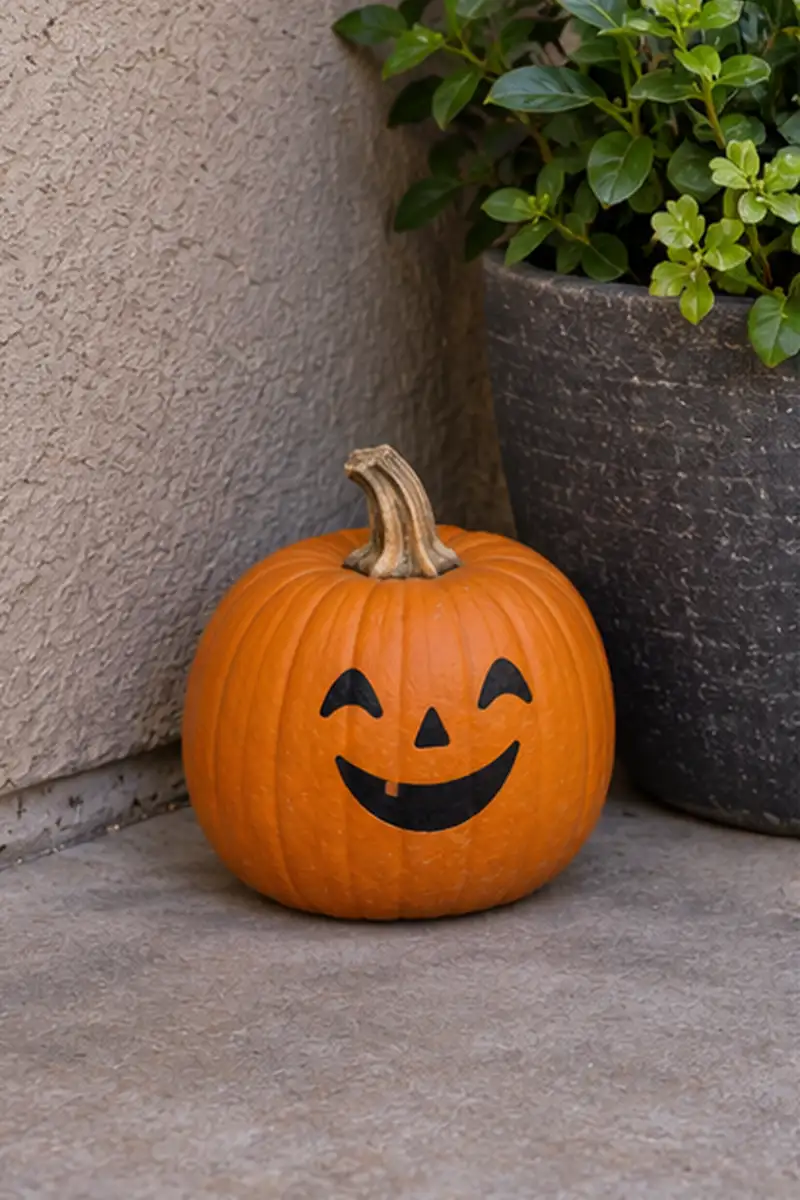
One friendly pumpkin can do the seasonal work of a much larger display. Choose a medium pumpkin with a flat base and paint a simple face on your own pumpkin instead of carving it. Set it beside an existing planter, leaving the surrounding paving as open as it was before.
A happy expression feels welcoming without needing a collection of props around it. Keep the pumpkin away from the door swing and check its condition regularly if it is real. Lift it by the base when moving it, and remove it promptly if it begins to soften or deteriorate.
2. Ghost Painted Pebble
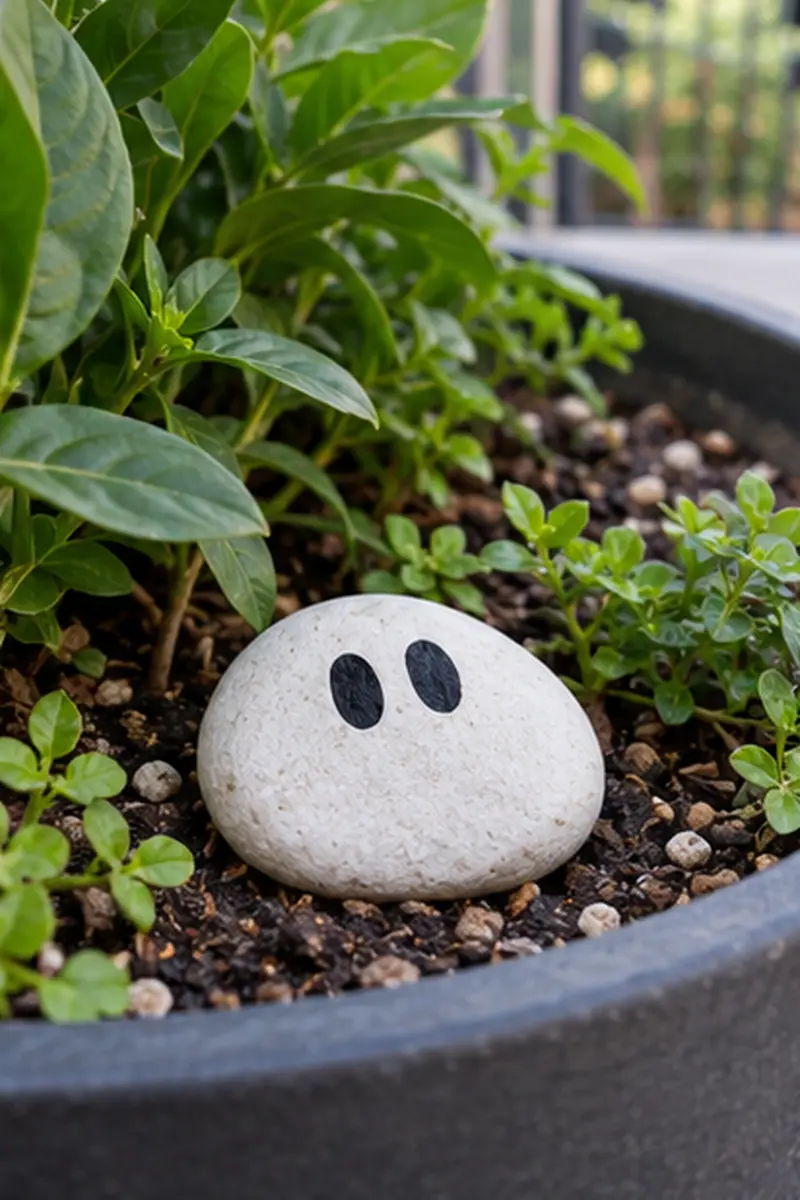
- Choose a smooth stone you already own with a broad, flat underside.
- Paint its upper face white using materials suitable for that stone and outdoor display.
- Add two dark oval eyes and let the finish dry fully as directed.
- Lay the stone flat inside your own planter, where it cannot become a loose object underfoot.
The small scale makes this a good option for an entry that has very little spare room. Tuck the pebble near the front of the pot so its face is visible between the leaves. Keep drainage openings clear and avoid disturbing roots when finding its spot in the soil.
3. Bat Print Doormat
Quick Tip:
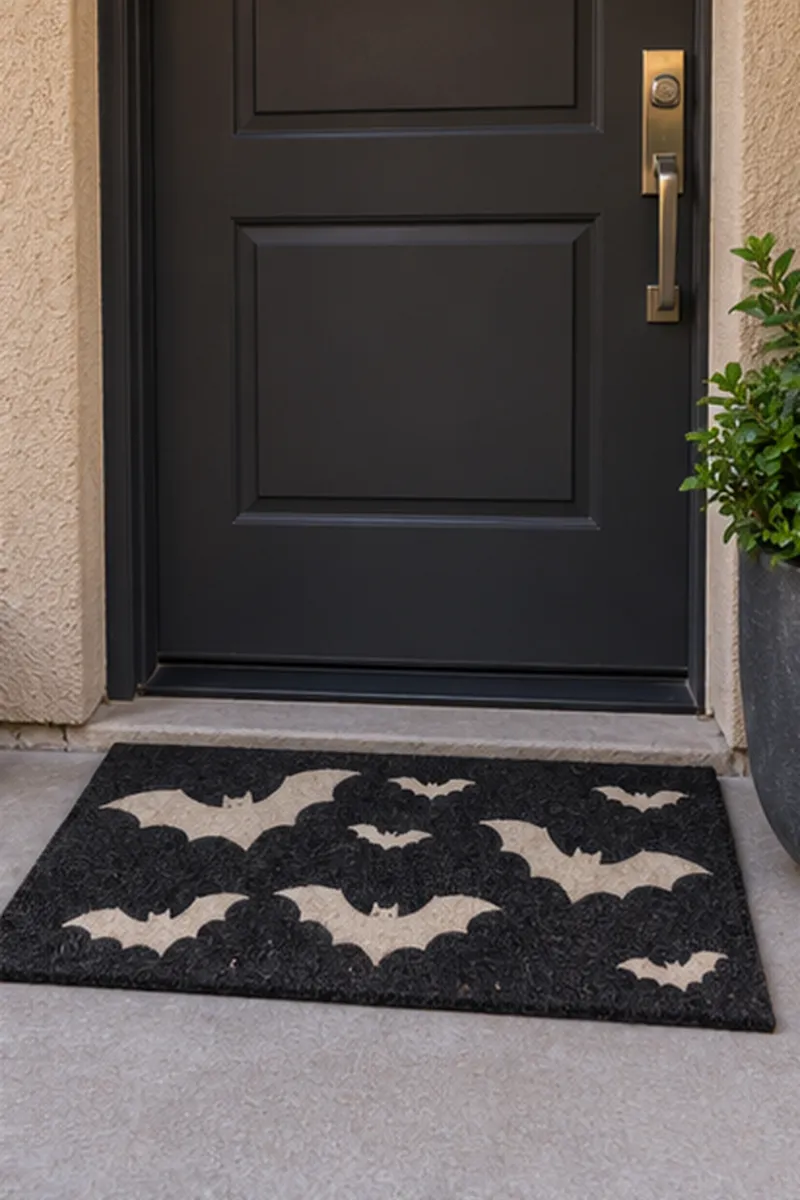
Choose one flat, properly fitting outdoor mat with bats printed directly on it. A clear graphic supplies the Halloween detail without adding anything loose. Check that the door moves freely over the mat before leaving it in place.
Replace your usual mat rather than adding another layer underneath. A low profile, suitable backing, and edges that remain flat matter more than an elaborate pattern. Use this only where your building permits a mat in your private exterior entry, and keep it clean so the design stays crisp.
4. Clip On Bat
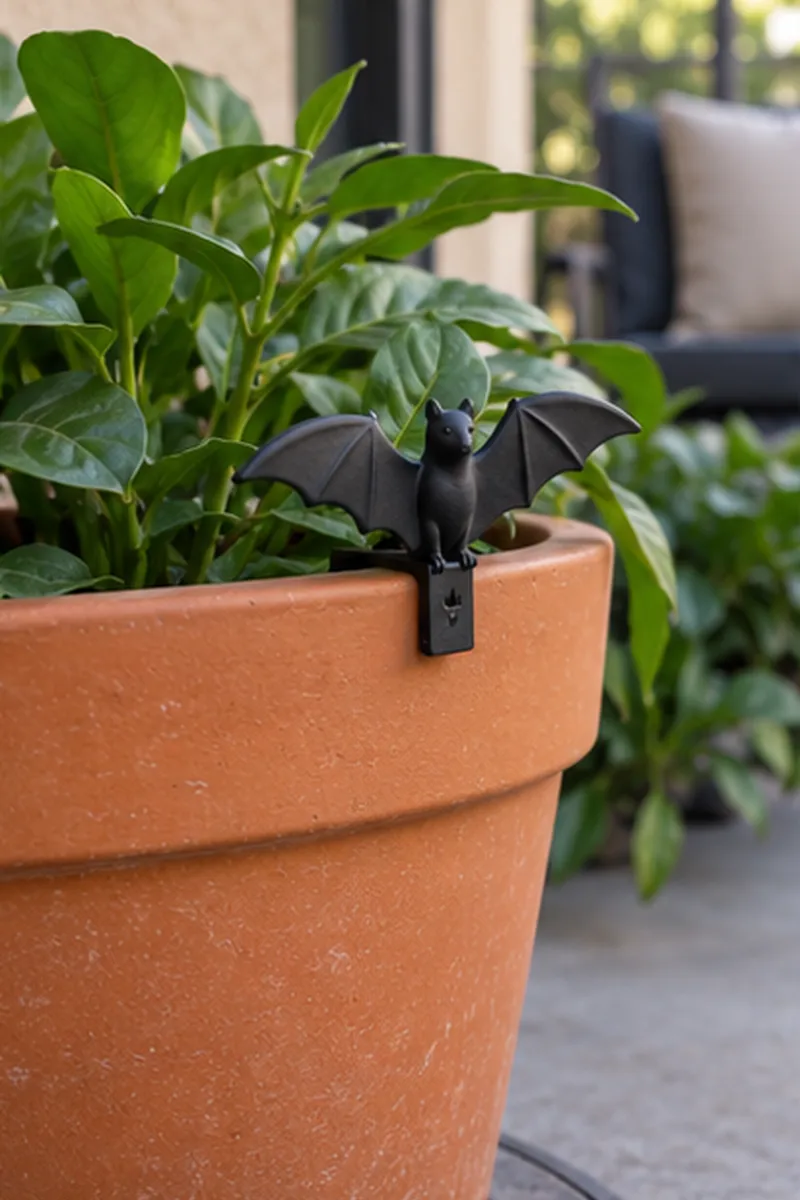
BEFORE: A plain terracotta pot looks exactly as it does through the rest of the year. There is no room for another container beside it.
AFTER: One small outdoor bat clipped to the rim gives the existing pot a seasonal character. The planting and floor arrangement stay easy to maintain.
Use a purpose-made outdoor clip that fits the pot rim securely without damaging it. Keep the bat small enough to stay within the container width and check it after windy weather. Remove it when conditions exceed its intended use, and store it with your other reusable seasonal pieces indoors.
5. Mini Moon Tile
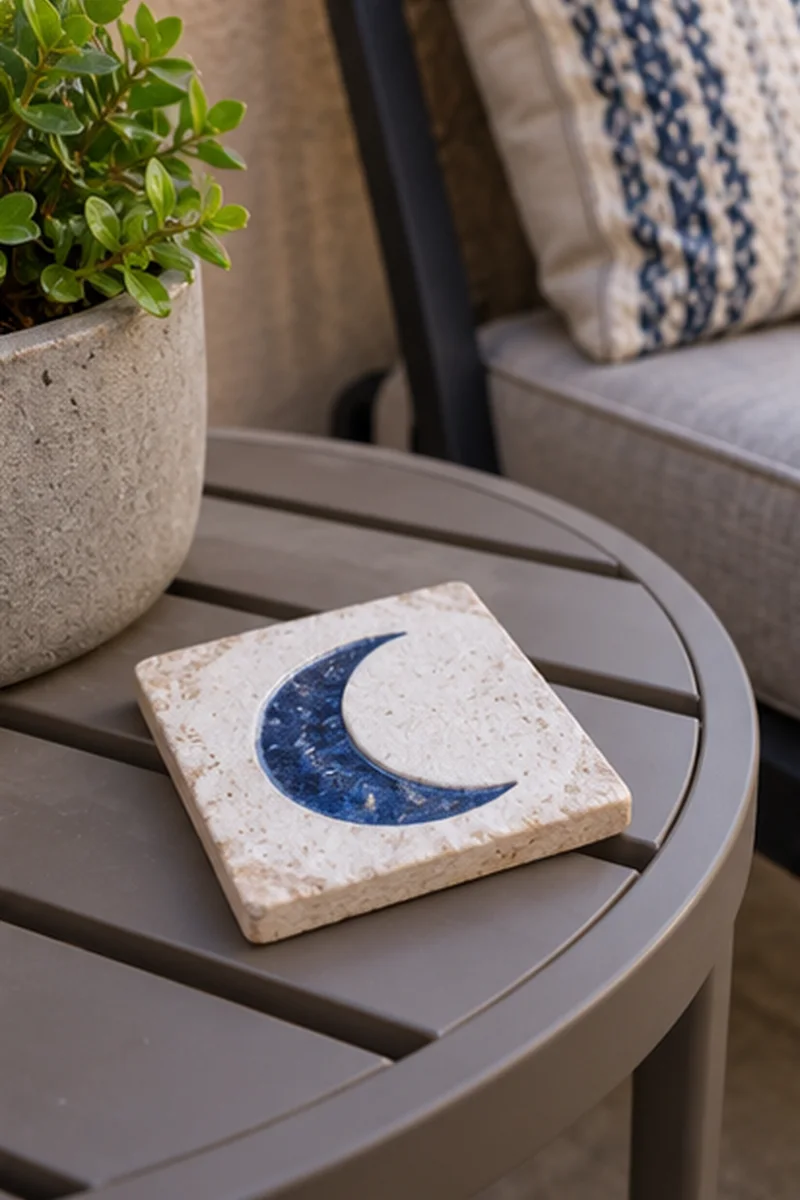
- Choose a small outdoor-suitable decorative tile with a simple moon image.
- Check that its back and edges will not scratch the surface beneath it.
- Lay it flat near the center of an existing stable outdoor table.
- Leave the rest of the table available for its normal everyday use.
A moon tile suggests Halloween quietly, making it useful if you prefer a subtle seasonal accent. Pick a dark blue or charcoal design that contrasts with the tabletop. Avoid propping it upright against a wall; lying flat keeps the arrangement compact and removes the need for an exterior attachment.
6. Monster Pot Eyes
| Detail | Painted Eyes | Removable Pot Cover |
|---|---|---|
| Best surface | Your own compatible outdoor pot | A correctly fitting plain container |
| Seasonal change | The design remains on the pot | The cover can come off |
| Preparation | Drying and curing time | Check fit, drainage, and weather suitability |
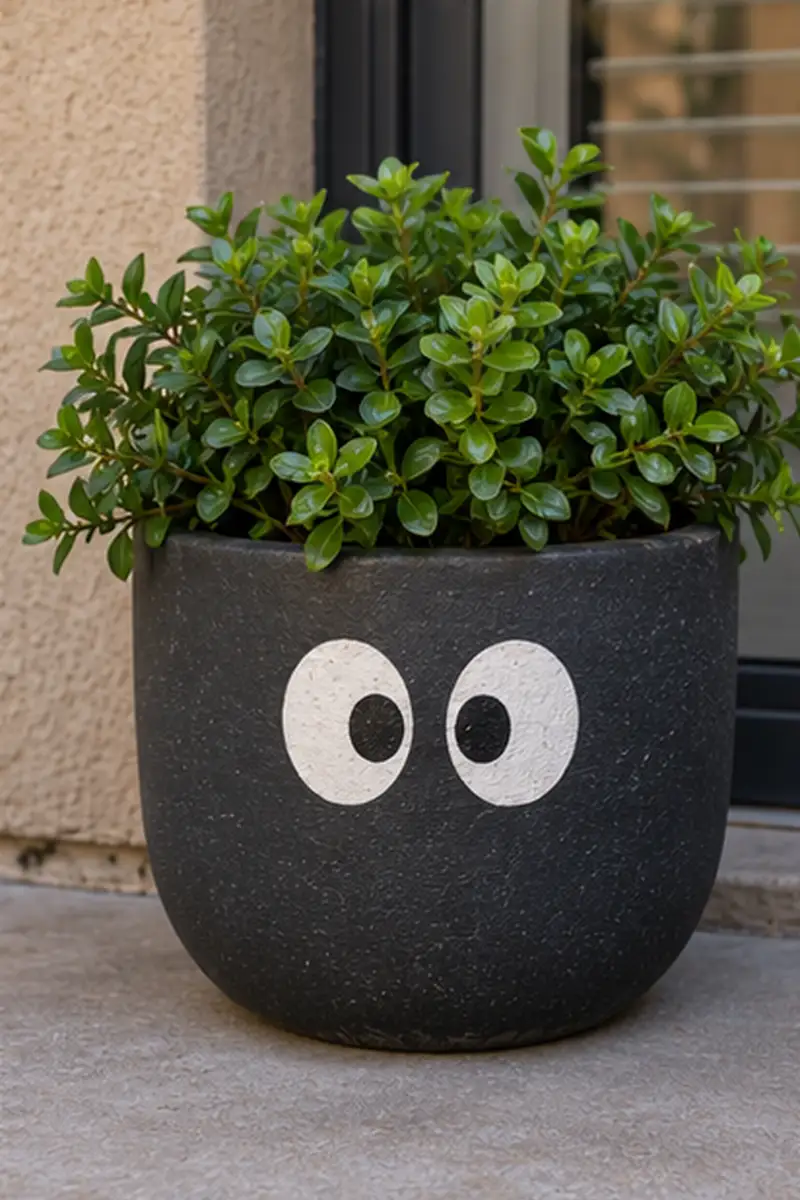
Big simple eyes can turn an ordinary plant pot into a friendly little monster. Paint only a pot you own using a finish appropriate for its material and outdoor use. For a quicker reset after Halloween, choose a manufactured removable cover that does not interfere with drainage or stability.
7. Orange Planter Saucer
DO
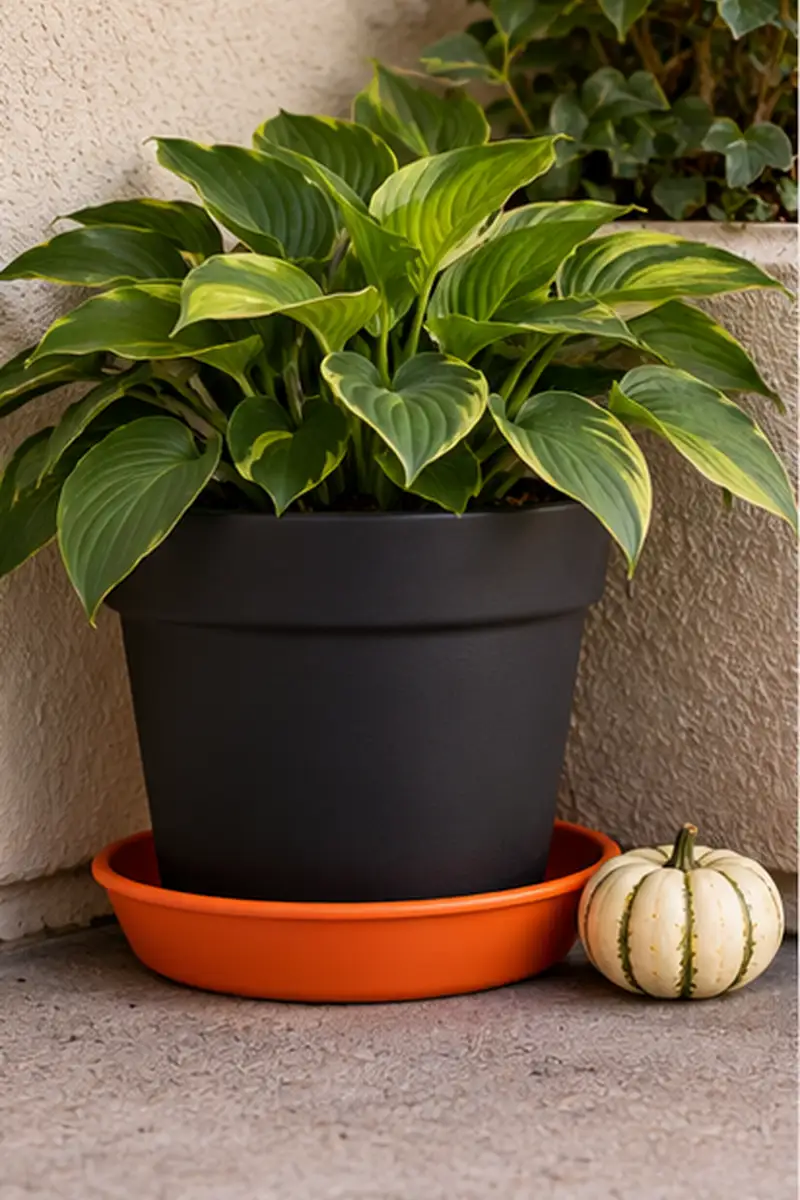
- Choose a saucer that correctly fits the pot base.
- Pair orange with an existing dark container for a clear seasonal contrast.
- Check and empty collected water according to your plant care routine.
DON’T
- Use a saucer so small that the pot sits unsteadily.
- Create a standing-water decoration.
- Spread several extra saucers across the paving.
This tiny color swap is useful when you already like your outdoor plant arrangement. The orange ring introduces a Halloween note while the pot keeps doing its usual job. Choose a durable outdoor saucer and keep it tucked within the planting corner rather than extending into the usable route.
8. Removable Pumpkin Sleeve
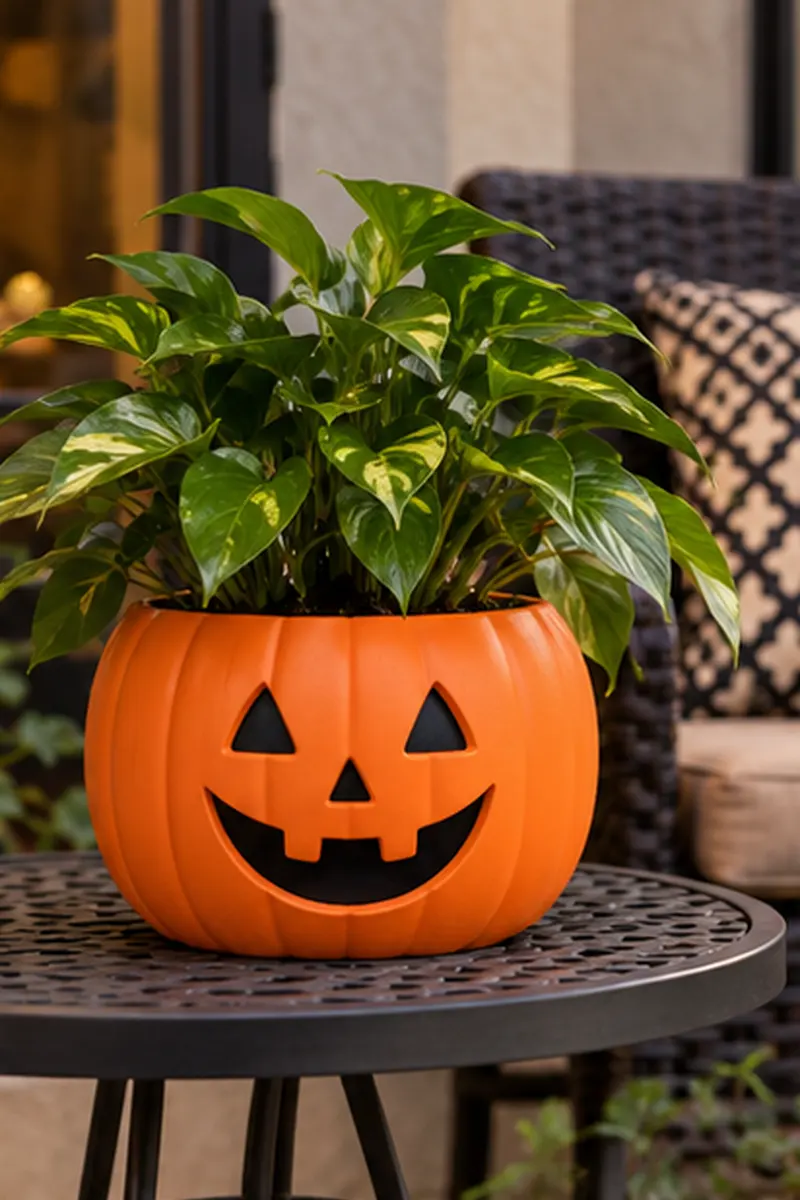
Object: A squat pumpkin-shaped outdoor cachepot.
Insert: A plant kept in its own nursery container.
Placement: The center of a stable outdoor surface.
Reset: Lift the nursery pot out after the season.
A ready-made pumpkin cachepot offers an immediate change without decorating the building or permanently altering your plant container. Check that the inner pot fits without forcing it. Follow the drainage arrangement recommended for the planter, and empty unwanted collected water rather than leaving the roots sitting in a reservoir.
9. One LED Jackolantern
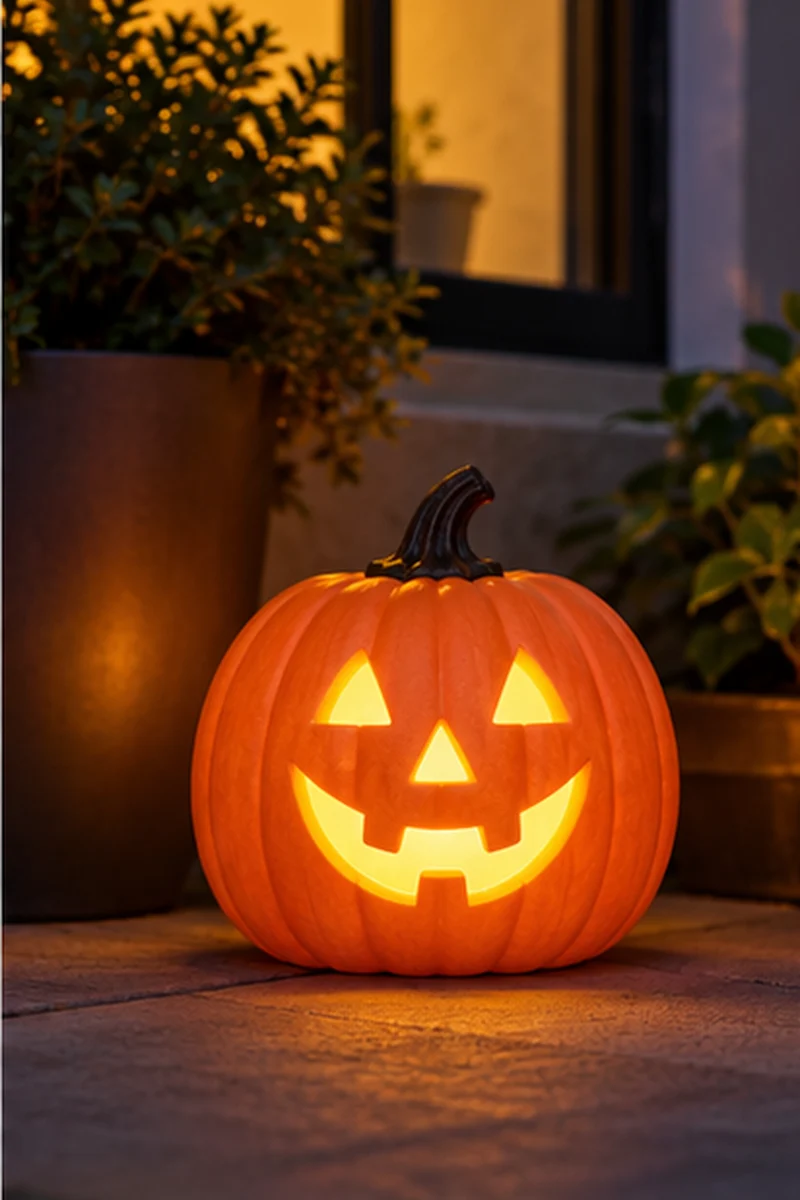
A single glowing face makes a small private entry feel ready for Halloween after sunset. Choose a complete battery-powered jackolantern intended for the outdoor conditions where you will place it. A broad base and a gentle steady glow keep the effect friendly, with no need for cords across the paving.
Put it beside an existing planter or outdoor table, well away from the route people use to approach the door. Follow the lighting instructions, including weather limits and battery care. Keep the normal entrance lighting available, because a decorative face is there for atmosphere rather than lighting the walkway.
10. Striped Mini Gourd
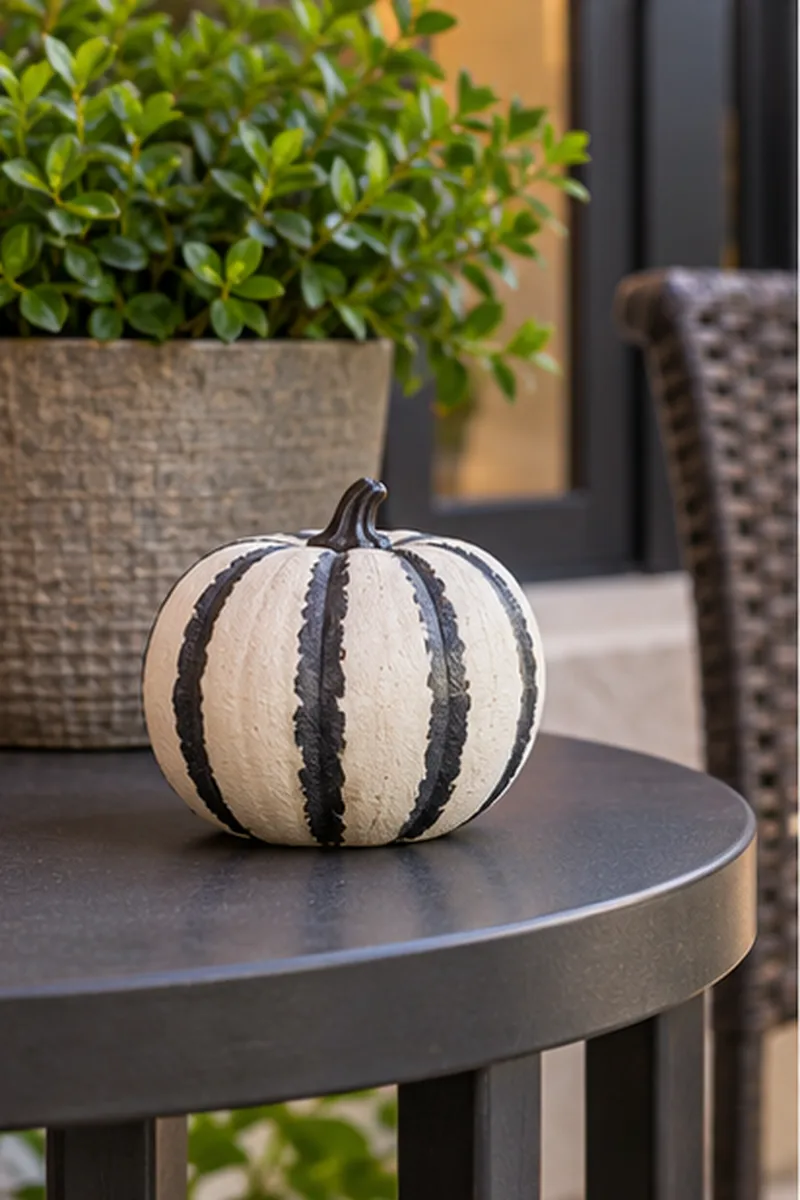
- Start with one small decorative gourd or faux pumpkin that has a stable base.
- Paint broad charcoal stripes on a pale background using a suitable outdoor finish.
- Leave the stem plain to keep the shape easy to recognize.
- Place it on an existing stable outdoor table, away from the edge.
A few bold stripes read clearly even when the ornament is small. Follow the natural ribs instead of trying to measure perfectly even lines; the slight variation gives it character. Let the finish cure fully before use, and choose a weather-suitable base material that will tolerate your intended placement.
11. Little Cat Statue
Quick Tip:
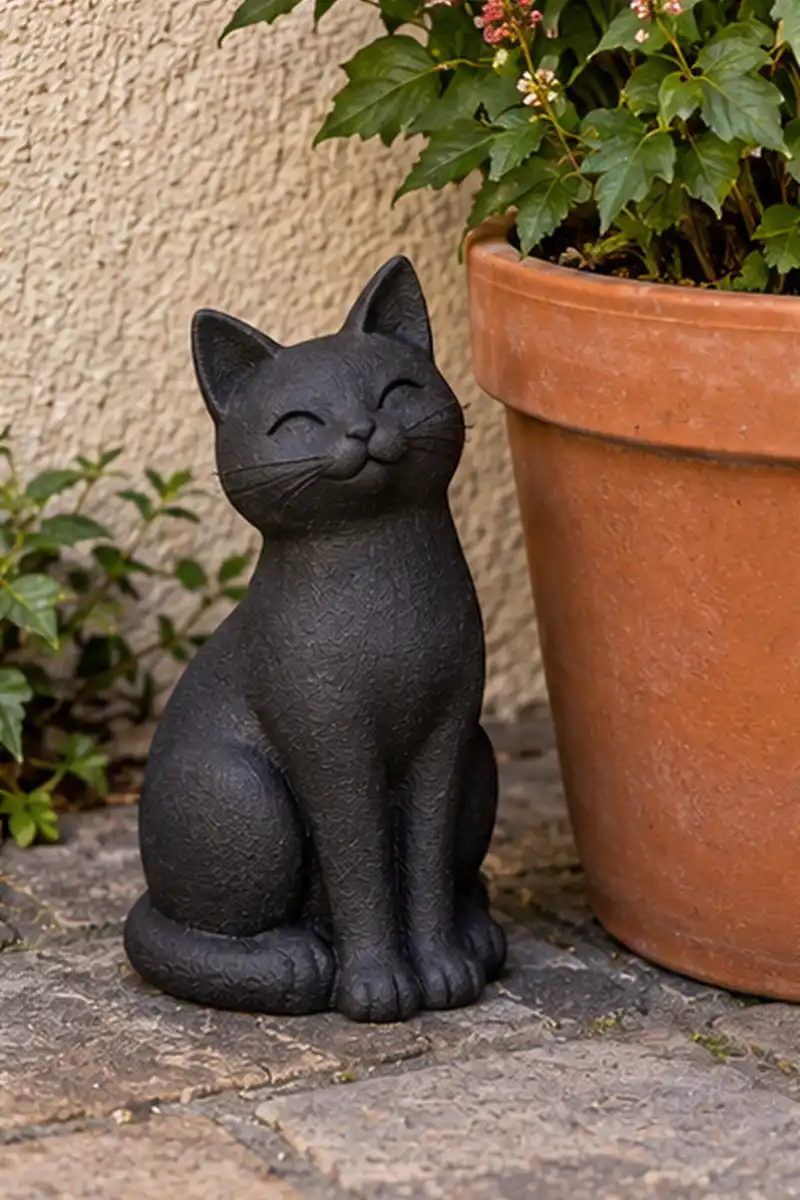
Use one compact cat figure with a wide, stable base as the entire seasonal accent. Set it beside a pot you already have. A friendly outline is enough to suggest Halloween without extra pumpkins or lighting.
Choose a weather-suitable piece that you can comfortably lift and store after October. Keep it directly beside the planter so the pair reads as one contained object group. Avoid narrow feet, projecting tails, or a position where a bag, shoe, or passing pet can easily knock the figure over.
12. Black Cachepot Swap
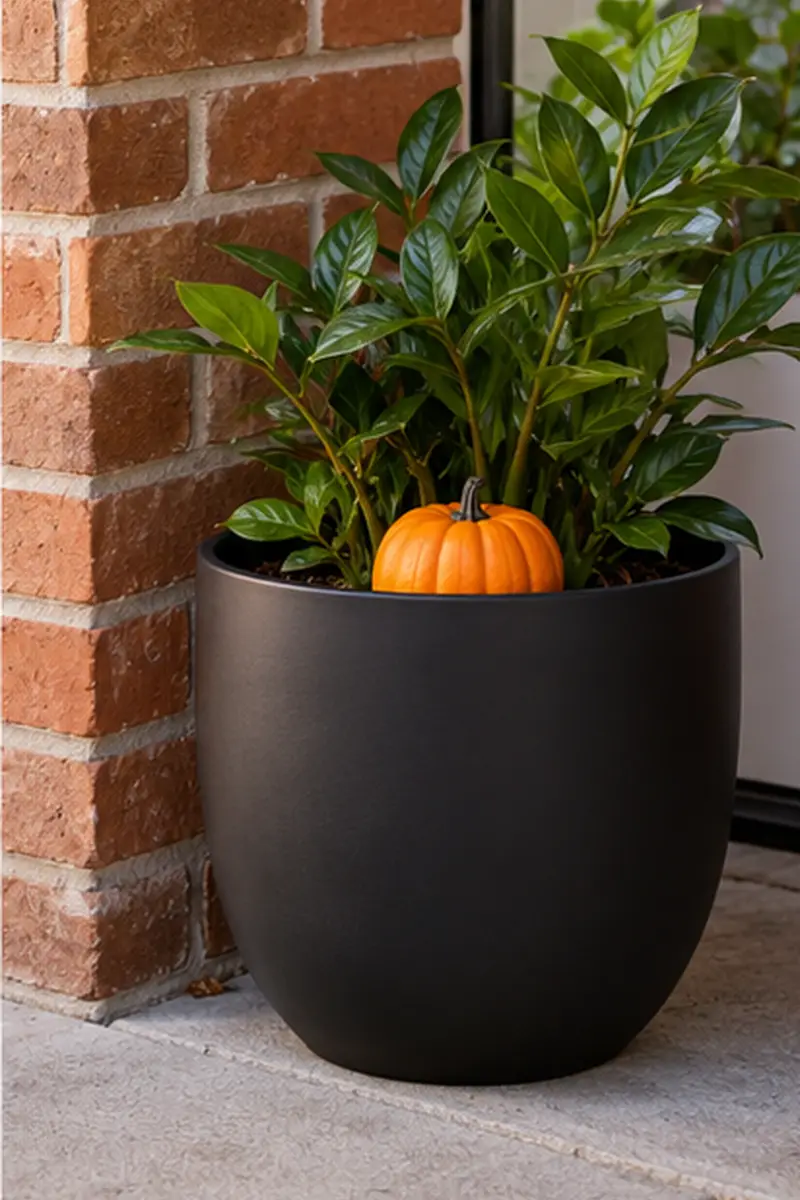
BEFORE: Your outdoor plant has a bright summer container. You would rather use its existing floor space than add more decorations.
AFTER: A plain matte black cachepot gives the same plant a darker seasonal setting. One tiny orange pumpkin can sit inside the rim if there is suitable spare room.
Choose a cachepot large enough for the nursery container without squeezing roots or leaves. Keep drainage functioning and remove accumulated water as needed. The black pot can remain useful after Halloween, while the optional pumpkin stores separately, making this a straightforward way to reuse objects beyond a single holiday.
13. Candy Corn Stone
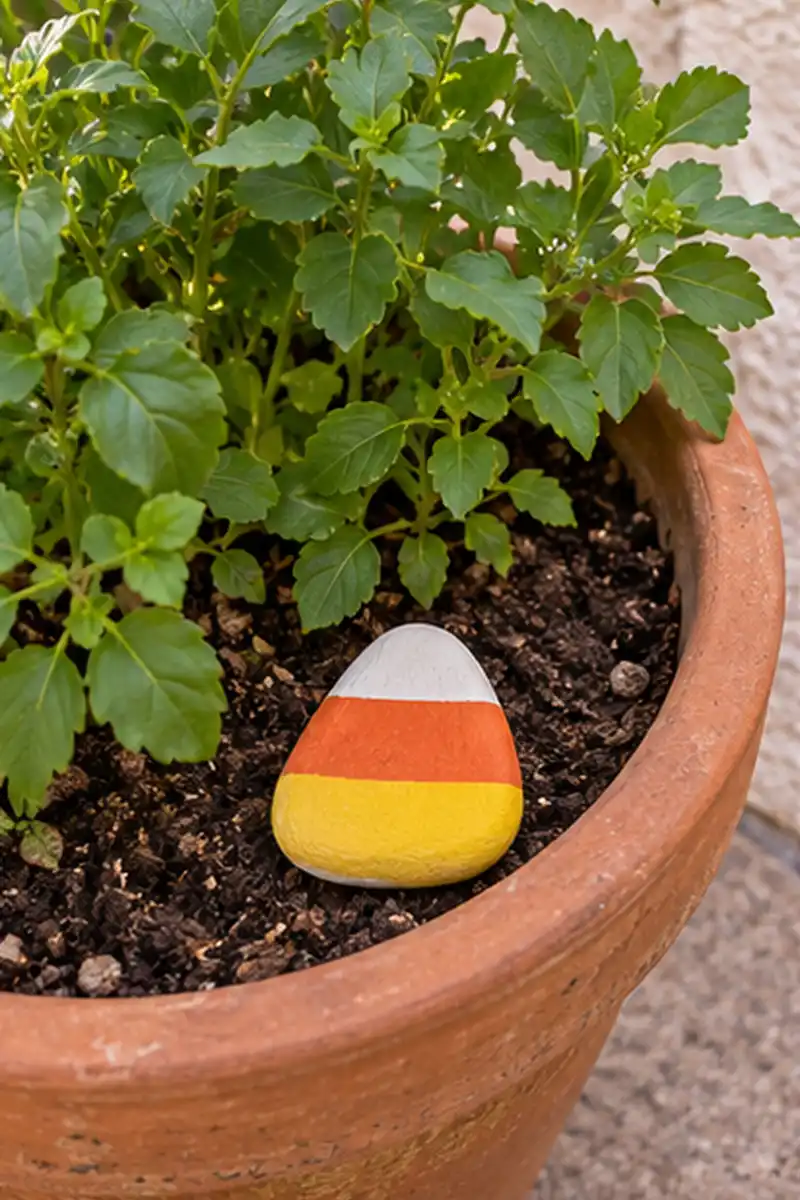
- Pick a small flat stone you own that can lie steadily on its broad side.
- Paint three simple bands in white, orange, and yellow with a suitable outdoor finish.
- Let every coat dry and cure according to the product directions.
- Place the finished stone inside a planter, above the soil and clear of the plant stem.
You do not need a perfectly triangular stone for the candy-corn colors to make sense. Keep the bands generous enough to see from a little distance, and skip loose glitter or added pieces. A matte surface works nicely against dark soil and can be lifted out easily after Halloween.
14. Pumpkin Seat Cushion
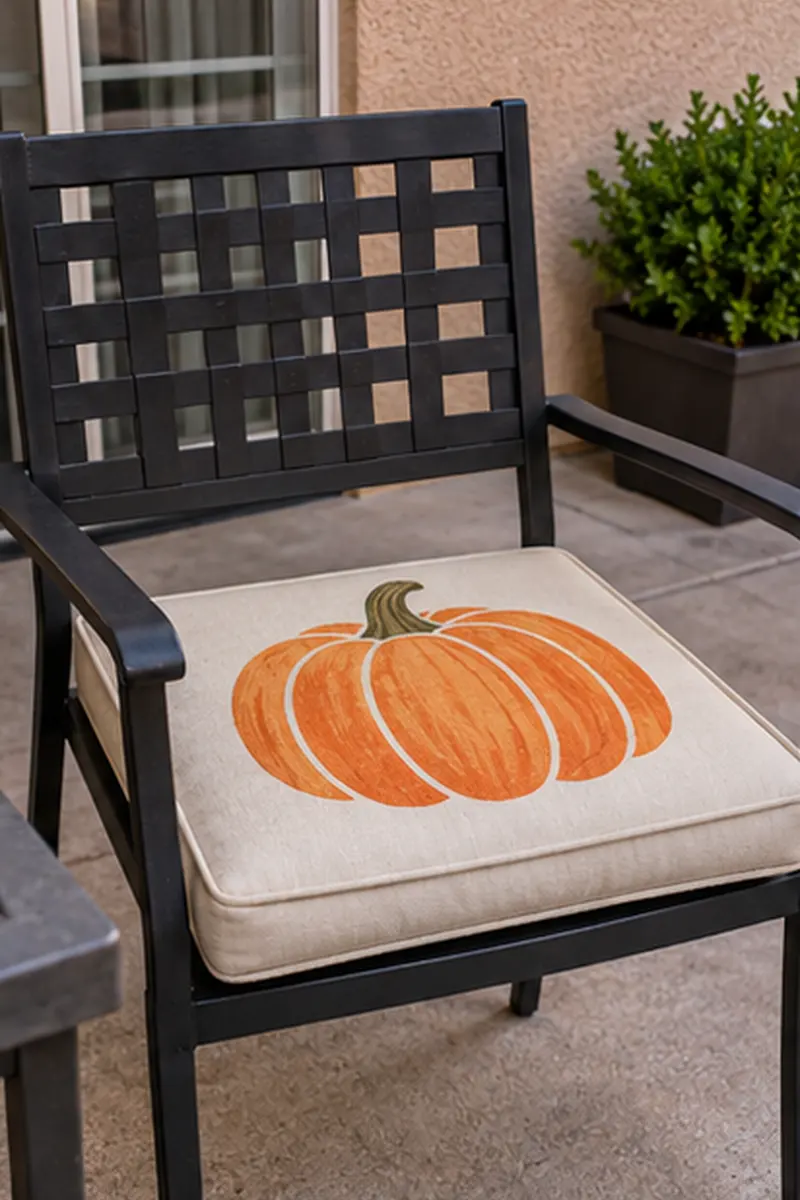
| Detail | Printed Seat Cushion | Loose Decorative Pillow |
|---|---|---|
| Position | Fits the outdoor chair seat | Rests against the chair back |
| Daily use | Can stay while you sit | May need moving |
| Choosing one | Check size and care instructions | Check security and weather suitability |
A single pumpkin-print outdoor seat cushion gives an existing private patio chair a seasonal update. Use the cushion only in conditions covered by its care instructions, and bring it inside when required. Keep the chair in its usual safe position, with the entrance and nearby circulation space fully clear.
15. Pocket Skeleton Figure
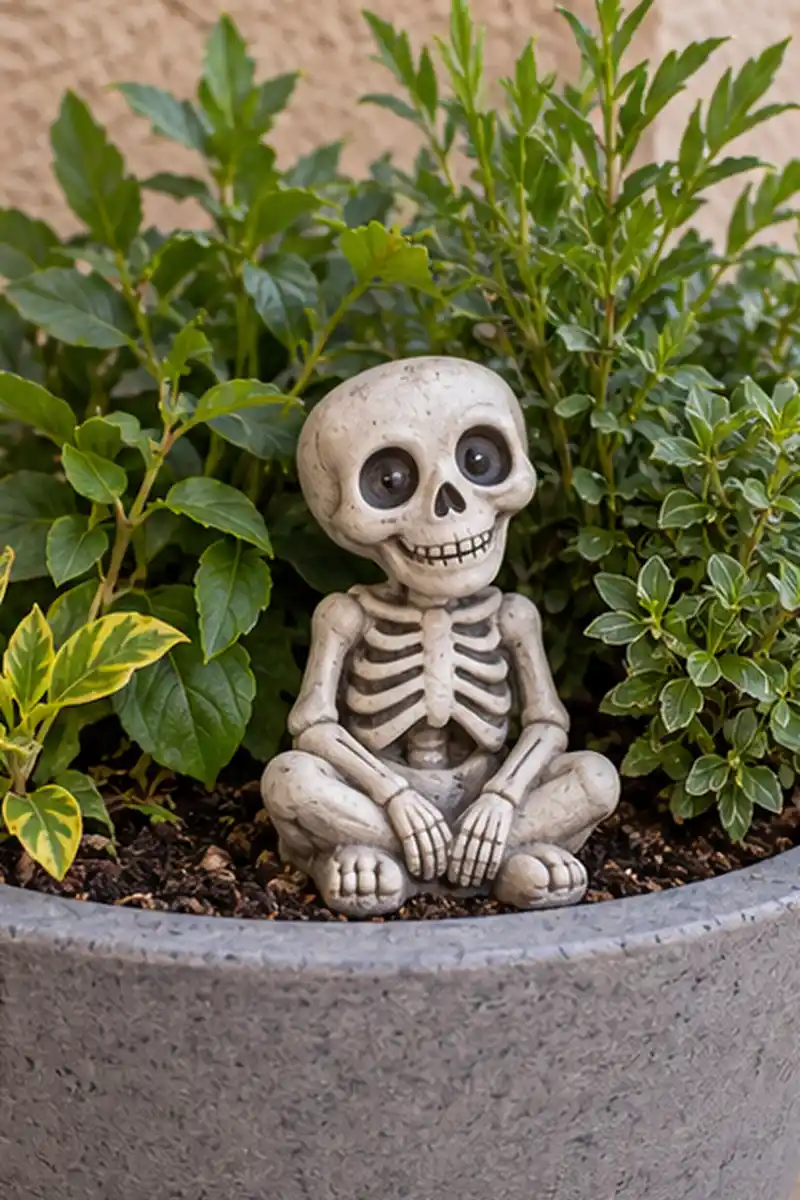
DO
- Choose a small outdoor figurine with an integral stable base.
- Set it low within a broad planter without crowding the plant.
- Keep the expression playful if visitors prefer gentler decorations.
DON’T
- Balance the figure on the planter rim.
- Tie loose bones or limbs into the foliage.
- Add web mesh around the planting.
A miniature seated skeleton can add personality without taking up more paving. Use a simple one-piece ornament rather than a jointed toy that needs extra supports. Place it where you can still reach the soil for watering, and keep any small detachable parts away from children and pets nearby.
16. Ghost Garden Marker
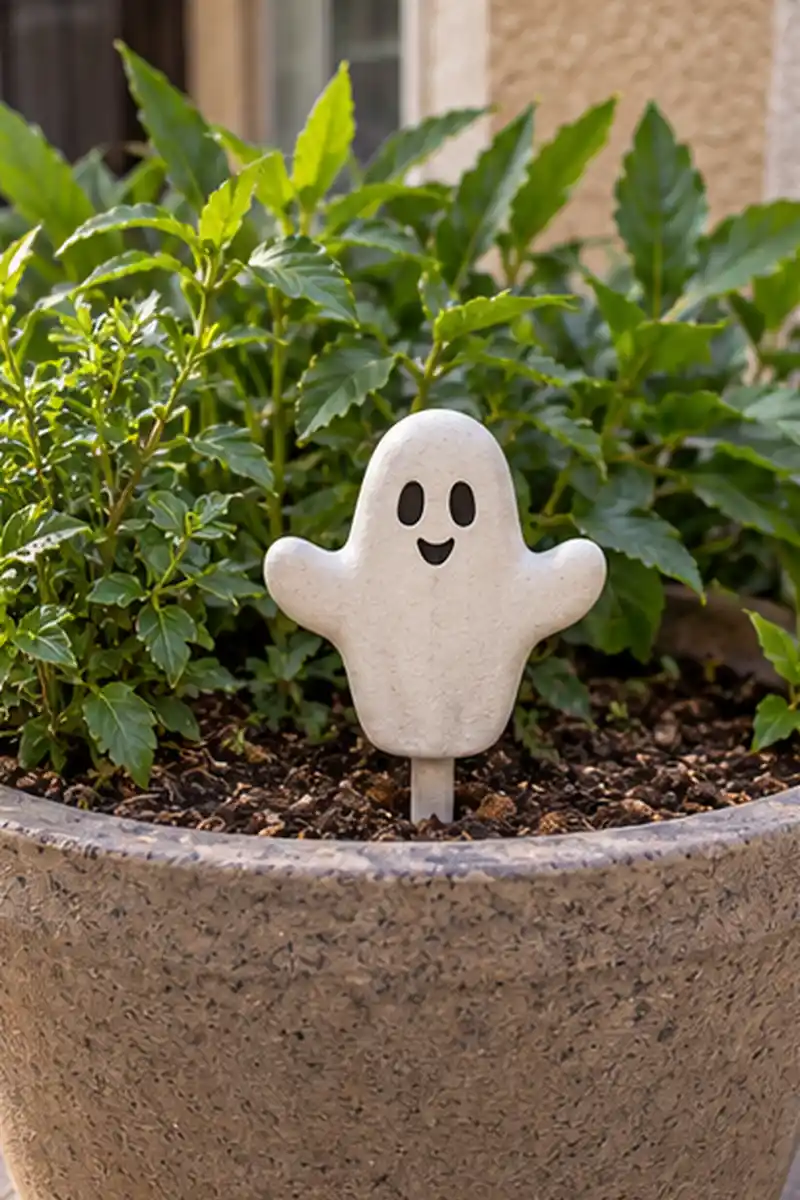
Shape: A friendly white ghost on a short support.
Container: An existing broad outdoor planter.
Height: Close to the foliage rather than towering above it.
Removal: Lift the whole marker out when the season ends.
Choose a manufactured outdoor marker suited to your pot and insert it as directed without damaging roots. Keep its shape small and its support properly seated. One ghost near the front is easier to notice than several crowded together, and leaves the rest of the planting looking comfortably familiar.
17. Tiny Spider Plaque
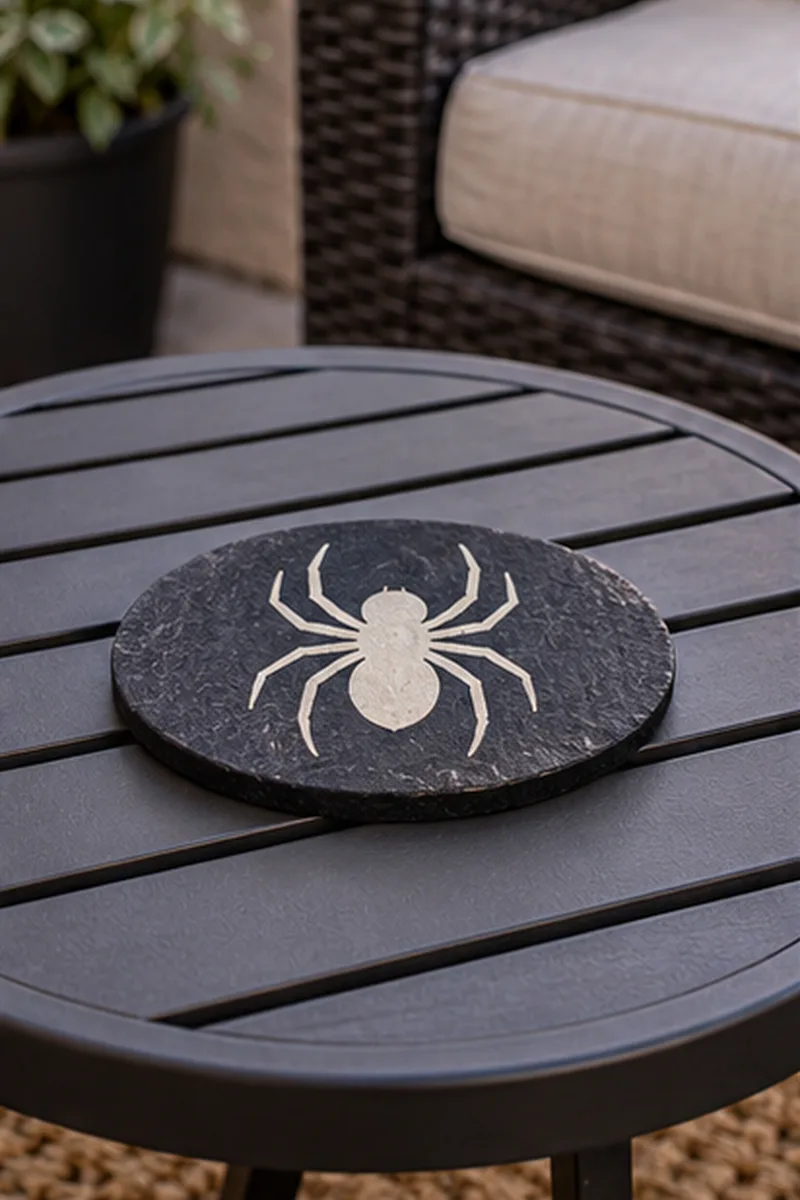
A painted spider gives you a spooky detail without putting artificial webbing outside. Choose one thick, weather-suitable plaque with a simple contrasting motif and lay it flat on an existing outdoor table. The low profile takes very little room, and the design can stay graphic rather than realistic or startling.
Check that the plaque cannot scratch the tabletop, especially if either surface is rough stone or metal. Keep it away from the edge and leave room to put down a cup. A single sturdy object is easy to carry inside when you finish using the patio or weather conditions change.
18. Lidded Treat Tin
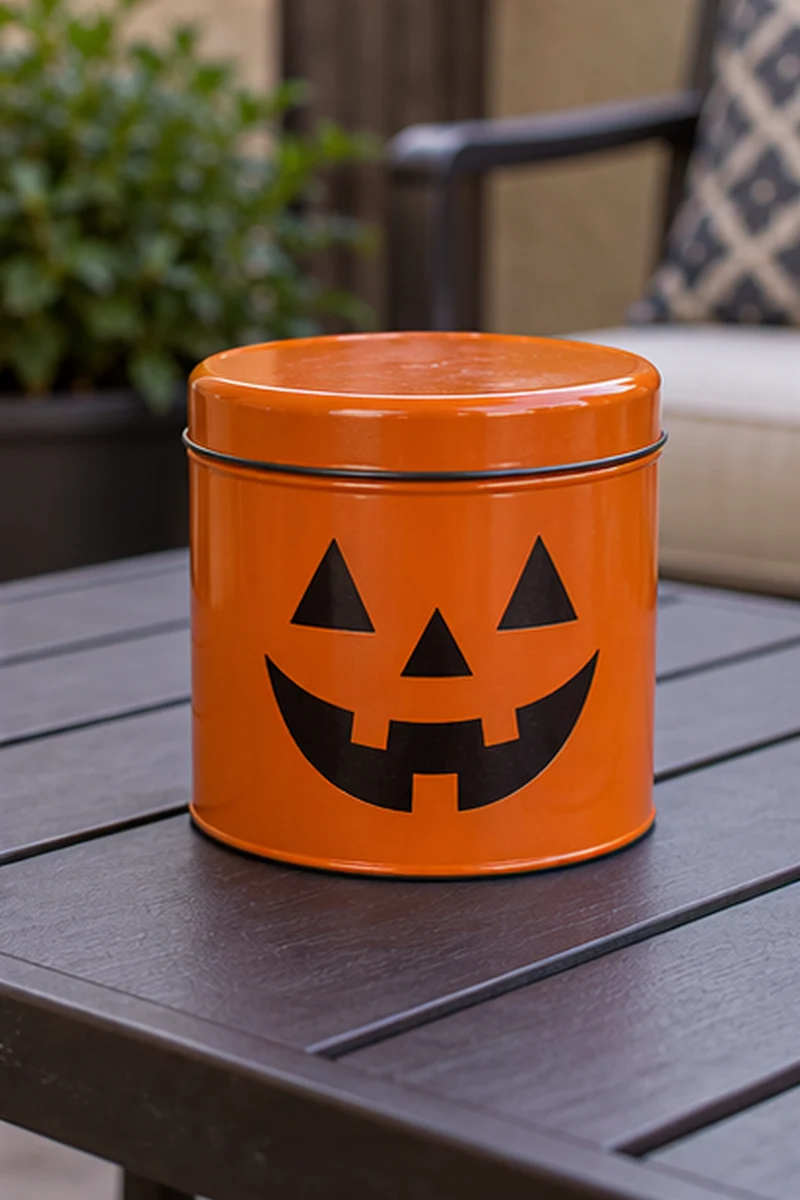
- Pick a small stout weather-suitable tin with a simple pumpkin face.
- Keep its lid securely fitted so loose contents cannot scatter.
- Use it as an empty decorative object on an existing outdoor table.
- Bring it indoors before conditions exceed the material or finish limits.
The familiar candy-container shape adds Halloween character without requiring a full snack station. Keep any actual food indoors unless you are actively serving it under suitable conditions. Check for sharp edges or rust before reusing an older tin, and store the container clean and dry when the season finishes.
19. Tiny Witch Boot
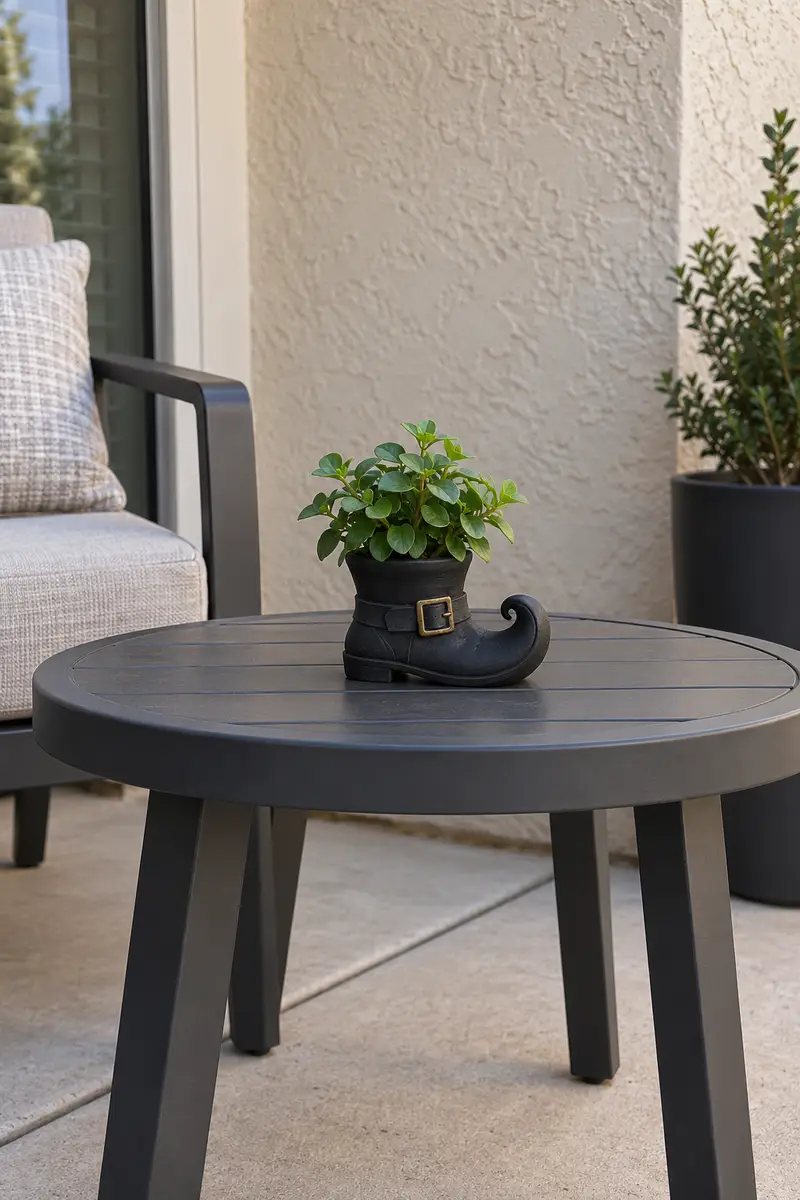
Quick Tip:
Choose a ready-made miniature witch-boot planter with a broad flat sole and a short ankle. Its shape supplies the whole theme. Keep the plant modest so the little boot remains stable and easy to recognize.
A compact boot planter can sit on an existing outdoor table without becoming a costume display. Use a product intended for outdoor planting and follow its drainage instructions. Keep it away from the tabletop edge, then move it indoors or store it as its weather and care requirements dictate.
Conclusion
Keeping apartment halloween decor outdoor simple starts with choosing a small change that fits the space you already use. Pick one idea, give it a sensible home beside your existing planting or furniture, and leave the rest of the area comfortable to move through. A single cheerful detail can be enough to make coming home feel seasonal. Then try your favorite in an approved private outdoor spot. Share it with a fellow renter who would rather enjoy Halloween than spend the whole weekend setting up.
Community
Join the conversation
Add a useful idea, ask a specific question, or share what worked in your space. Every comment is reviewed before it appears.