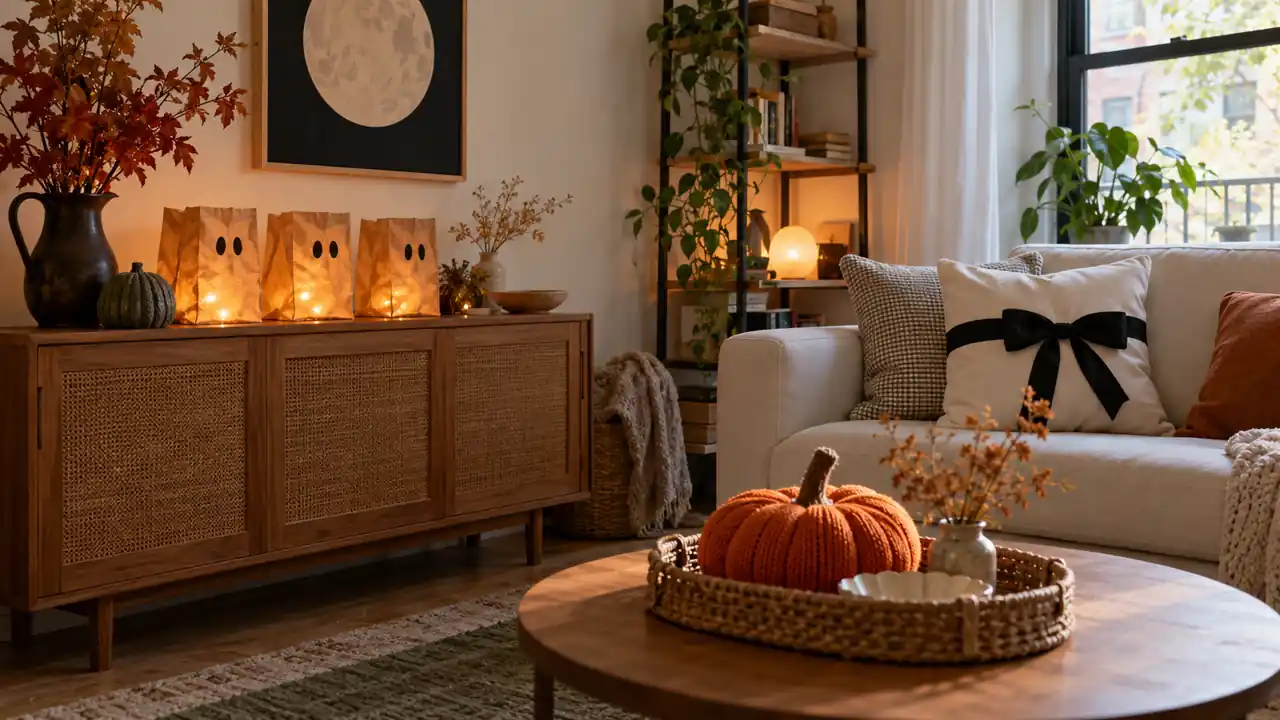
Affordable apartment Halloween decor starts with looking around before you shop. An empty jar, an old cushion cover, or a piece of packaging might already be halfway to a decoration. Choose a small area to decorate, gather your supplies, and decide what you actually need to buy. That keeps a quick craft from turning into a basket full of extras. These ideas focus on reuse, simple making, and secondhand finds that fit everyday apartment life. There are no promised prices or savings, just practical ways to create a spooky mood with fewer new things. Pick the projects that match your supplies and your patience.
1. Paper Bag Glow
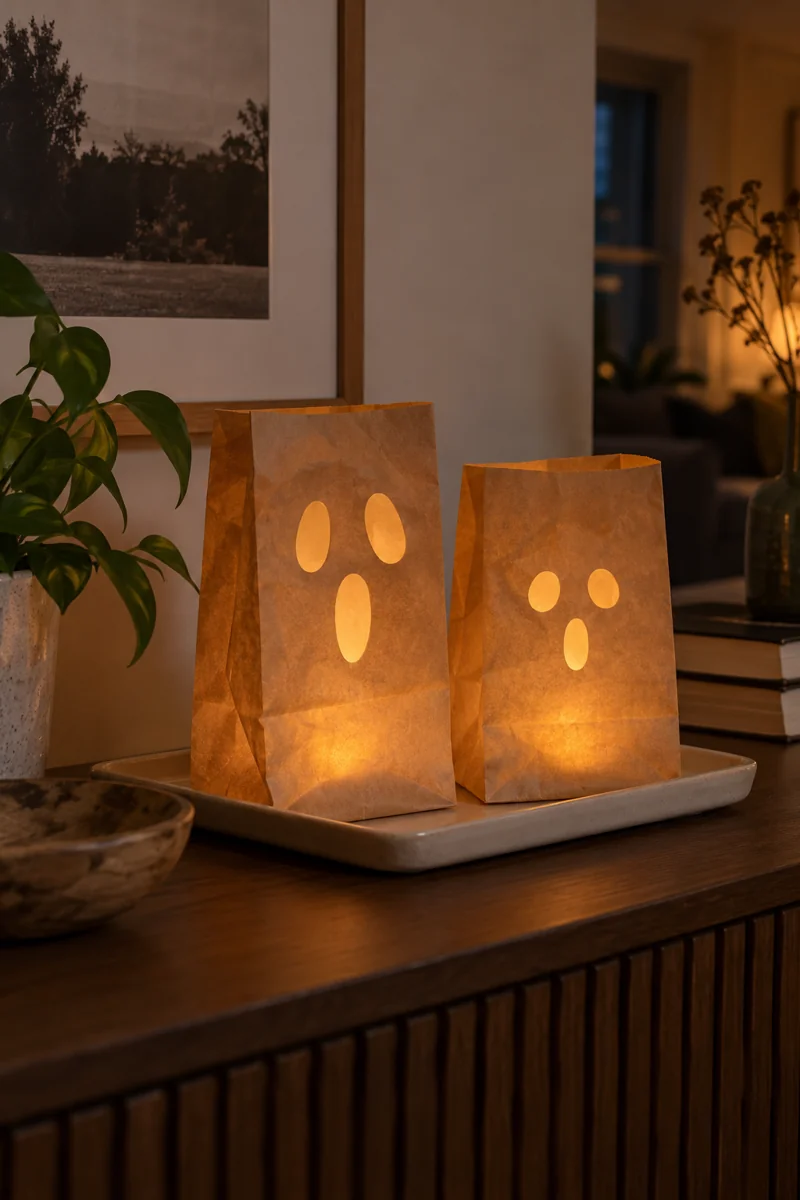
Plain paper lunch bags make cheerful little lantern covers when you give them simple ghost faces. Cut the eyes and mouth before opening each bag, then stand the bags on a sturdy tray. Use only self-contained battery LED lights intended for decorative enclosures inside them.
Keep the paper away from any heat source and leave the lights’ controls accessible. A pair on a sideboard can be enough for the whole room. Fold the bags flat after Halloween if they are still clean and intact, or save unused ones for their original job instead of buying more.
2. Scrap Fabric Ghosts
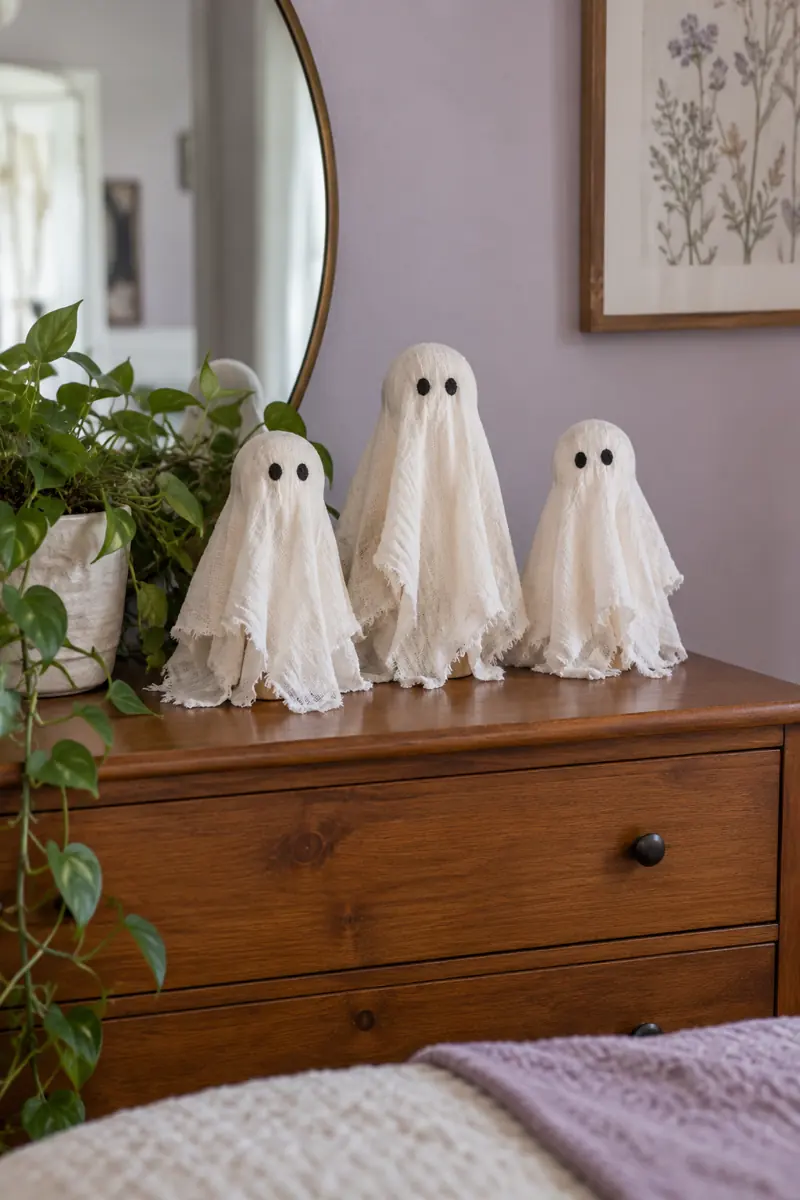
- Use clean white fabric from a worn-out textile.
- Stuff each head with more fabric scraps.
- Stitch on simple eyes instead of loose beads.
- Support the ghosts on small freestanding bases.
Make two or three ghosts in slightly different heights for a dresser display. Soft, uneven hems suit the idea, so careful sewing is optional beyond securing the heads. Keep the fabric clear of lamps and heaters. If the pieces cannot stand reliably, display them lying together in a shallow basket.
3. Cardboard Haunted Village
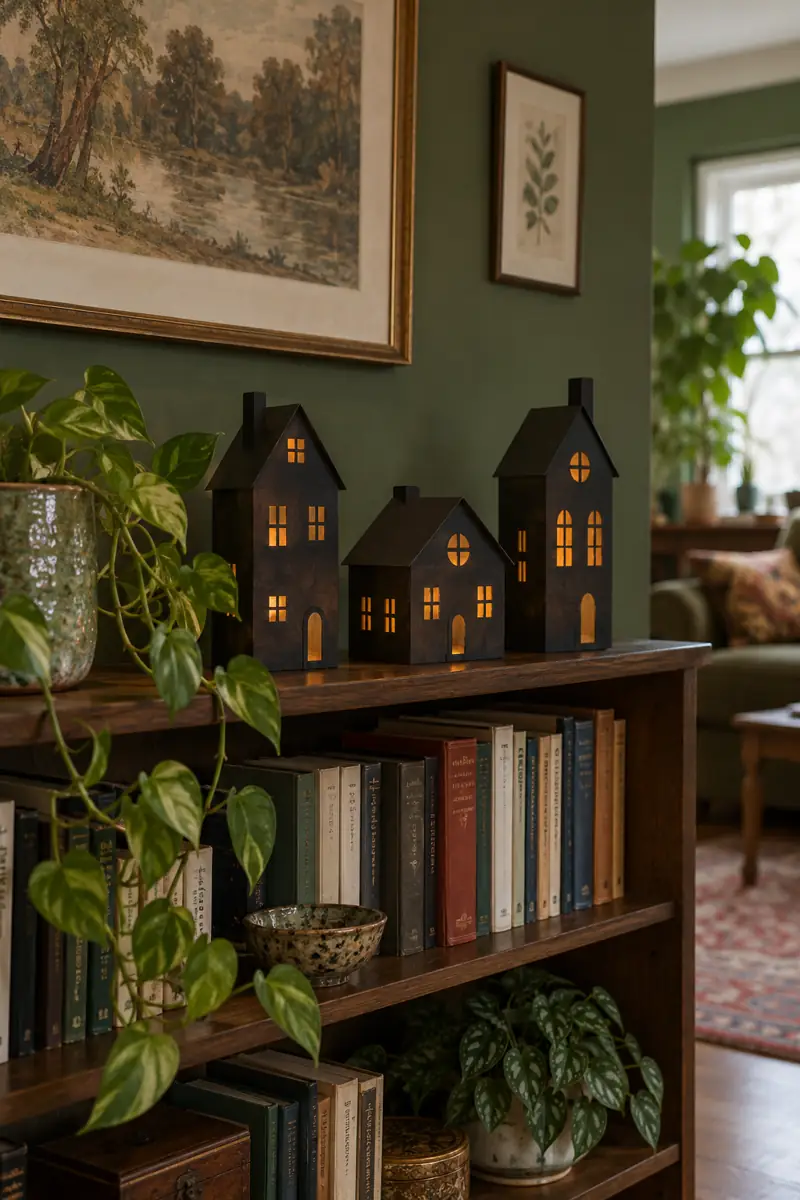
Quick Tip: Save clean, dry packaging and fold it into small house shapes. One coat of leftover craft paint can make different boxes look like a set.
Cut windows before assembling the houses, then back the openings with amber paper for a warm-looking finish without adding lights. Keep each roof simple and the bases flat. Three buildings fit neatly on a shelf, and you can recycle the uncoated scraps according to your local collection rules afterward.
4. Thrifted Moon Frame
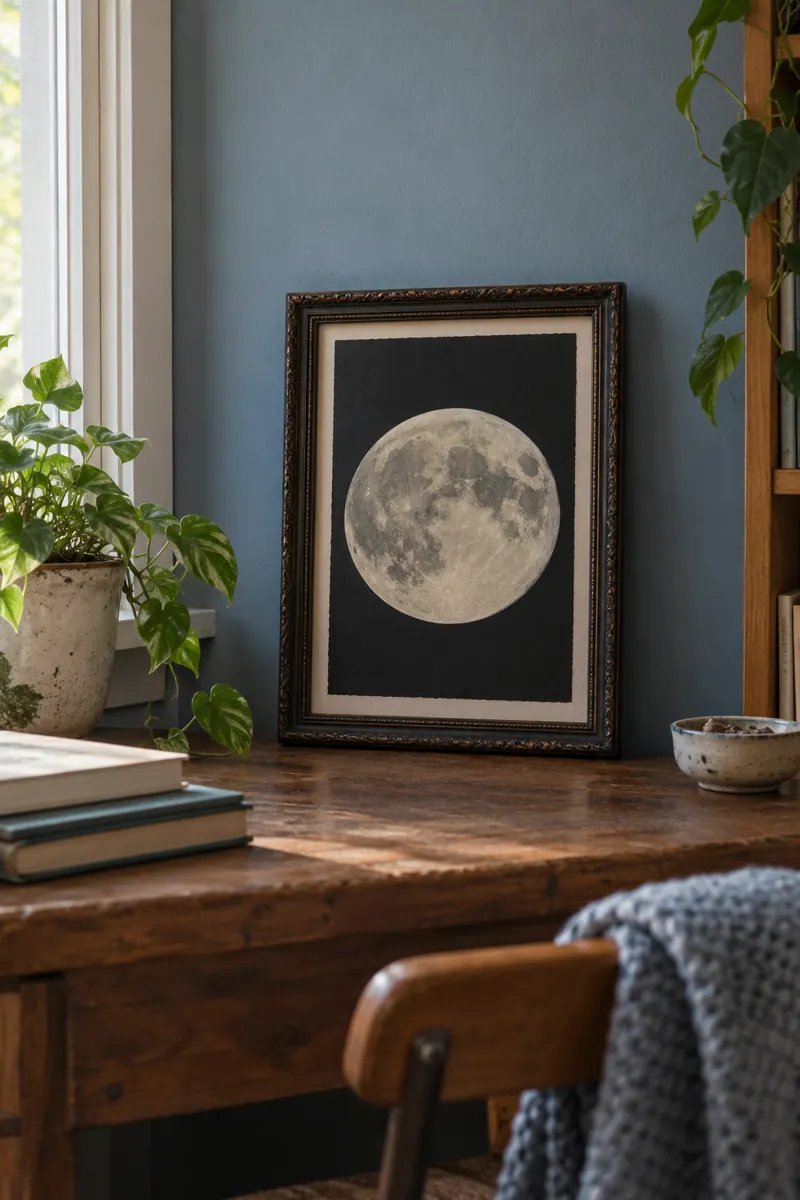
Before: A secondhand frame has an outdated print you would not display. The frame itself is still sturdy and suits your room.
After: A pale paper moon replaces the picture for October. The original print stays protected behind the insert if you want to restore it.
Check the stand, corners, and glazing before buying a used frame. Choose the size you have space for rather than the biggest bargain. A simple circle cut from cream paper looks good against a dark backing, especially when the frame has an interesting edge or a worn painted finish.
5. Removable Book Wraps
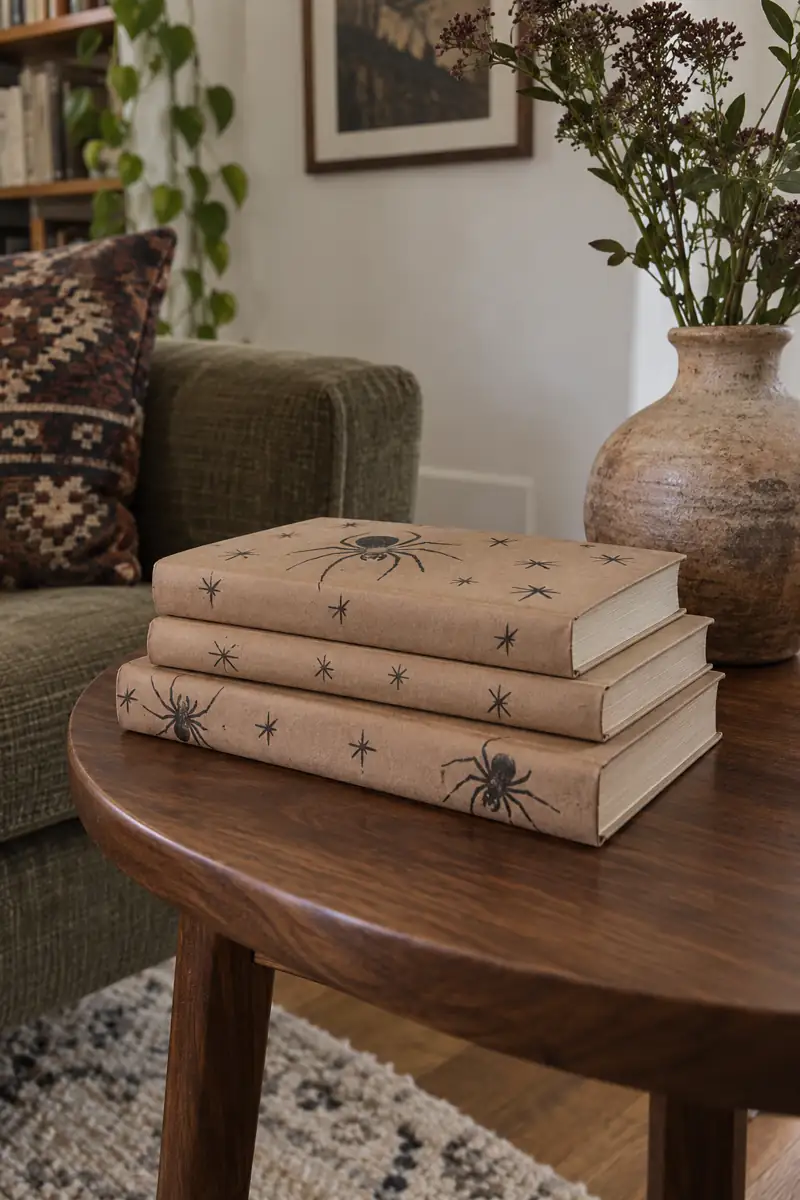
- Choose books you do not need daily.
- Cut clean kraft paper larger than each cover.
- Fold the edges around the covers without adhesive.
- Draw a small spider or star on each wrap.
Keep the book titles uncovered somewhere inside so you can identify them later. Two or three wrapped books create a seasonal stack without changing the books themselves. Avoid using fragile or valuable volumes for this project, and remove the covers if they rub against the bindings or trap any moisture.
6. Reused Bottle Pair
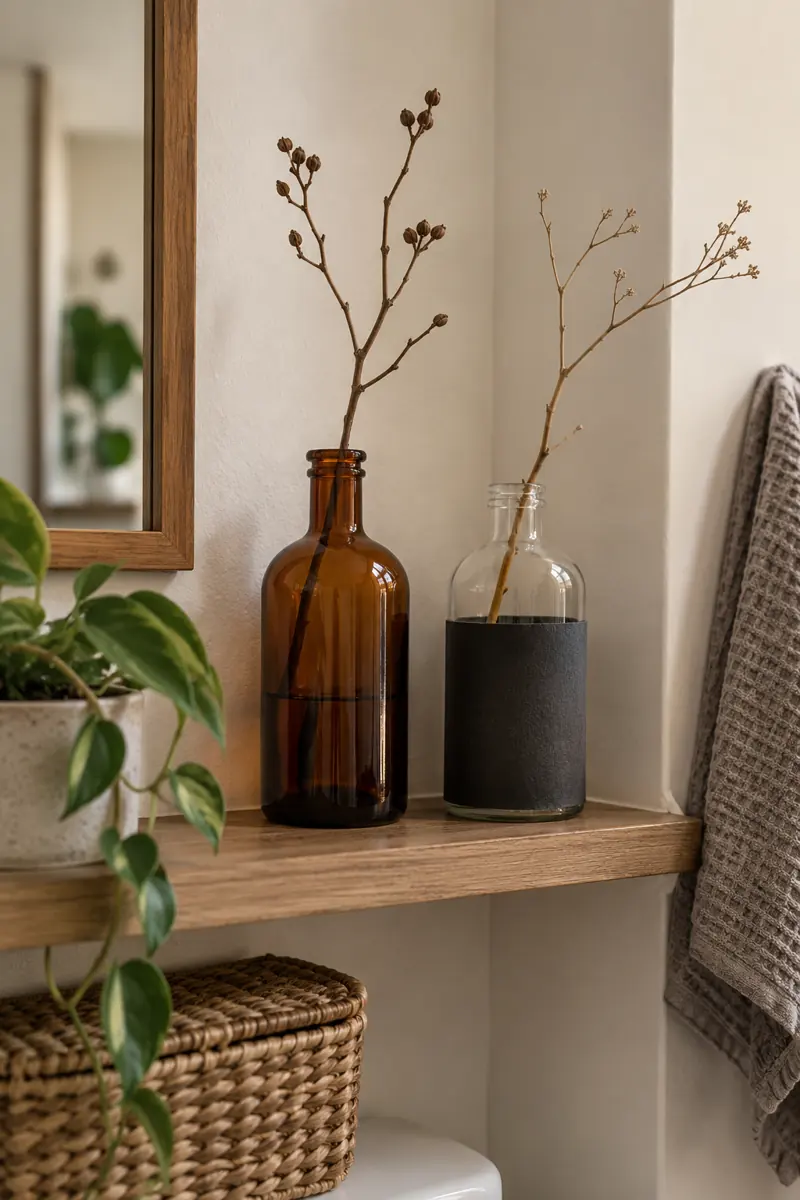
| Detail | Bare amber bottle | Paper-wrapped clear bottle |
|---|---|---|
| Main material | Clean used glass | Used glass and scrap paper |
| Color | Warm brown | Your chosen paper shade |
| Reset | Wash as usual | Remove the sleeve first |
Save an interesting bottle instead of buying a decorative vessel. Remove labels, wash thoroughly, and let it dry before styling. A single twig is plenty if the bottle stays balanced. Use a removable paper sleeve to change clear glass for the season, keeping it well away from water and heat.
7. Ribbon Cushion Swap
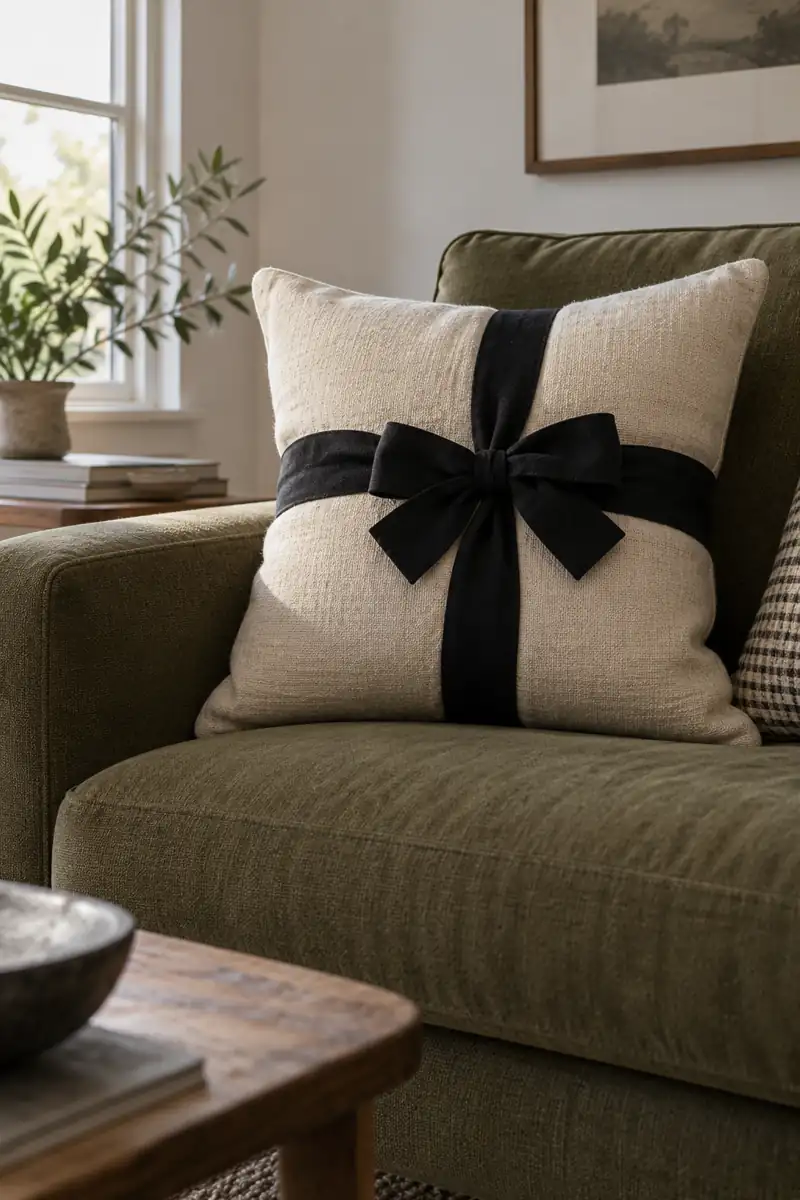
Do
- Reuse a wide soft ribbon.
- Tie a short, secure bow.
- Remove it before washing.
Don’t
- Use exposed pins.
- Leave long trailing ends.
- Add small loose decorations.
A black ribbon around a plain cushion brings in Halloween color without another pillow to store. Choose a cushion that sits mostly as decoration, since a bow may feel uncomfortable behind your back. Skip this idea where pets chew ribbons, and keep all loose lengths away from young children.
8. One Dark Bowl
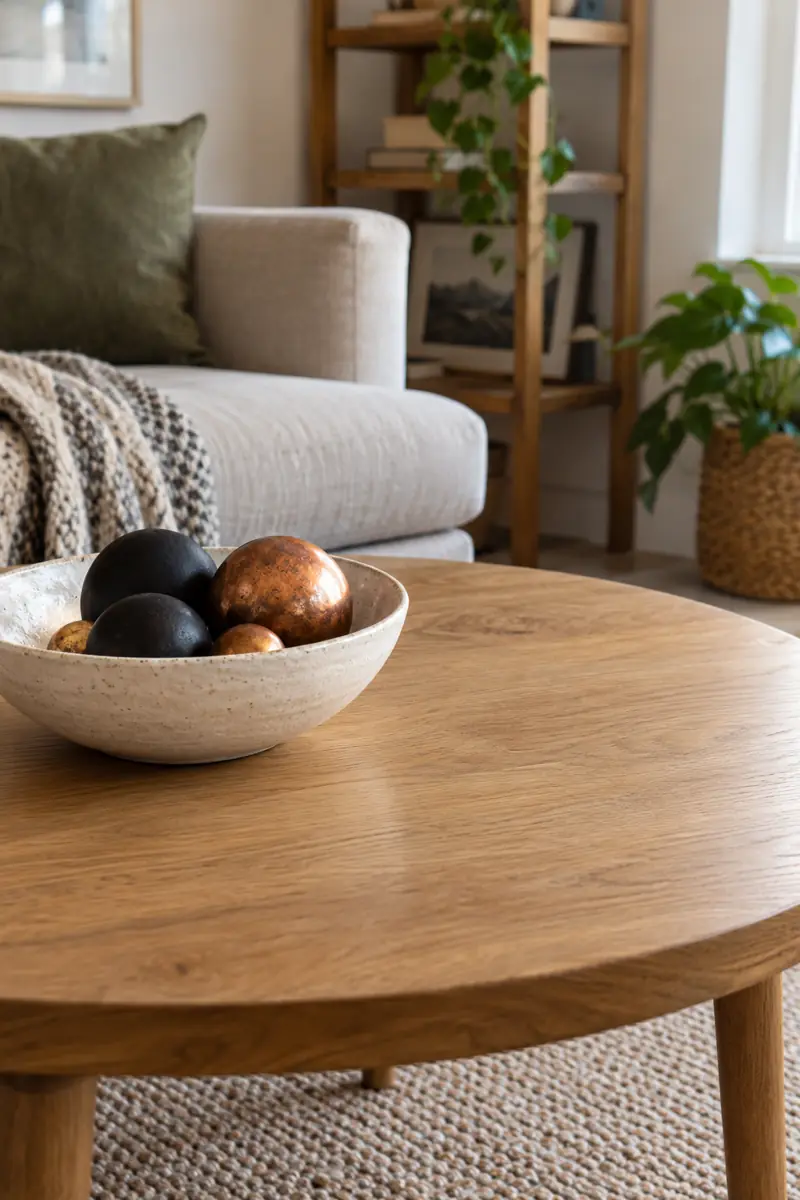
Base: A shallow bowl you already own.
Filler: A few reused black or copper ornaments.
Limit: One loose layer rather than a deep pile.
Placement: The unused end of a coffee table.
Look through stored seasonal pieces before buying bowl filler. Plain ornaments can work beyond their original holiday when the colors fit. Remove loose hanging hooks and use sturdy pieces where they might be handled. Leave most of the table clear so the small display remains easy to lift for cleaning.
9. Scrap Paper Chain
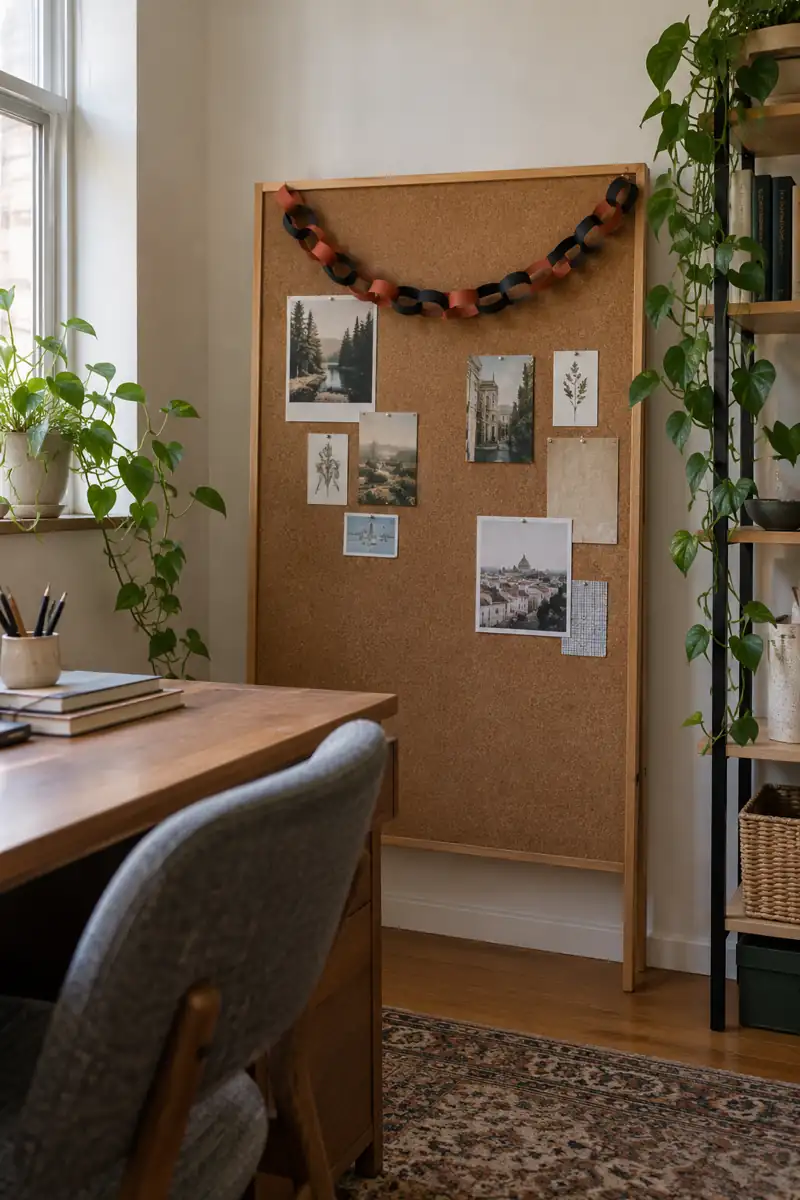
A short paper chain uses narrow leftovers that are too small for larger crafts. Cut strips in black, rust, and cream, then join them into linked loops. Keeping the strip widths similar makes mixed papers look deliberate even when their textures differ a little.
Contain the chain on a freestanding pinboard or display board rather than stringing it across a doorway. You can make it as short as the space needs, so there is no reason to buy a large pack of paper. Flatten or recycle it afterward as the materials allow, and save the board for everyday notes.
10. Secondhand Tray Scene
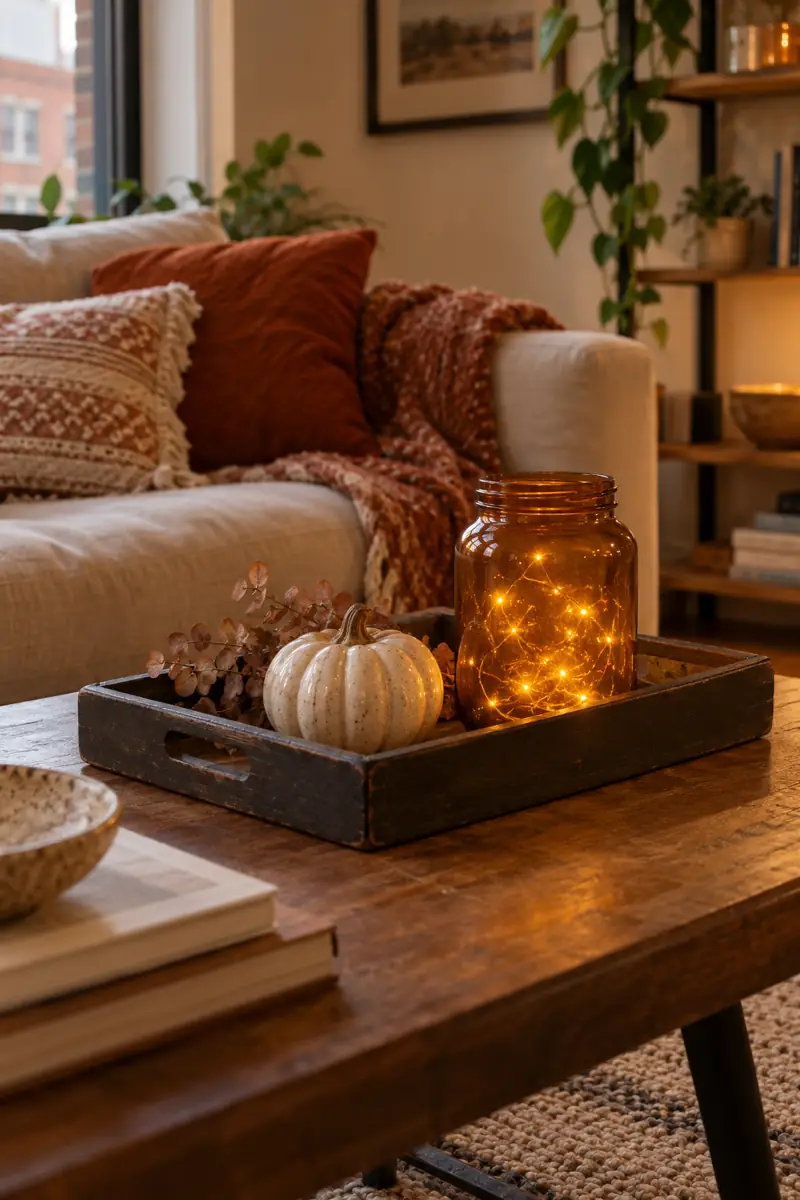
- Check thrift shops for a sturdy, washable tray.
- Choose a shape that fits your existing table.
- Add one decoration you already own.
- Use a battery LED jar only if you have one.
A tray gives mismatched objects a shared boundary. You do not need to fill it: a little pumpkin and a plain jar can be enough. Before purchasing, check that the tray sits flat and has no sharp edges. It should still be useful for everyday organizing when Halloween is over.
11. Tissue Paper Pumpkins
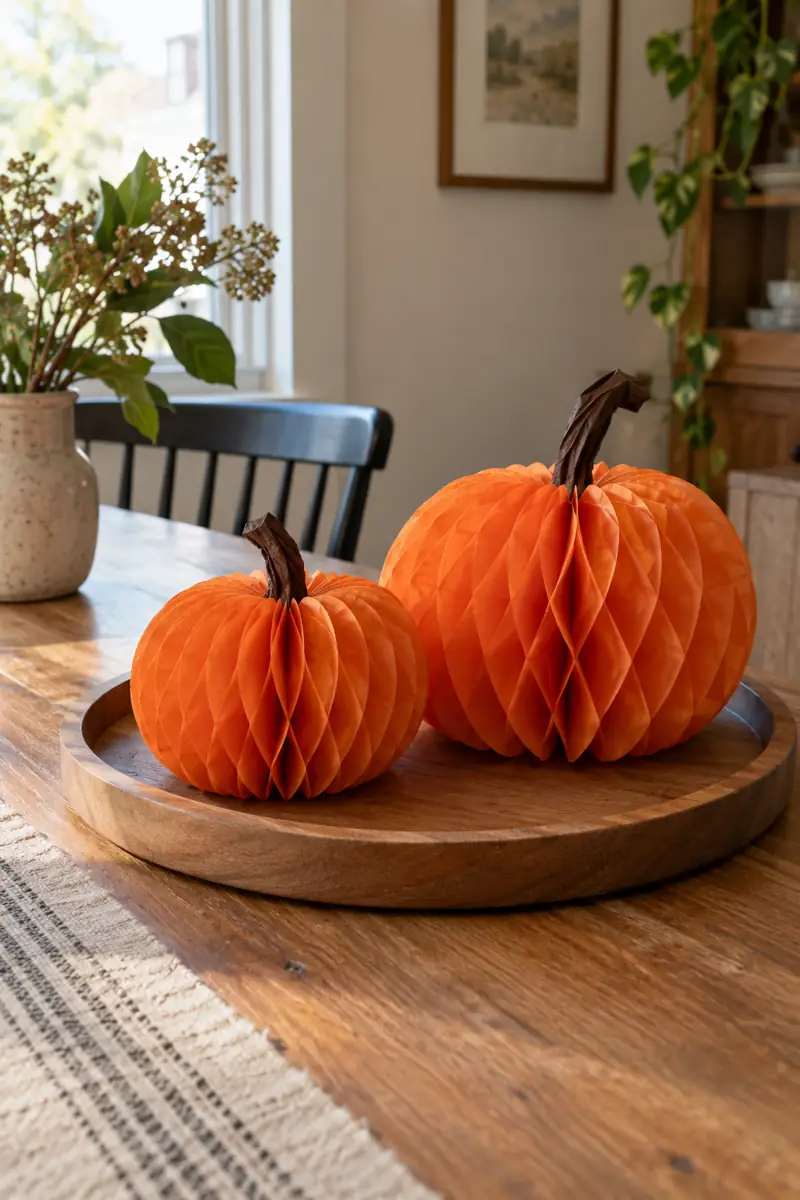
Quick Tip: Save clean tissue from gift packaging for small honeycomb pumpkins. Orange paper suggests pumpkins, but cream or rust works just as well.
Stack tissue sheets and glue alternating narrow lines between layers to form a honeycomb. Cut a half-pumpkin outline, then open it around a folded card spine. Add a paper stem and stand it on a tray. Try a small test piece first, since this project needs patient, even gluing.
12. Painted Pocket Stones
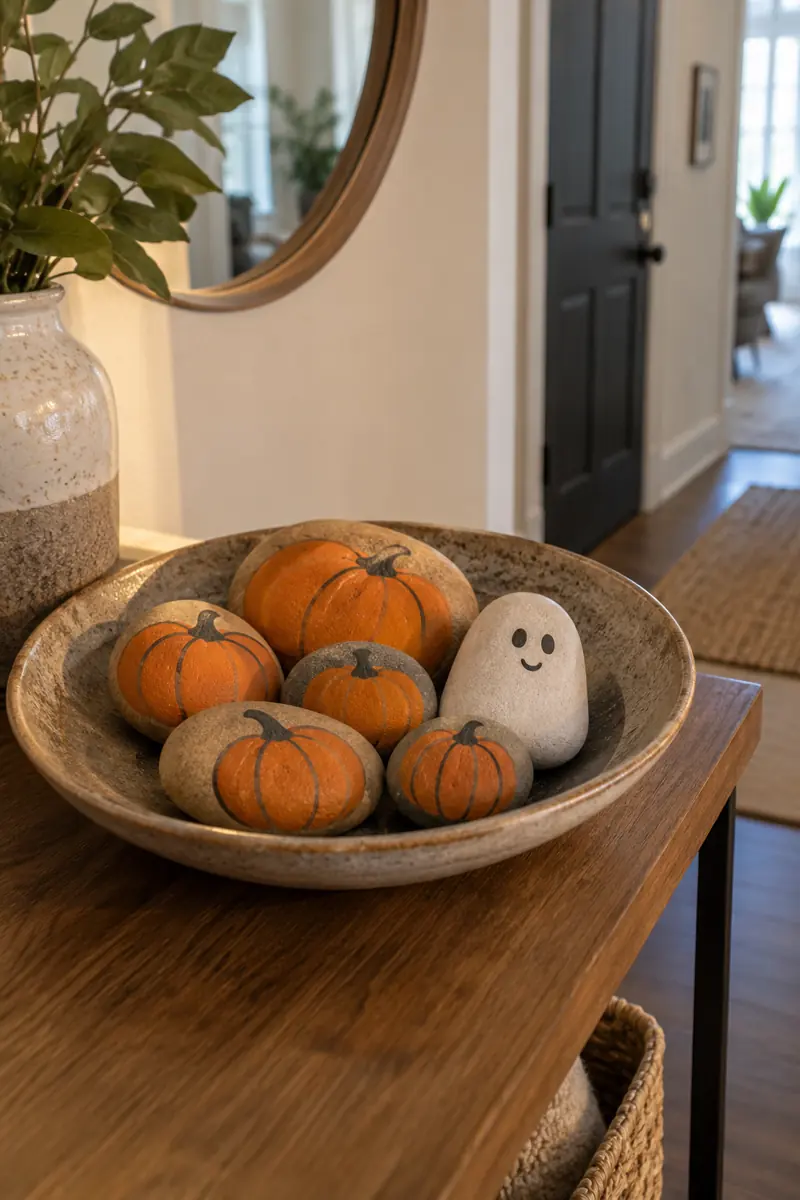
Before: A few clean stones sit unused among your craft supplies. Their different sizes make them hard to arrange neatly on their own.
After: Simple pumpkin and ghost faces turn them into a small Halloween set. A shallow dish keeps the uneven shapes together.
Use stones you already own or obtain where collecting is allowed. Wash and dry them fully before applying suitable craft paint. Let the finish cure as directed, then keep them in a dish on a stable surface. These are decorative objects, so keep small stones away from young children.
13. Paper Cat Silhouette
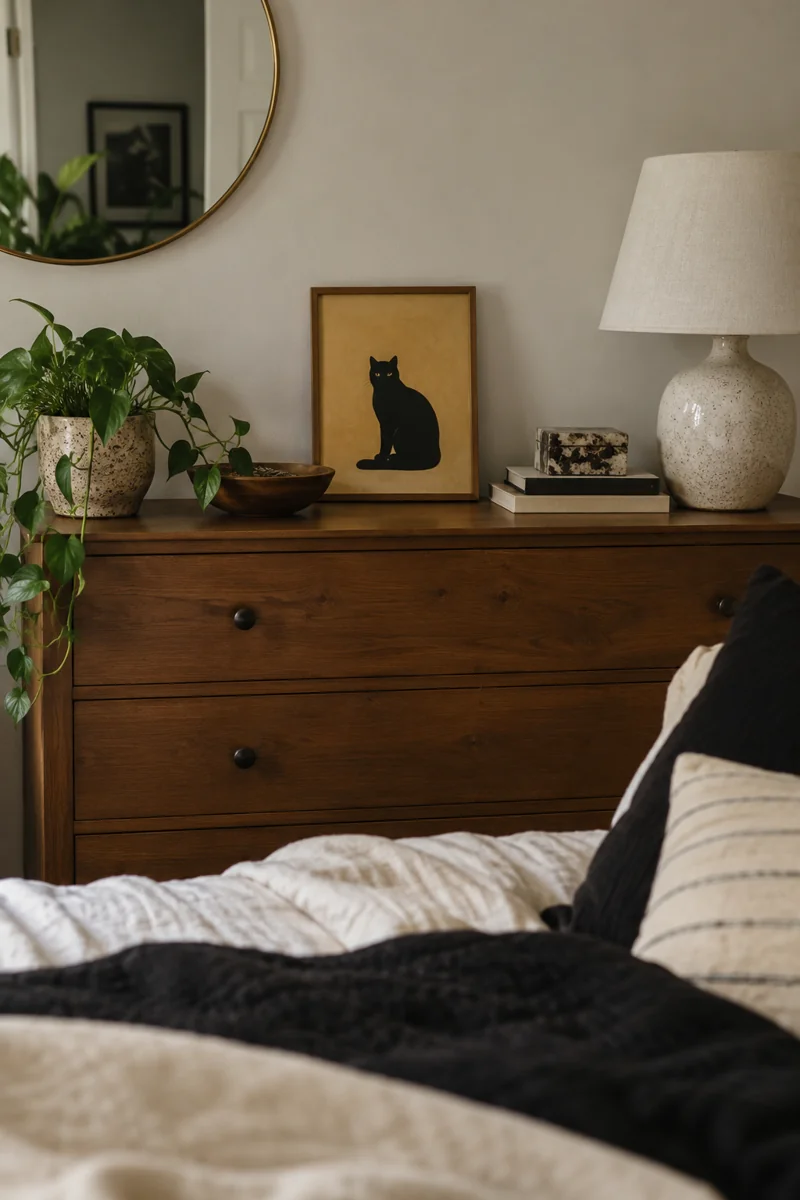
- Draw a simple sitting cat on scrap paper.
- Refine the ears and curved tail.
- Trace the shape onto black paper.
- Cut it out and mount it on colored backing.
- Slip it into an existing standing frame.
A single cat is easier to cut than a complicated scene. Use the color of your cushions or throw as the background so the picture belongs in the room. Keep the first paper pattern in the frame behind the finished image, ready to trace again if you need another.
14. Old Fabric Runner
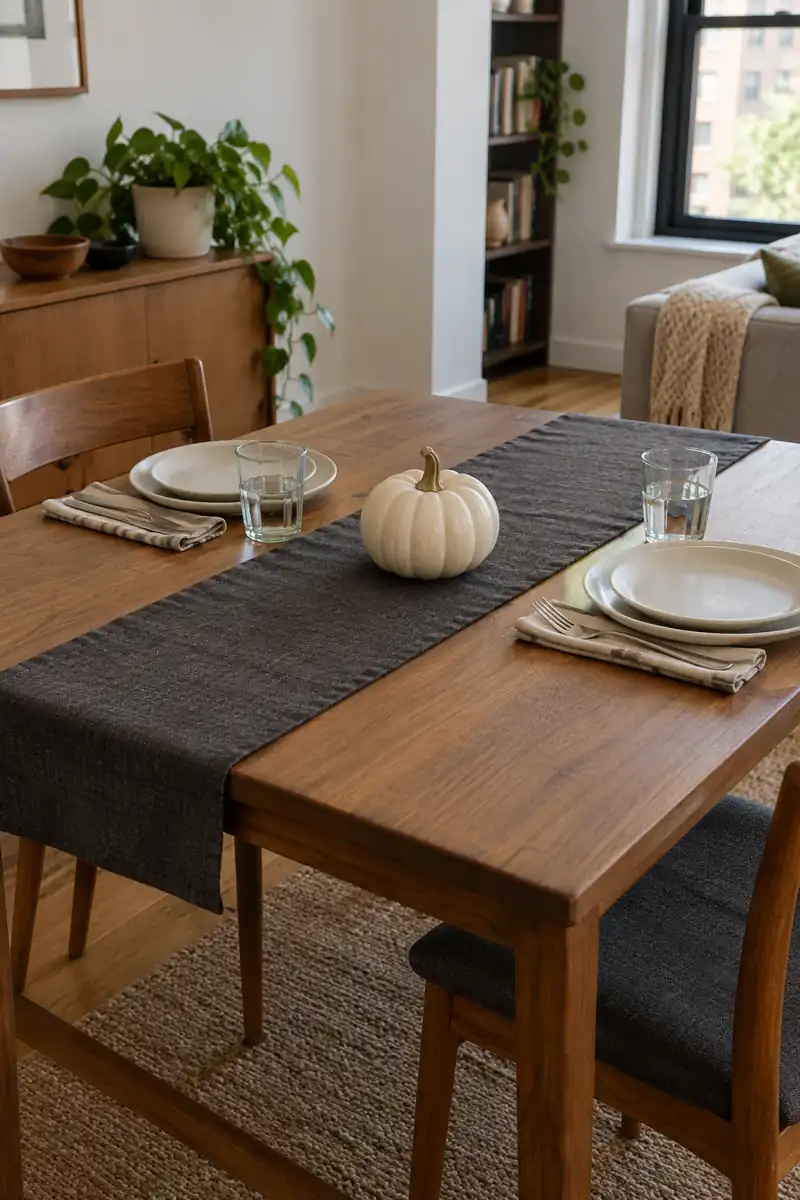
| Detail | Reused cotton | Reused linen blend |
|---|---|---|
| Look | Casual and smooth | Soft and textured |
| Edge | Simple stitched hem | Hem to control fraying |
| Care | Follow original fabric care | Check before washing |
Turn a sound section of an old textile into a short table runner. Wash the fabric first and trim away worn spots. A narrow strip down the center leaves room for plates and elbows. Add one existing decoration, then stop; the color change does most of the seasonal work.
15. Coffee Filter Ghosts
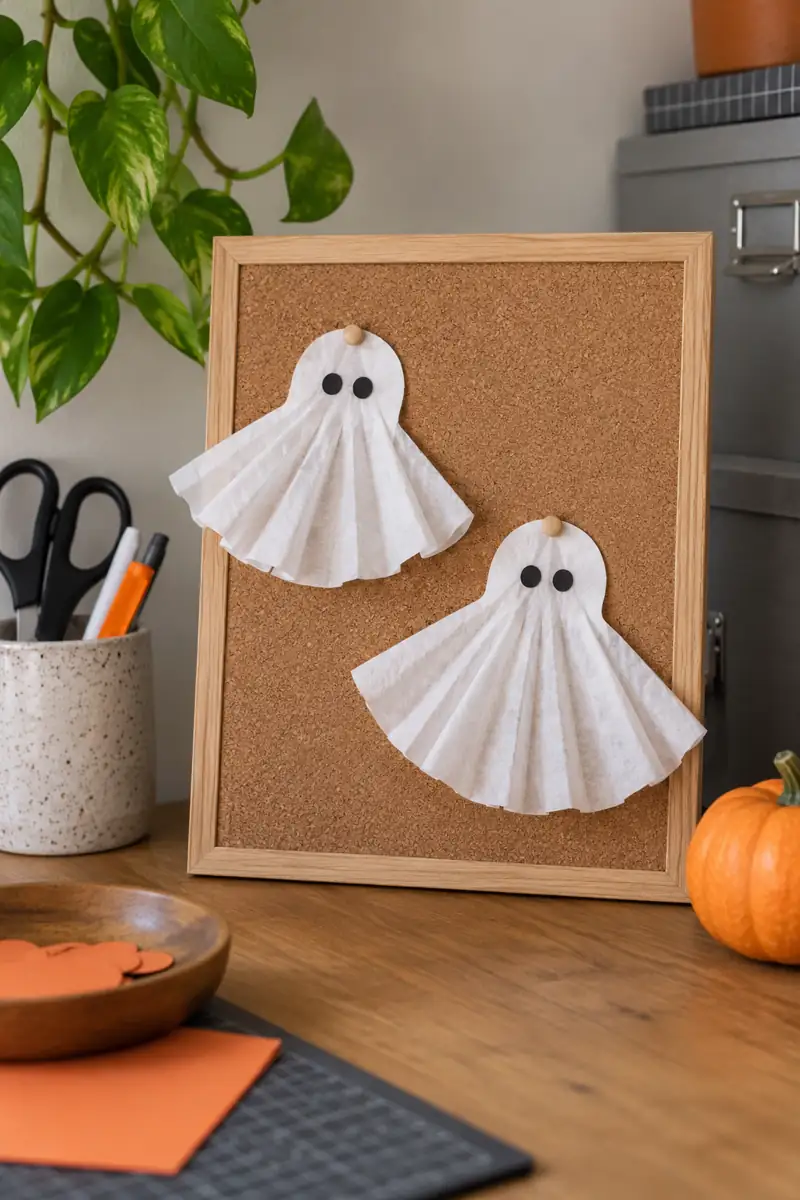
Do
- Use clean, unused filters.
- Keep the faces very simple.
- Display them on your own board.
Don’t
- Buy special tools for one craft.
- Put paper near heat.
- Add long hanging strings.
Pleated filters already have a soft, floating shape. Fold the top slightly to suggest a head, then add two dark eyes with a marker. Attach the finished ghosts to a small display board with an appropriate craft adhesive. A pair feels playful without turning the whole room into a party backdrop.
16. Fabric Scrap Wreath
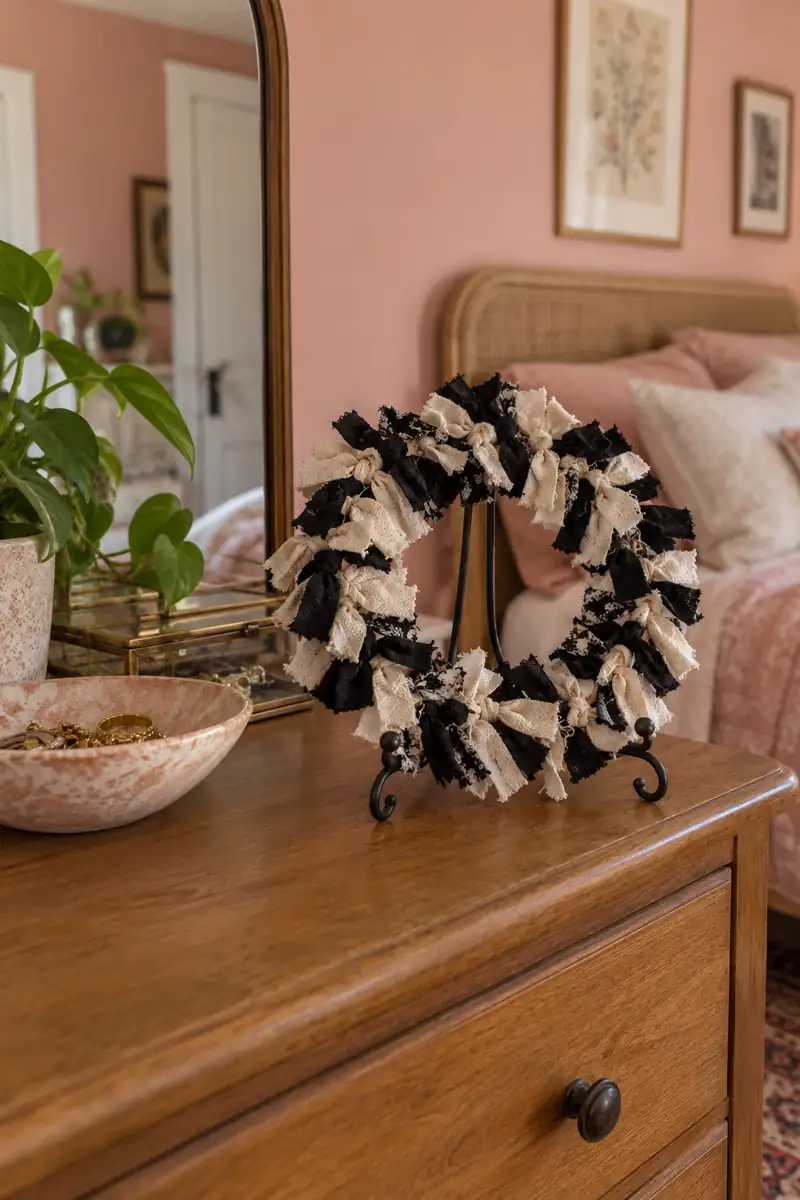
Base: A flat ring cut from sturdy packaging.
Texture: Short strips of old black and ivory fabric.
Method: Tie the strips around the ring.
Display: A tabletop plate stand inside your home.
This wreath uses small scraps that would be awkward for sewing. Work around the ring until the cardboard is covered, then trim any long ends. Keep the finished piece light enough for its stand and check that it does not lean forward. Store it flat rather than crushing the ties.
17. Cereal Box House
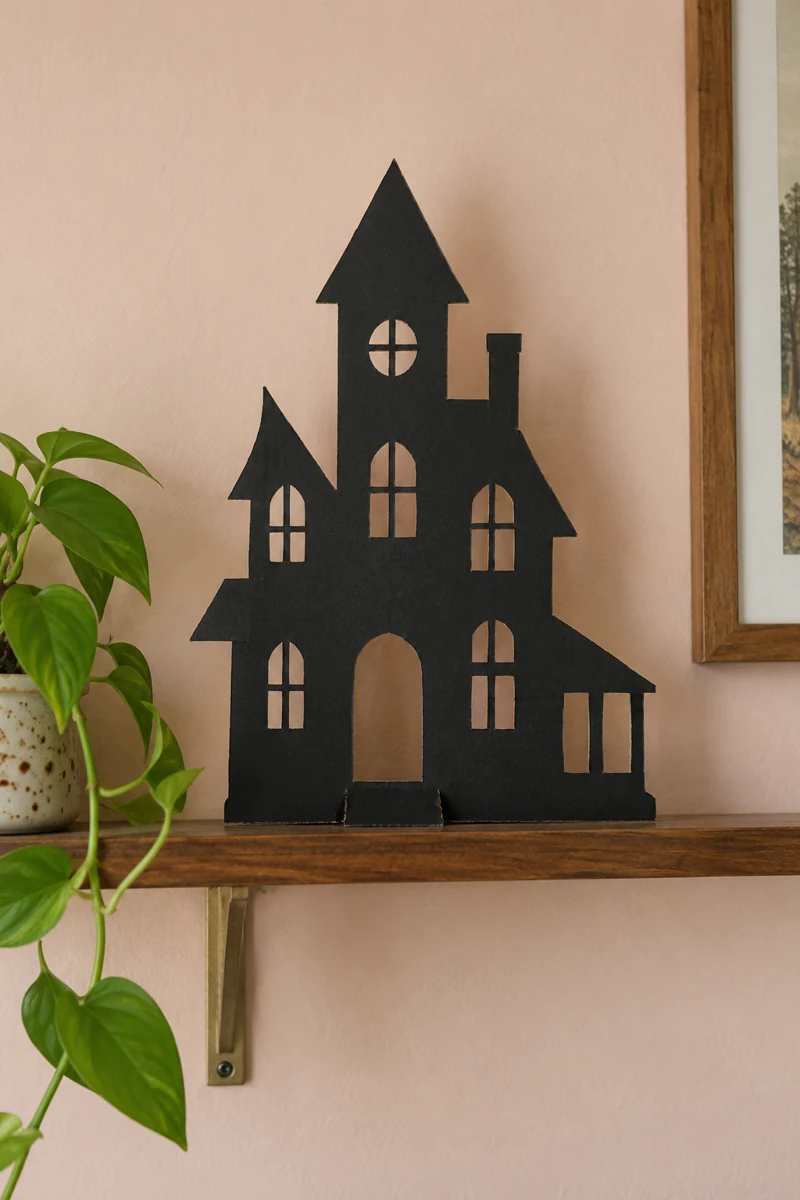
A cereal box can become a flat haunted-house silhouette instead of a three-dimensional village. Open the empty box, draw one tall roofline on the plain side, and cut out the outline. Keep windows large enough to cut cleanly, with sturdy cardboard between them for support.
Paint the printed side dark or cover it with paper you already have. Fold a spare strip of cardboard into a rear support so the house stands inside a shelf. This version needs very little depth, which makes it useful behind everyday objects. Leave the opening around the support clear so it stays balanced.
18. Stamped Towel Corner
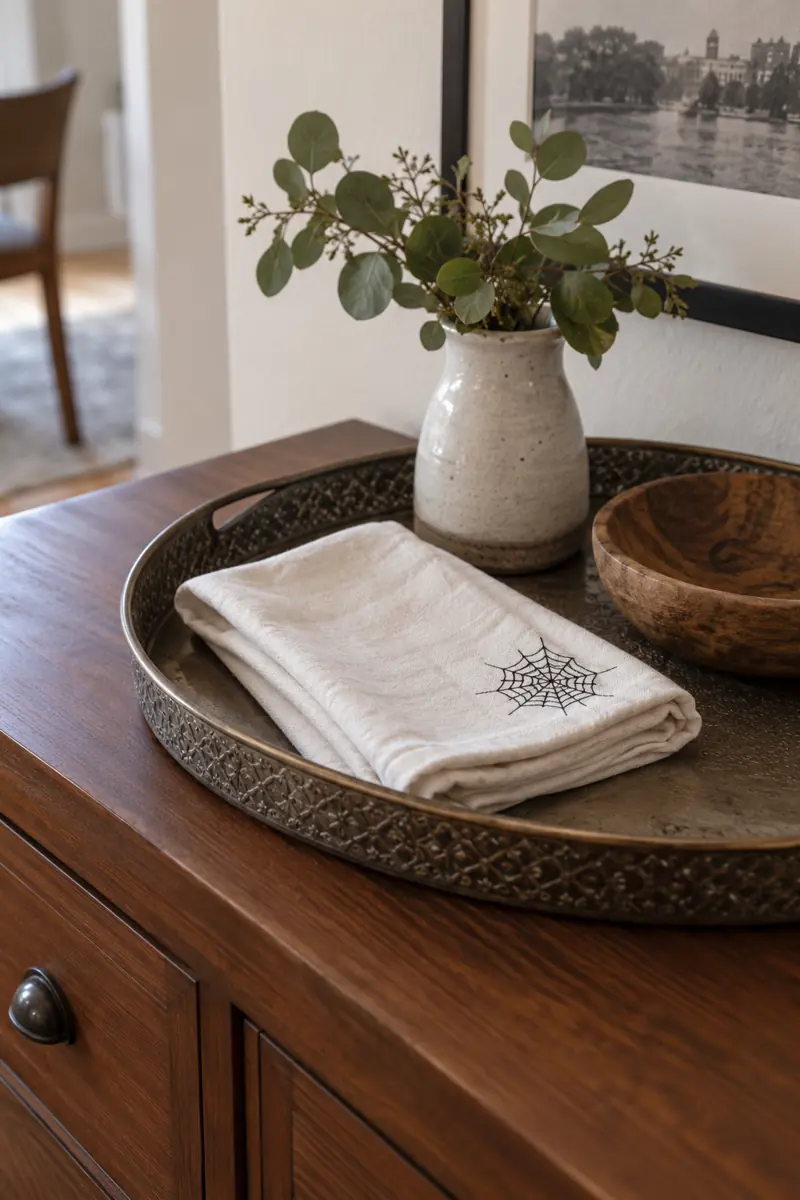
- Pick a plain cotton towel you already own.
- Test fabric paint on a scrap first.
- Stamp one small web in a corner.
- Follow the paint’s drying and setting directions.
A tiny motif changes the towel without covering all its fabric. Make a simple stamp from a clean craft offcut, or draw the web with a fabric marker you already have. Display the towel on a dining sideboard away from food preparation, and wash it according to the paint instructions.
19. Old Sweater Pumpkin
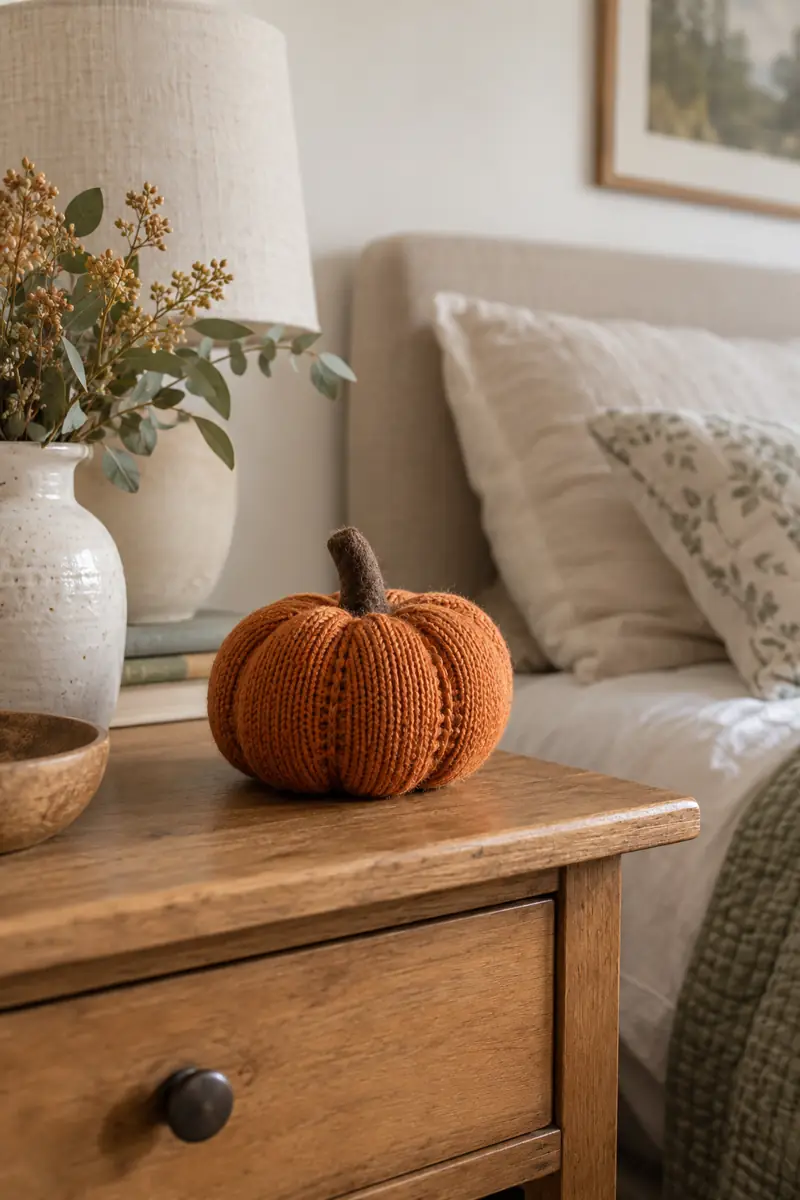
Quick Tip: A worn sweater can provide both the pumpkin’s outer fabric and its stuffing. Choose a sound section that will not unravel as soon as you cut it.
Gather one end of a fabric tube, fill it with soft scraps, and stitch the other end closed. Wrap thread around the body to suggest pumpkin sections, then add a short felt stem. A small version fits on a bedside table and stores easily with your other fabric decorations.
20. Painted Pinecone Dish
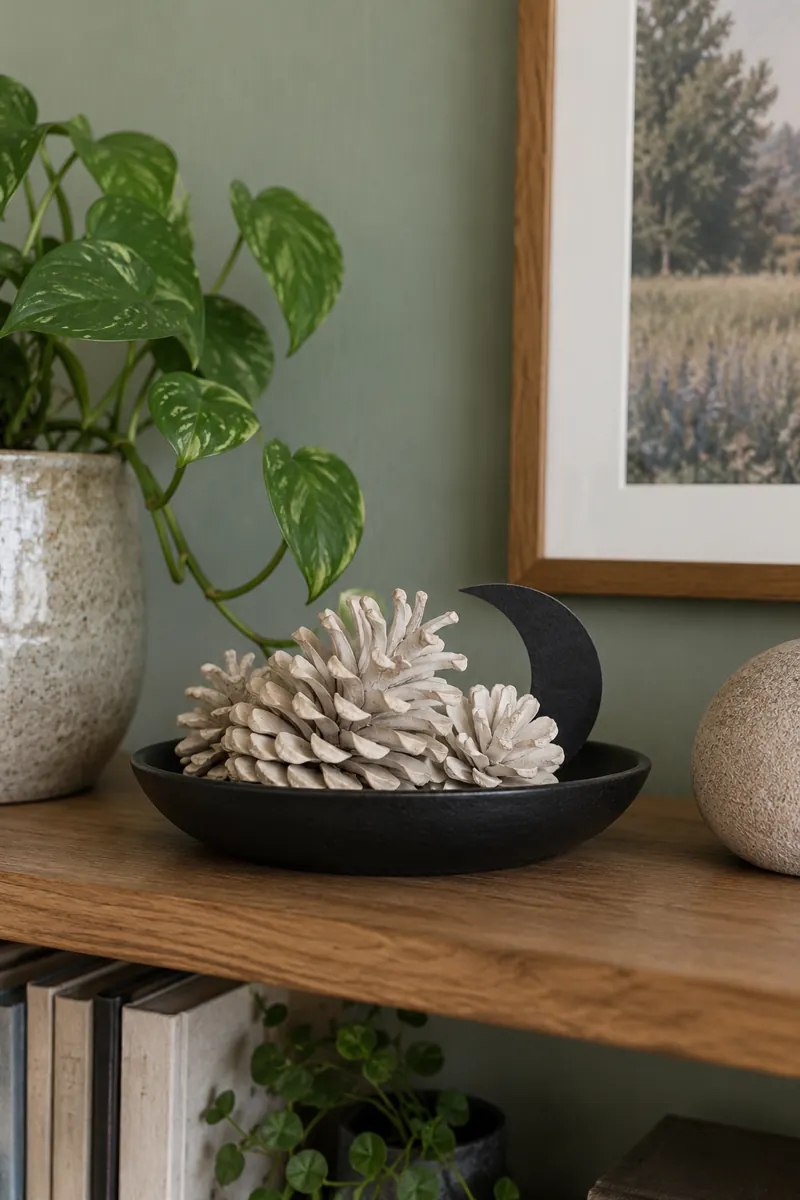
Before: A bowl of stored pinecones feels more wintry than spooky. Their natural brown blends into the room’s wooden furniture.
After: A little ivory paint highlights their edges. A dark dish and paper moon give the group a gentle Halloween feel.
Use clean, fully dry pinecones from supplies you already keep. Brush on paint lightly rather than filling every gap, and let it dry before arranging. Keep the dish away from heat and curious pets. If you would need to buy every material, choose another project that uses your existing stash.
21. Borrowed Decor Mix
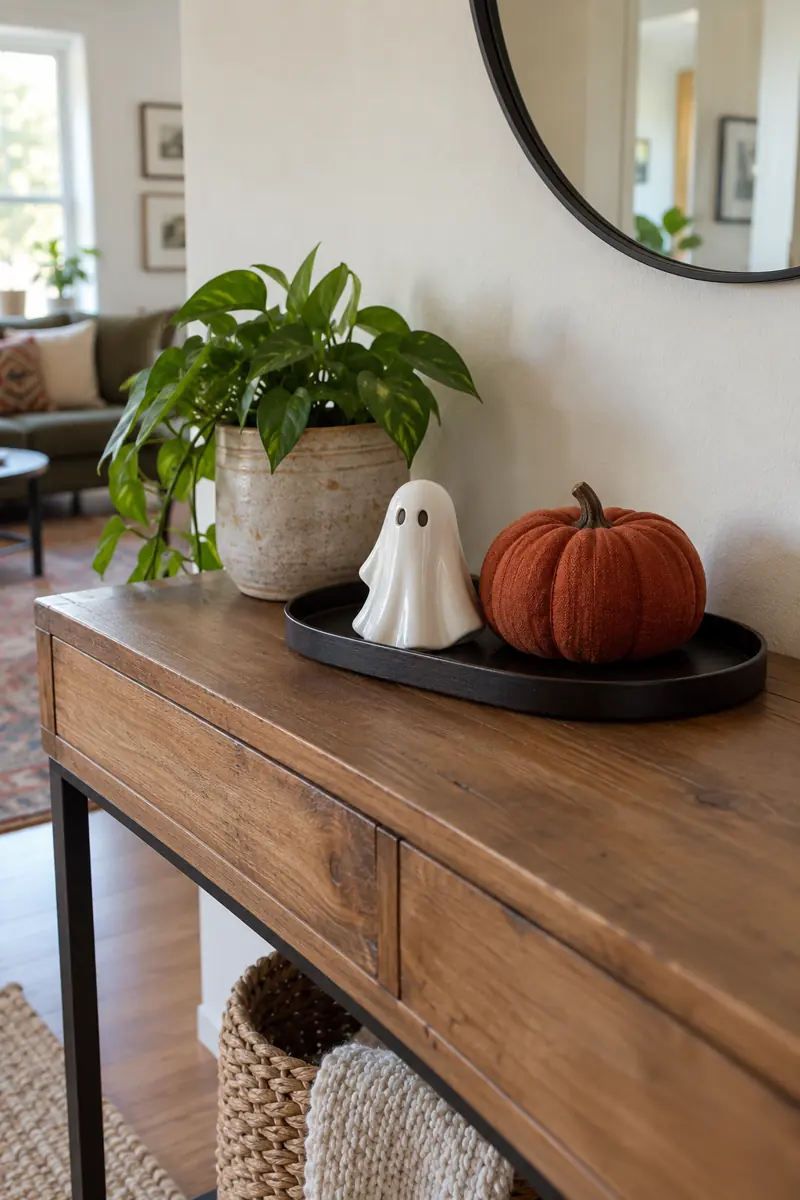
- Ask a friend about swapping unused decorations.
- Agree which pieces are loans and which are gifts.
- Check their condition before bringing them home.
- Group a few pieces on a tray you own.
- Set a return reminder for anything borrowed.
Choose pieces that share one color rather than accepting a whole box you cannot use. A ceramic ghost and fabric pumpkin can feel coordinated on a dark tray. Take a quick photo of borrowed items so returning the right pieces is easy, and pack them carefully when the season ends.
Frequently Asked Questions
Where should I spend a small decorating budget first?
Check what you already own, then identify the one missing supply needed for your chosen project. A useful tray or reusable light may earn its place more easily than several single-use ornaments. Compare actual local prices before deciding.
What if I do not have craft supplies?
Choose a no-craft arrangement using an existing bowl, tray, or frame. Borrowing or swapping a few pieces can also work. A project is not automatically affordable if you have to buy every tool and material from scratch.
How can budget decorations look coordinated?
Repeat two or three colors and keep each display contained. You can mix paper, fabric, and secondhand ceramics if their colors relate. Leave empty space around the arrangement instead of adding extra pieces to hide mismatches.
Which homemade decorations are easiest to store?
Paper silhouettes, book wraps, and flat framed inserts take up little room. Fabric pieces fit into a small box, while fragile tissue decorations need more protection. Save only clean, sound pieces you expect to use again.
Make the Most of What You Have
Affordable Halloween decor for an apartment works best when it suits the things you already own. Choose one small display, finish it, and see how the room feels before adding another. You can reuse a frame, soften a corner with a fabric pumpkin, or make a paper scene without buying a full matching collection. Keep practical surfaces open and pack reusable pieces carefully afterward. For more ideas beyond October, try these ways to decorate a studio apartment cheaply. A thoughtful mix of old materials and a few chosen accents can feel personal while keeping the shopping list manageable.

Community
Join the conversation
Add a useful idea, ask a specific question, or share what worked in your space. Every comment is reviewed before it appears.