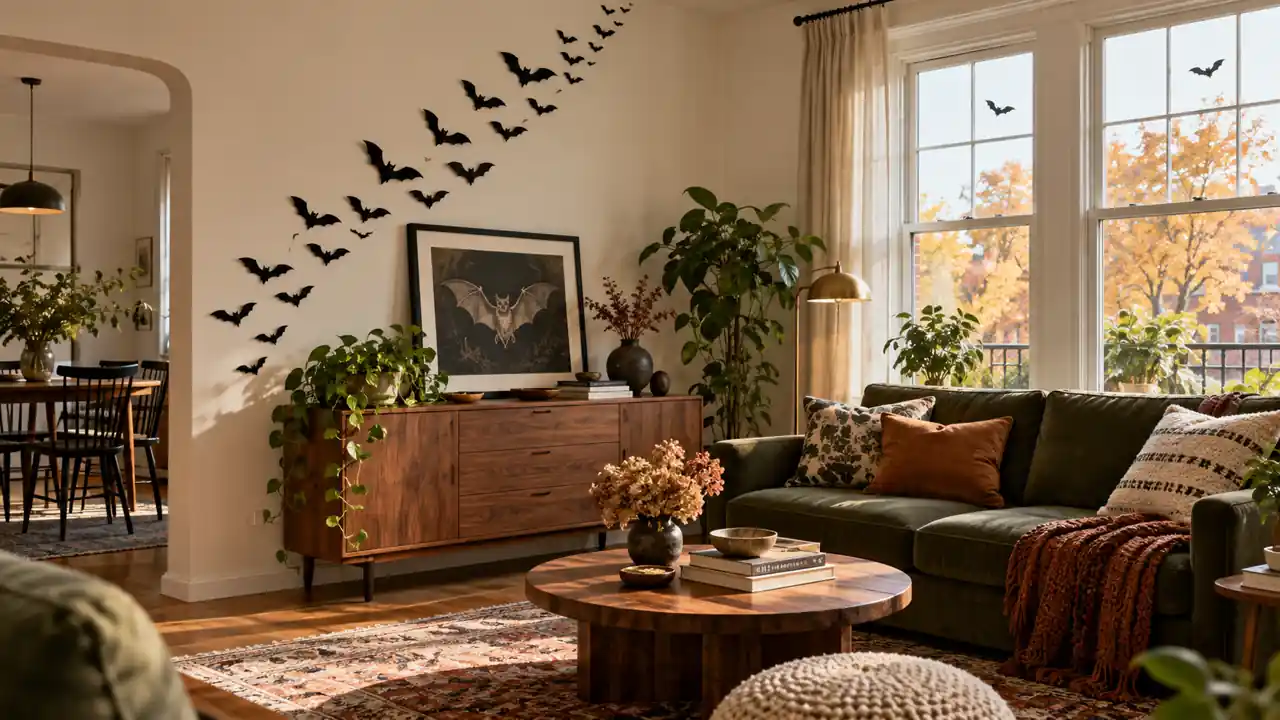
A few bats can make an apartment feel ready for Halloween without filling every surface. Their simple outlines work on a wall, inside a frame, or across a small patch of glass. The trick is choosing one clear arrangement and giving it room to stand out. These Halloween bat decor ideas for apartments use different materials, wing shapes, and display methods, so you can pick something that suits your space. Start with supplies you already own, check surface and building rules before attaching anything, and leave windows, vents, switches, and walking routes clear. You only need one or two favorites to set the mood.
1. Sweeping Paper Flock
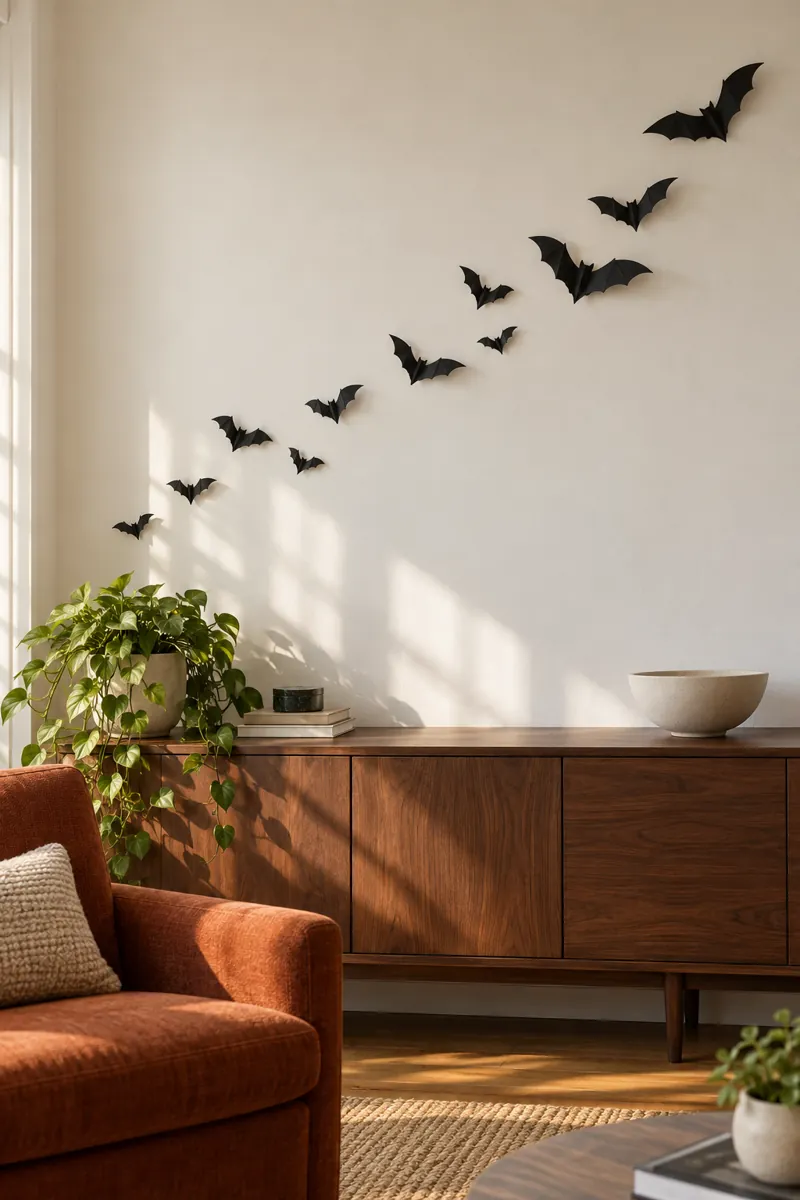
Let a loose curve of bats travel up an empty wall above a sideboard. Start with your largest shapes near the bottom and taper toward smaller ones. Fold each wing slightly so daylight creates a soft shadow instead of a flat sticker effect.
Cut a paper template first, then trace it onto matte cardstock. Arrange the whole flock on the floor before mounting. Use a surface-compatible removable product, test an inconspicuous spot, and follow its removal directions. Leave generous gaps between bats so the curve reads clearly from across the room, even with furniture underneath.
2. Window Silhouette Cluster
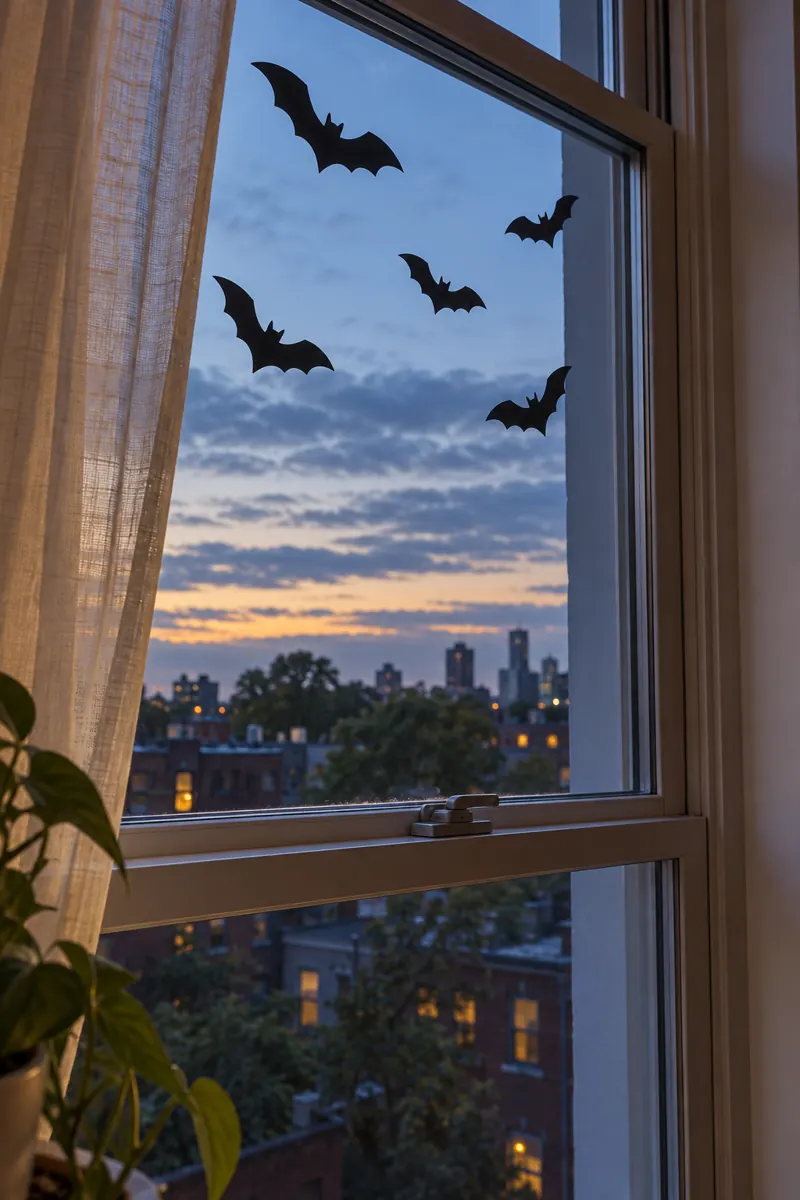
- Choose flat silhouettes with broad, easy-to-read wings.
- Keep the group on one small section of glass.
- Leave latches and the opening path completely clear.
- Use products labeled for your particular glass surface.
Daylight makes black bats stand out without added lighting. Try a group that rises toward one upper corner rather than covering the whole pane. Skip glass with coatings unless the product instructions permit it, and avoid placing any decoration where it could interfere with an emergency exit.
3. Single Framed Bat
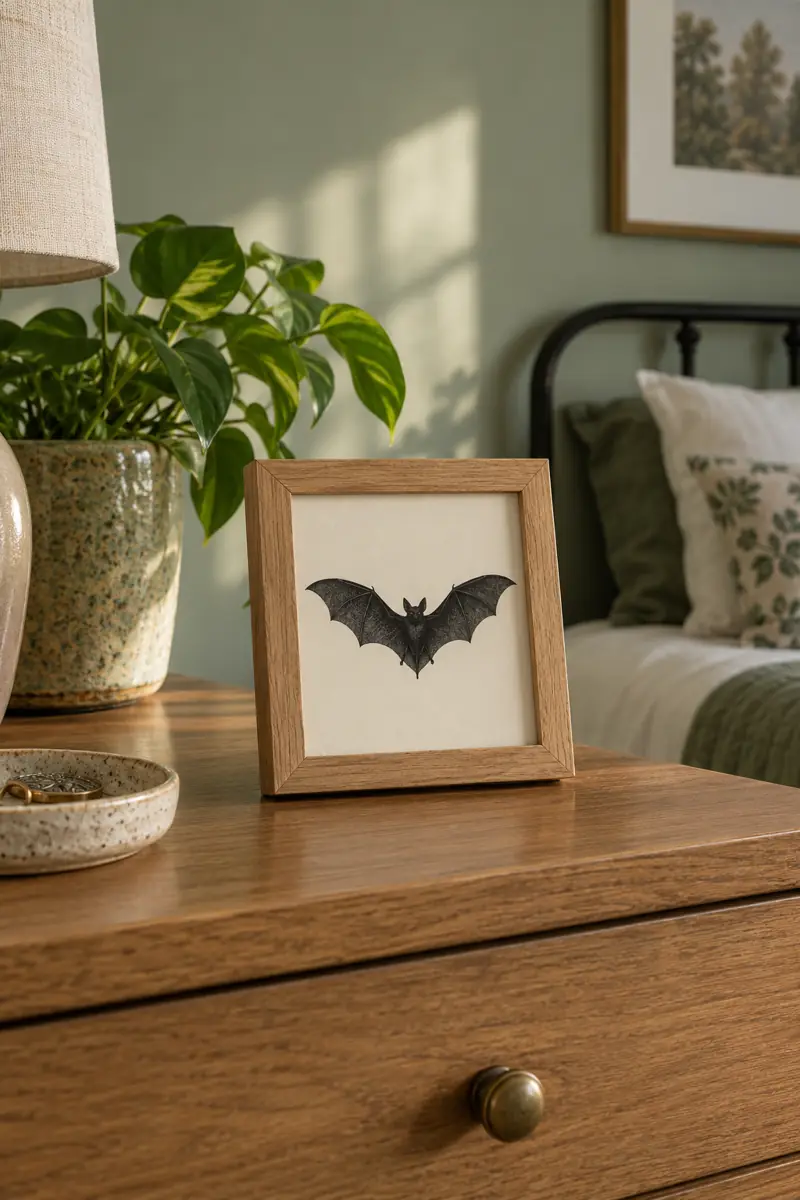
Quick Tip: One broad-winged silhouette looks surprisingly finished inside an ordinary frame. Give it a wide ivory border so the shape has breathing room.
Use a frame you already have and tuck the original picture safely behind the new insert. A standing frame works on a dresser without any wall attachment. Keep the bat centered for a calm look, or shift it slightly upward if you want the wings to feel airborne.
4. Corner Flight Path
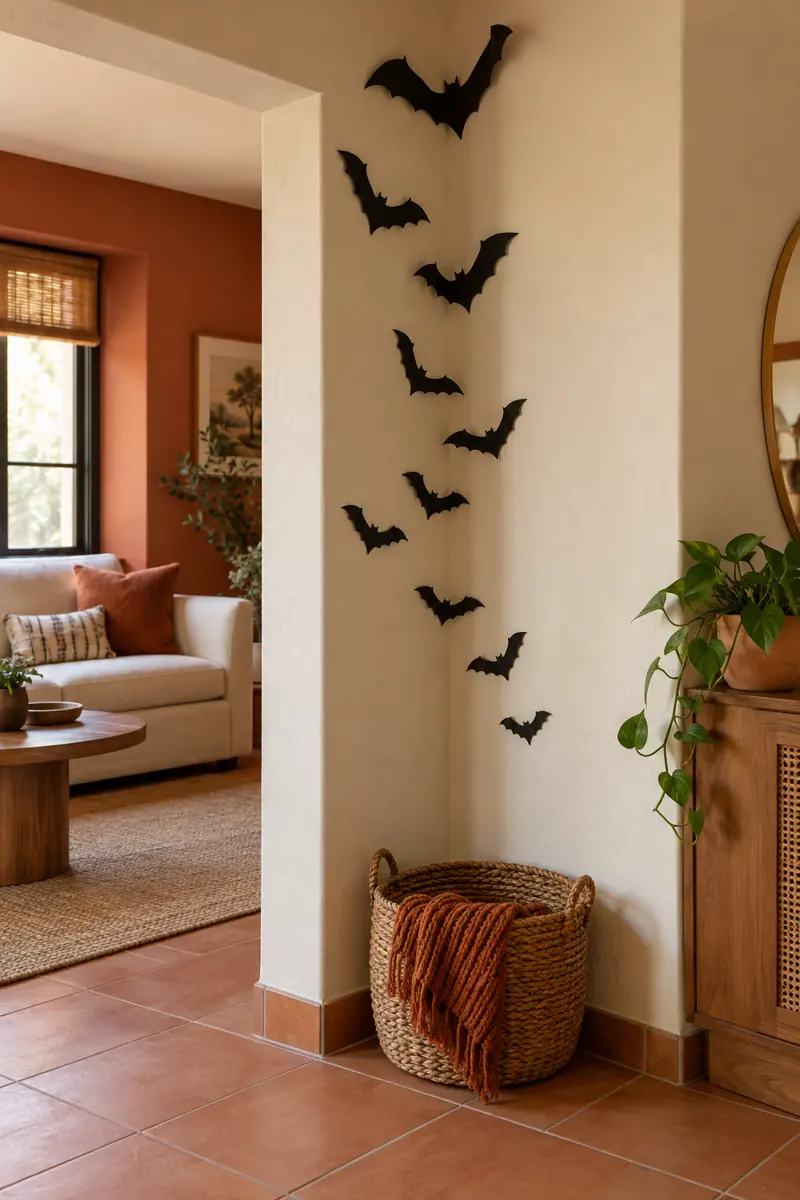
Before: An unused wall corner feels disconnected from the rest of the room. Small decorations placed on the floor would only collect clutter.
After: Two loose columns of paper bats turn around the corner. The floor stays empty while the display connects both wall planes.
Choose a corner away from vents, switches, and door swings. Set the largest bat near eye level and let the smaller shapes drift upward on either side. Keep the pattern loose instead of matching every pair. That slight unevenness gives the little flight path a more natural rhythm.
5. Soft Felt Garland
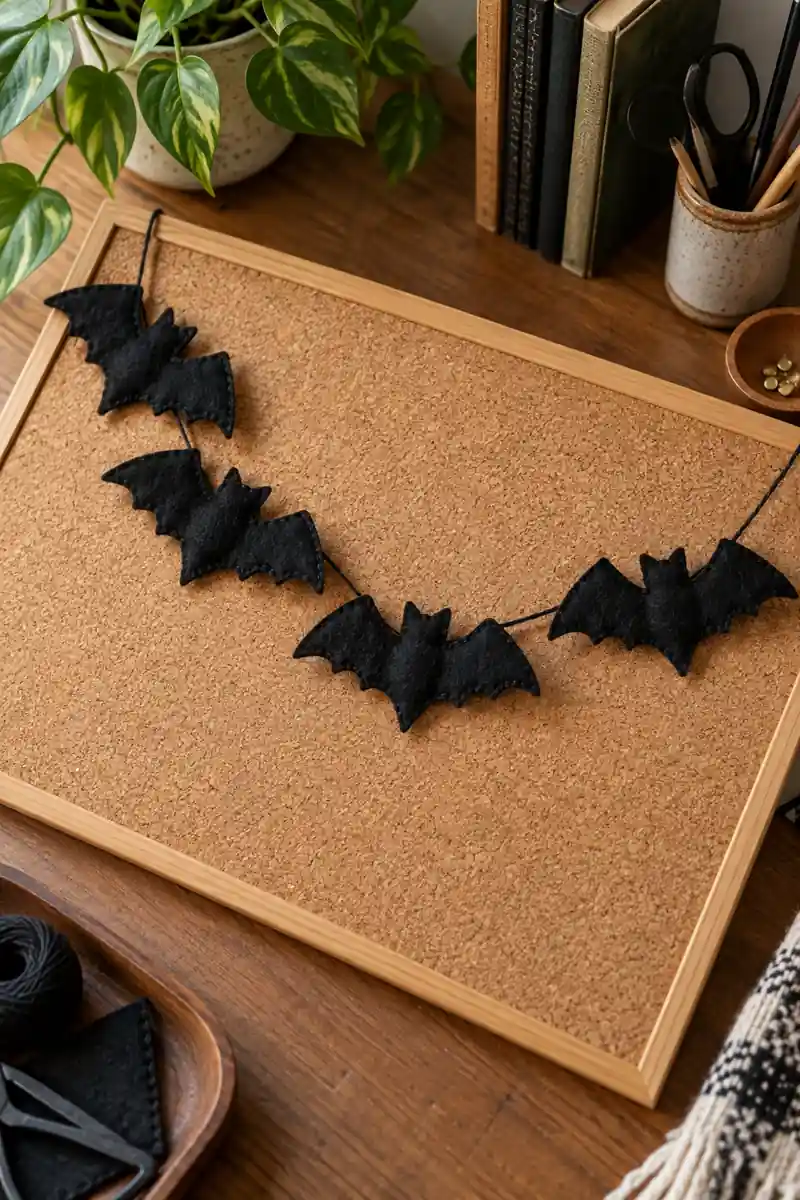
- Trace a simple bat onto stiff felt scraps.
- Cut several shapes with sturdy, rounded wing tips.
- Thread them onto a short length of dark cord.
- Pin the cord to your own freestanding corkboard.
A felt garland adds texture without needing a long stretch of wall. Keep it contained within the board rather than trailing across the desk. Store it flat between sheets of paper after Halloween, and skip loose cords in spots accessible to young children or pets who chew things.
6. Paper Or Felt
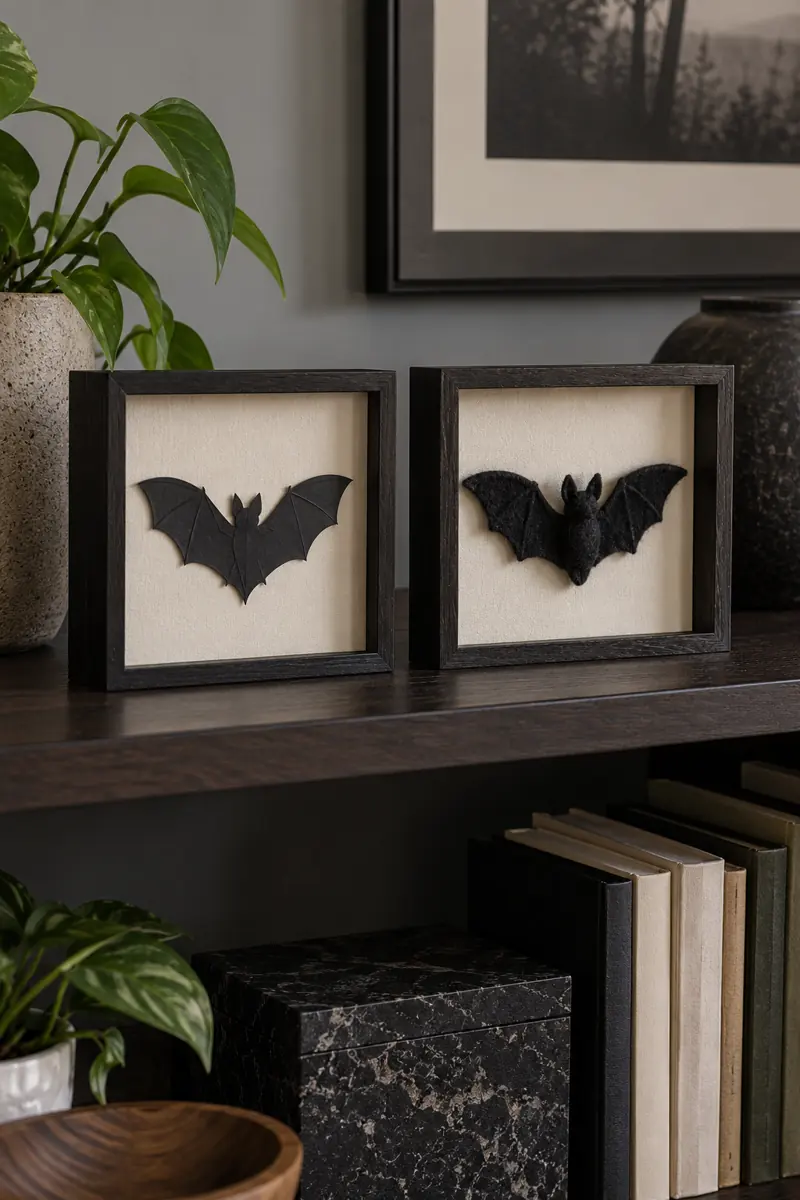
| Detail | Paper bat | Felt bat |
|---|---|---|
| Best effect | Crisp outline | Soft texture |
| Display | Flat frame | Deep shadowbox |
| Storage | Flat envelope | Shallow box |
A pair of small frames lets you compare the two looks without mixing them across an entire room. Use the same silhouette and background color to make the material difference visible. Paper suits a clean graphic space; felt adds softness beside woven baskets, textured cushions, or a wool throw.
7. Mirror Edge Flight
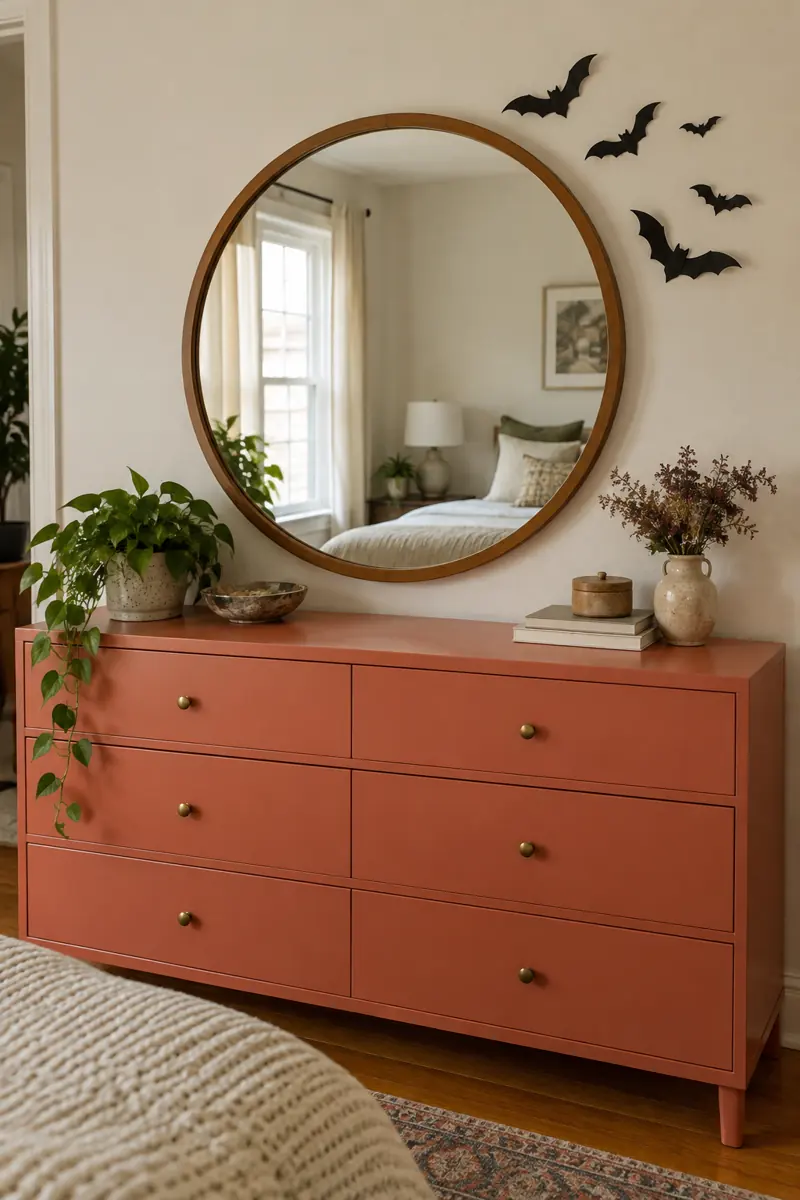
Do
- Place bats on the surrounding wall.
- Keep the reflective area clear.
- Check wall-finish compatibility first.
Don’t
- Attach decor to mirror mounting hardware.
- Cover the whole outline.
- Place loose pieces near a sink.
Try three or four bats just beyond the mirror’s upper edge. Their reflected shadows and nearby shapes add interest while the mirror still works normally. This is especially useful over a bedroom dresser. Repeat the frame’s dark color in the bats to make the small arrangement feel connected.
8. Fabric Bat Artwork
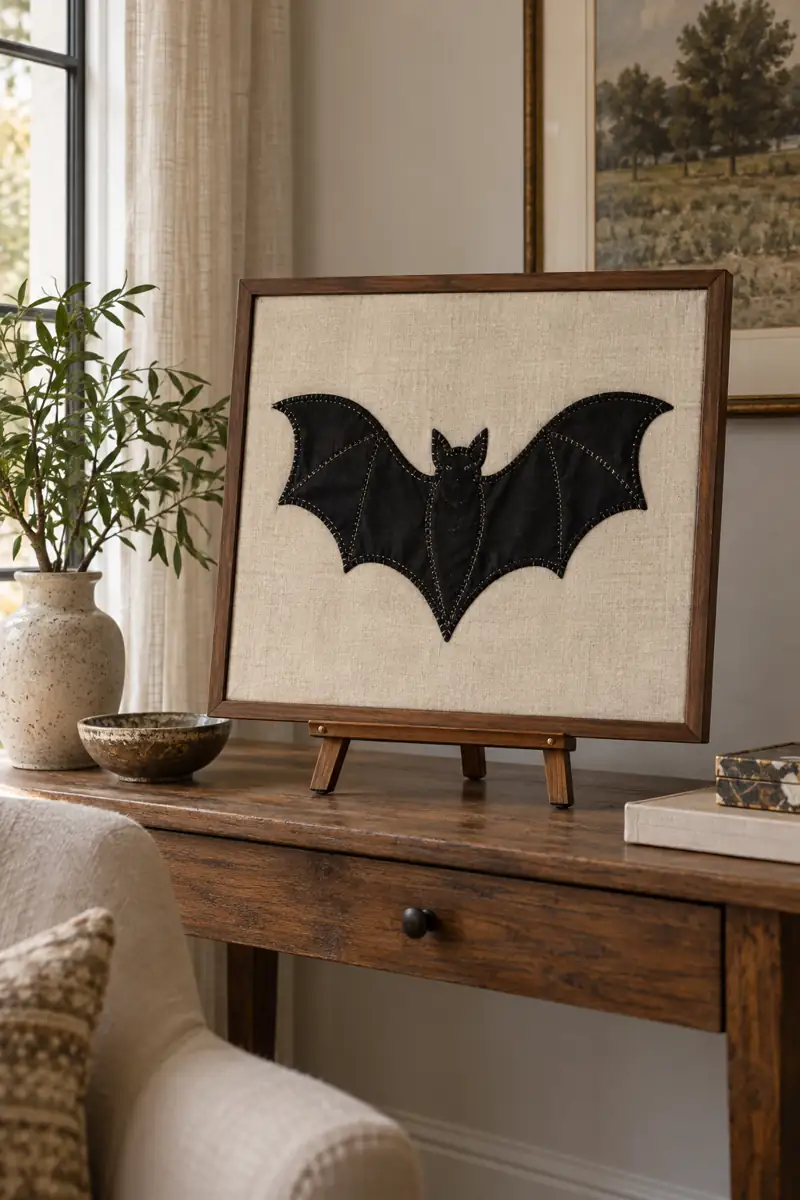
Material: Black fabric scraps on a pale textile background.
Shape: One large bat with rounded wing scallops.
Display: A standing frame or tabletop easel.
Finish: Simple visible stitching around the silhouette.
Fabric makes the motif feel softer than a glossy shop-bought sign. Cut a paper pattern before touching your scraps, then stitch the shape to a removable backing. Keep the work inside a frame if the edges fray easily. An existing linen cushion nearby helps the textures sit comfortably together.
9. Shelf Standing Bats
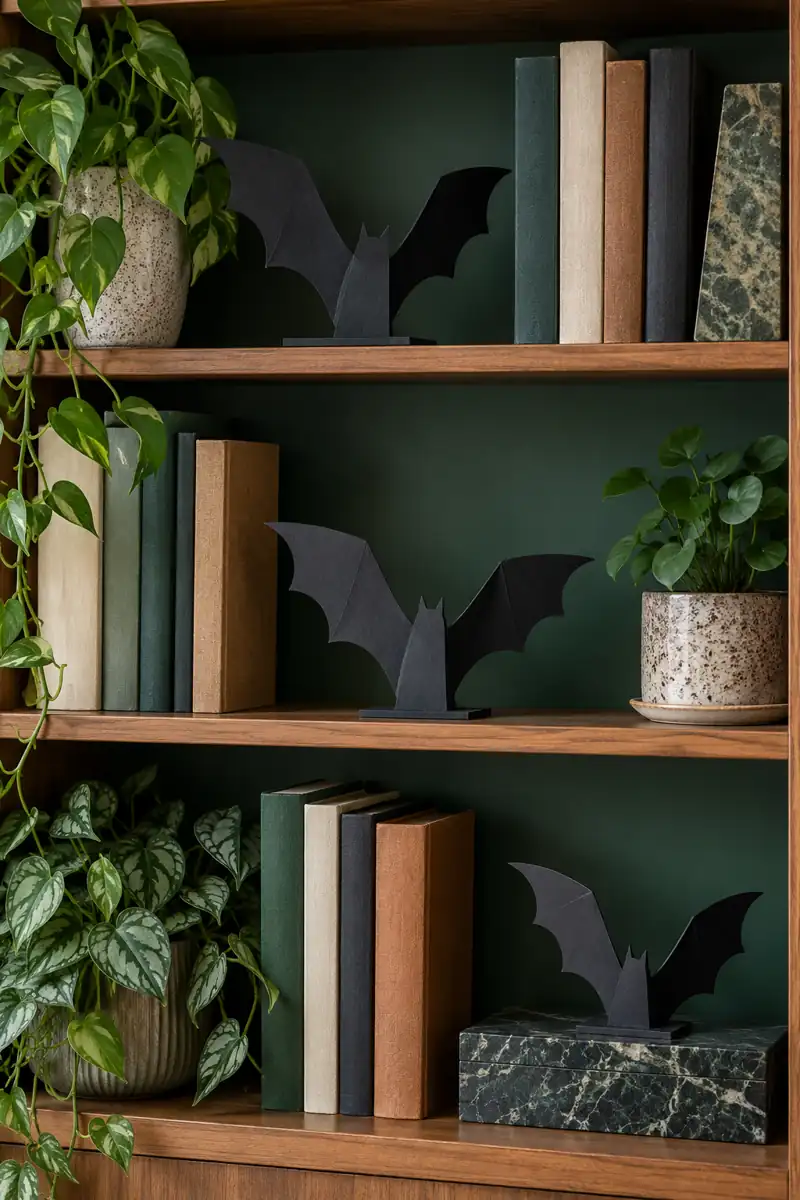
Turn leftover stiff packaging into a little shelf scene. Cut three different bat shapes, then add a folded support behind each one or slot them into small cardboard bases. Test that each piece stands on its own before placing it among your books.
Vary the wing shapes rather than making every bat identical. A narrow soaring silhouette, a broad open wing, and a compact folded pose give the group character. Keep all three inside the shelf footprint, with nothing projecting into the room. A dark shelf backing makes cream bats a useful alternative to black.
10. Photo Holder Perch
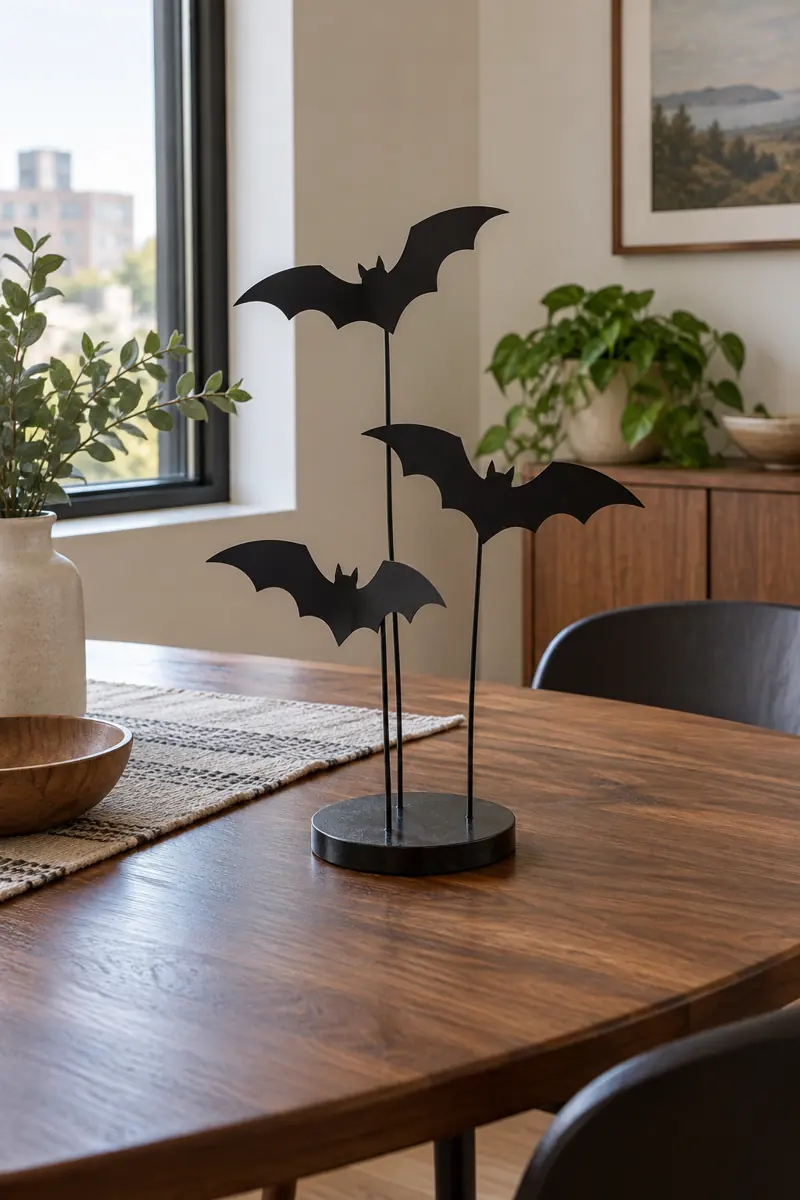
- Reuse a stable tabletop photo holder.
- Cut lightweight bats in two or three sizes.
- Clip each shape at its central body.
- Keep the tallest piece below seated sightlines.
The holder does the supporting work, so there is no need to hang bats from a light fitting. Set it on a dining sideboard or an unused table corner. Check that the base stays steady with every clip filled, and remove a bat if the arrangement leans at all.
11. Glowing Bat Jar
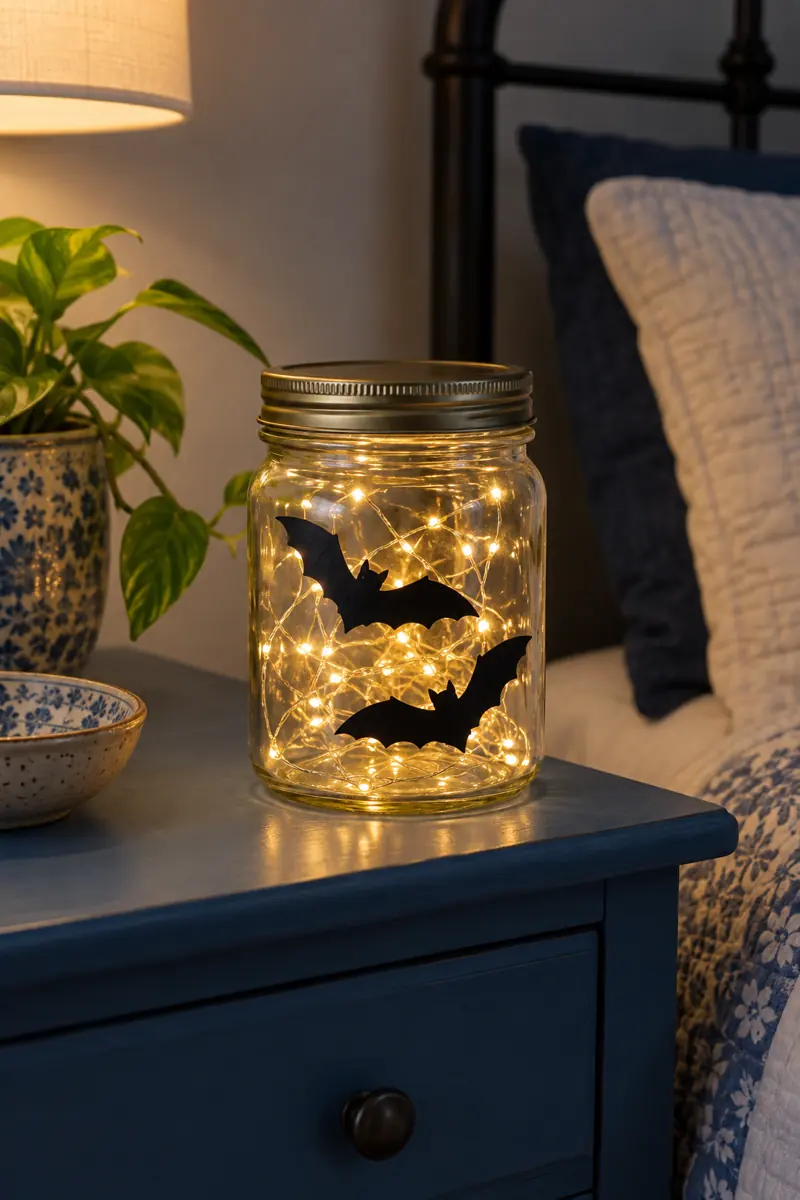
Quick Tip: Add paper bats to the outside of a clean, dry jar, then place a battery LED light inside. Choose a light made for enclosed decorative displays.
Two silhouettes are enough for a small jar. Leave space between them so the glow remains visible, and keep the battery pack accessible according to its instructions. Set the jar on a stable nightstand away from the edge. This gives you a tiny evening accent without using a flame.
12. Cushion Bat Sleeve
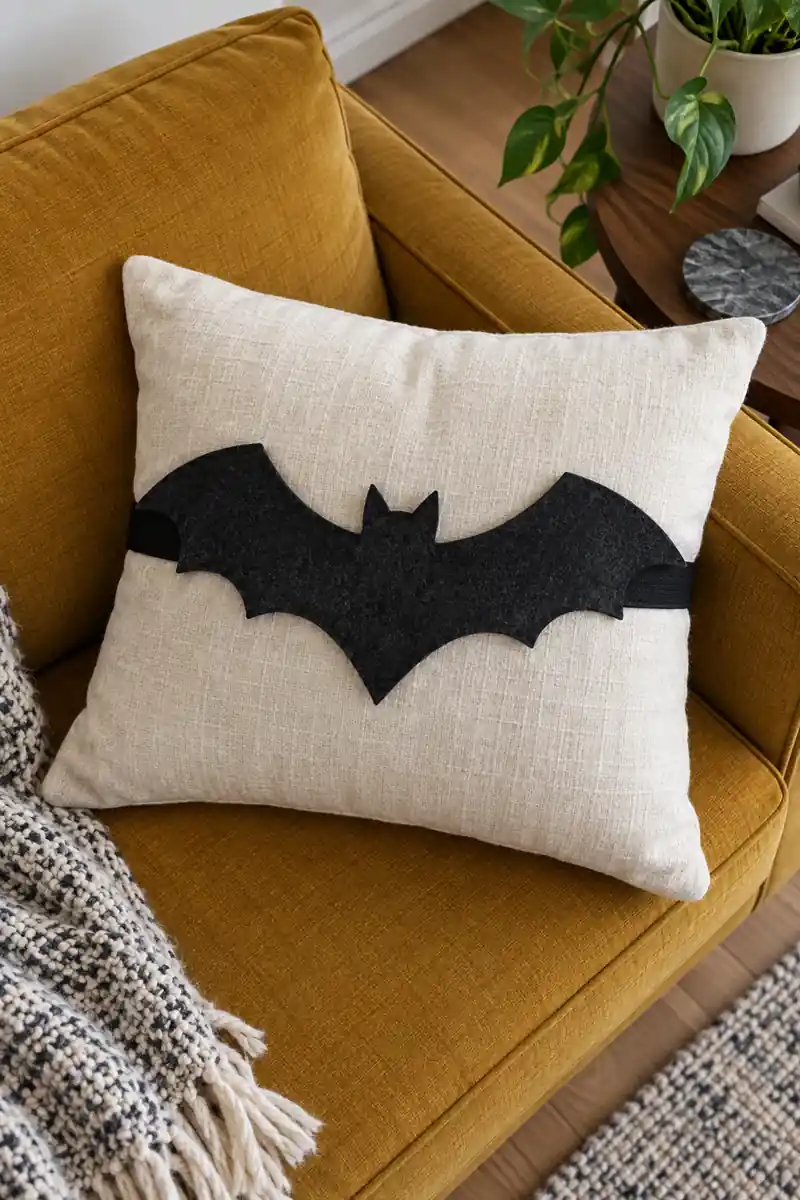
Before: A plain cushion fits your room but does not feel seasonal. Buying another insert would add something else to store.
After: A removable fabric band holds one felt bat across the front. The cushion keeps its usual shape and goes back to normal afterward.
Sew the bat onto a fabric sleeve that fits snugly around the cushion cover. Avoid exposed pins or loose embellishments, especially where children or pets relax. Choose charcoal on cream for a clear outline, or black on deep mustard for warmer contrast. Remove the sleeve before laundering the cushion.
13. Cutout Bat Mat
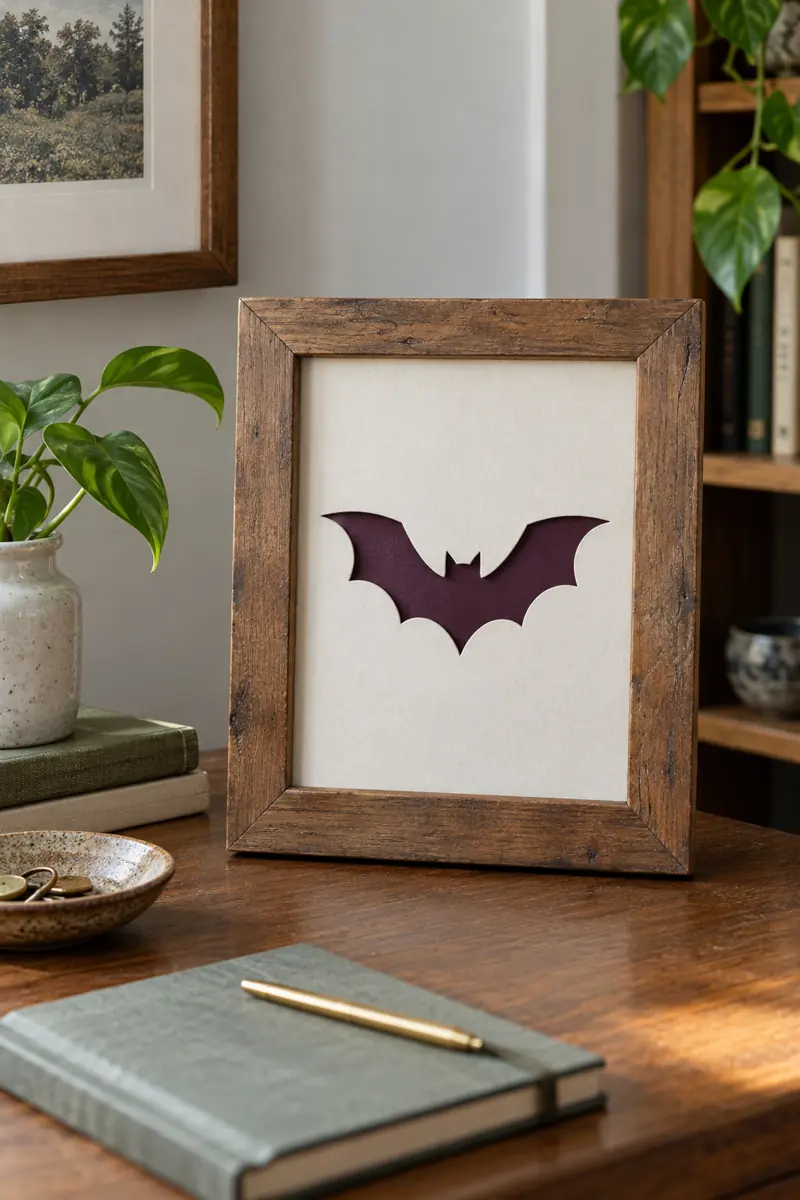
- Cut a rectangle of pale sturdy paper.
- Draw a simple bat shape in its center.
- Cut out the bat with suitable craft tools.
- Place colored backing behind the opening.
- Fit both sheets inside an existing frame.
Here the empty shape creates the decoration. Try aubergine backing beneath cream paper for a softer alternative to solid black. Keep the outline simple if you are cutting by hand. A wide border hides small uneven edges and makes the finished piece look intentional on a desk or dresser.
14. Matching Frame Trio
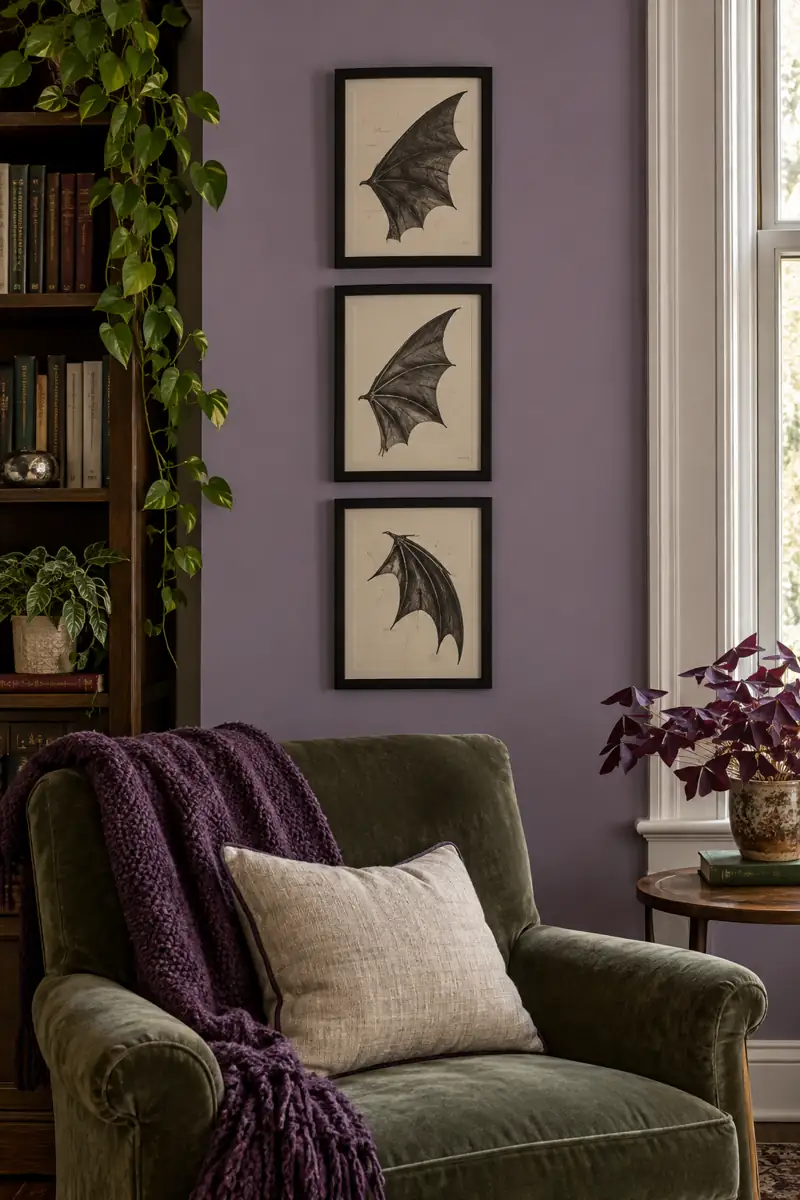
| Detail | Identical silhouettes | Wing studies |
|---|---|---|
| Mood | Orderly | More playful |
| Shape | One repeated template | Three wing outlines |
| Best setting | Minimal corner | Eclectic reading nook |
Three small frames can make a narrow wall feel considered. Keep the frame finish and background paper consistent, then decide whether you want repetition or movement. Try the arrangement on the floor first. Use existing approved hanging points where possible, and avoid adding a row over a busy passage.
15. Bat Wrapped Cachepot
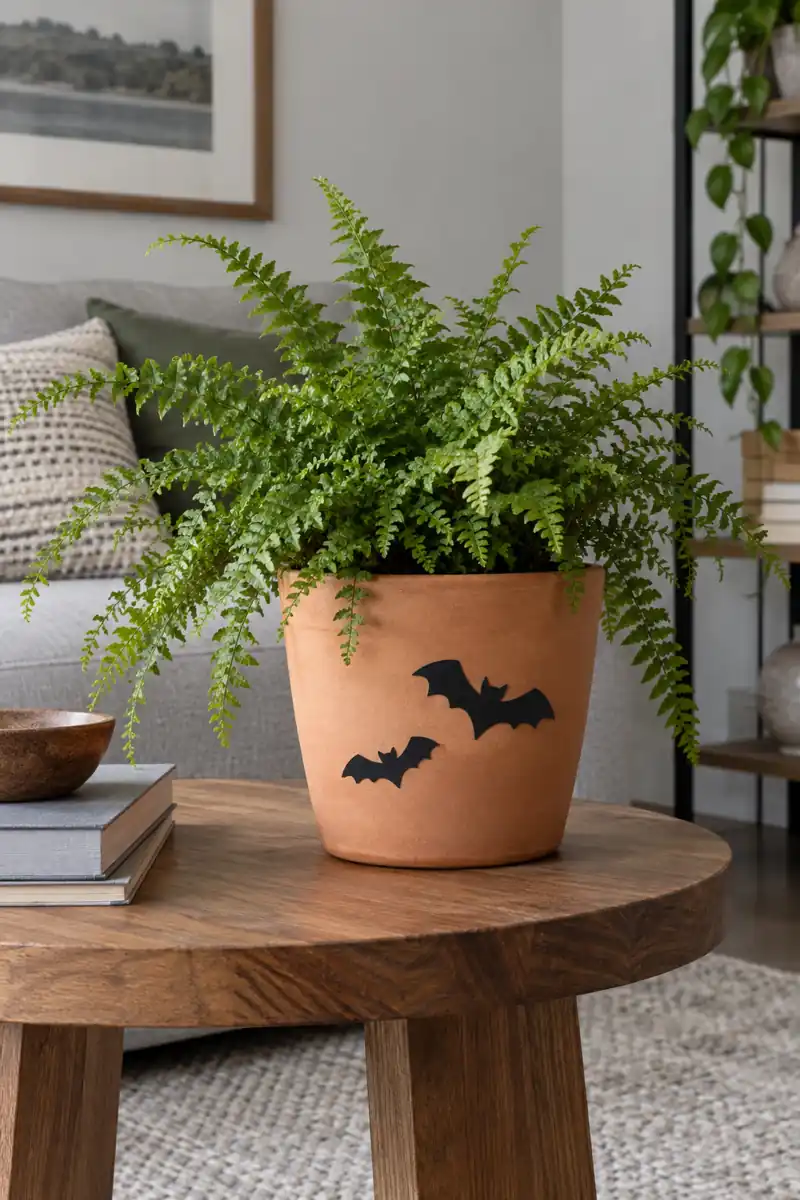
Do
- Decorate the outer cachepot only.
- Remove it before watering.
- Keep the plant’s drainage working.
Don’t
- Glue shapes to living leaves.
- Cover drainage holes.
- Leave damp paper against the pot.
A pair of paper bats can give an ordinary plant a seasonal role. Attach the shapes to a removable paper band that wraps around a dry decorative outer pot. The band comes off in seconds for watering. Choose a broad, stable surface so foliage and wings stay out of walkways.
16. Checkerboard Pinboard Bats
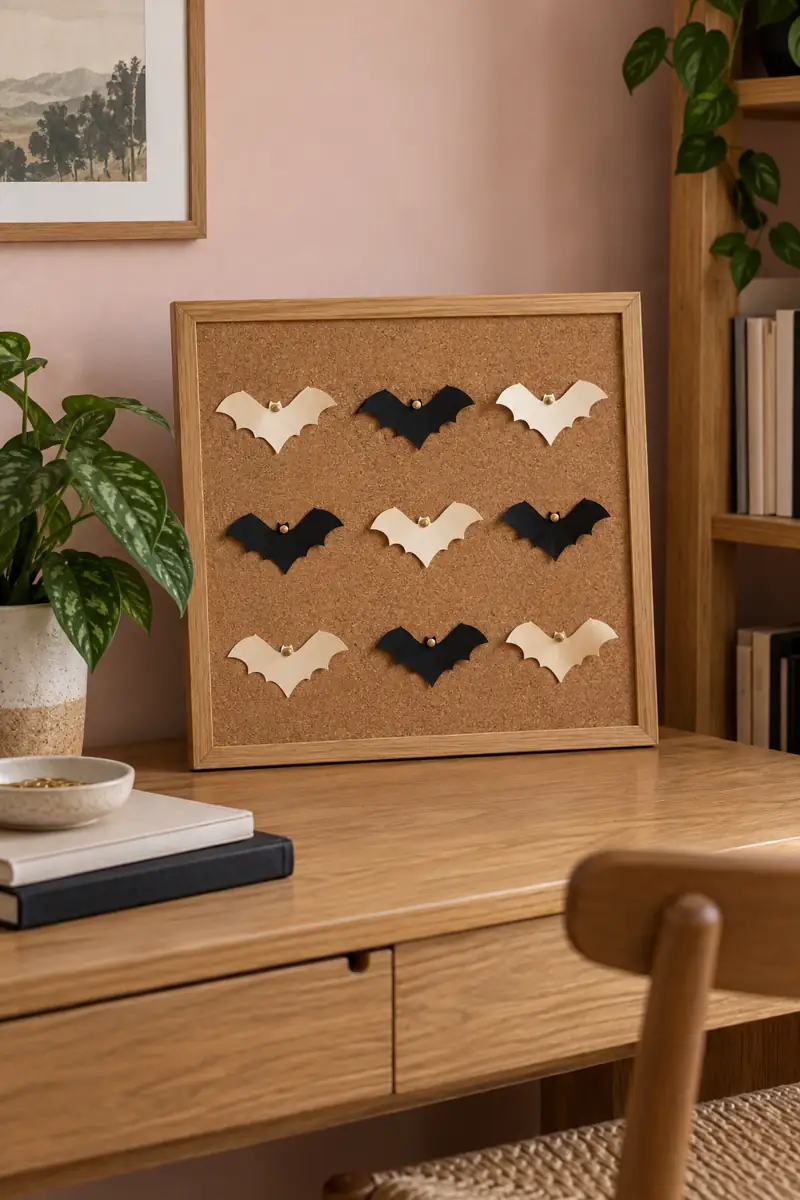
Base: A freestanding corkboard you already own.
Palette: Cream and black paper.
Layout: A loose grid with alternating colors.
Storage: A flat folder for the cutouts.
This small arrangement works well beside a desk because the board contains every piece. Leave some cork visible between shapes rather than filling every inch. Use pins only where they remain safely secured and out of reach of children. After Halloween, the board can go straight back to holding notes.
17. Moon Backdrop Bat
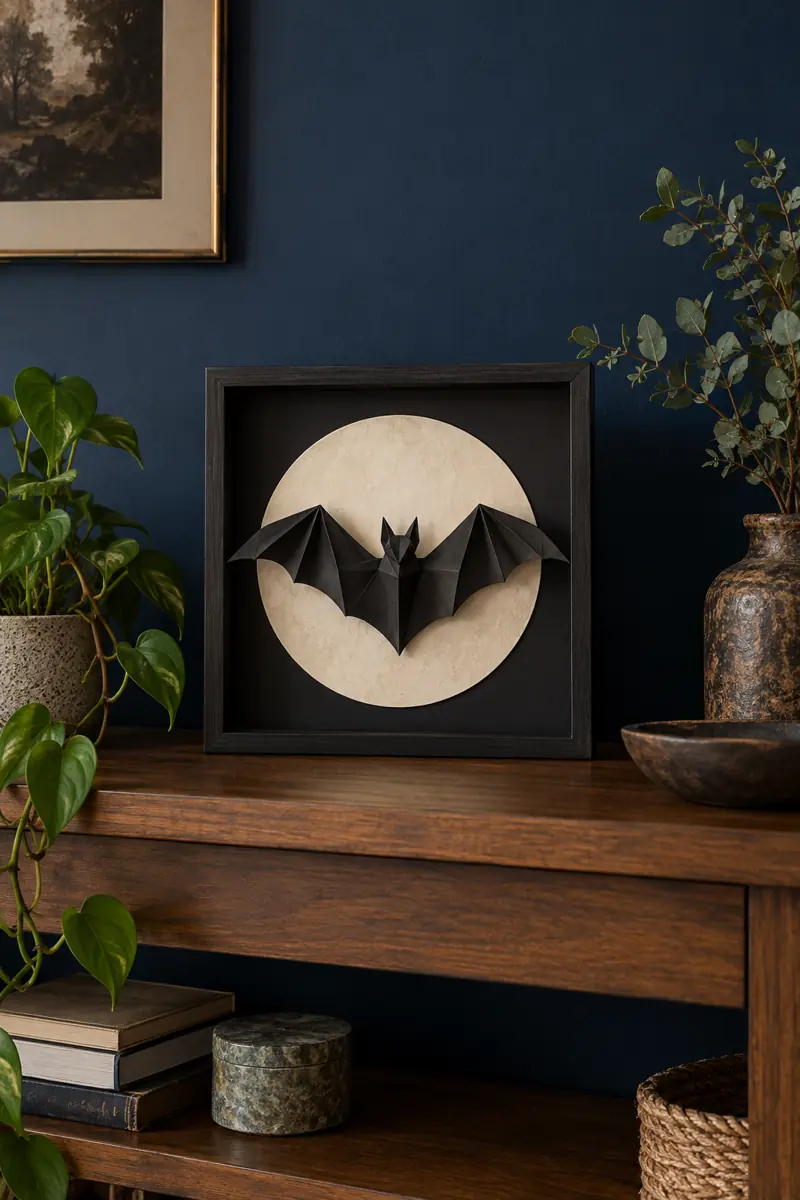
Give one wide-winged bat a pale moon to fly across. Cut a circle from cream paper and place it inside a shallow shadowbox, then add a folded cardstock bat in front. A small paper spacer behind the body creates depth without crushing the wings.
Set the finished frame securely on a console or shelf, using its proper stand. The round backdrop helps the silhouette show up against a dark room, so extra decorations are unnecessary. Try a slightly off-center bat for movement, and leave the surrounding surface mostly empty to keep the little scene easy to appreciate.
Frequently Asked Questions
How many bats should I use in a small apartment?
Start with one framed bat or a small cluster in a single spot. View it from the room entrance before adding more. A clear arrangement usually reads better than scattered shapes on every wall.
How do I attach bats without damaging paint?
No adhesive is safe for every painted finish. Check the product instructions, test a hidden area, and avoid fresh, peeling, or delicate paint. If you are unsure, use a standing frame or freestanding board instead.
What is the easiest bat material to cut?
Ordinary paper is easiest for testing a template. Light cardstock holds a folded wing better, while stiff felt gives a softer outline. Choose a simple shape with broad wings rather than tiny, fiddly points.
How should I store bat decorations?
Flatten paper pieces gently and keep them in a labeled envelope or folder. Store felt shapes and dimensional bats in a shallow box so the wings are not crushed. Remove used adhesive before packing anything away.
A Little Flight Goes Far
Halloween bat decor for an apartment can be as simple as one silhouette in a frame or a small flock above a sideboard. Choose the display that fits your existing furniture, supplies, and available space rather than trying every idea at once. Repeat a color already in your room, leave useful surfaces open, and check your chosen attachment method before you start. For more ways to build a display, explore these Halloween apartment wall decor ideas. A few well-placed shapes create a clear seasonal mood, and most of these pieces fold away neatly when October is over.



Community
Join the conversation
Add a useful idea, ask a specific question, or share what worked in your space. Every comment is reviewed before it appears.