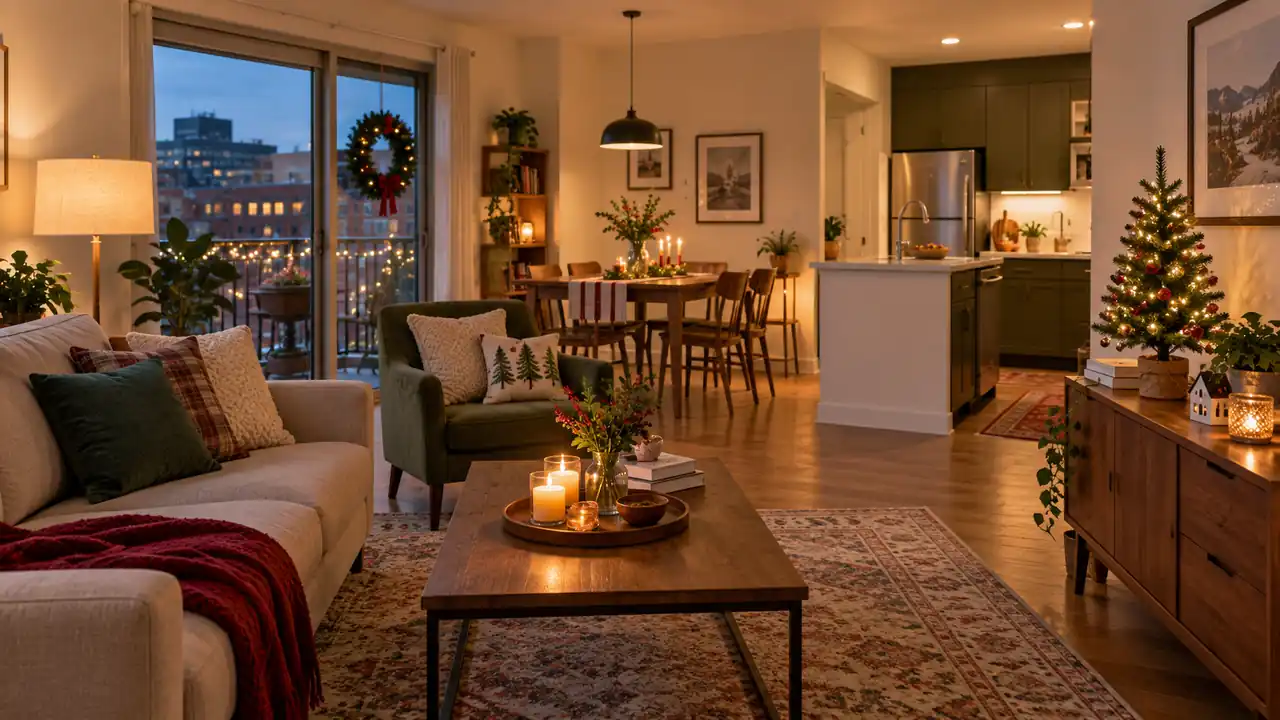
Choosing a studio apartment Christmas tree starts with the space around it, not just the height on the box. The stand, widest branches, nearby door, and place you store it afterward all affect whether it will work. A small tree can still be awkward if it takes over your only useful table. A taller narrow tree may fit better in a genuinely unused corner. These 15 options explain the tradeoffs so you can choose a shape and location that suit your room. Measure first, check the product instructions, and leave the routes to your bed, kitchen, and exit easy to use.
1. Tabletop Artificial Tree
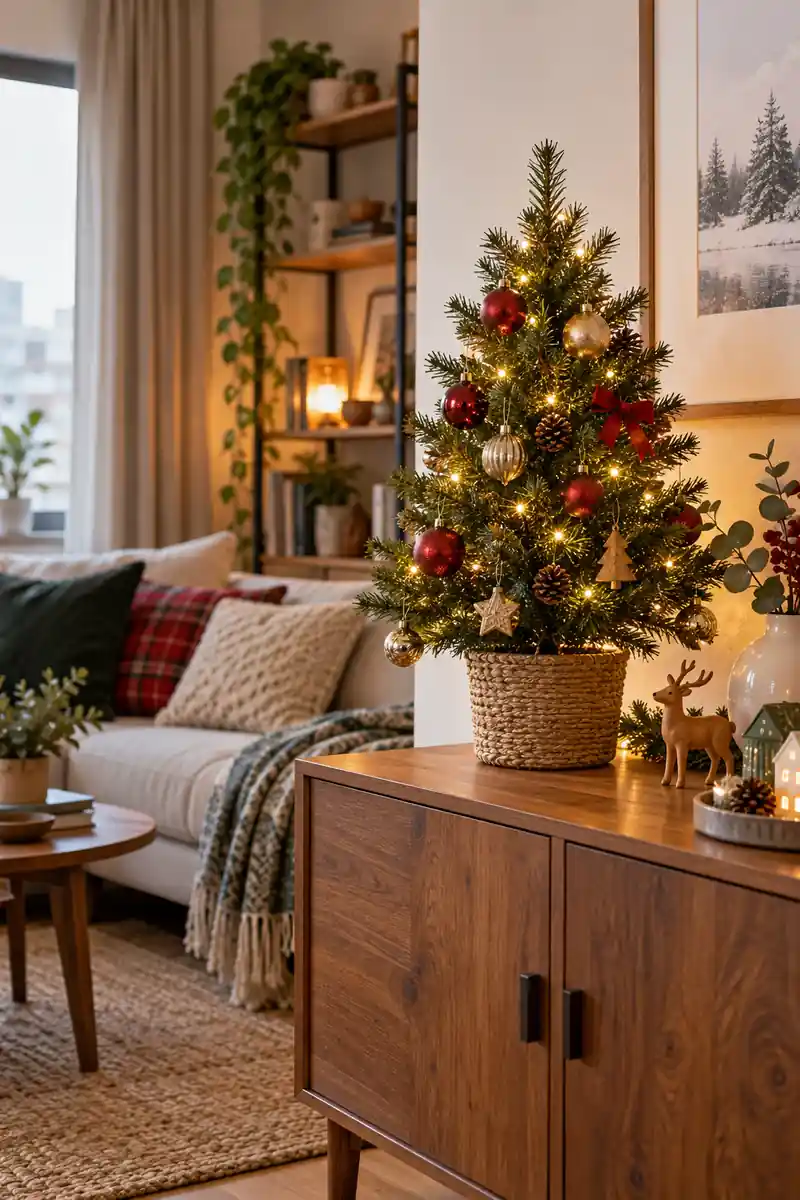
A tabletop artificial tree suits a studio with a spare cabinet surface but little free floor. Measure the base as well as the branch spread, and make sure the furniture can safely support it. The main tradeoff is losing useful tabletop space, so avoid a surface you need for meals or daily work.
Choose a stable cabinet and keep the tree well back from its edge. Check whether the listed height includes the base before comparing it with a shelf above. Store the tree with its branches protected for reuse. Keep its electrical parts accessible and clear of clutter.
2. Slim Floor Tree
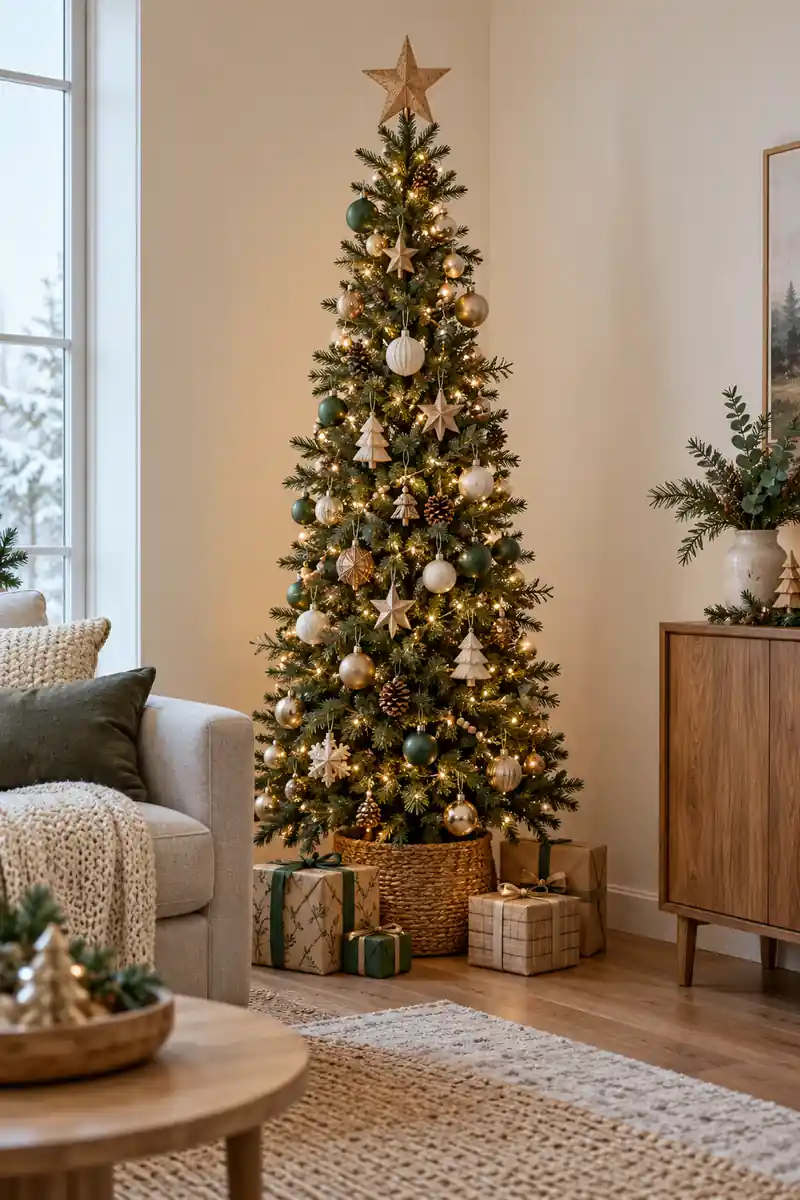
- Measure the widest branch span.
- Include the stand footprint.
- Check nearby door swings.
- Plan off-season storage.
A slim tree can offer a traditional full-height outline with a smaller branch spread. Check the actual dimensions instead of relying on the word slim, since shapes vary. You still need room for the stand, safe cord placement, and access around the branches, especially if the tree sits beside a sofa.
3. Pencil Tree
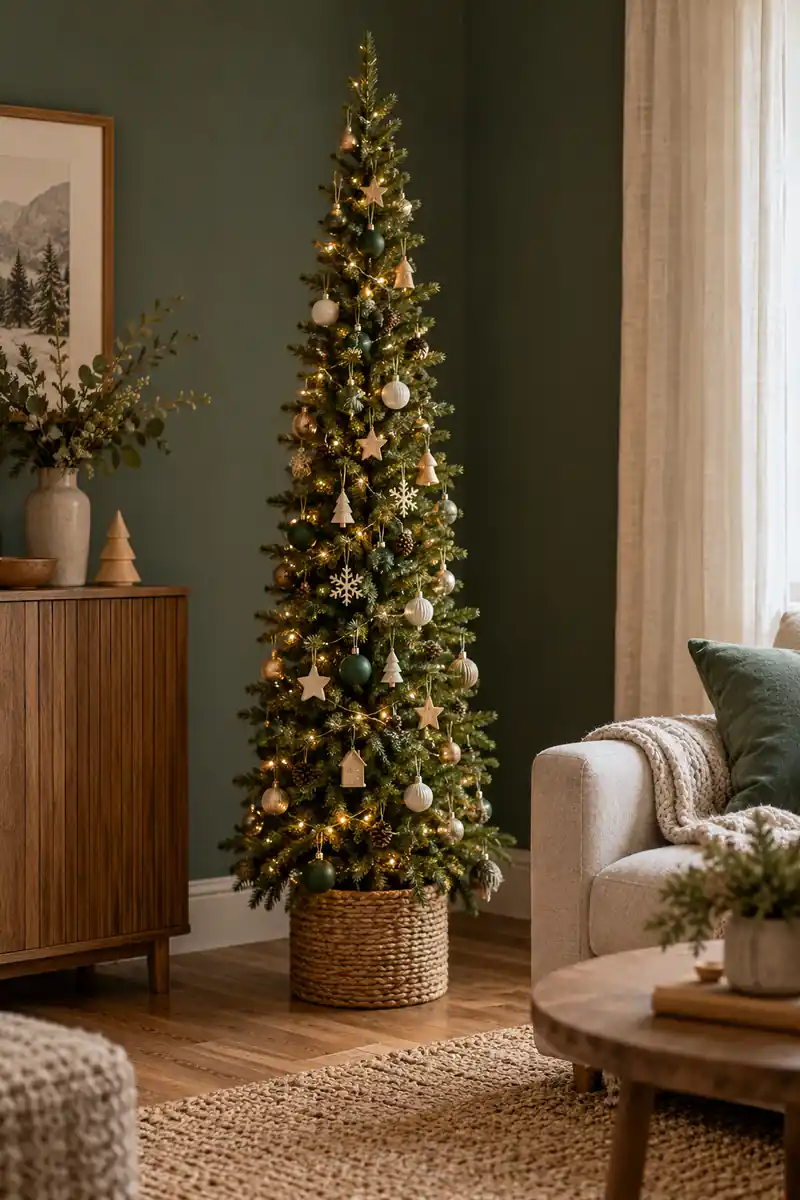
Quick tip: Check the tree’s finished width after fluffing. Use ornaments suited to the branch strength.
A pencil tree is useful when the available corner is genuinely narrow. Its thin outline leaves less room for deep ornaments, so smaller decorations may look more balanced. Check stability carefully and follow the manufacturer’s instructions for setup and anchoring where required, rather than assuming a narrow tree is automatically easier to place.
4. Half Tree
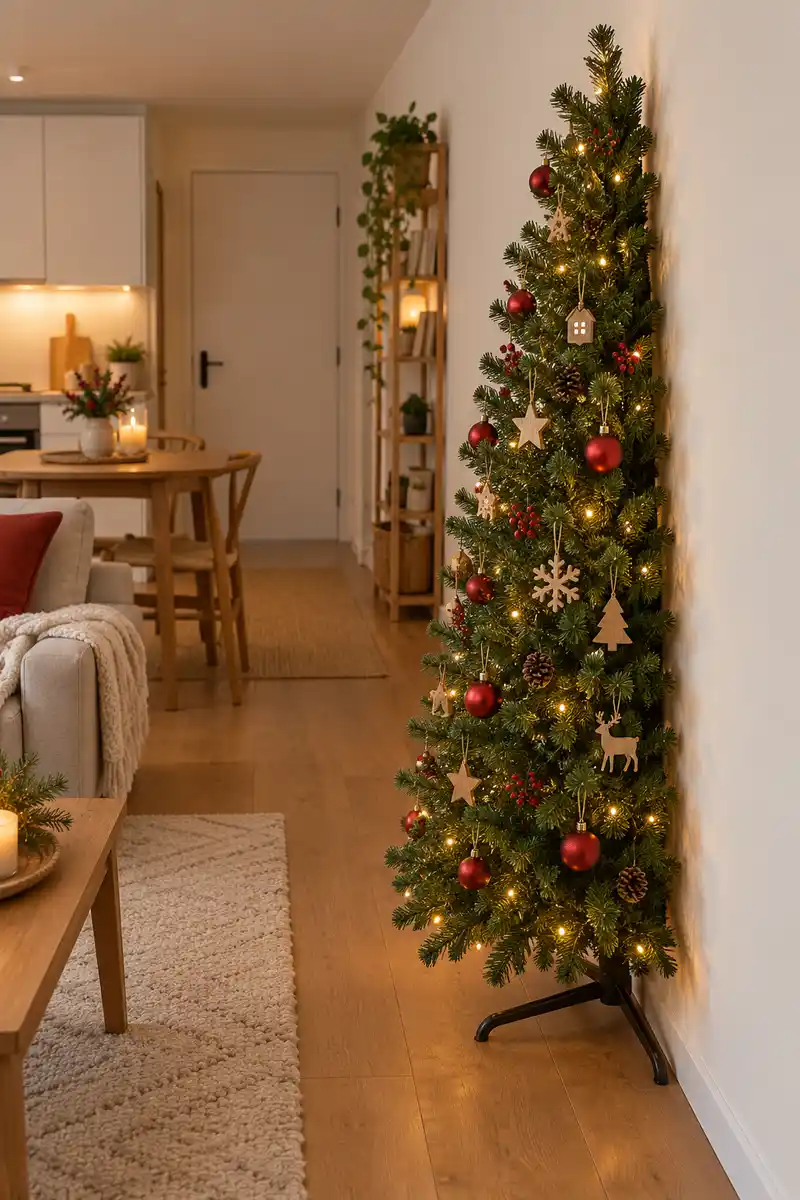
Before: A full tree is pushed against the wall. Its rear branches bend awkwardly while its front crowds the walkway.
After: A purpose-made half tree fits its flat back near the wall. Its measured front footprint leaves the route clear.
A half tree is designed with a flatter back so it can sit close to a wall. It may suit a room where depth is the main problem, but you still need to check the stand and front branch spread. Choose a purpose-made design rather than cutting or bending a standard tree against its instructions.
5. Corner Tree
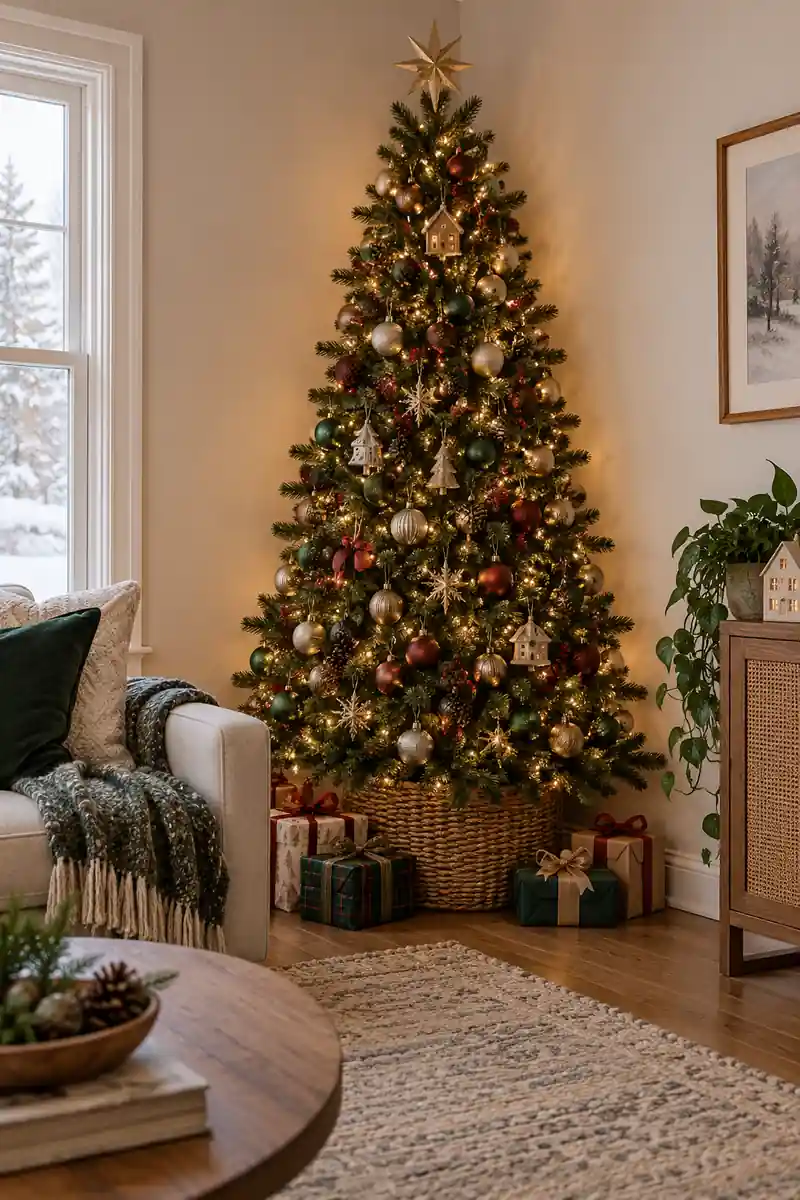
- Measure both wall sides.
- Check the front projection.
- Allow for nearby furniture.
- Follow the setup instructions.
A corner-shaped tree can use an awkward junction between walls more efficiently than a round design. Compare the stated side and front dimensions with the actual corner, including any skirting or furniture nearby. The tradeoff is a more fixed placement, since the shape may look less natural elsewhere in the room.
6. Compare Real Small Trees

Small cut tree
Placement: Suitable water-holding stand
Visual effect: Traditional branches
Everyday use: Needs regular water checks
Living potted tree
Placement: Stable pot with protected surface
Visual effect: Reusable living plant
Everyday use: Needs species-specific indoor and outdoor care
A small cut tree and a living potted tree have different care needs. A cut tree needs a suitable water-holding stand and regular checks, while a living tree needs conditions suited to its species and time indoors. Choose based on care, placement, and your plans afterward, not simply the appearance of the pot.
7. Branch Tree

Do:
- Check the base stability.
- Keep ornaments lightweight.
- Leave the route clear.
Don’t:
- Overload thin branches.
- Use an unstable narrow container.
- Place sharp ends near faces.
A branch-style tree offers a light outline and can hold a small collection of ornaments. Choose a purpose-made stable design or a securely supported arrangement rather than balancing heavy branches in a narrow vase. The sparse shape makes each decoration visible, but it provides less of the dense evergreen look some people prefer.
8. Wall Display Tree
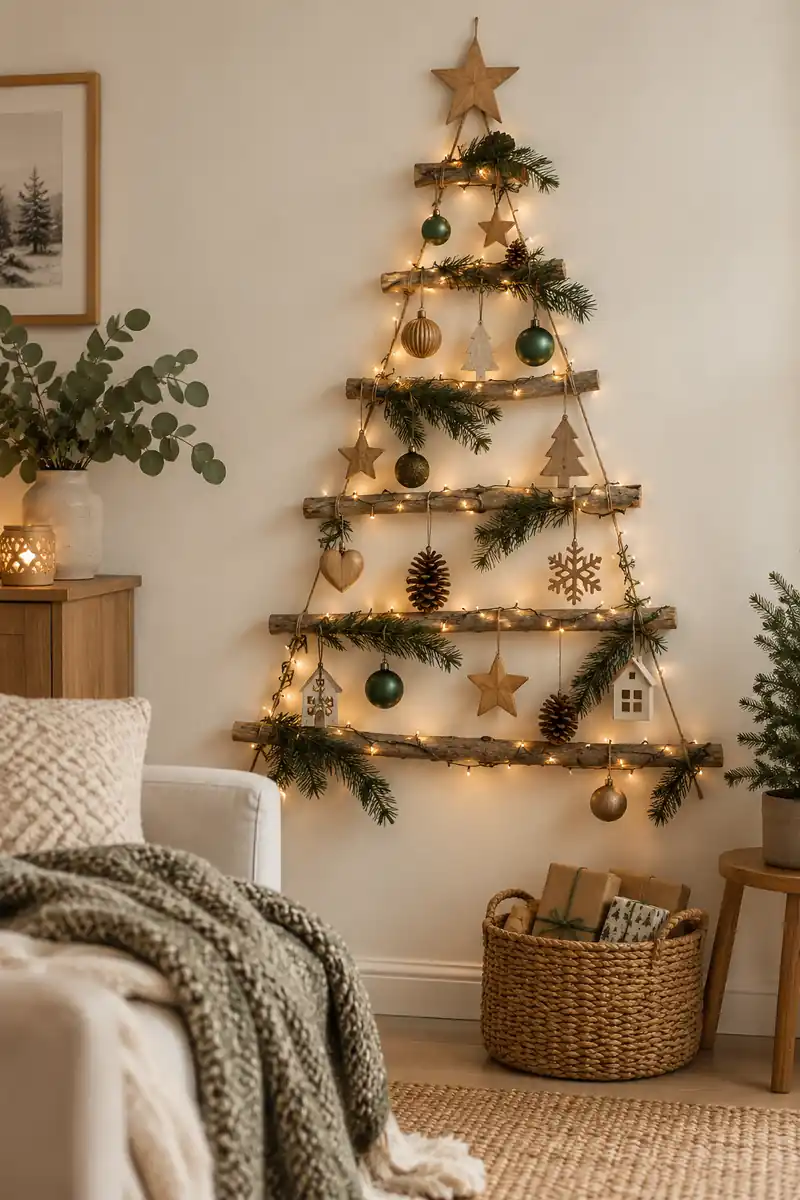
Placement: A permitted clear wall.
Materials: Lightweight purpose-made pieces.
Scale: Within the available wall width.
Care: Follow mounting and removal instructions.
A wall tree can save floor space when the wall and lease allow suitable mounting. Choose lightweight components and a support system appropriate to the surface. The tradeoff is installation and removal work, and you must keep the display away from switches, vents, heat sources, and any required access points.
9. Felt Tree
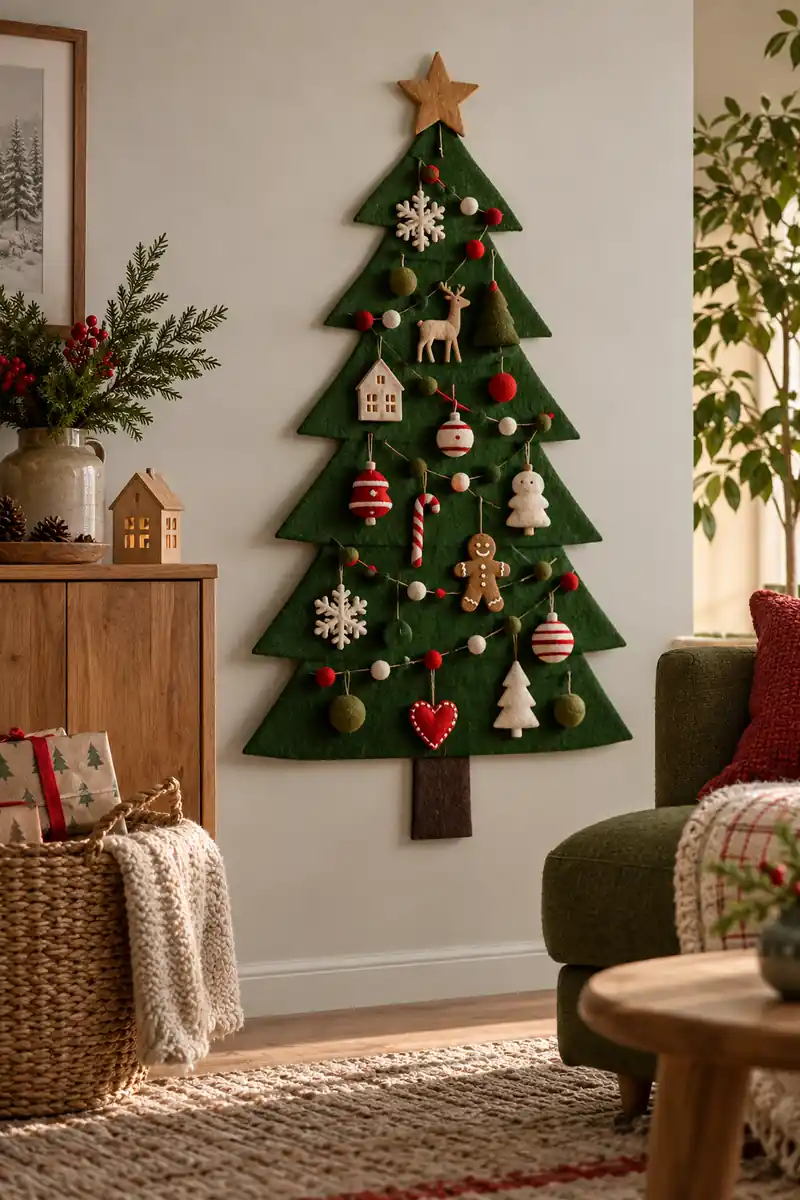
A felt tree provides a soft flat option with little depth. It may suit a small wall area where a full tree would block the route. Choose appropriate mounting, keep detachable small pieces away from young children, and remember that fabric still needs to stay clear of lamps, heaters, and cooking areas.
Measure the wall before choosing the felt shape, leaving clear space around its edges. Use only attachment methods suited to the wall and the weight of the display. Keep its decorations simple so the silhouette remains easy to recognize. Store it flat or rolled according to its construction.
10. Mini Ceramic Tree
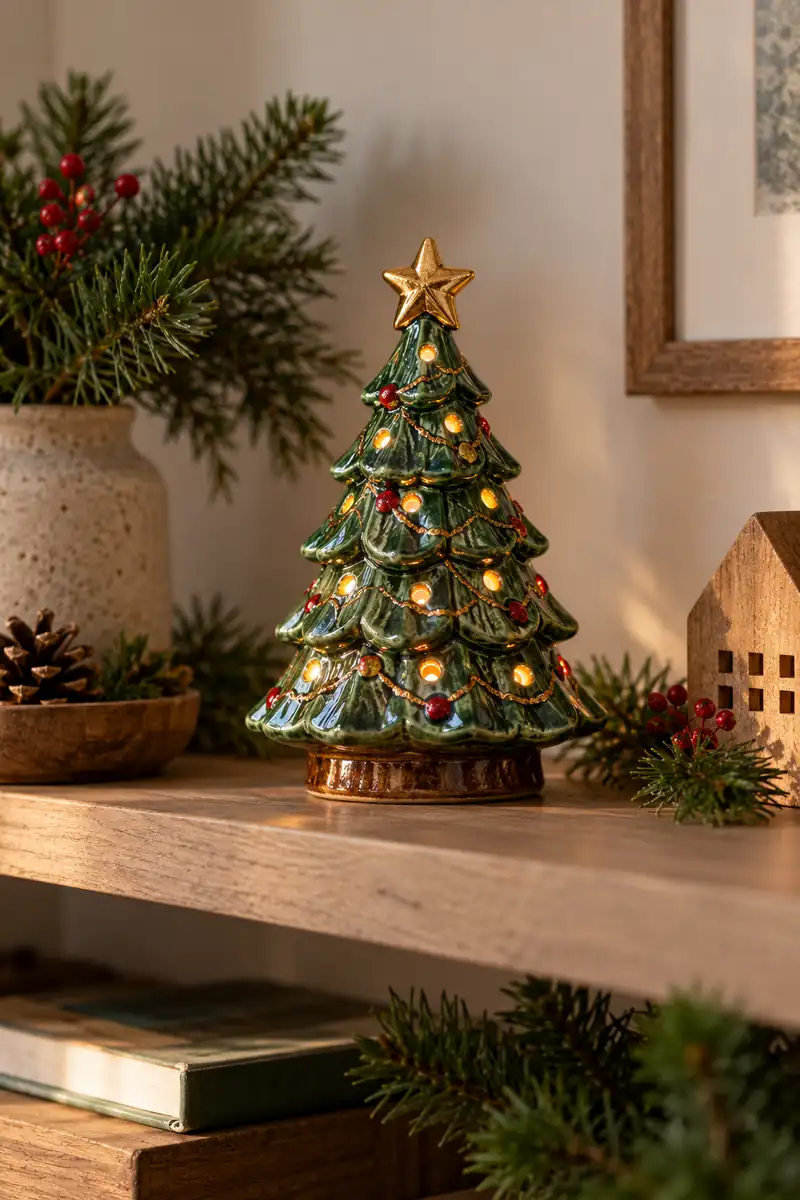
- Check the base size.
- Choose a stable surface.
- Keep cords accessible.
- Store with protective wrapping.
A ceramic tree can create a compact holiday focal point without loose branches or a separate ornament collection. It works best on a stable surface where it cannot be knocked easily. If it lights up, check its power requirements and instructions; the small size does not remove the need for safe electrical placement.
11. Bottlebrush Tree Group
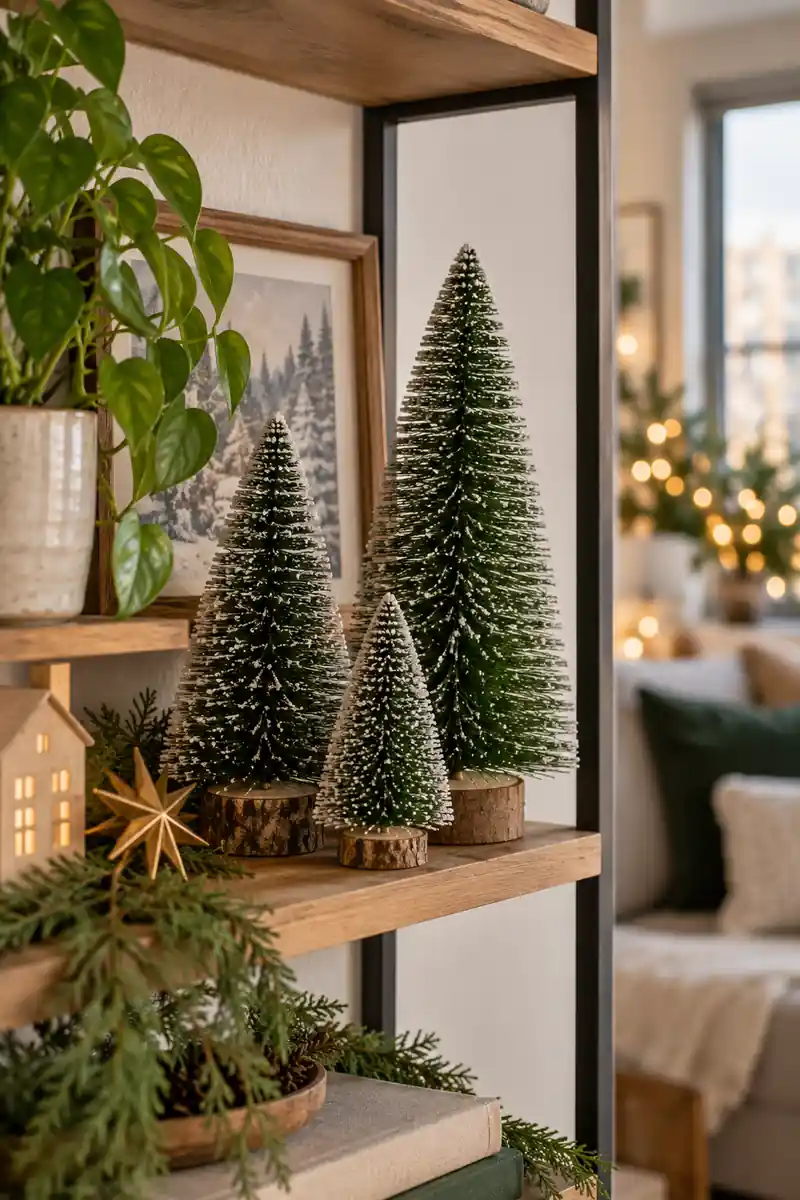
Quick tip: Use a tray or defined shelf section. Keep the tallest tree within the shelf clearance.
A small group of bottlebrush trees can stand in for one larger tree on a shelf. Choose different heights but keep the group contained so it reads clearly. The tradeoff is a miniature look rather than a traditional tree, and the bristles may need careful storage to avoid being crushed between seasons.
12. Prelit Compact Tree
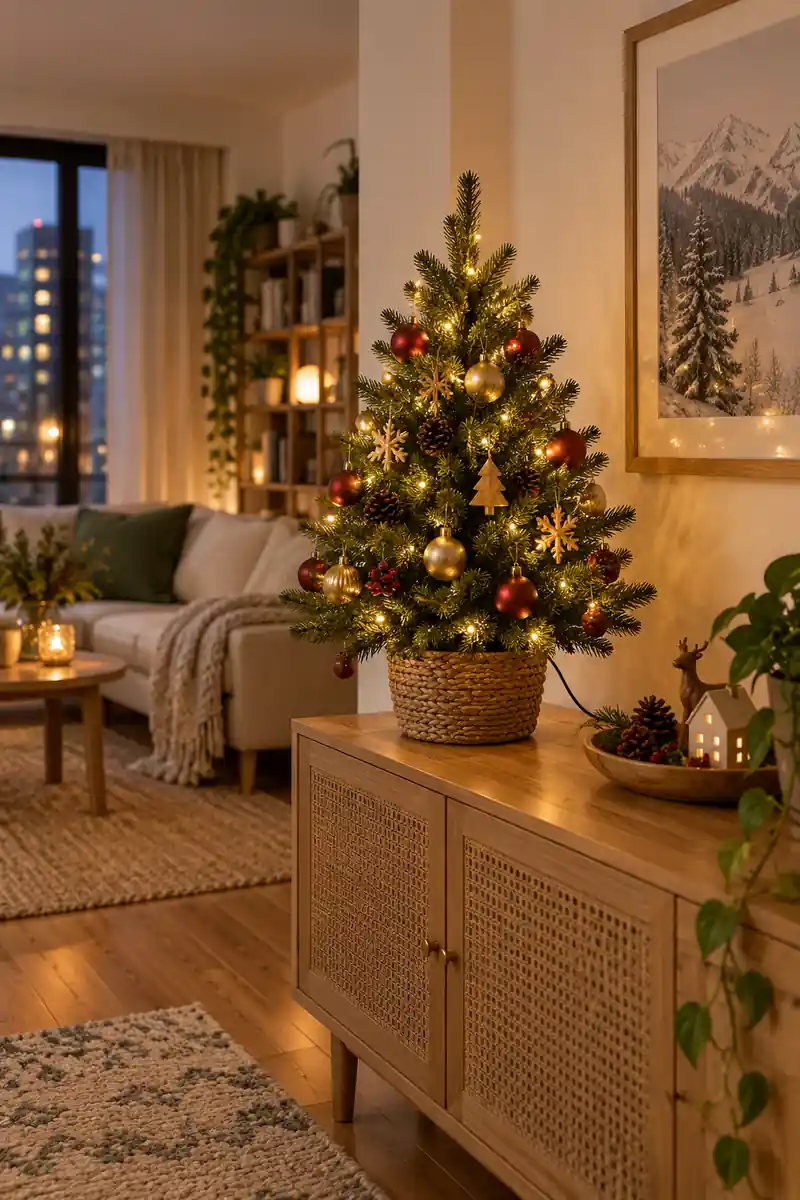
Before: A separate light strand tangles during setup. Its uneven placement takes time to adjust.
After: Built-in lights are already positioned on the compact tree. The power connection remains accessible for safe switching.
A prelit compact tree reduces the need to arrange a separate strand, but it also ties the lighting to that tree. Check replacement options, power requirements, and storage instructions before choosing. Inspect the wiring each season and stop using damaged parts rather than trying to hide them within the branches.
13. Unlit Compact Tree
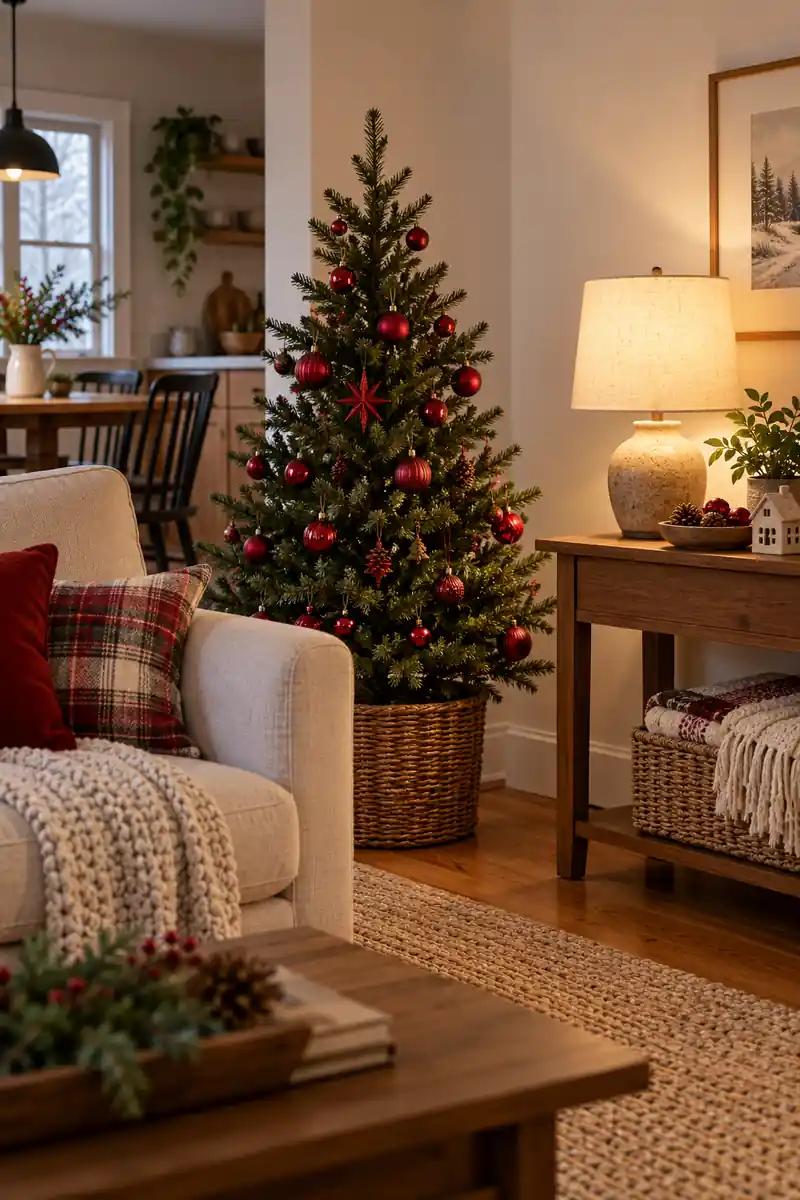
- Choose the tree shape first.
- Try ornaments without lights.
- Check nearby lamp clearance.
- Add only suitable lighting if needed.
An unlit tree gives you more control over the decoration and avoids built-in wiring that may be difficult to replace. It can look attractive with ornaments alone, especially beside an existing lamp. If you add lights later, choose a compatible product and follow both sets of instructions rather than assuming any strand will suit it.
14. Compare Collapsible Trees

Collapsible tree
Placement: Clear floor or cabinet spot
Visual effect: Quick defined outline
Everyday use: Check packing and stability instructions
Conventional small tree
Placement: Similar clear location
Visual effect: More branch styling options
Everyday use: May need a larger storage box
A collapsible tree can make off-season storage easier, but its finished appearance and stability vary. Check how it opens, the strength of its base, and whether decorations must be removed before packing. A folding design is useful only if you have a safe place for it during the holiday as well.
15. Flat Wooden Tree
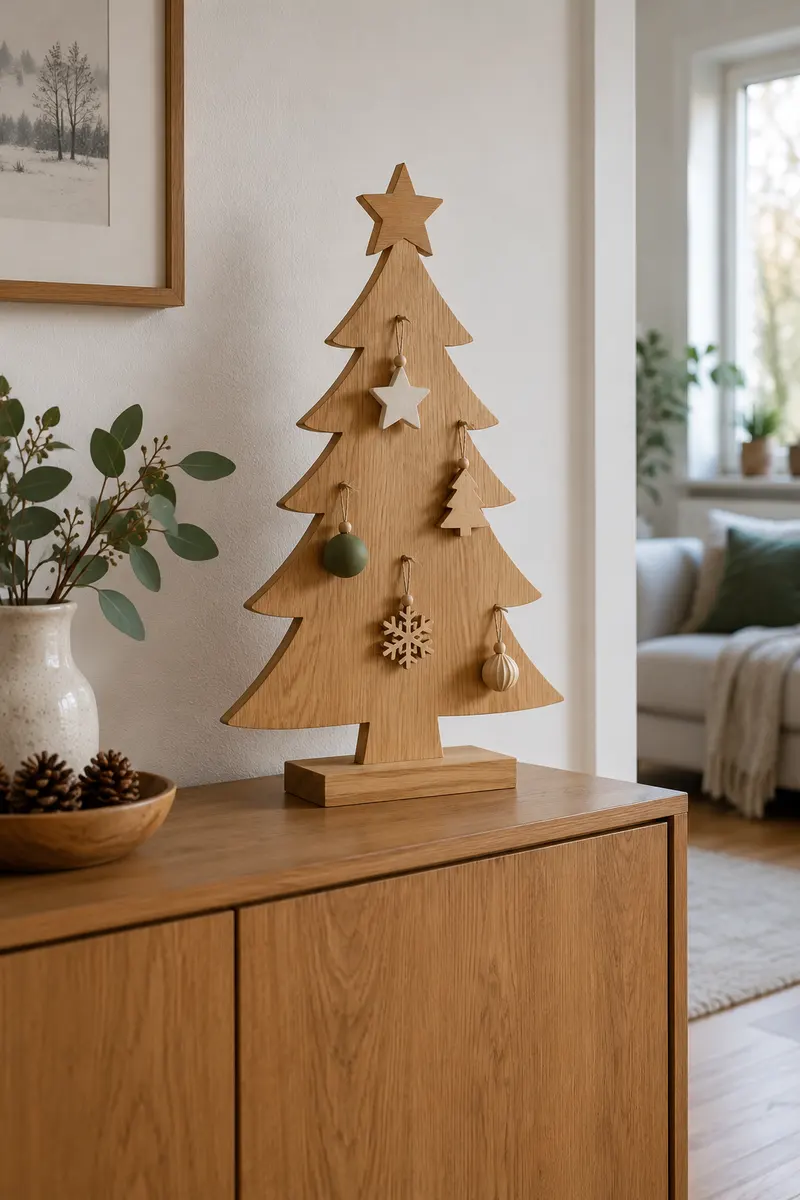
Do:
- Check the base stability.
- Measure the finished depth.
- Keep it back from the edge.
Don’t:
- Add weight beyond its instructions.
- Balance it on a narrow ledge.
- Block a useful working surface.
A flat wooden tree silhouette can suit a cabinet with limited depth. Its solid shape needs few extra decorations, making it a useful alternative to miniature branches. Check the base width and stability, and choose a finish that works with your furniture. The tradeoff is a simple sculptural look rather than evergreen texture.
Frequently Asked Questions
What tree height is best for a studio?
There is no single best height. Compare ceiling clearance, full branch width, stand size, nearby furniture, and storage space before choosing.
Is a tabletop tree always more space saving?
It saves floor space but uses a surface. Choose one only if the cabinet or table can safely hold it without losing an essential everyday function.
Can a wall tree replace a floor tree?
Yes, if suitable mounting is allowed and the wall location is safe. Consider installation, removal, and the weight of every attached piece.
What should I measure before buying?
Measure the available height, width, depth, door swings, and stand footprint. Check the fully assembled dimensions and the packed storage size too.
Conclusion
The right tree is the one that fits your home before and after the holiday. Compare its full width, stand, safe placement, and storage needs rather than choosing by height alone. A tabletop tree, a slim floor tree, or a permitted wall display can each work in the right studio. Check the room with doors and drawers open before buying. If your sleeping area already feels tight, these bedroom zone ideas can help you protect that part of the layout. Choose a tree you can decorate, enjoy, and put away without making ordinary life harder.
Community
Join the conversation
Add a useful idea, ask a specific question, or share what worked in your space. Every comment is reviewed before it appears.