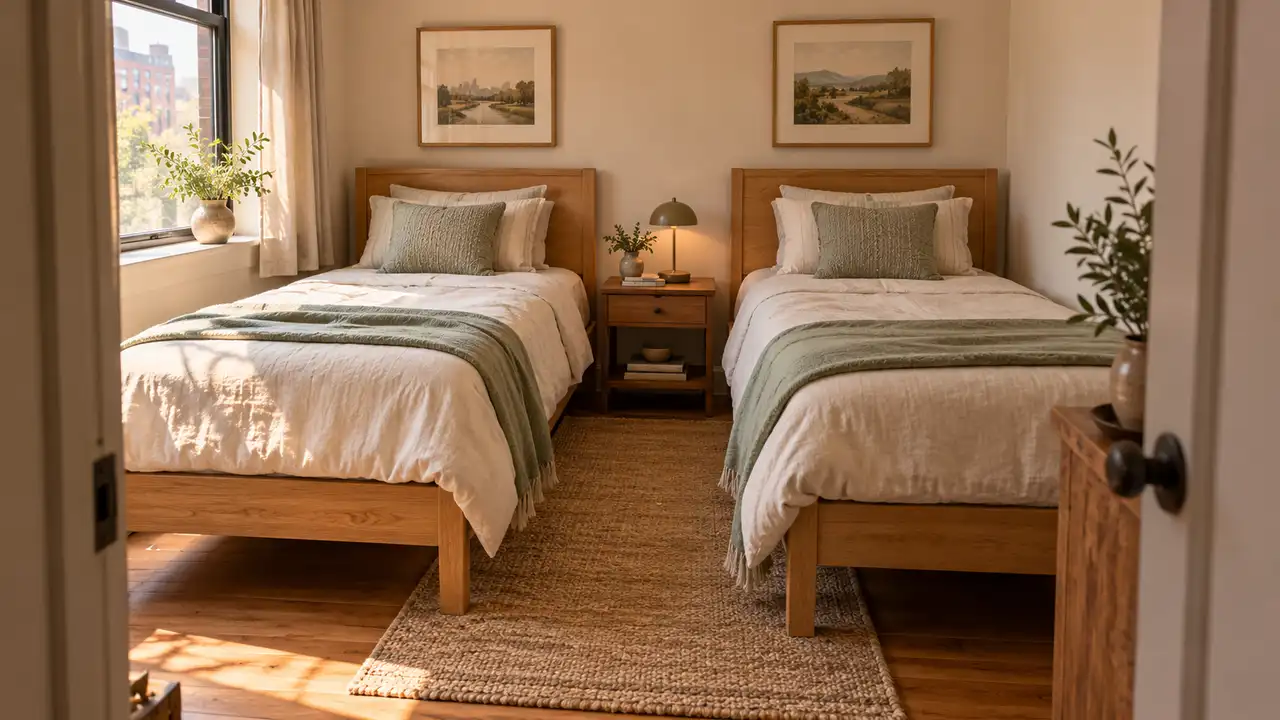
Small bedroom layouts with 2 beds can look lovely in photos, but the useful question is simpler: can both people get in, get dressed, and reach their belongings without a daily shuffle? Two real beds can work beautifully in a compact bedroom when their positions follow the room’s doors, windows, and storage.
Start with the actual outside dimensions of each frame, including headboards and projecting corners. Mark door swings, heating equipment, and the space needed to open drawers before deciding where the beds belong. These arrangements offer different ways to organize a guest room, sibling room, or shared adult bedroom. The images are inspiration rather than measured plans, so test your chosen arrangement in your own room and keep window access and the route out unobstructed.
1. Parallel Twin Aisle
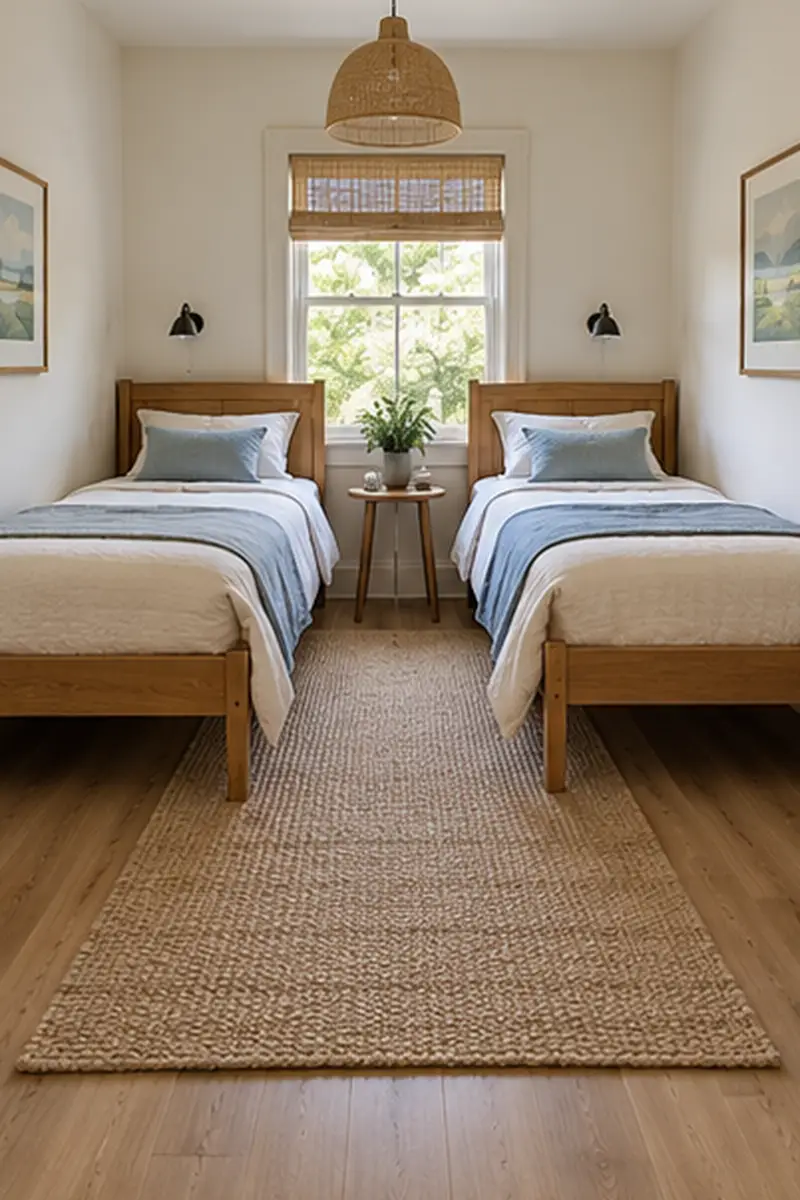
Two beds with their headboards on the same wall create an easy starting point for a shared room. Run them parallel and give the middle gap a clear purpose as the everyday walking aisle. Simple frames without projecting footboards help the entrance to that aisle feel less crowded immediately.
Test the arrangement with both sleepers getting out of bed at once. The useful gap depends on your furniture and mobility needs, rather than the apparent width in a photograph. Keep laundry baskets elsewhere, and choose bedding that stays on the mattress instead of trailing into the shared passage.
2. L-Shaped Corner Beds
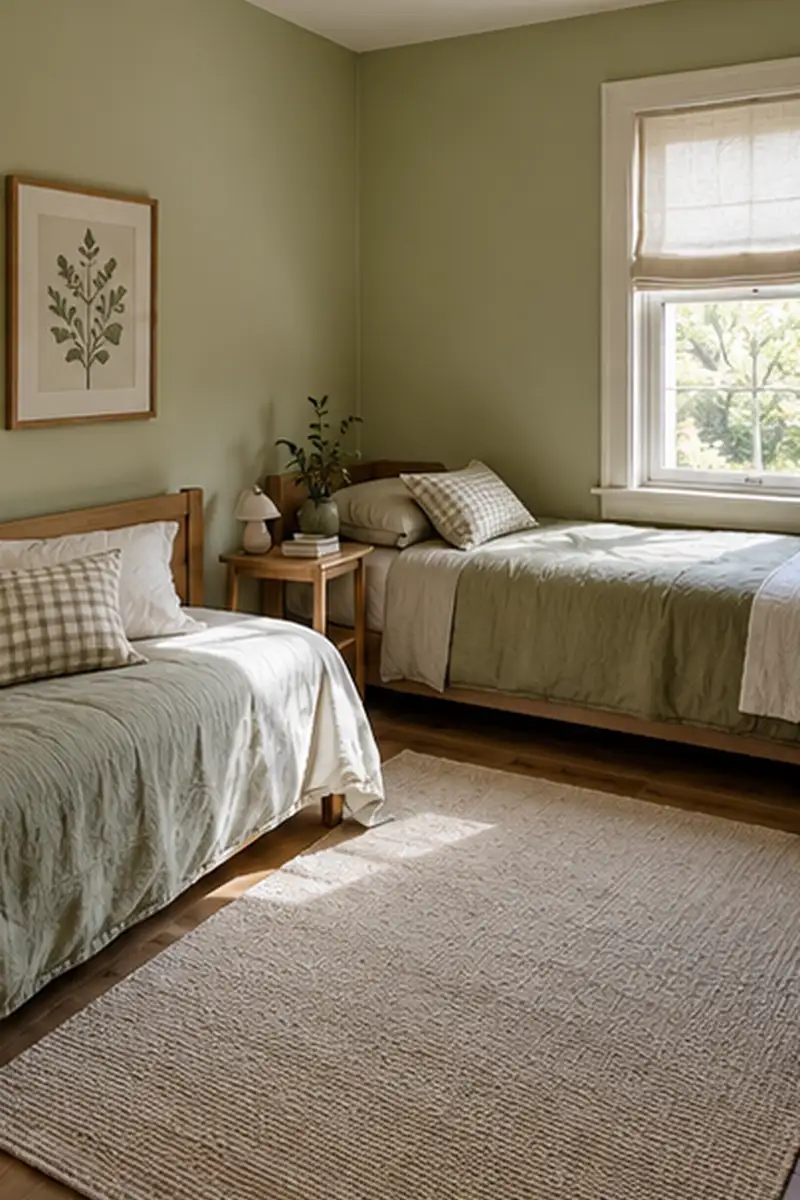
- Place the two beds along adjacent walls to leave a more open middle.
- Use their complete frame dimensions to check that the corner connection fits.
- Let a small bedside surface occupy the corner only if both sleepers can reach it comfortably.
- Keep each mattress accessible from the room rather than wedging one behind the other.
An L arrangement works especially well when the bedroom is nearly square. It gathers the sleeping furniture around an edge and leaves a useful patch of floor for dressing. Try the pillow positions before settling everything, since nearby heads may make different bedtime routines more noticeable to both people.
3. Foot-To-Foot Row
Quick Tip:
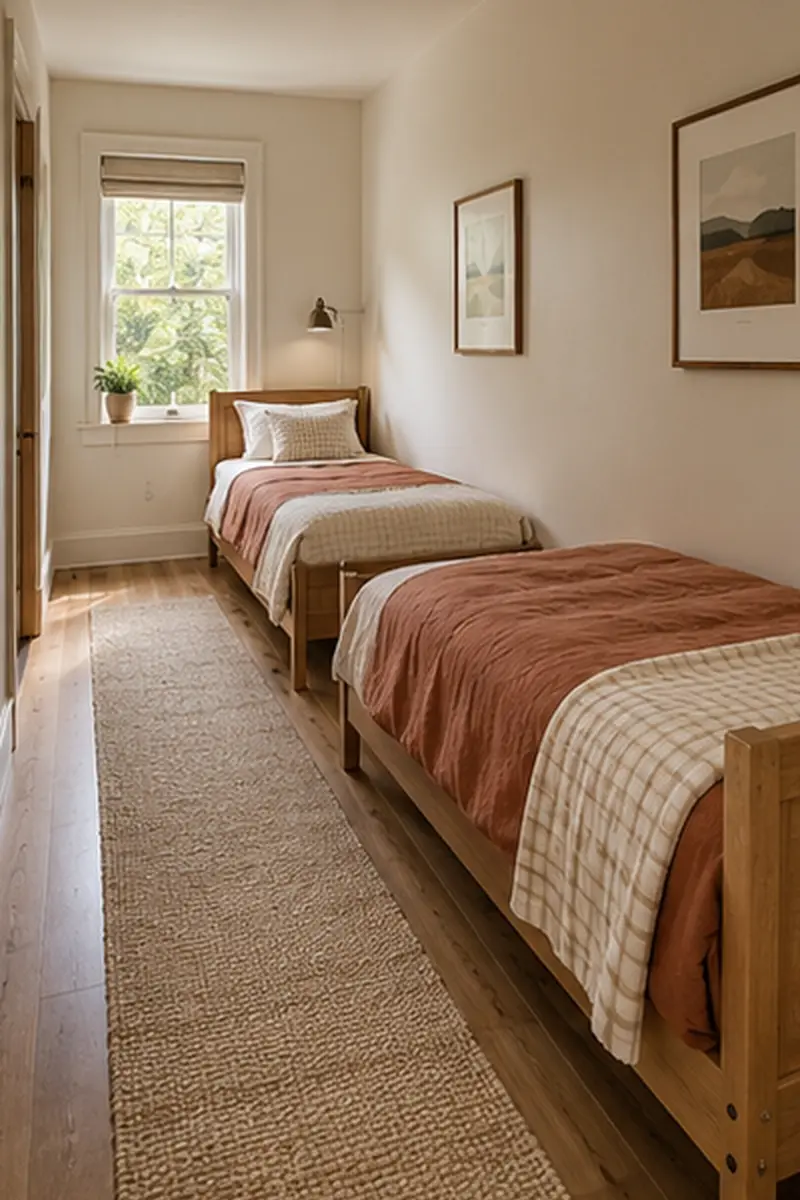
A long wall can sometimes hold two beds end to end. Put their feet toward one another and their heads at opposite ends. Confirm the full combined length before moving either frame.
This arrangement needs an unusually long usable wall, so treat it as an option for a narrow room rather than a universal shortcut. Leave a gap between the foot ends and an uninterrupted aisle alongside both mattresses. Keep the far sleeper’s route clear all the way to the bedroom door.
4. Opposite Wall Beds
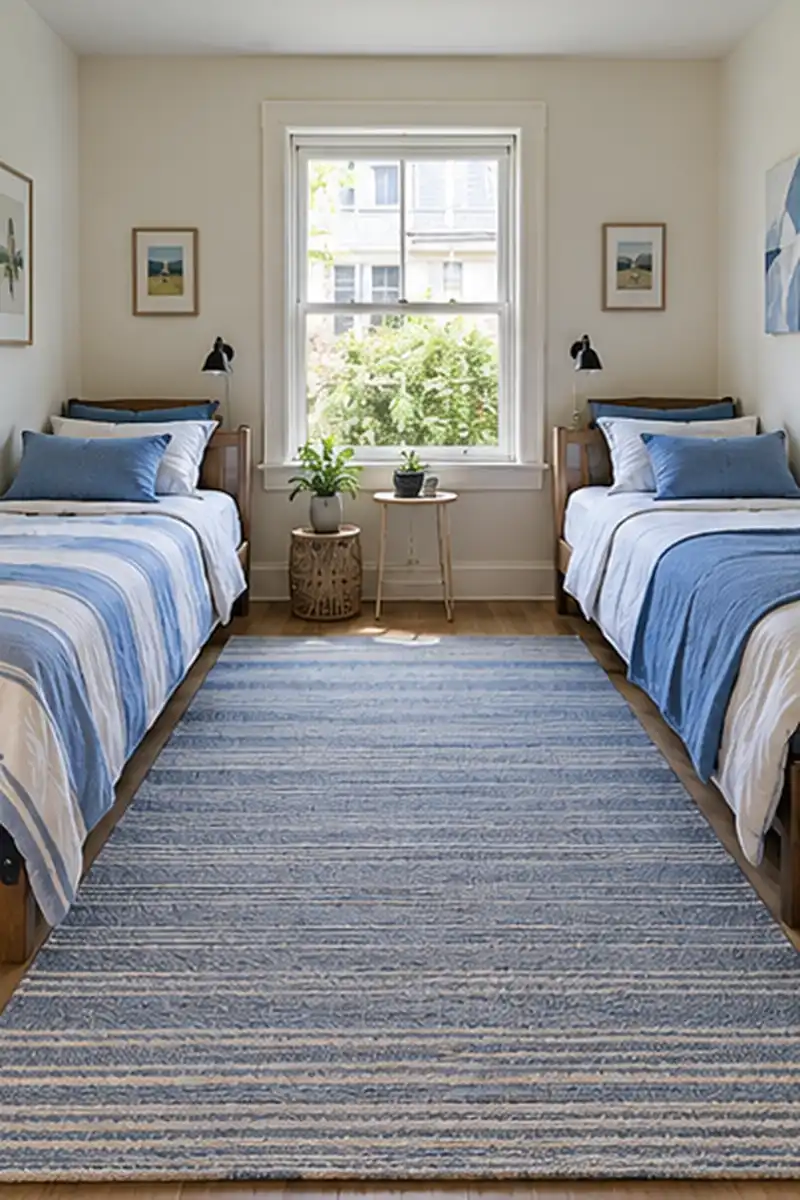
BEFORE: Both beds crowd one side of the room. The remaining furniture squeezes into disconnected pockets around their corners.
AFTER: One bed sits along each long wall. A shared strip of floor runs between them, making the middle of the room easier to use.
Use this configuration when both side walls offer enough uninterrupted length. A modest rug can make the center comfortable underfoot without adding furniture. Keep its edges flat, and check how the bedroom door opens beside the nearest bed. A clear middle loses its value if the entrance stays awkward.
5. Offset Twin Positions
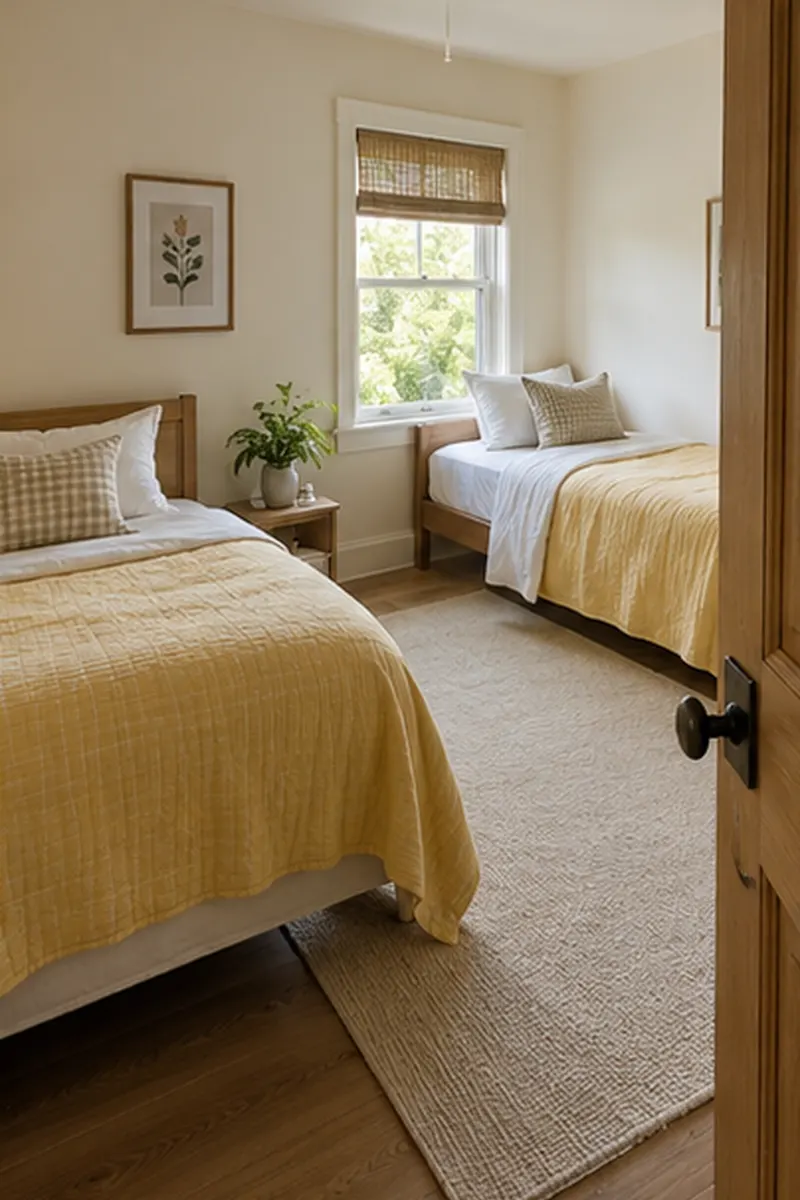
- Mark the door swing and the place where someone stands after entering.
- Set the first bed against the longer usable wall section.
- Slide the second bed farther back so its near corner leaves the entry landing open.
- Check that both beds remain easy to reach without turning sideways around a frame.
Perfect symmetry is less important than an easy arrival. Offsetting the beds can make a room with an awkwardly placed door feel much calmer. Repeat a bedding color or wood finish to connect the pair visually, while letting their positions respond to the actual shape of the available floor.
6. Shared Center Nightstand
| Detail | One Shared Table | Two Separate Tables |
|---|---|---|
| Footprint | One central furniture position | A surface beside each bed |
| Daily storage | Needs a fair division | Each person keeps personal items |
| Best fit | Beds with adjacent head ends | Layouts with usable outer corners |
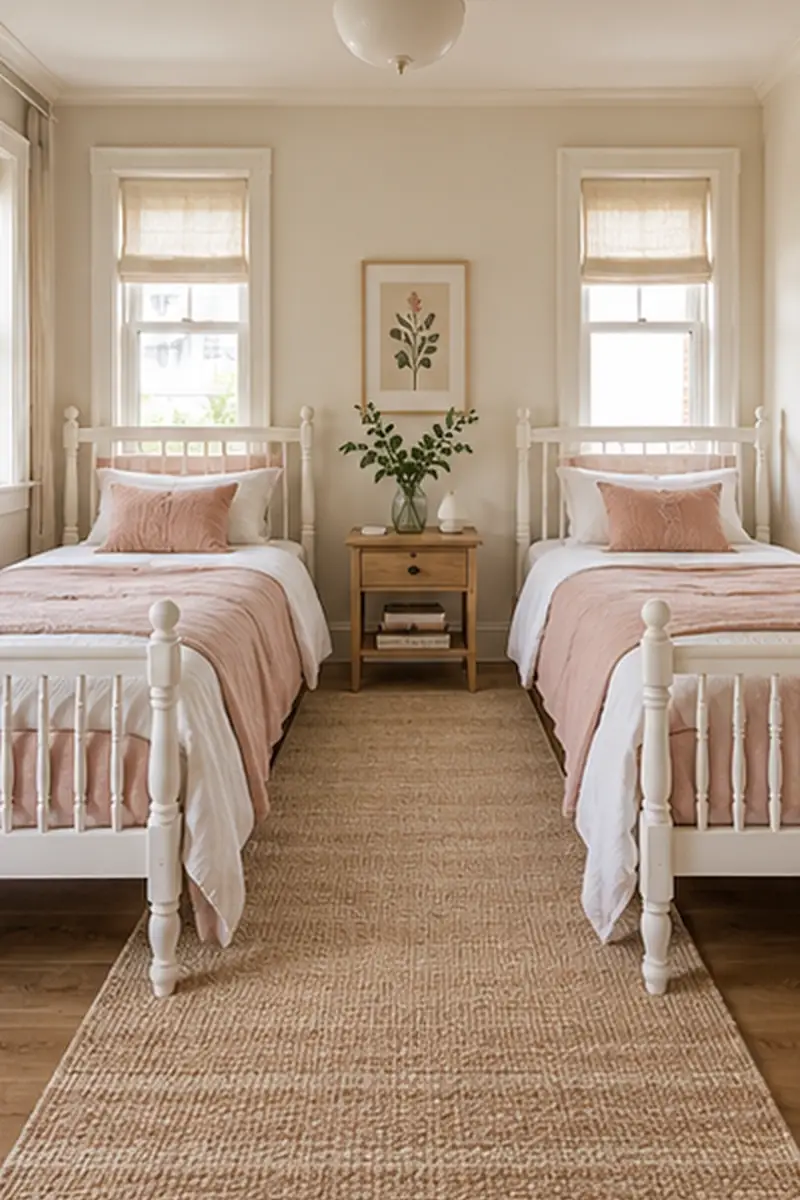
A shared table can serve two sleepers without adding another piece near the entrance. Divide its top into two simple landing spots, and make sure neither person has to reach across the other side. Choose a modest depth so the table ends near the pillows, leaving the center aisle open.
7. Door-End Landing
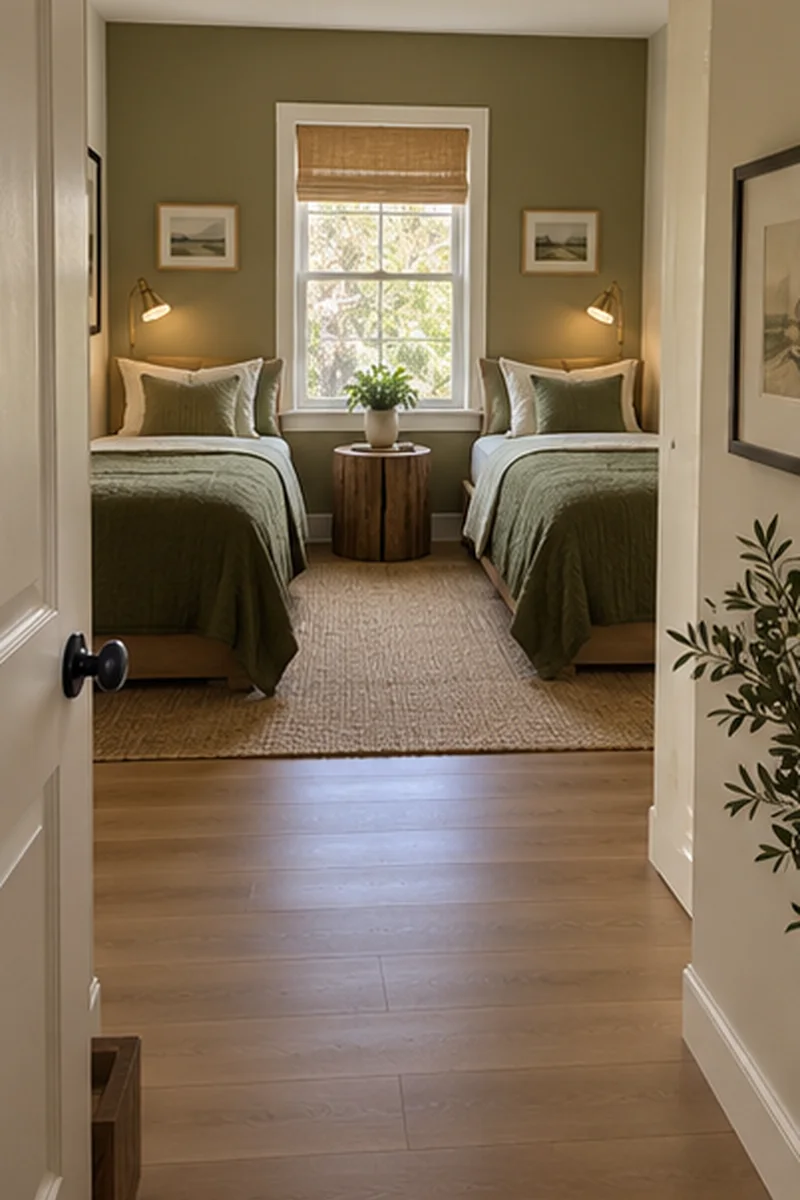
DO
- Leave a clear place to stand just inside the bedroom.
- Check the door through its full normal swing.
- Keep the nearest bed corner visible and easy to pass.
DON’T
- Store bags behind the open door.
- Let a bedside table project into the entrance.
- Rely on keeping the bedroom door permanently half open.
The first few steps into a room influence how crowded it feels. Move both beds away from the entrance if their lengths and the opposite wall allow it. This small landing gives you somewhere to turn with bedding or shopping bags, and keeps arrivals from interrupting someone already sitting down.
8. Window-End Cross Aisle
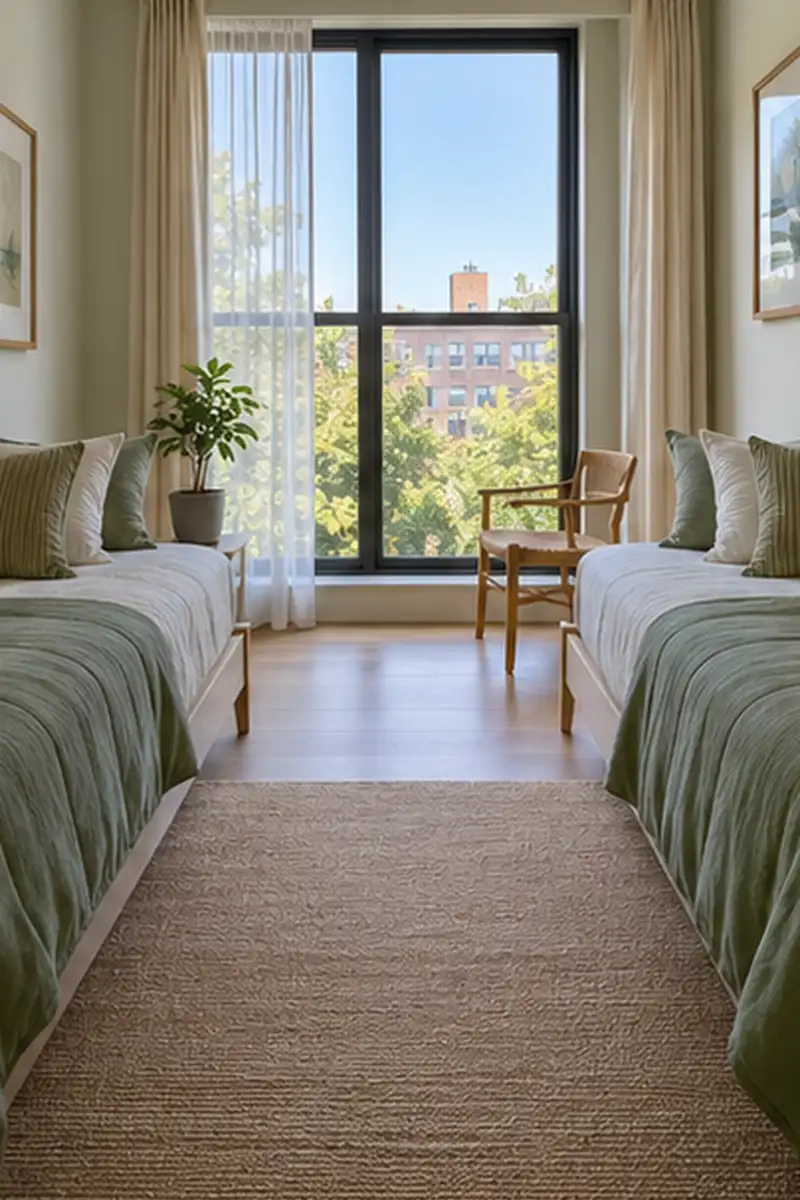
Position: Stop both bed frames before the window wall.
Connection: Leave a usable path across their far ends.
Access: Keep window controls and curtains within easy reach.
Check: Maintain required clearance around any heater or vent.
A cross aisle connects the two sides of the bedroom without sending every journey back toward the door. It also makes window access less of a climb. Use the gap deliberately, keeping plants and baskets off the floor there. Follow appliance instructions if heating equipment occupies part of that wall.
9. Corner-Balanced Nightstands
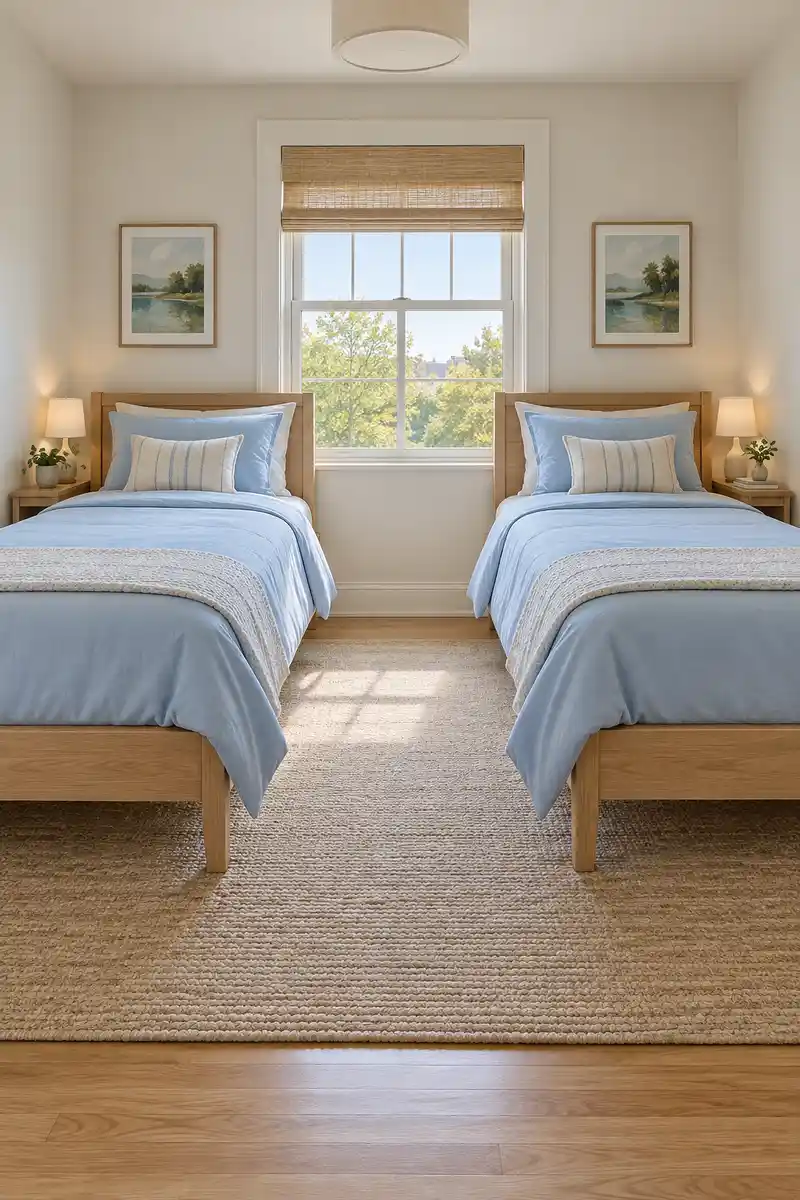
Give each person a bedside landing without filling the middle of the room. Position a compact table on the outer side of each bed, close to the headboard. The two surfaces can differ in shape while offering comparable room for water, glasses, and a book before lights go out.
Choose the table after measuring its corner, rather than buying a matching pair first. Check that its legs and top remain outside the sleeping and walking areas. If one corner is smaller, a simple narrow stand may work better there than a cabinet whose drawer cannot open fully anyway.
10. Dresser At The Foot
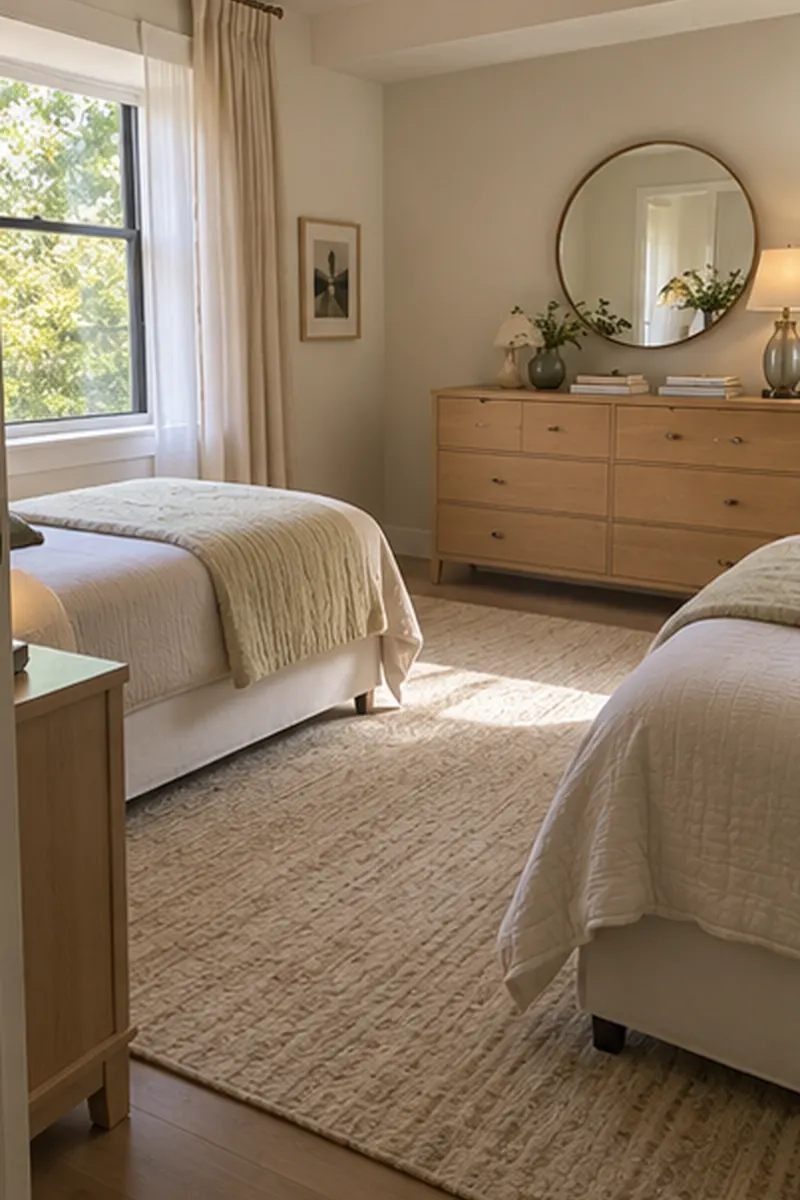
- Place a shallow dresser against the wall opposite the beds when that wall is available.
- Leave room to stand and open drawers without pressing against either mattress.
- Keep the dresser top restrained so it remains easy to use.
- Follow the maker’s anchoring instructions and obtain any required permission for wall fixings.
A single shared dresser can keep clothing storage in one predictable place. Assign drawers before filling them, then test the route with the widest drawer open. Furniture anchoring still matters for low dressers; consult CPSC’s Anchor It guidance and the product instructions rather than judging stability from appearance alone.
11. Paired Storage Beds
Quick Tip:
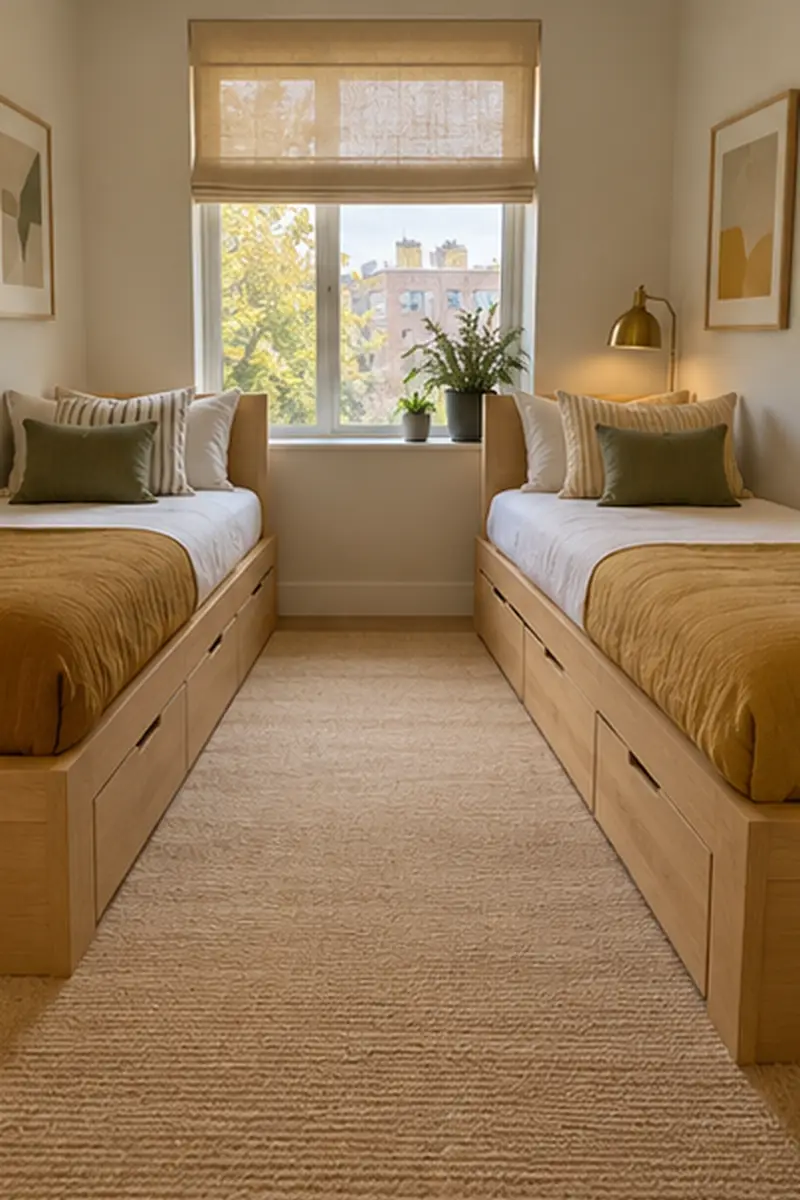
Built-in drawers change the space a bed needs when you use it. Tape out the open drawer positions as well as the frame. Check one bed’s storage without assuming the other side works the same way.
Storage beds can reduce the need for a separate chest, but their drawers should open into genuinely available floor. Choose the drawer orientation around your layout and daily routine. Keep frequently used clothing on the easiest side, and avoid filling a difficult corner with items that need constant access.
12. Low Matching Daybeds
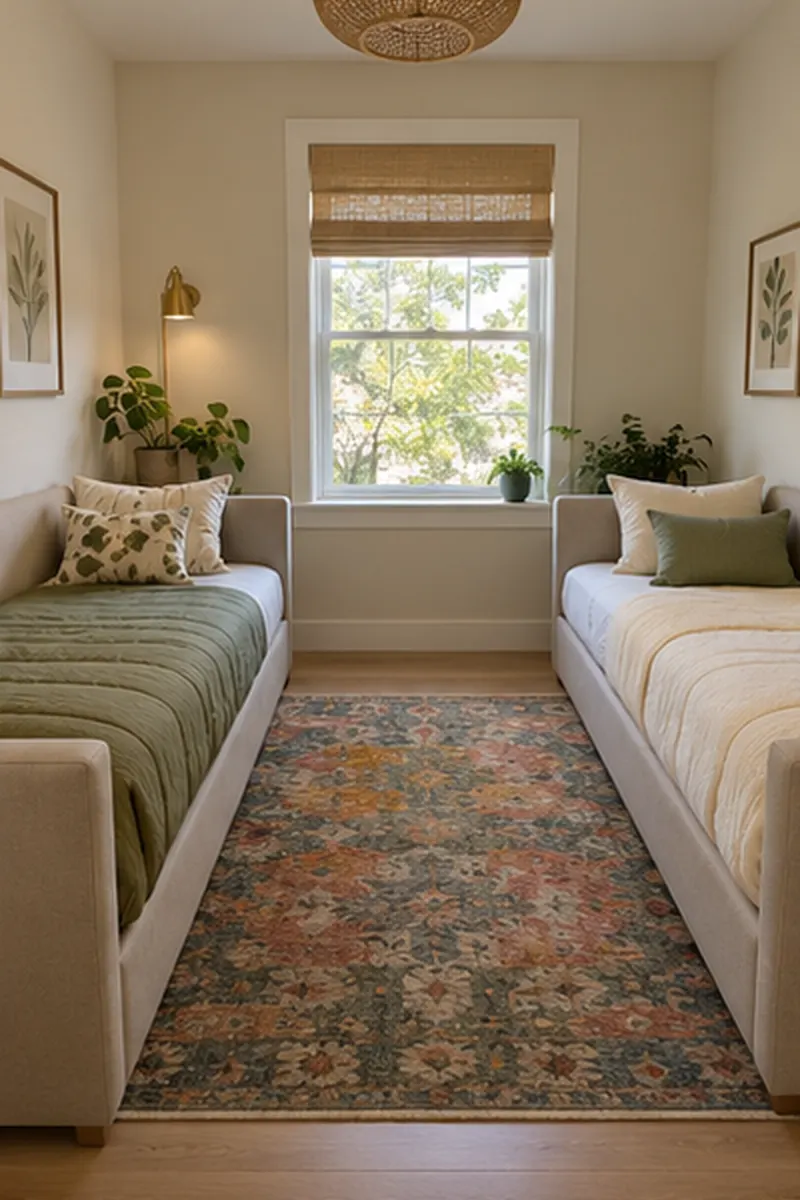
BEFORE: Tall footboards and heavy frames make the beds dominate the room. Sitting down during the day feels awkward without another chair.
AFTER: Two low daybeds line opposite walls. Their ordinary mattresses provide separate sleeping places, while slim backs make the edges useful for daytime sitting.
Check the actual mattress size and frame dimensions before choosing daybeds. Some decorative models offer much less sleeping space than their photos suggest. Limit the extra cushions so converting each bed for the night stays simple, and leave the center clear instead of adding a coffee table between them.
13. Twin And Full Pair
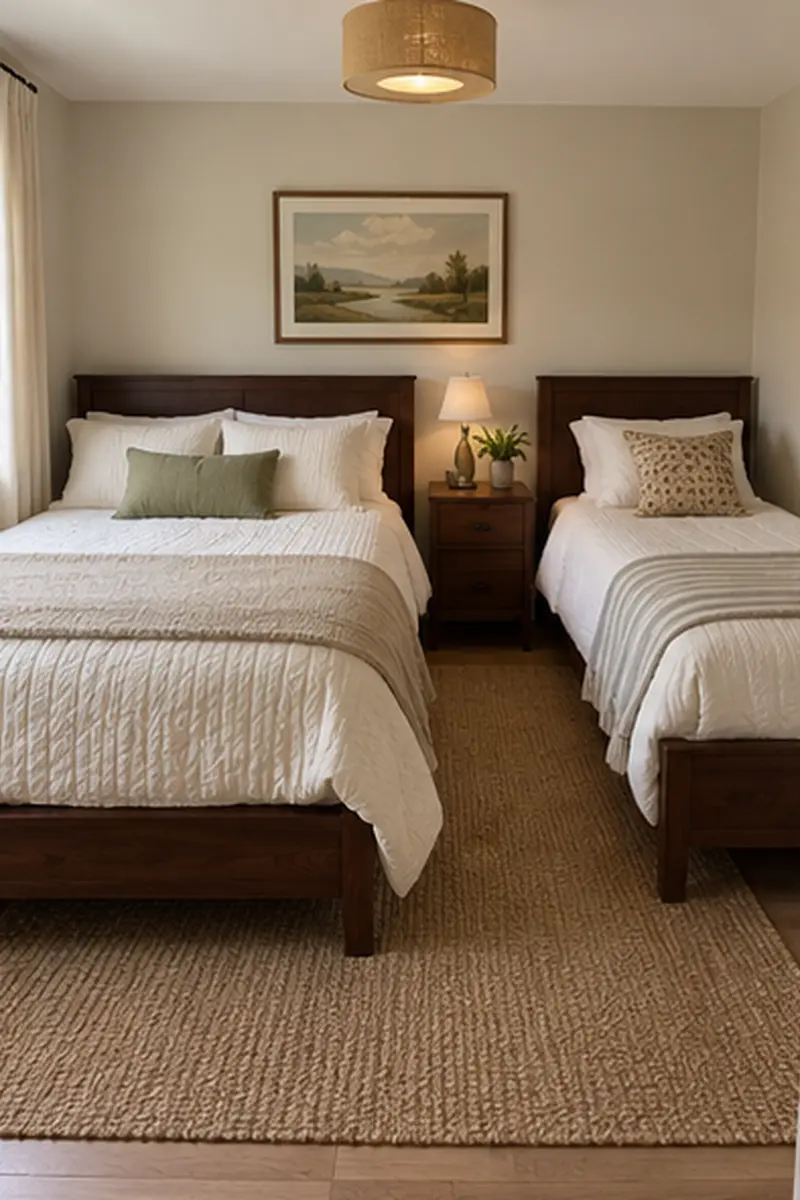
- Decide whether one sleeper genuinely needs a wider mattress.
- Mark the complete footprint of the full bed first.
- Fit the twin on the opposite side with a comfortable path to both sleeping places.
- Give each person a reachable bedside surface even if the two sides look different.
Two beds do not have to share a width. A twin and a full can suit guests with different needs, provided the larger frame leaves workable circulation. Compare actual products instead of relying on mattress labels alone. Matching bed heights and related bedding help unequal widths look considered together.
14. Split Headboard Walls
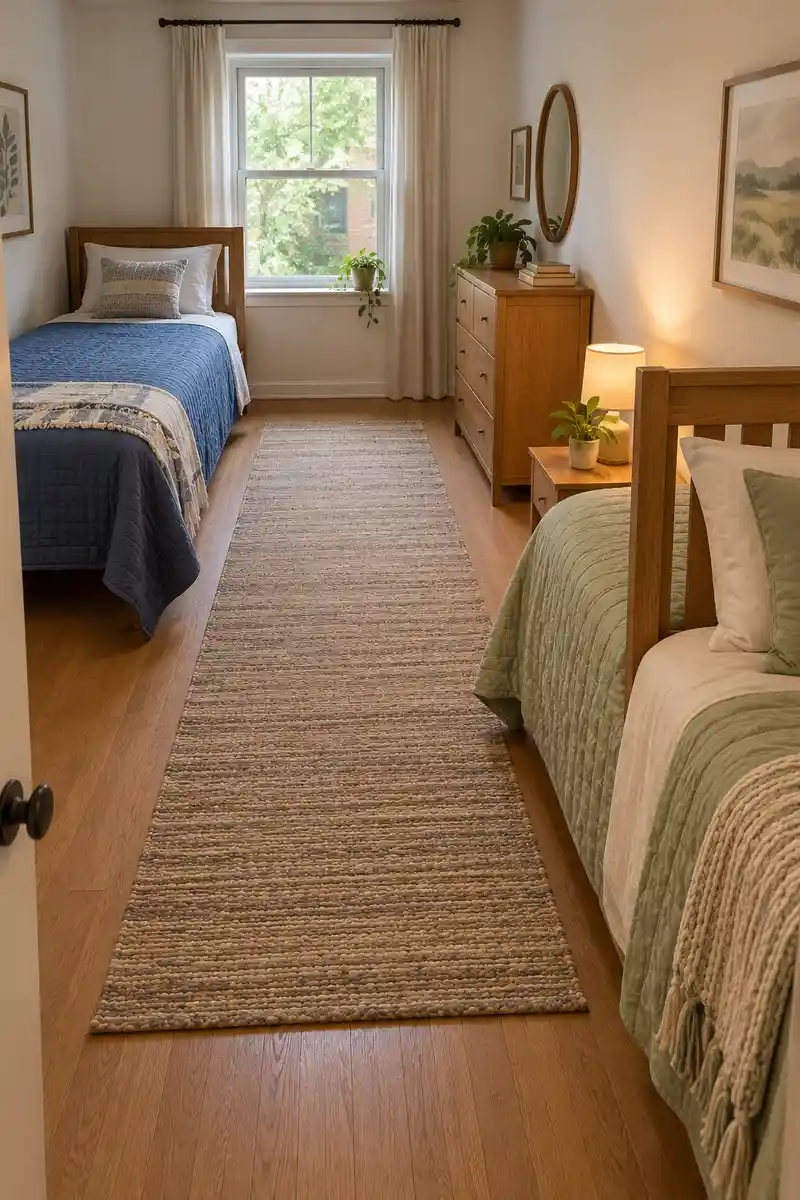
| Question | Heads Together | Heads At Opposite Ends |
|---|---|---|
| Bedside setup | Can share a central surface | Needs separate reachable surfaces |
| Daily routines | Both pillows occupy one zone | Sleeping positions are more separated |
| Wall use | Requires one useful headboard wall | Spreads headboards across two walls |
Reversing one bed can help roommates who prefer a little more separation at pillow level. Keep both mattresses accessible from the center, and plan lighting for the new positions. Check the view and reach from each pillow before moving furniture permanently, especially where an outlet or window limits your choices.
15. Desk Between Beds
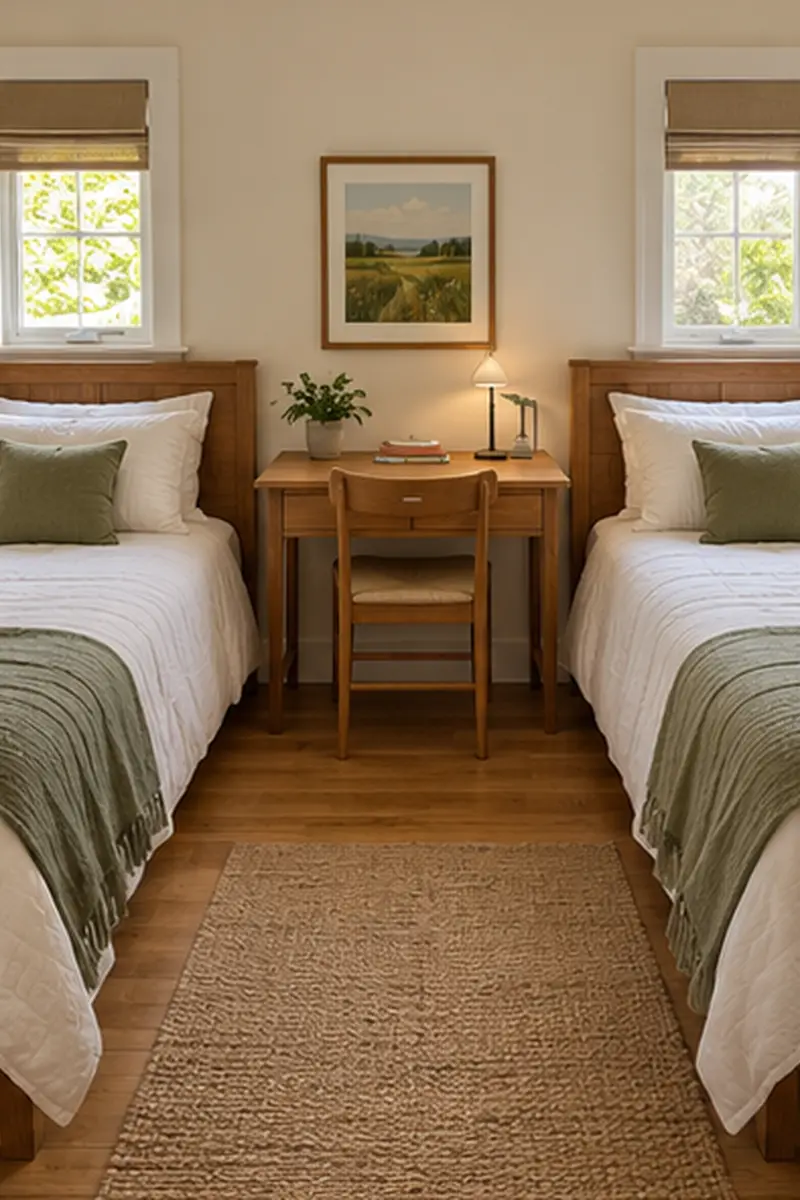
DO
- Use a shallow desk that fits between the head ends.
- Test the chair while someone walks past the beds.
- Keep the desktop clear enough for its intended task.
DON’T
- Let the chair become a permanent aisle obstacle.
- Route charging cables across the floor.
- Assume one small desk comfortably supports two simultaneous workers.
A central desk can serve occasional writing, homework, or a laptop session without taking another wall. It works best when the beds leave more than a narrow bedside gap. Agree on shared use, and push the chair back into its place after working so the room returns to a sleeping layout.
16. Closet-Side Passage
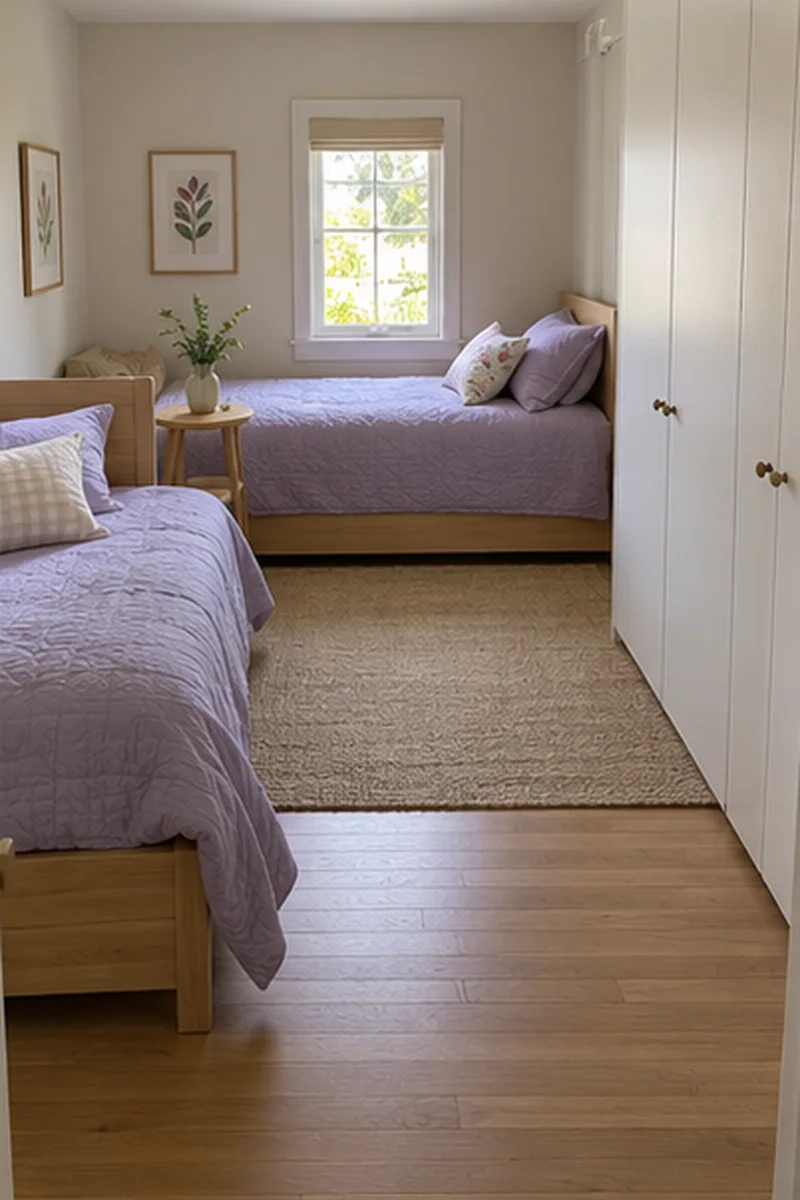
Priority: Reach the wardrobe without crossing someone else’s bedside.
Layout: Group the beds away from the wardrobe approach.
Door test: Open every storage door through its normal range.
Daily test: Stand at the storage while the other person passes.
Clothing storage deserves its own working space. An L arrangement or a carefully offset pair can leave a clear passage beside the wardrobe. Try the morning routine together before calling the layout finished. A room feels fairer when one sleeper does not need to move every time someone gets dressed.
17. Open Center Floor
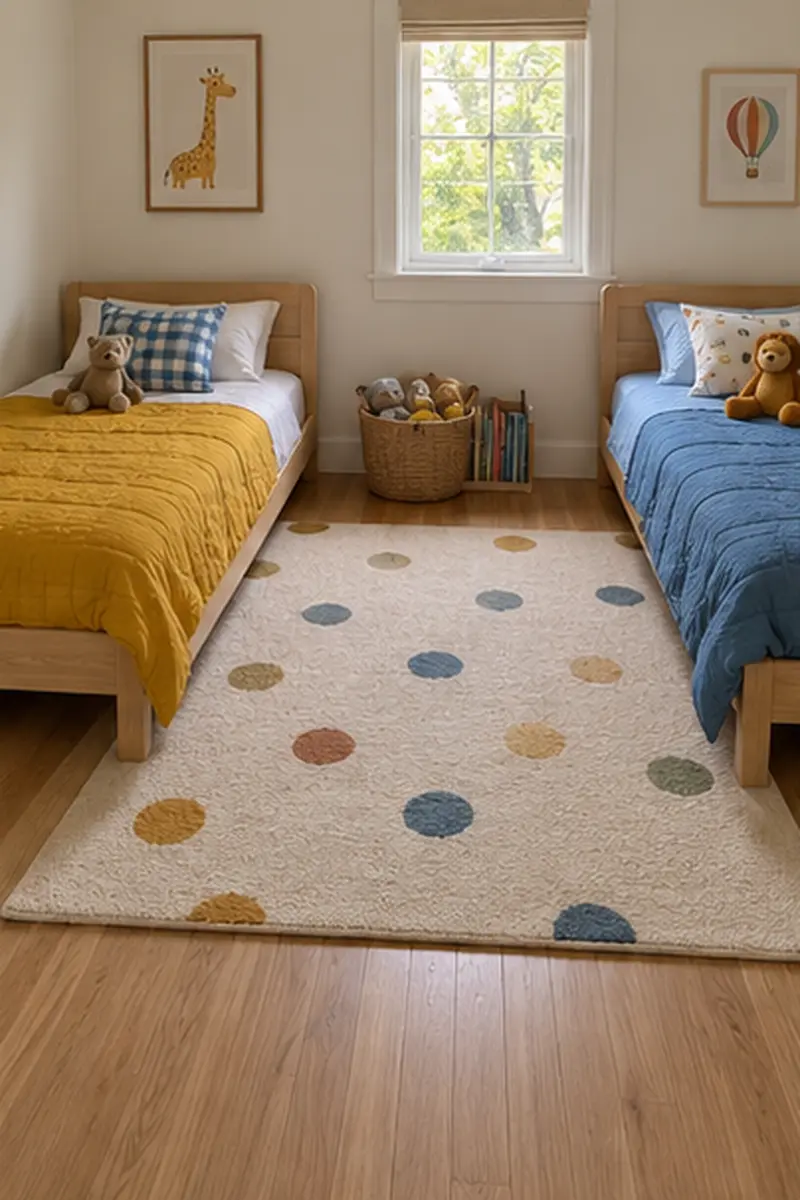
A shared children’s bedroom benefits from somewhere to sit, build, or sort a school bag without climbing onto the beds. Place two low beds along the room’s edges and keep the middle modestly furnished. A flat rug defines that open area while leaving the sleeping places easy to reach.
Store everyday toys in a manageable low basket outside the main route, rather than lining every wall with cabinets. Secure storage furniture according to its instructions and keep heavy objects away from sleeping positions. Let the available floor guide activities, and reassess the arrangement as the children’s needs change.
Conclusion
A good layout for two beds should make ordinary routines feel easier for both sleepers. Start with the arrangement that suits the door and storage positions, then check every route with the real furniture dimensions. Give each person a comfortable way into bed and a sensible home for everyday belongings. One change, such as offsetting a frame or removing an unnecessary table, may be enough to improve the whole room. Mark the most promising setup on the floor with tape before moving any furniture, then try it for a few nights.

Community
Join the conversation
Add a useful idea, ask a specific question, or share what worked in your space. Every comment is reviewed before it appears.