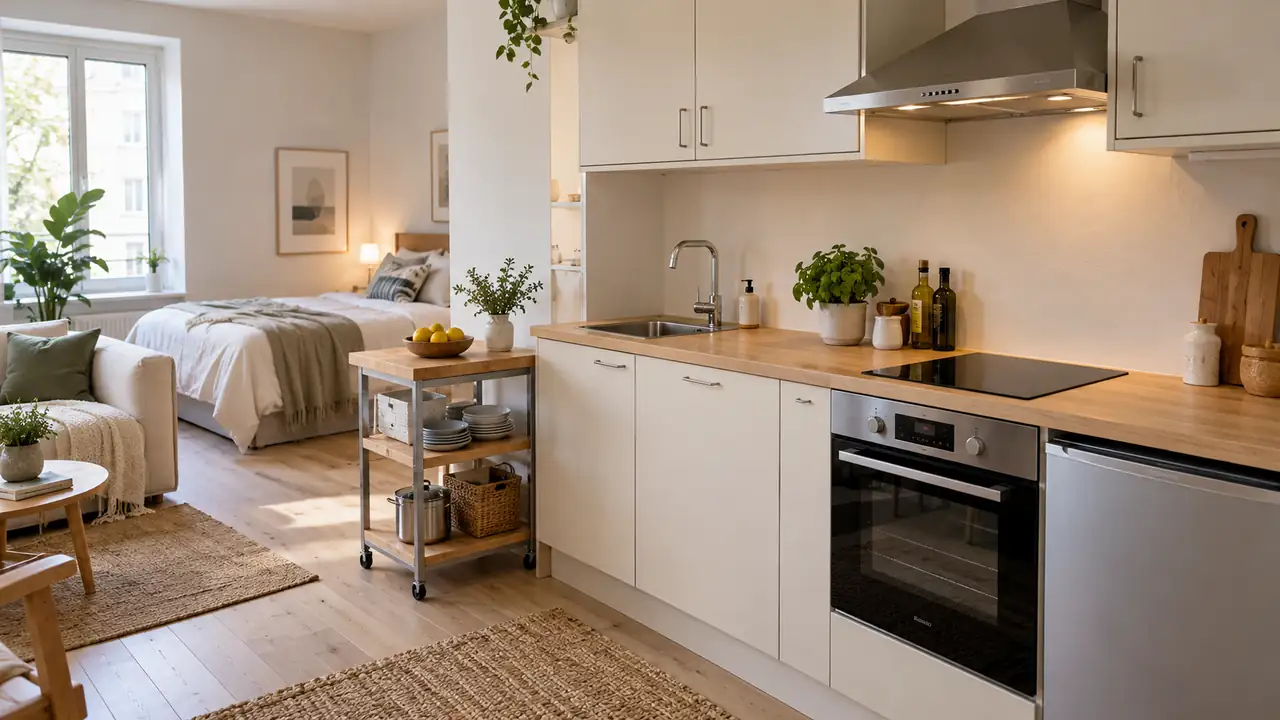
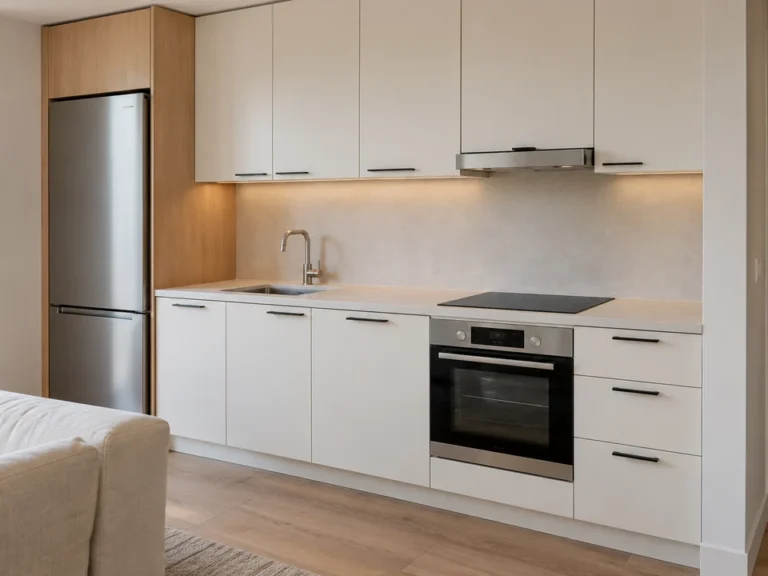
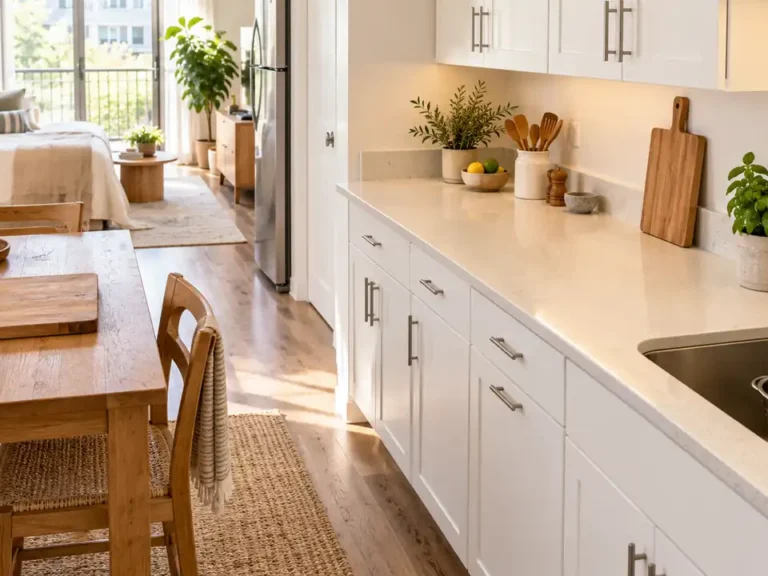
The challenge in studio apartment kitchens is often the gap between having a counter and having a counter you can actually use. A toaster, dish rack, and collection of bottles can leave only a narrow strip for chopping, even when the cabinetry looks tidy. The most helpful changes protect a workable surface and make it easy to keep that surface clear.
These fifteen ideas concentrate on the places your hands need room: beside the sink, in front of a cutting board, and near the refrigerator. Some simply relocate an awkward object. Others add a supported temporary surface where the layout allows it. Choose the changes that suit your cooking habits, rental permissions, and existing kitchen, then test them during an ordinary meal before buying more organizers.
1. Central Prep Rectangle
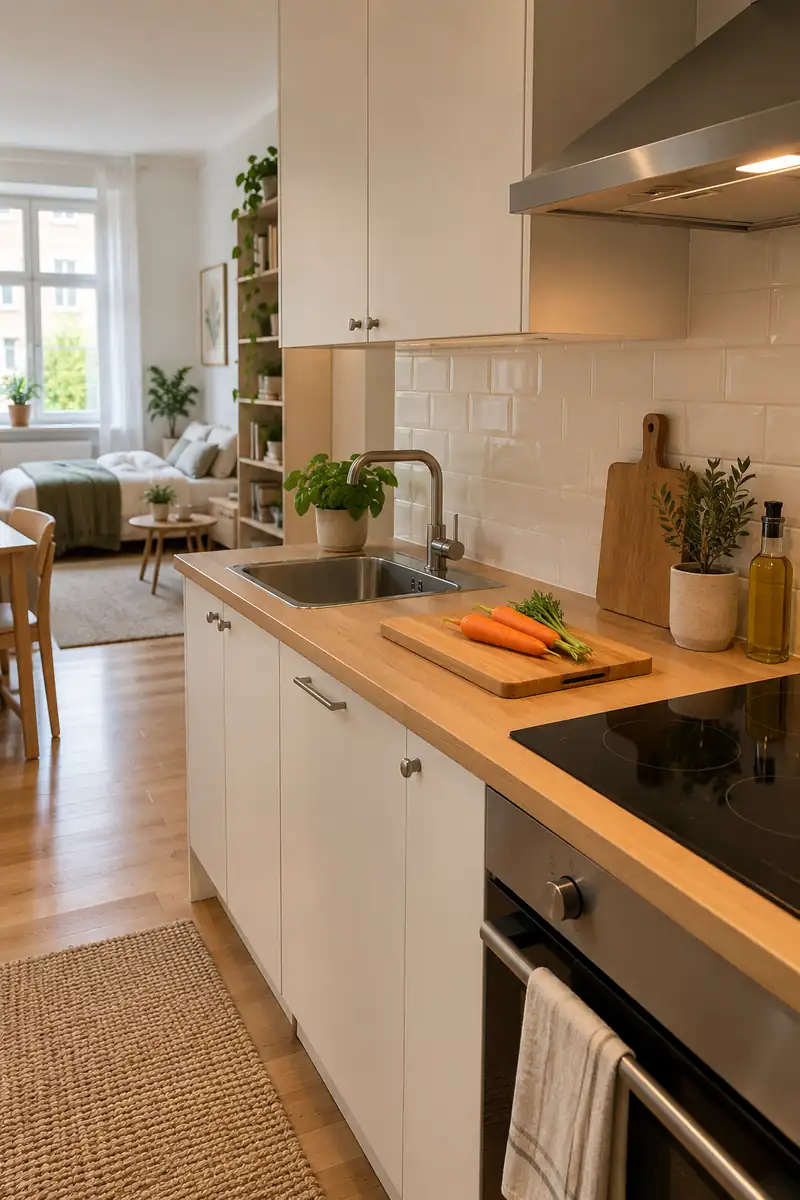
A kitchen can have plenty of countertop yet nowhere comfortable to chop an onion. In a compact layout, protect one continuous rectangle beside the sink for your largest everyday cutting board. Move the coffee supplies, fruit bowl, and mail elsewhere before deciding that the room needs another piece of furniture.
Try preparing a familiar meal with that rectangle completely clear. Notice whether you can set down ingredients, turn the board, and reach the sink without shifting objects. Keep this useful area empty between meals, and let a favorite cabinet color or attractive backsplash provide the personality instead of countertop ornaments.
2. Recessed Supply Rail
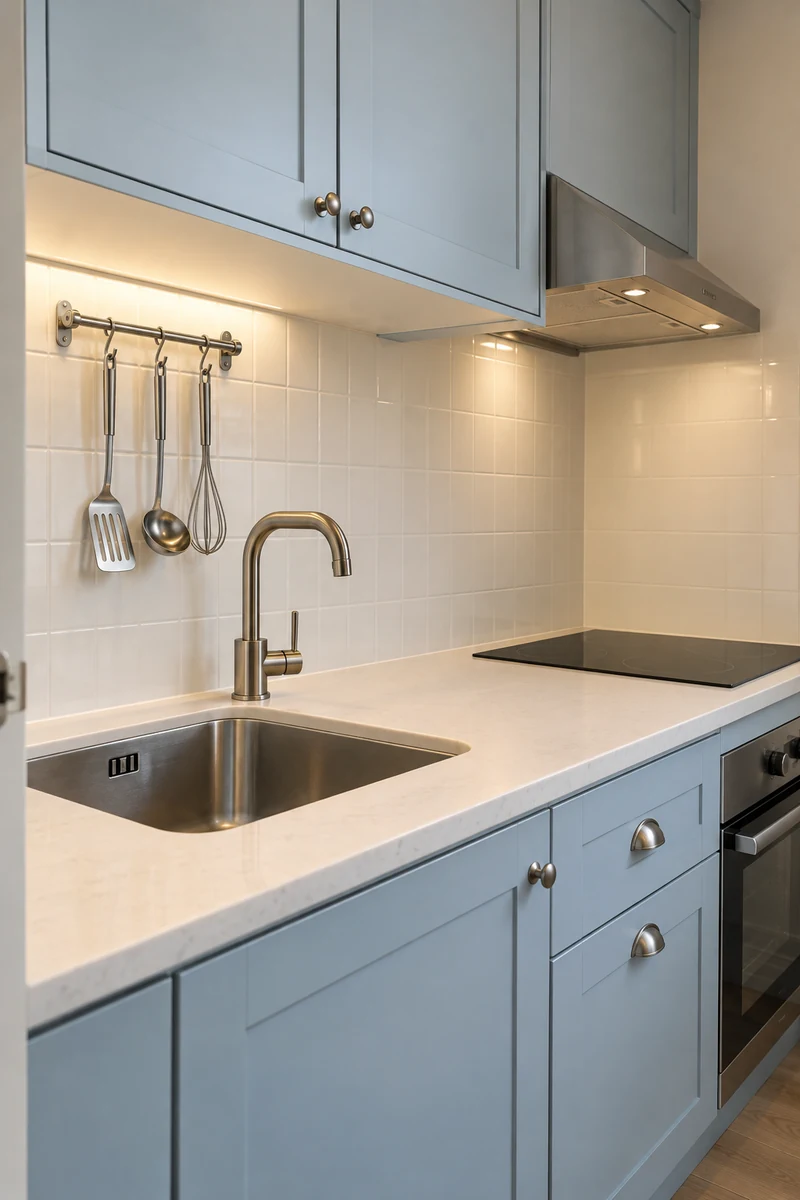
- Choose a short rail that keeps frequently used light utensils against the backsplash.
- Position it outside the cutting board footprint so hanging tools do not brush your hands.
- Check the projection of hooks before buying; a deep hook can steal the space you meant to recover.
- Follow mounting instructions and rental permissions, and keep the rail away from cooking heat.
The useful difference is where the objects hang. A shallow rail on a quiet stretch of backsplash can clear a utensil crock from the counter without creating an overhead obstacle. Hang only the pieces that earn daily use, then stand at the worktop and check that nothing swings into your preparation area.
3. Drawer Knife Storage
Quick Tip:
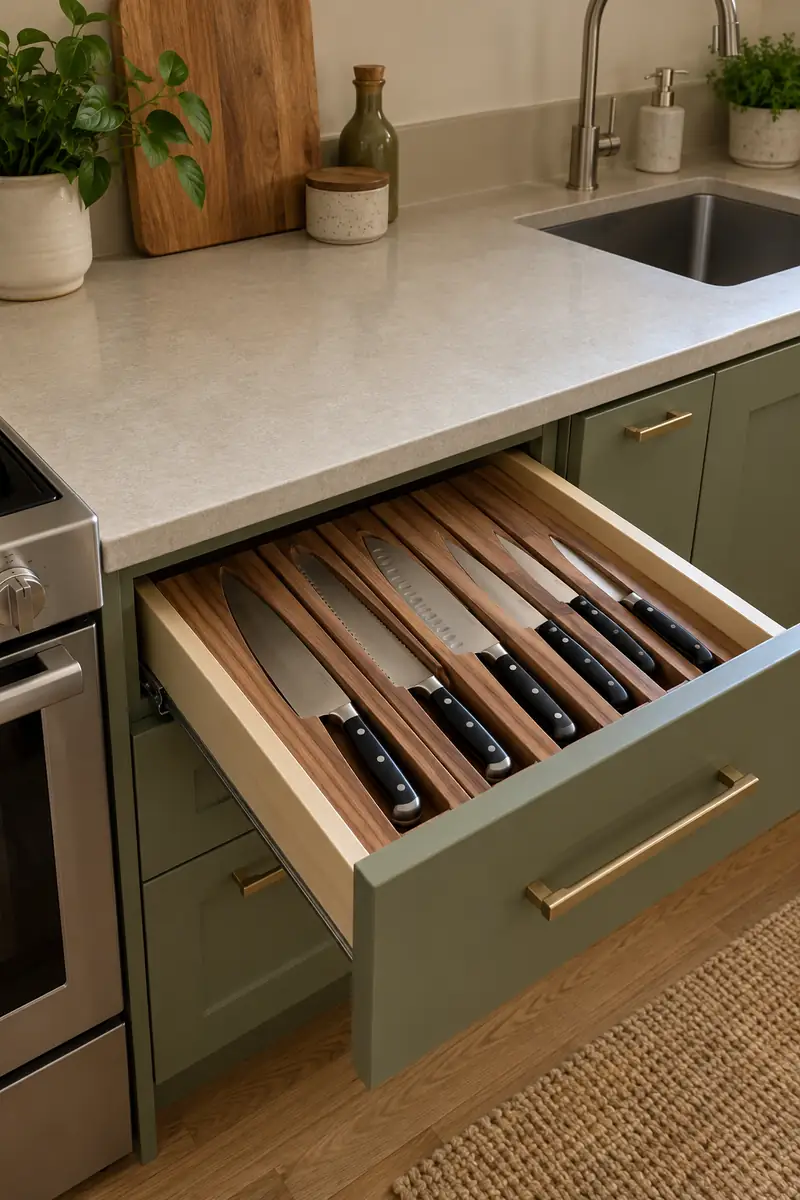
Replace a bulky knife block with a fitted drawer insert that holds blades securely. Check both the drawer depth and the longest knife before choosing the insert. Leave enough clearance for the drawer to close without pressing against handles.
This change returns a small but valuable patch of countertop right beside your cutting board. Keep the insert in a reachable drawer rather than across the room, and put knives away clean and dry. Choose a design that separates and shields the blades, particularly when other people use the kitchen.
4. Single Appliance Station
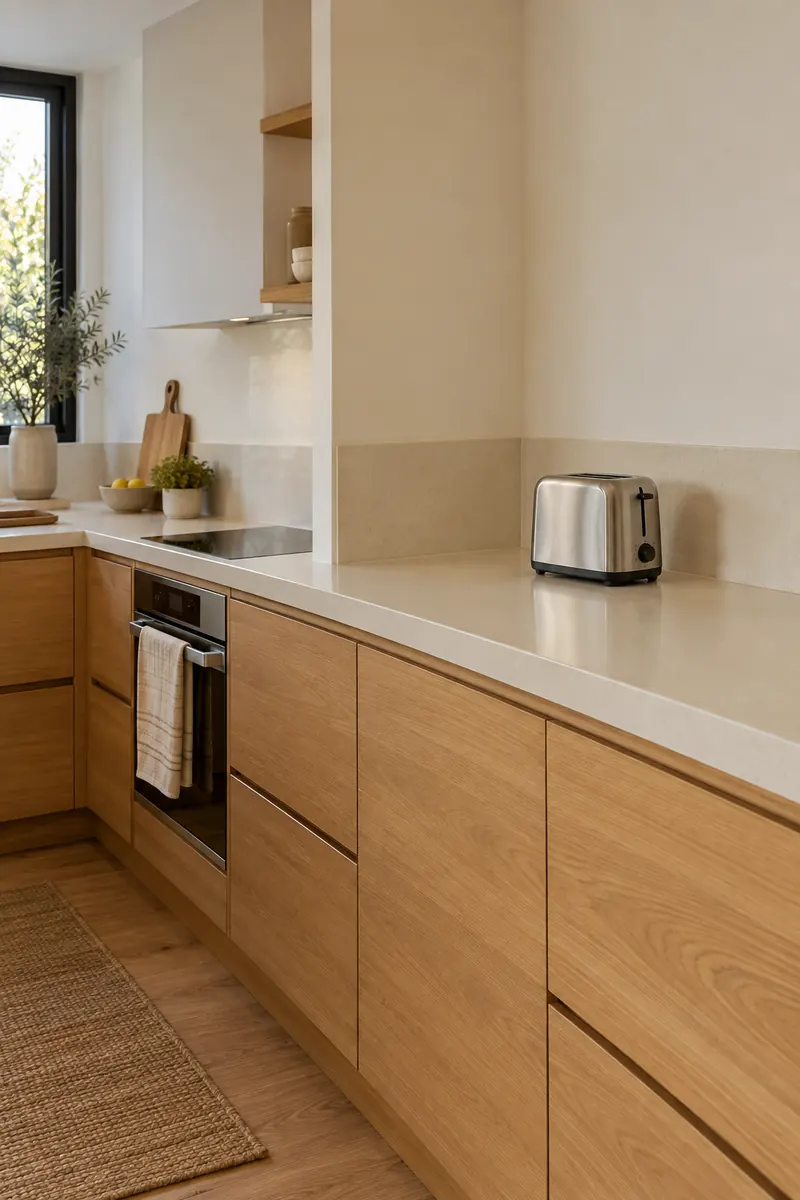
BEFORE: A toaster, blender, and coffee maker line the only preparation counter. Each meal starts with moving equipment onto the table.
AFTER: One regularly used appliance has a planned station, with the rest stored when cool and unplugged. The main cutting area stays available throughout the day.
Decide which appliance genuinely deserves permanent space by tracking a normal week. Allow the operating clearances, ventilation, and outlet arrangements specified by its manufacturer; storage fit does not prove an appliance can run there. The freed surface should remain useful for food preparation rather than immediately collecting a new display.
5. Rollaway Prep Cart
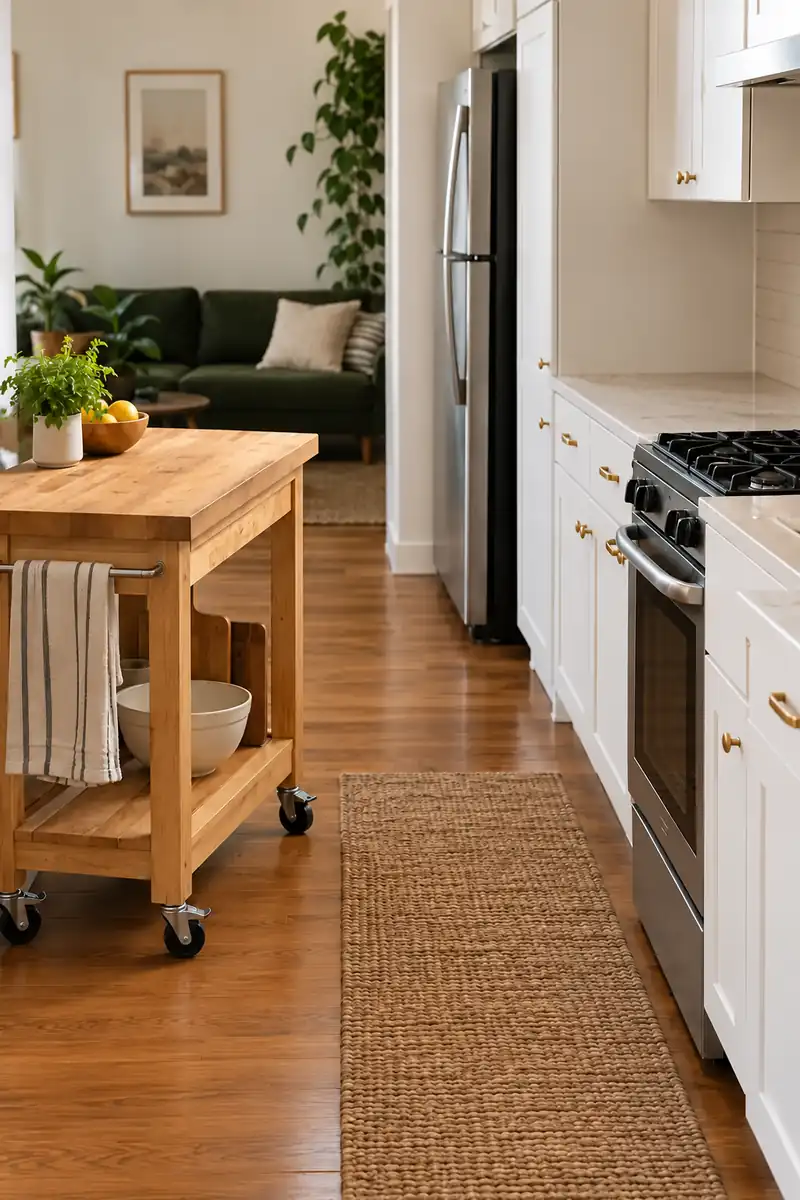
- Mark the proposed cart footprint and walk through the kitchen with cabinet doors open.
- Choose a stable cart with locking casters and a food preparation surface suited to its intended use.
- Park it beside the existing counter, leaving appliance doors and circulation clear.
- Lock the wheels before working, then return the cart to its parking spot after cleanup.
A cart helps most when it adds a second working surface without becoming a permanent barrier. Use the top for ingredients or a cutting board, with a bowl on the shelf below. Skip burners and improvised electrical setups; this extra station is for preparation, serving, and moving lightweight kitchen supplies.
6. Fitted Sink Board
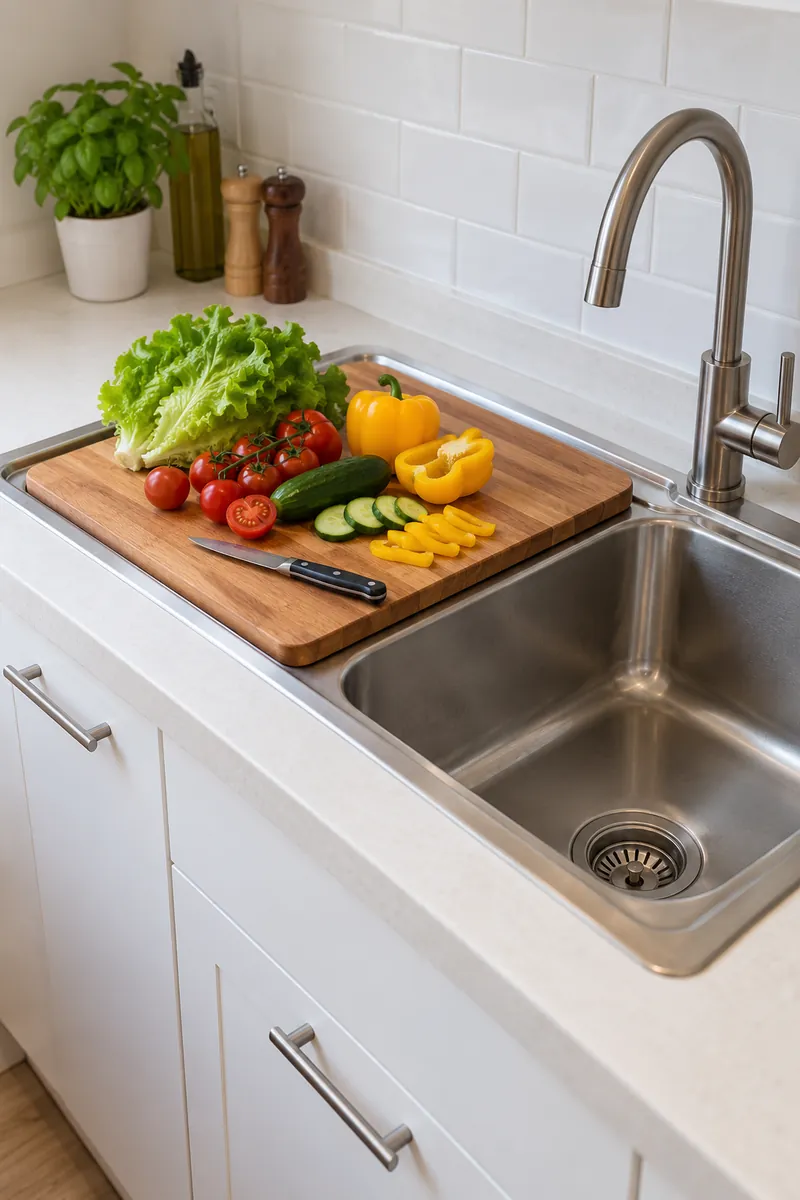
| Detail | Supported Sink Board | Ordinary Loose Board |
|---|---|---|
| Fit | Designed for the sink or its ledges | May rock across an uneven rim |
| Access | Can leave one basin available | May cover the only washing point |
| Storage | Lift away after preparation | Needs a separate dry storage spot |
A properly fitted board can briefly extend preparation space, especially over one half of a double sink. Confirm secure support and the product’s intended use rather than balancing a spare board on the rim. Keep handwashing accessible, clean the board after use, and remove it so the sink can dry.
7. Foldaway Drying Rack
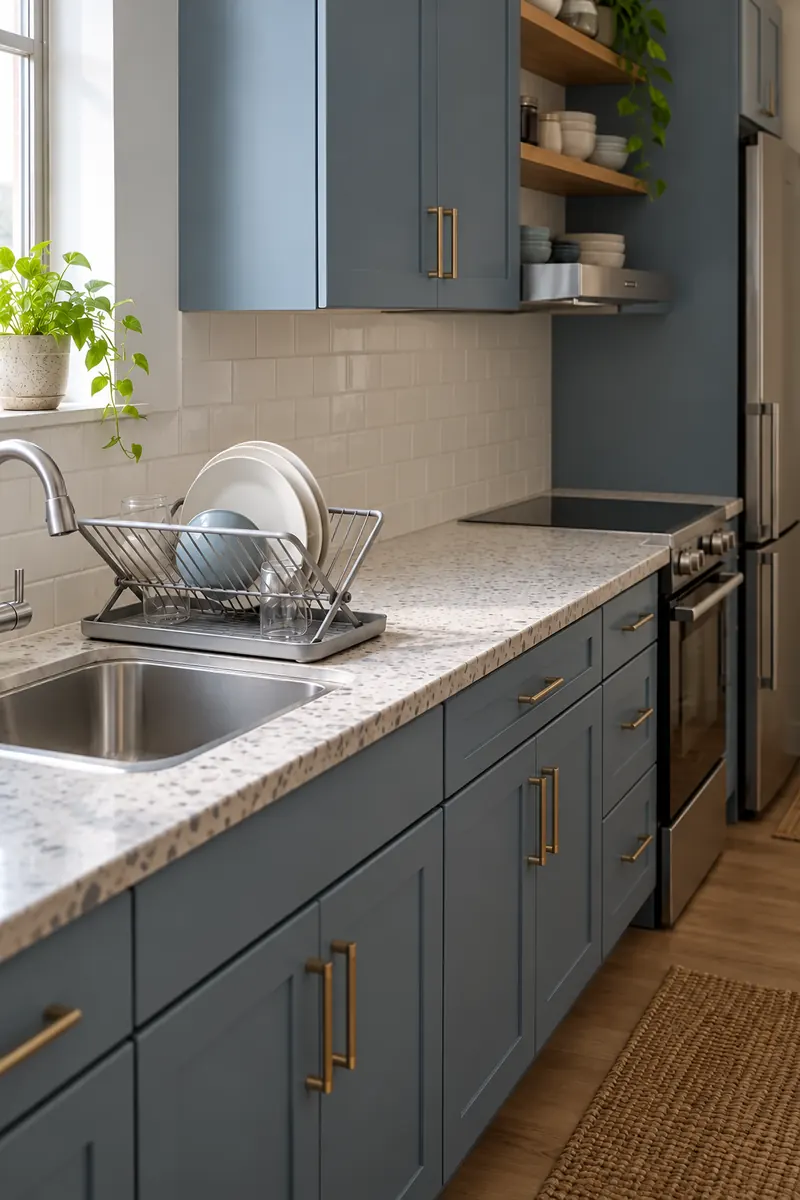
DO
- Choose a rack and drip tray that fit beside the sink.
- Empty dry dishes before starting your next meal.
- Dry and store the rack when its work is finished.
DON’T
- Let yesterday’s dishes occupy today’s preparation area.
- Place wet plates where water can reach electrical equipment.
- Balance a rack where it could tip into the walkway.
Dish drying often consumes the best stretch of a small counter long after the dishes are dry. A foldable rack makes that occupation temporary. Give it a real storage home and build emptying it into your kitchen reset, so folding it away takes seconds instead of creating another loose object.
8. Sidewall Paper Holder
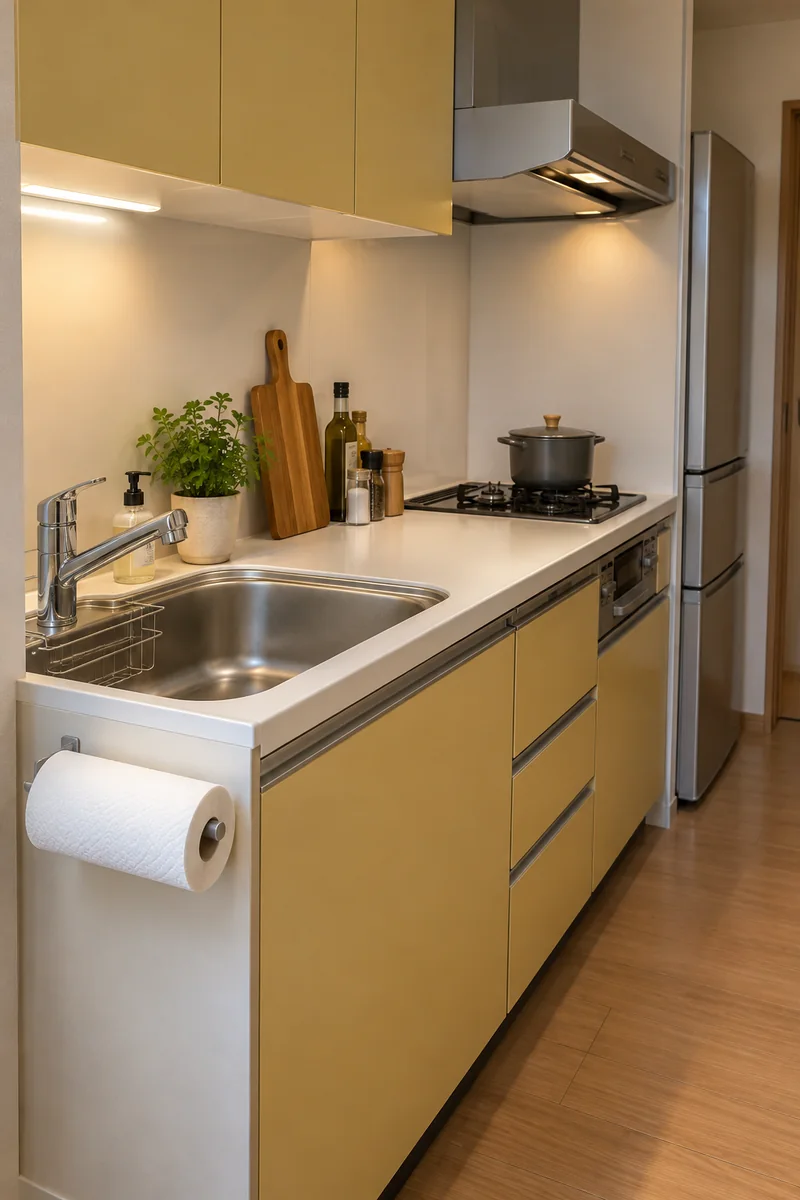
Best Spot: A reachable side panel near the sink.
Space Recovered: The footprint of a freestanding roll holder.
Installation: A compatible fitting with approved fixings.
Heat Check: Well away from the cooktop and hot appliances.
A paper roll looks small until it repeatedly rolls into your chopping area. A side mounted holder keeps it reachable while releasing that awkward corner of the worktop. Check that it will not catch a drawer or brush your clothes, and follow USFA guidance to keep combustible items away from the stovetop.
9. Vertical Board Dividers
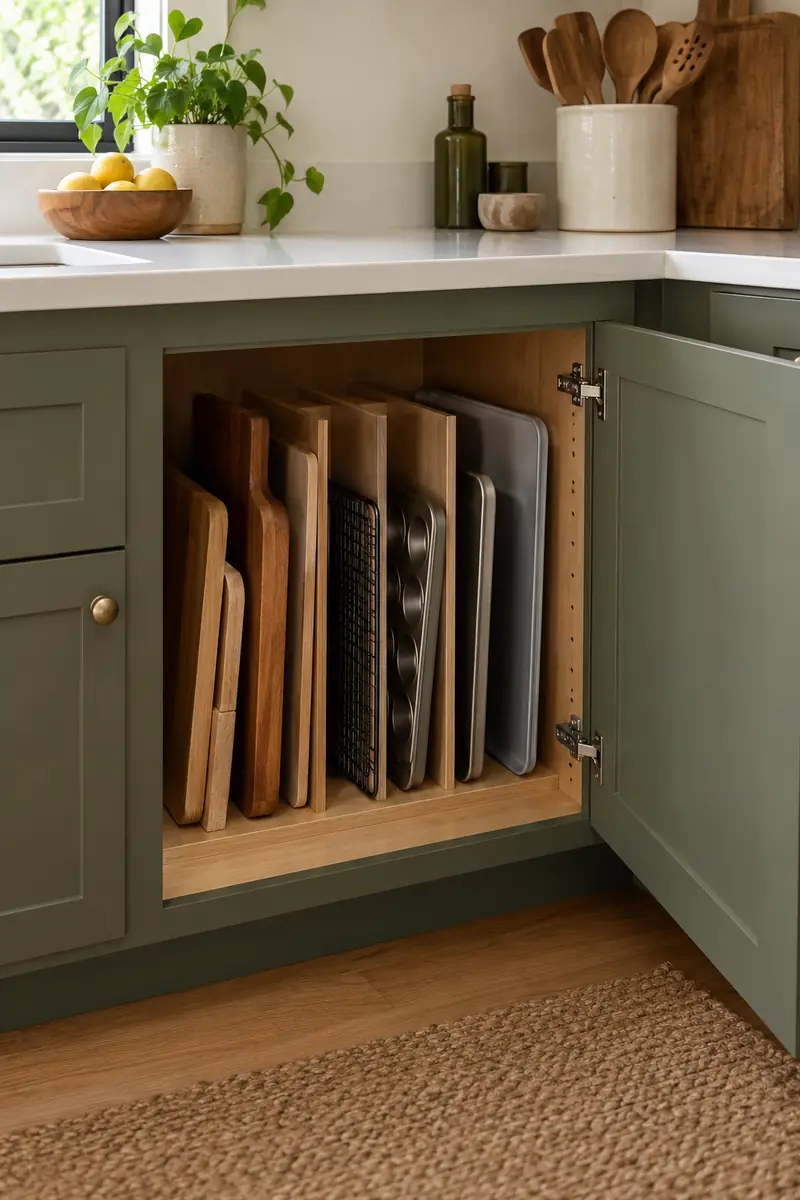
Leaning cutting boards against the backsplash can quietly consume a surprising strip of counter. A base cabinet with upright dividers gives boards and baking trays a separate parking place. Choose slots that let each item slide out without lifting the whole collection, and check that the cabinet door closes comfortably.
Keep the counter’s back edge clear enough to wipe in one pass. Store boards only after cleaning and drying them, and avoid cramming damp surfaces together. The result is more than a tidy view: you can push ingredients back safely without bumping a row of trays into your working area.
10. Shallow Display Ledge
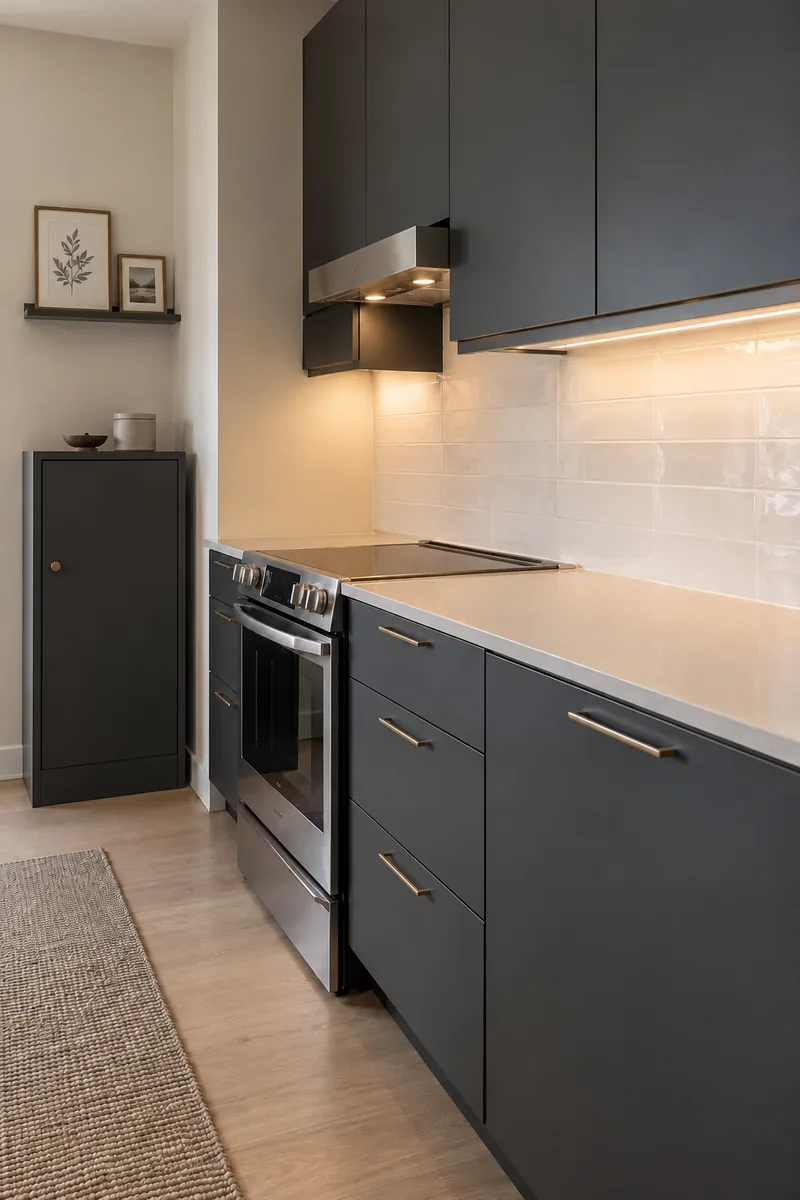
- Move a favorite small print from the preparation counter to a shallow ledge elsewhere in the kitchen.
- Choose a position away from steam, grease, food handling, and the cooktop.
- Check the ledge depth against nearby doors and your shoulder space.
- Use suitable fixings and follow the stated load limits and rental rules.
A small kitchen can have character without asking the chopping area to act as a display shelf. Two little pictures on a quiet wall are enough to carry a color or theme. Keep decorations away from working food surfaces and leave the newly cleared countertop available for the tasks that need it.
11. Countertop Landing Strip
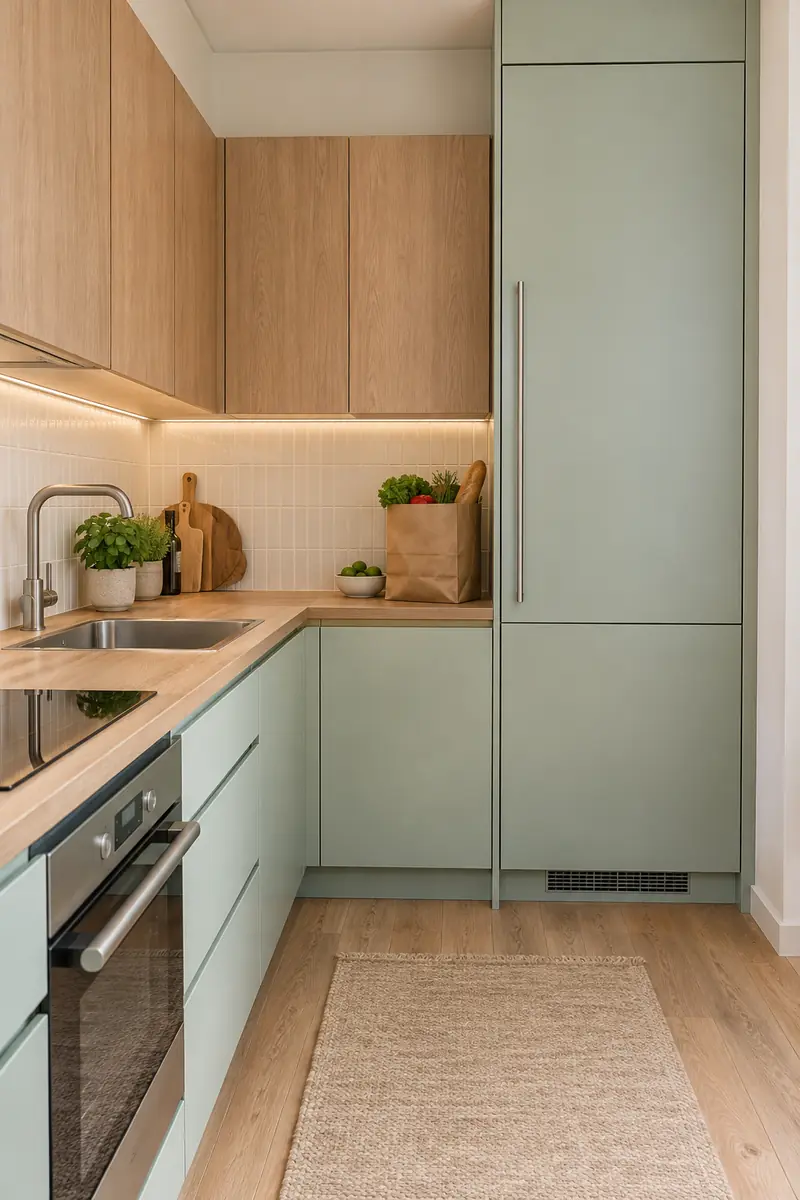
Quick Tip:
Reserve a clear patch of counter beside the refrigerator for setting down groceries and ingredients. Open the fridge fully while testing the position. You should be able to take out a bowl or container without reaching around a decorative object or trapping the door.
A landing strip reduces the temptation to stack groceries in the middle of your preparation area. It need not be large, but it should be easy to wipe and genuinely accessible. Return perishables promptly after use, and keep shopping bags away from the clean board where you handle ready to eat food.
12. Recessed Corner Turntable
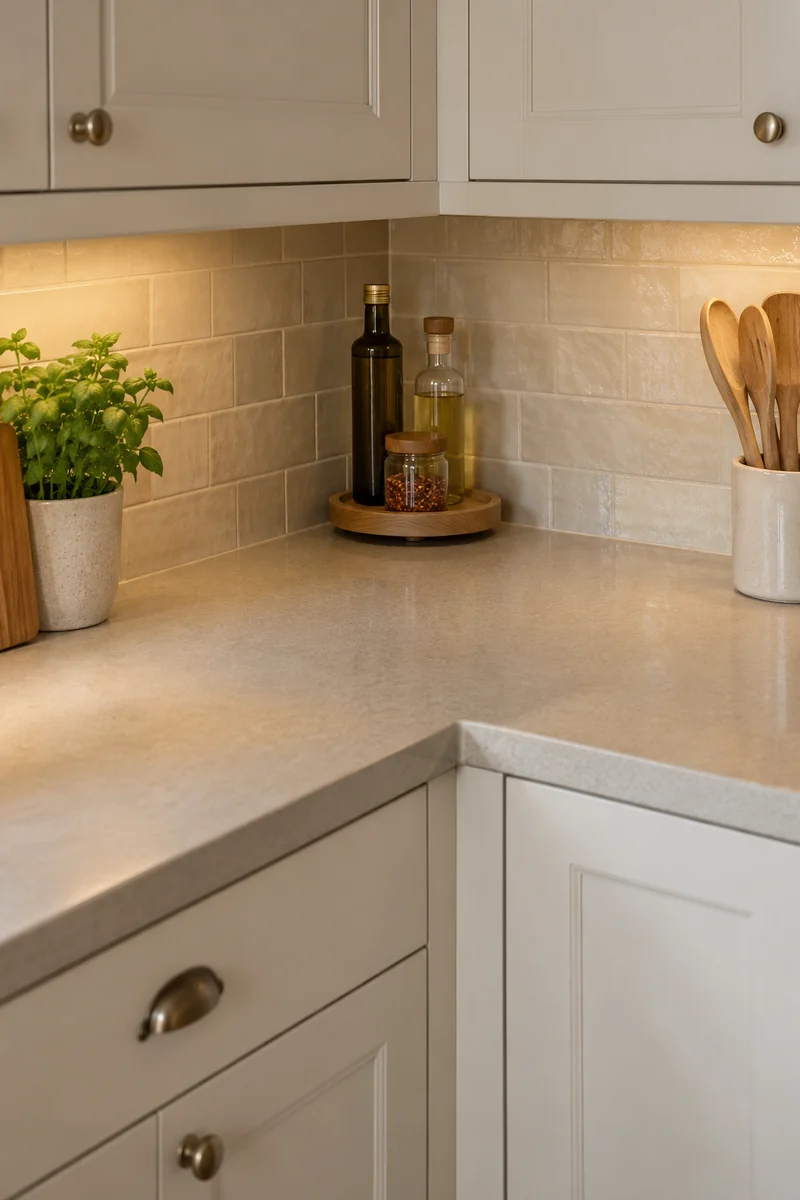
BEFORE: Bottles spread across the front edge of an awkward counter corner. Reaching the back one means moving the others.
AFTER: A small turntable contains a few daily supplies at the back of the corner. The front stretch remains clear enough to work comfortably.
Measure the full circle swept by the turntable, including bottle handles, before choosing its size. It should turn without striking the wall or encroaching on the cutting board. Use this idea for a genuine dead corner, and keep oils and other supplies away from heat according to their storage instructions.
13. Fold Down Worktop
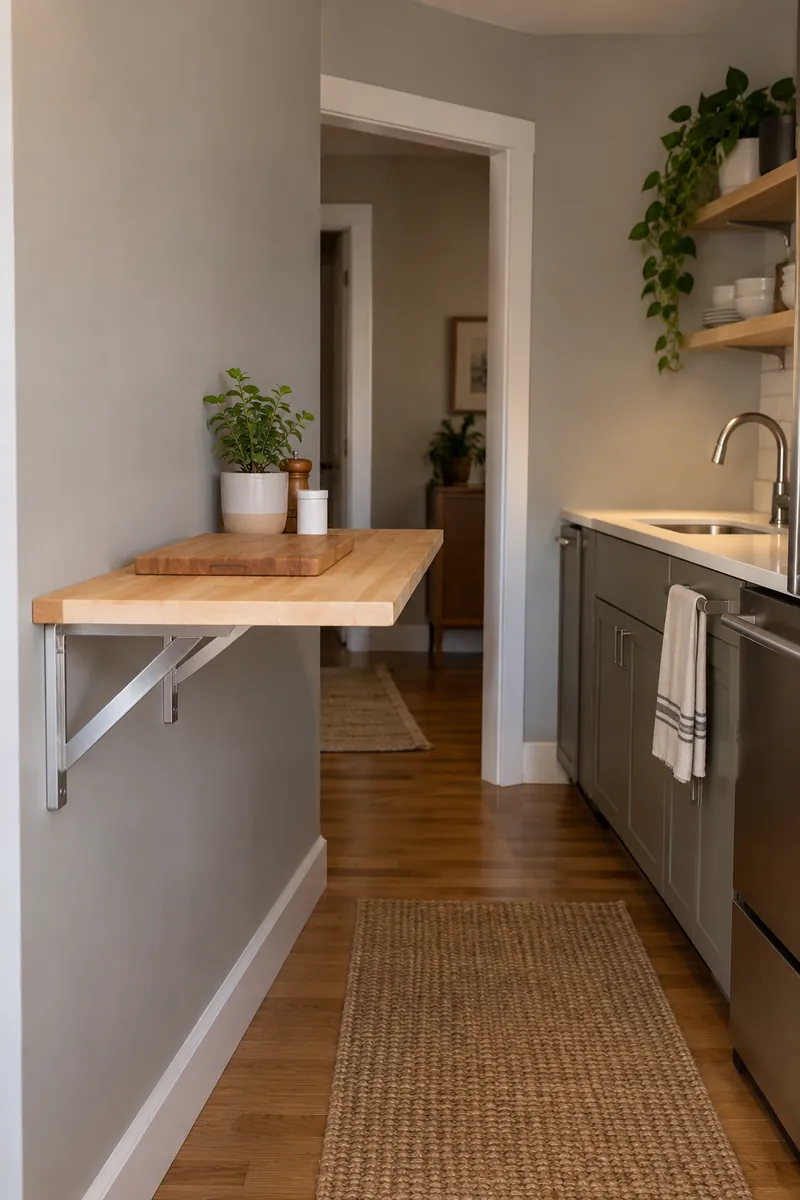
- Identify a wall where an open worktop will not block doors, appliances, or the route through the studio.
- Check permission and wall suitability before choosing hardware or making holes.
- Use a purpose designed surface and supports rated for the intended preparation task, installed as directed.
- Test the opening and locking mechanism, then keep the surface clear before folding it down.
A foldaway worktop suits occasional baking or spreading out ingredients when permanent extra cabinetry would crowd the room. The supports matter as much as the top: never treat an ordinary decorative shelf as a preparation bench. A qualified installer can assess the wall, while renters may prefer a freestanding alternative.
14. Appliance Storage Cubby
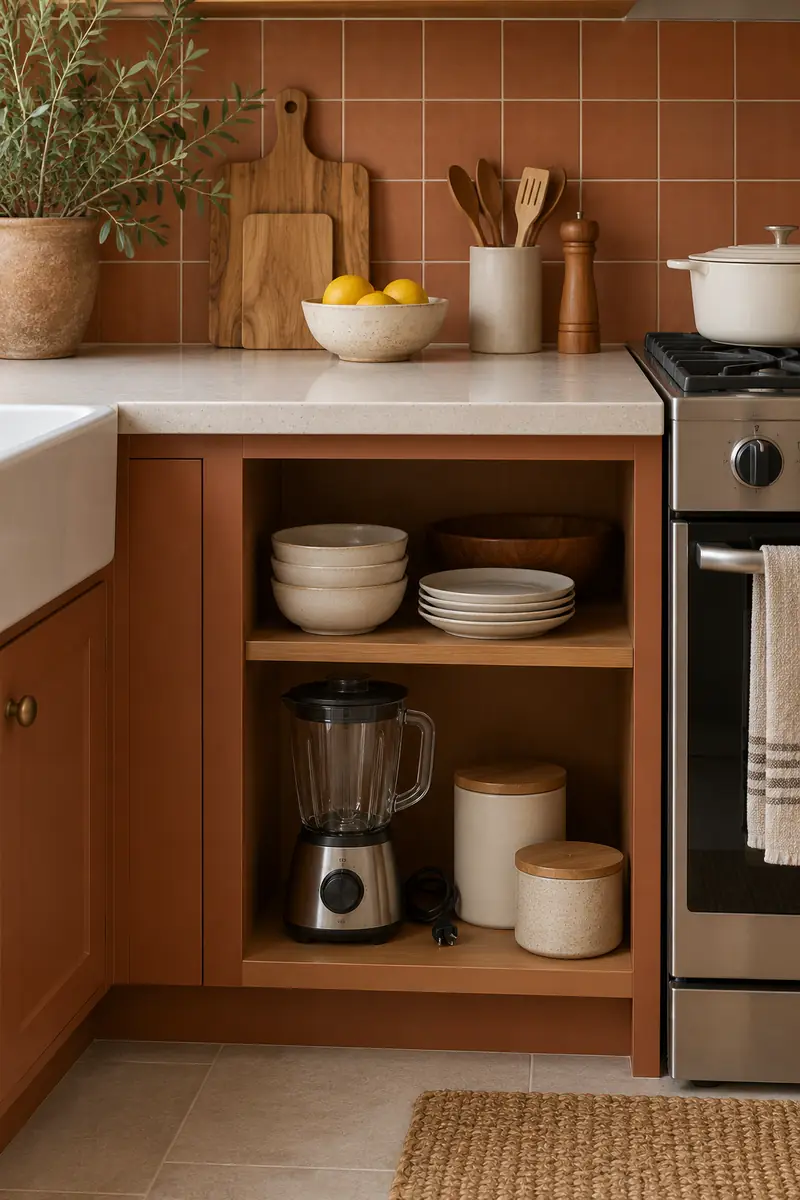
| Detail | Stored Blender | Countertop Blender |
|---|---|---|
| Preparation area | Counter stays available between uses | Appliance keeps its footprint all day |
| Access | Lift out before each session | Ready once safely positioned |
| Best fit | Occasional smoothies or sauces | Frequent use with sufficient counter space |
Give an occasional blender a reachable storage shelf rather than a permanent place beside the sink. Choose a height where you can lift it comfortably, and store it clean, dry, and unplugged. Always move it to a suitable operating surface before use and follow the manufacturer’s instructions for its setup.
15. Empty Overnight Counter
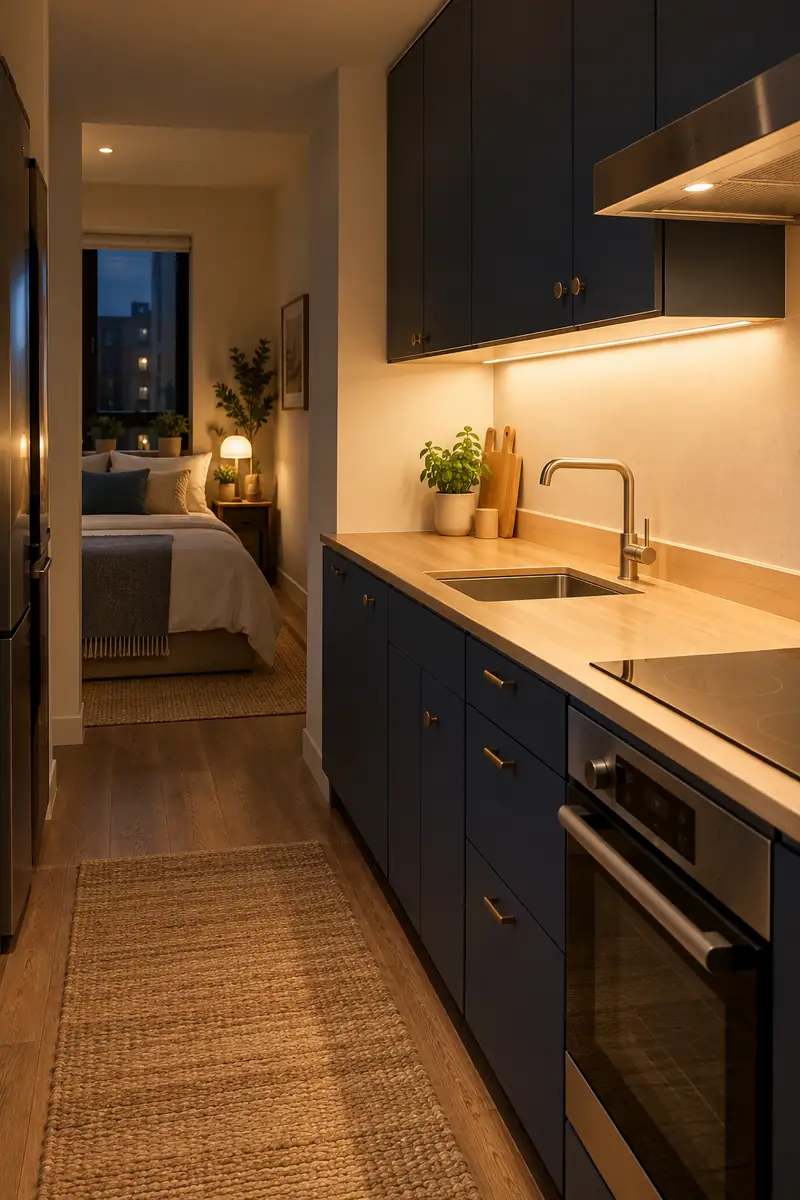
DO
- Put clean dishes away before the evening ends.
- Return every portable appliance to its planned home once cool.
- Leave the central preparation rectangle clear for breakfast.
DON’T
- Use the counter as an overnight mail tray.
- Store loose objects on the cooktop.
- Hide damp cleaning cloths beneath equipment.
The clearest counter is easier to maintain when the reset has a specific finish line. An empty sink, a wiped worktop, and tomorrow’s cutting area ready to use are enough. Keep supplies nearby so the routine stays short, and adjust any storage spot that repeatedly makes putting things away inconvenient.
Conclusion
Better studio apartment kitchens start with a clear place to work and a realistic home for everything that usually crowds it. Choose one small change first, such as storing the drying rack or protecting a central cutting area, and notice how it feels during your next meal. Add a cart or foldaway surface only when your layout can comfortably accommodate it. Save your favorite ideas to Pinterest so you can return to them while measuring or shopping. Try the simplest improvement this week, and share which cleared corner or useful surface made your kitchen easier to enjoy.

Community
Join the conversation
Add a useful idea, ask a specific question, or share what worked in your space. Every comment is reviewed before it appears.