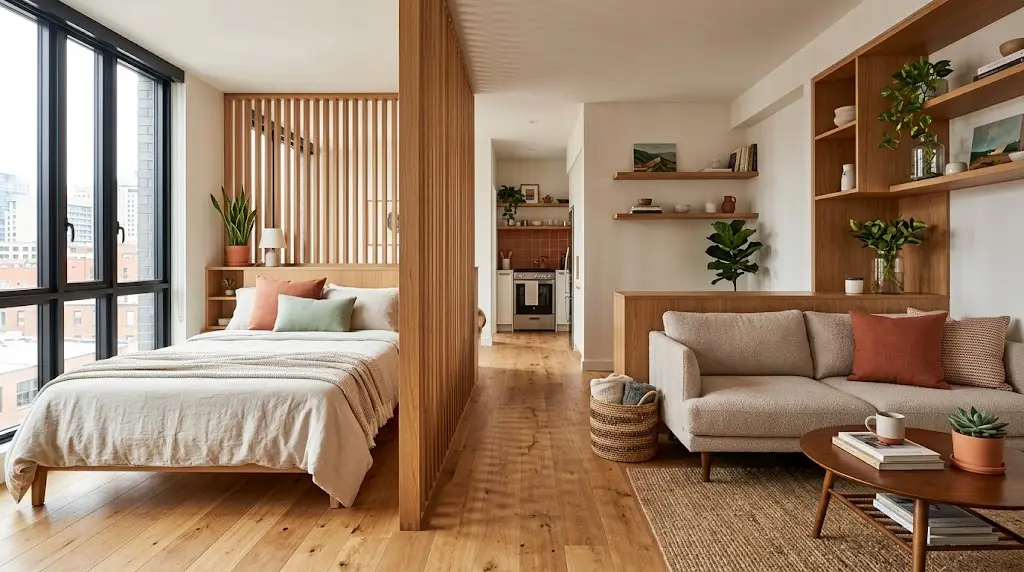
A studio apartment can feel beautifully open until you want a little privacy around your bed, desk, or living area.
That is where a wood divider can completely change the layout.
The challenge is getting enough separation without turning one bright room into two dark corners.
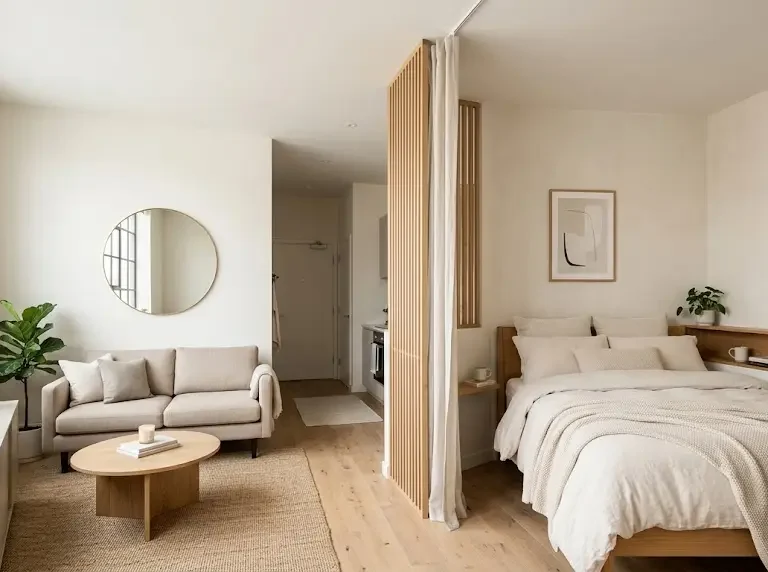
The best studio apartment wood divider ideas create structure while still letting daylight move through the space. Instead of using solid walls, think vertical slats, open frames, shelving, narrow panels, and partial partitions.
I have noticed that wood works especially well in studio apartments because it adds warmth at the same time as separation. Even a simple divider can make the room feel more intentional.
The key is choosing the right design, height, spacing, and placement.
Here are practical ways to use wood dividers while keeping your studio bright and open.
1. Choose Vertical Wood Slats Instead of a Solid Panel
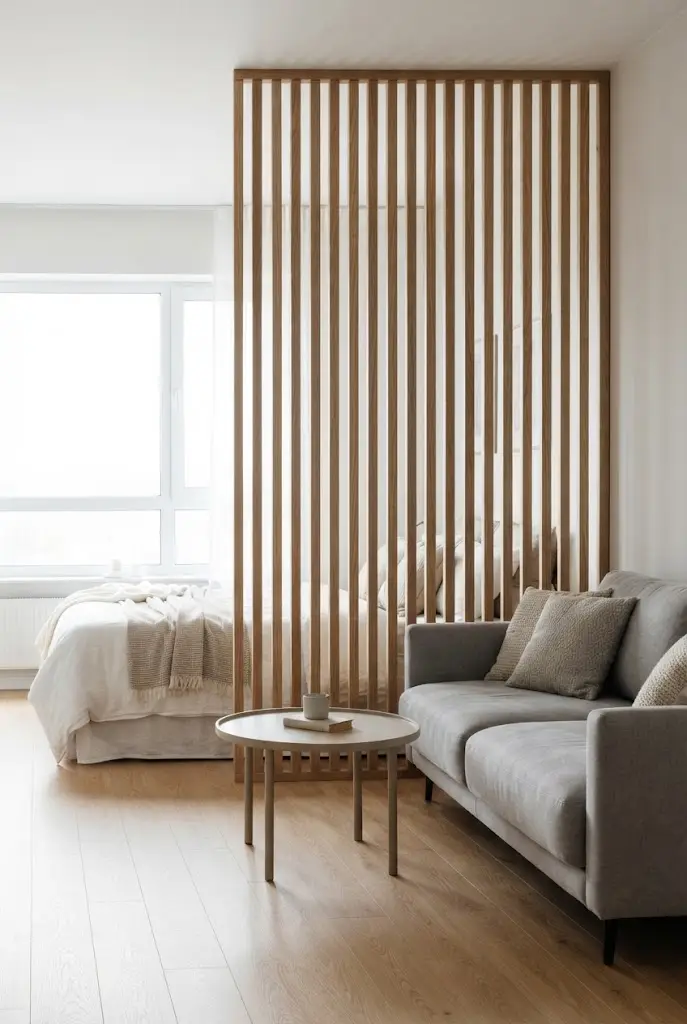
Vertical wood slats are one of the best options when you want privacy without losing light.
The gaps between each slat allow daylight to pass through while still creating a clear boundary.
Place the divider between your bed and sofa, or between your living area and entry.
Light oak creates a softer look.
Dark walnut gives the room more contrast.
For a small studio, keep the slats fairly slim so the divider does not feel visually heavy.
In my experience, evenly spaced slats usually feel more polished than a completely closed wood partition.
2. Use a Half Height Wood Divider
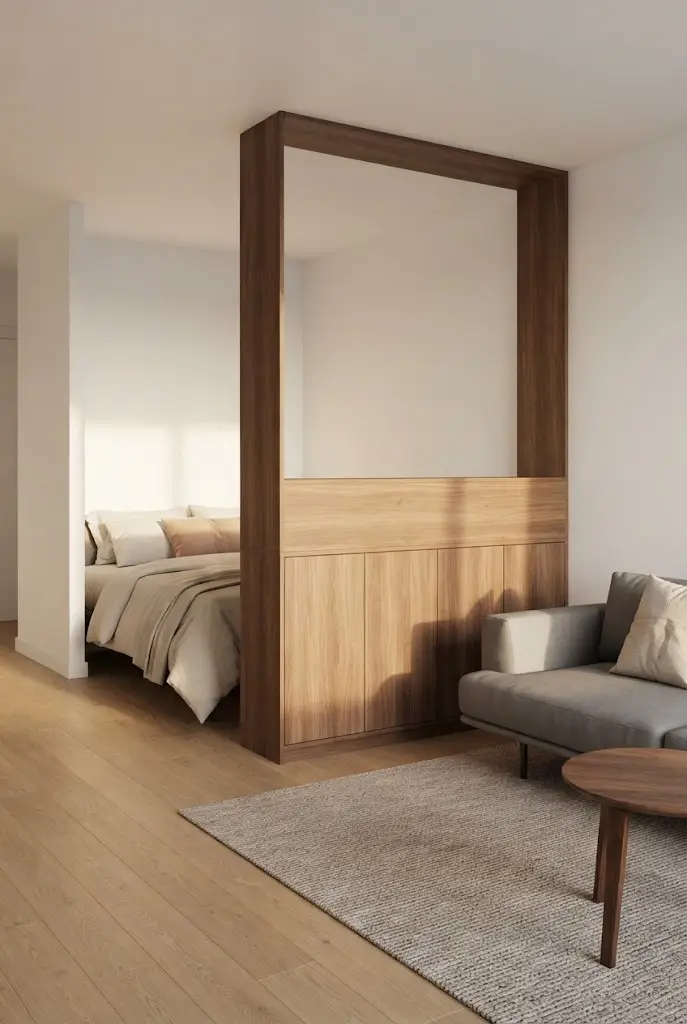
You do not always need full privacy.
A half height wood divider can define zones while keeping the upper part of the room completely open.
Place one beside your bed or behind the sofa.
The lower section creates a sense of separation, while light and sightlines continue above it.
You can also add storage inside the lower portion.
This makes the divider useful instead of decorative only.
A half height design is especially helpful in a very small studio where a tall partition could make the room feel cramped.
3. Add Open Shelving to the Wood Divider
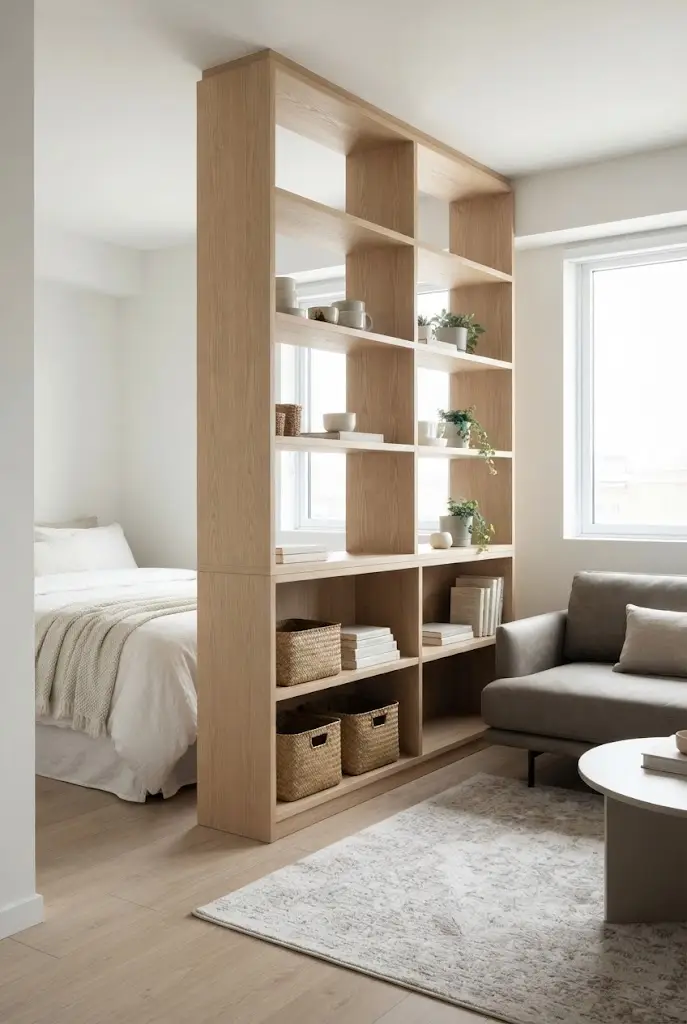
A wood divider becomes even more useful when it includes shelves.
Use a narrow open shelving unit between your sleeping and living zones.
Style it with books, plants, ceramics, and a few baskets.
Keep several compartments empty so daylight can move through.
Avoid filling every shelf with solid storage boxes.
Too much visual weight can make the divider behave almost like a wall.
I have seen this work best when the lower shelves provide storage and the upper shelves stay lighter.
4. Position the Divider Beside the Bed, Not Across the Window
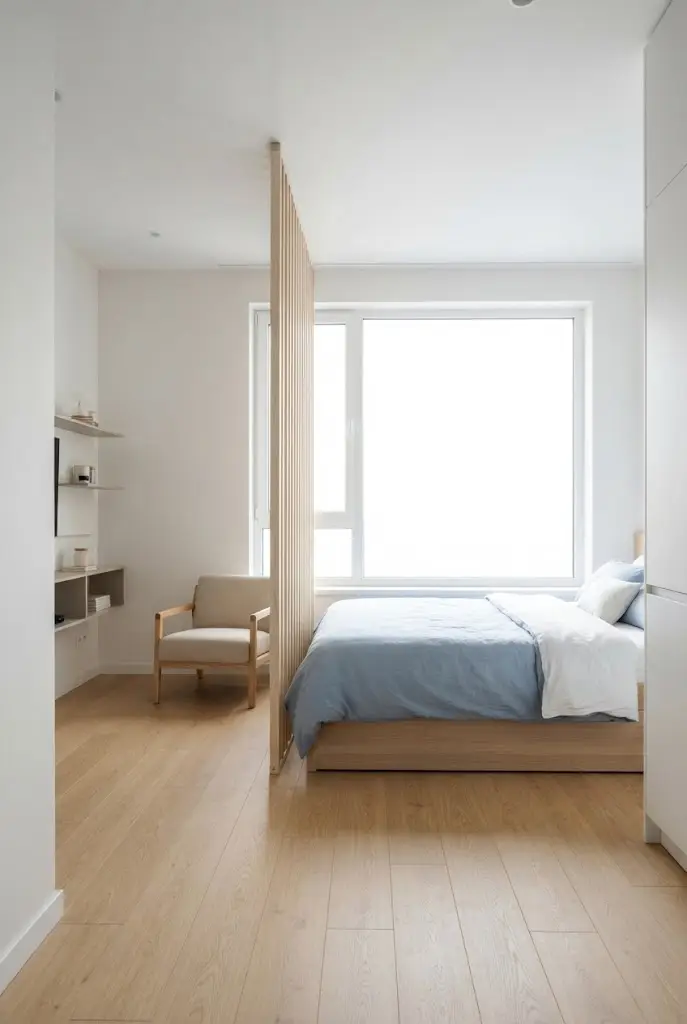
Placement matters just as much as design.
If your studio has one main window, avoid putting a large wood divider directly in front of it.
Instead, place the divider beside the bed.
This gives the sleeping area a defined edge without interrupting the main path of daylight.
Think about where sunlight enters the room and where it needs to travel.
A beautiful divider in the wrong position can make half of the apartment noticeably darker.
5. Use Narrow Slats for a More Open Look
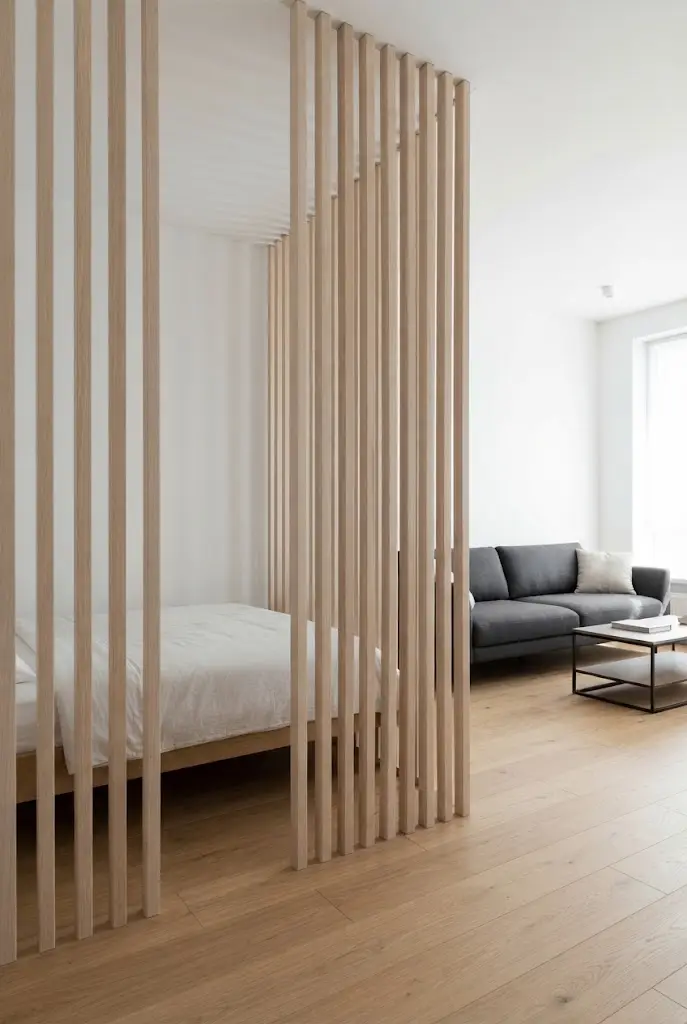
Thick wood panels create stronger privacy, but they also block more light.
Slim slats feel much lighter.
Choose narrow vertical pieces with generous gaps between them.
This still gives the eye enough structure to read the sleeping and living areas as separate zones.
At the same time, you can see through parts of the divider.
That visual connection helps the studio feel larger.
6. Try Light Wood in a Small Studio
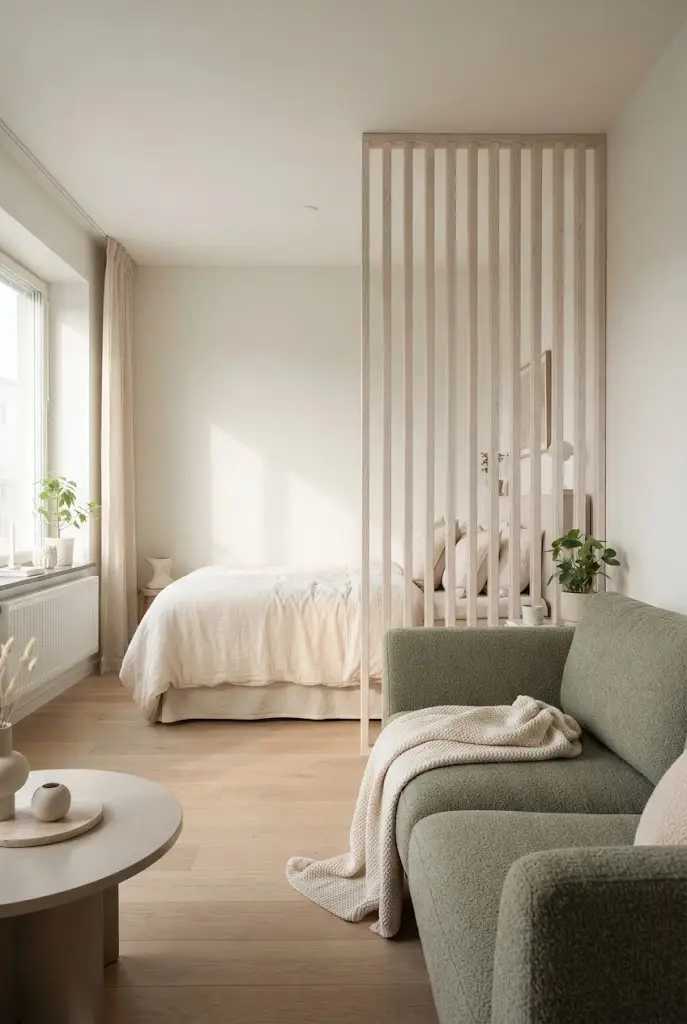
Pale oak, ash, maple, and similar wood tones can work beautifully in compact apartments.
They reflect more light than very dark finishes and blend easily with white, cream, soft gray, and natural decor.
A light wood divider can add warmth without becoming the strongest feature in the room.
This is especially useful if your apartment already has limited daylight.
Pair the divider with simple furniture and keep the surrounding surfaces uncluttered.
7. Use Dark Wood as a Smaller Accent
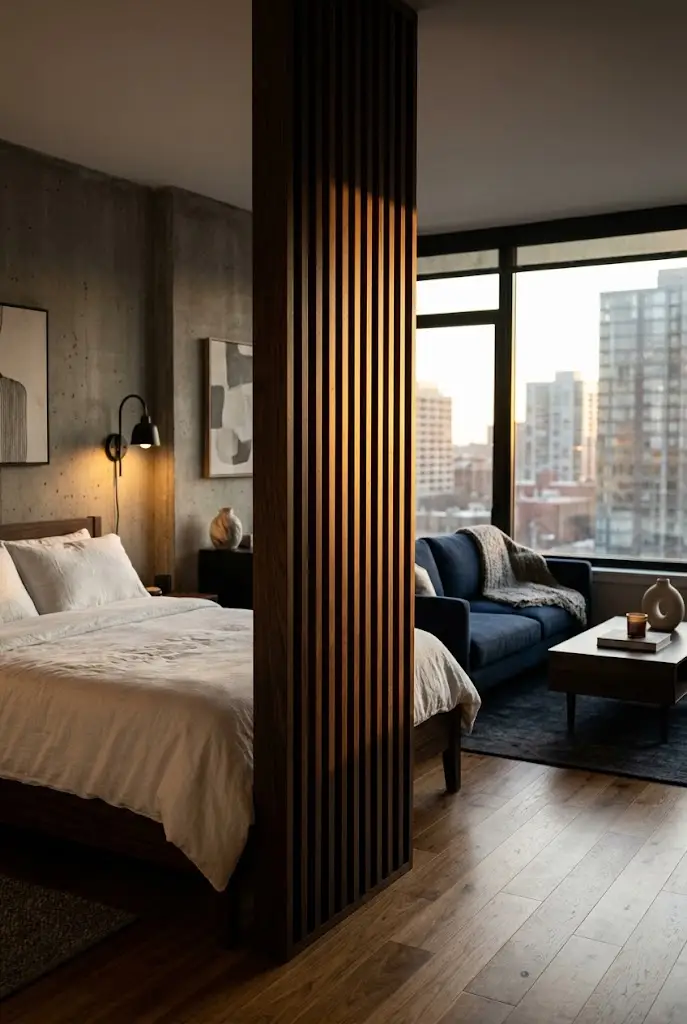
Dark walnut or espresso wood can look beautiful in a studio, but use it carefully.
Instead of building a huge dark partition, create a narrow divider with slim slats.
The darker finish gives the room contrast and character without making it feel closed.
This works especially well in modern, industrial, or mid century interiors.
Pair it with lighter walls and bedding so the overall room stays balanced.
8. Leave Space Above the Divider
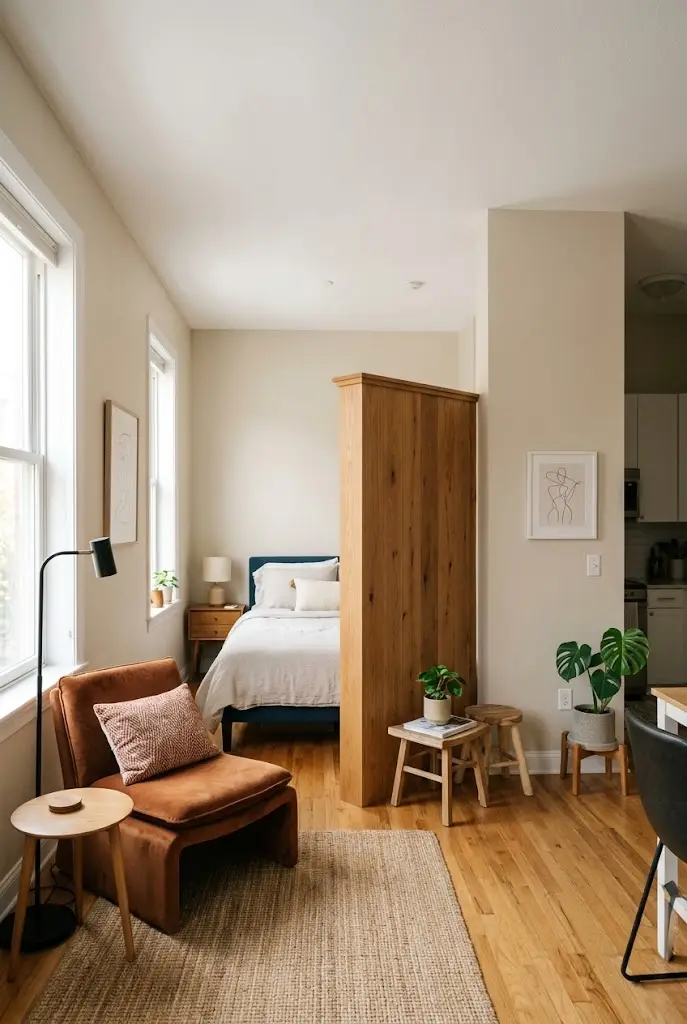
A divider does not need to reach the ceiling.
Leaving open space above it allows light to continue moving through the apartment.
A medium height wood panel or shelf can provide enough privacy around the bed without creating a fully enclosed room.
This also keeps the ceiling visually continuous.
That matters in a small studio because one uninterrupted ceiling plane can make the whole apartment feel larger.
9. Combine Wood With Glass
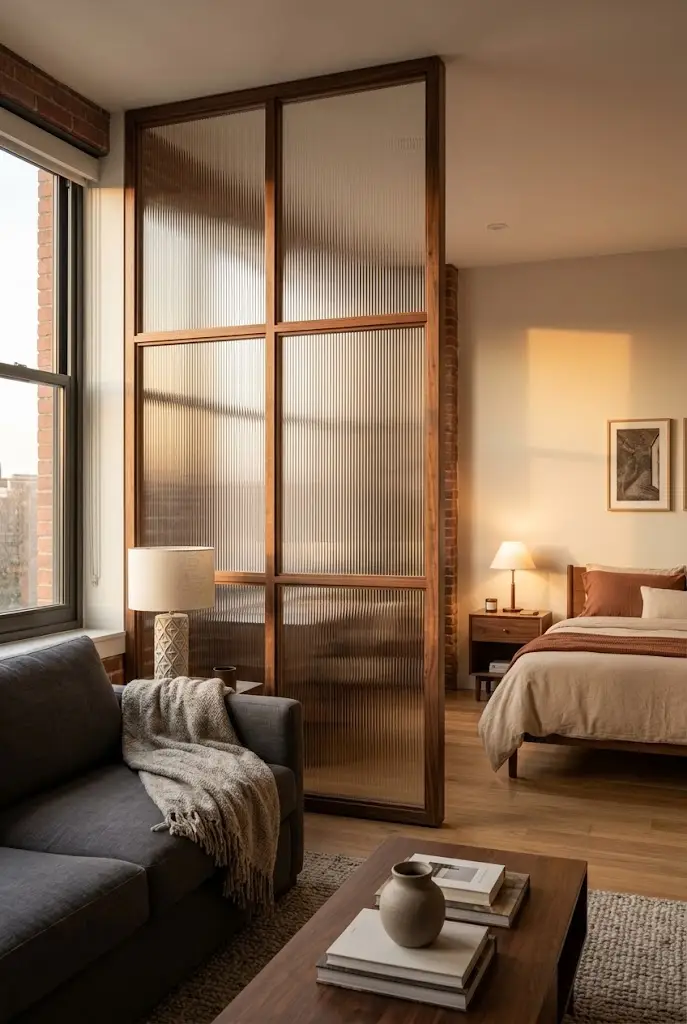
If you want stronger separation but still need maximum brightness, combine wood and glass.
Use a slim wood frame around clear or lightly textured glass panels.
The wood adds warmth.
The glass allows light through.
This can work beautifully between a sleeping zone and living room.
Frosted or fluted glass can add more privacy while still allowing brightness to travel between spaces.
10. Create a Wood Divider Behind the Sofa
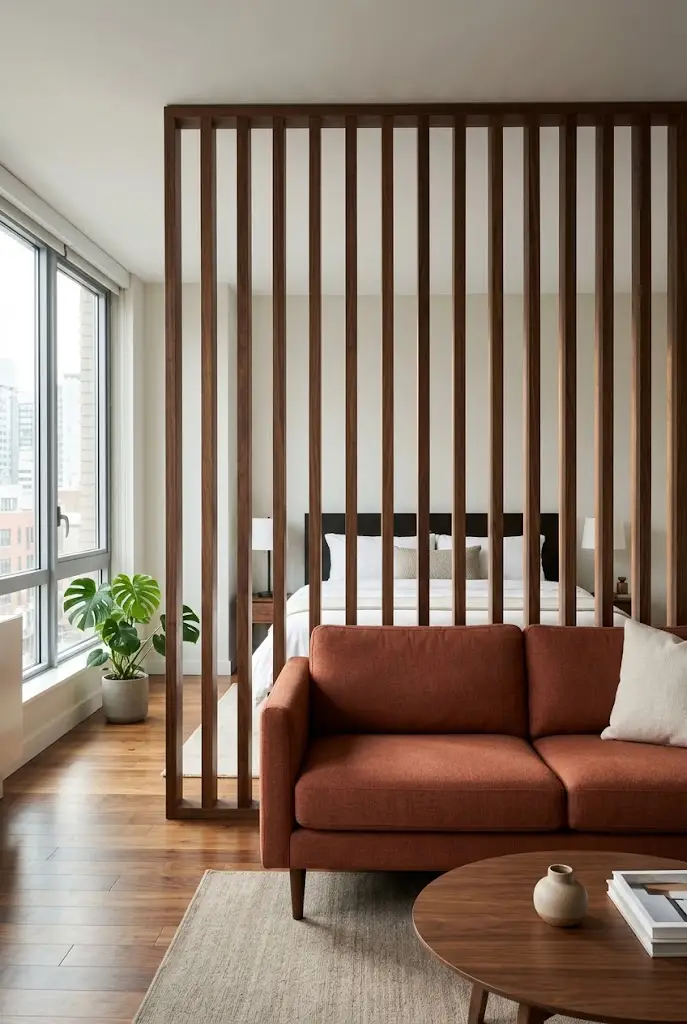
The back of your sofa is a natural place to create separation.
Place a slatted wood divider just behind it.
This clearly defines the living room without taking up much extra floor space.
Behind the divider, you can place the bed, dining area, or workspace.
Because the sofa already creates a visual boundary, the wood divider does not need to be overly large.
This layered effect can make the layout feel much more intentional.
11. Use a Wood Screen That Can Move
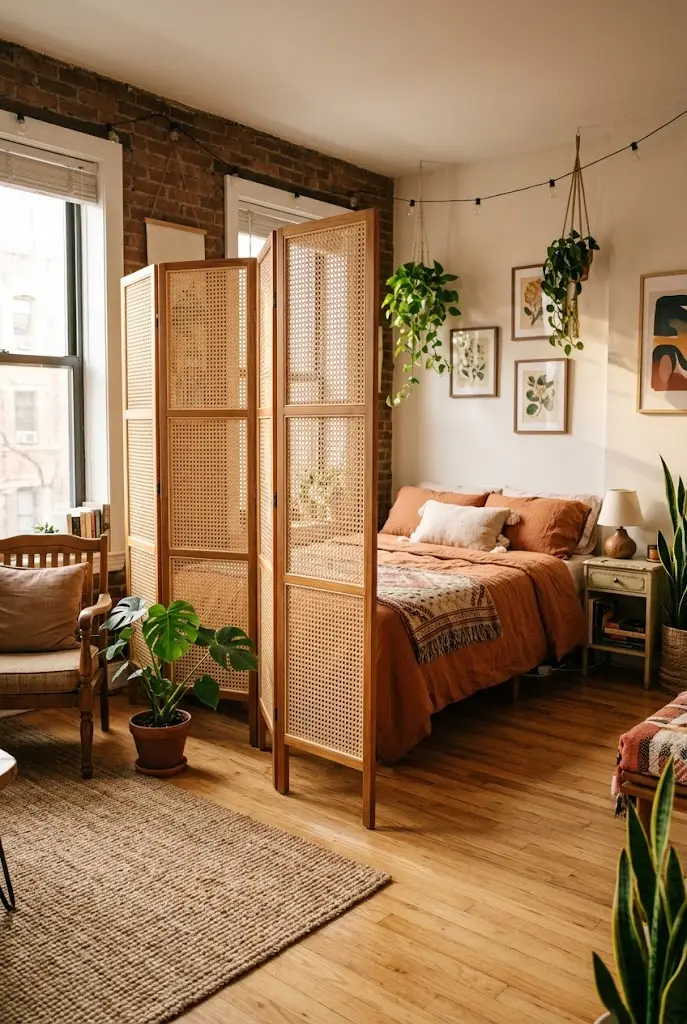
Renters may prefer something that does not require permanent installation.
A freestanding wooden screen can create privacy while staying flexible.
Move it beside the bed at night.
Shift it closer to your desk during the day.
Fold it away when you want the apartment to feel completely open.
Look for screens with cane, slatted wood, or open geometric patterns.
These designs let more light through than solid folding panels.
12. Use Wood Slats to Create a Tiny Entryway
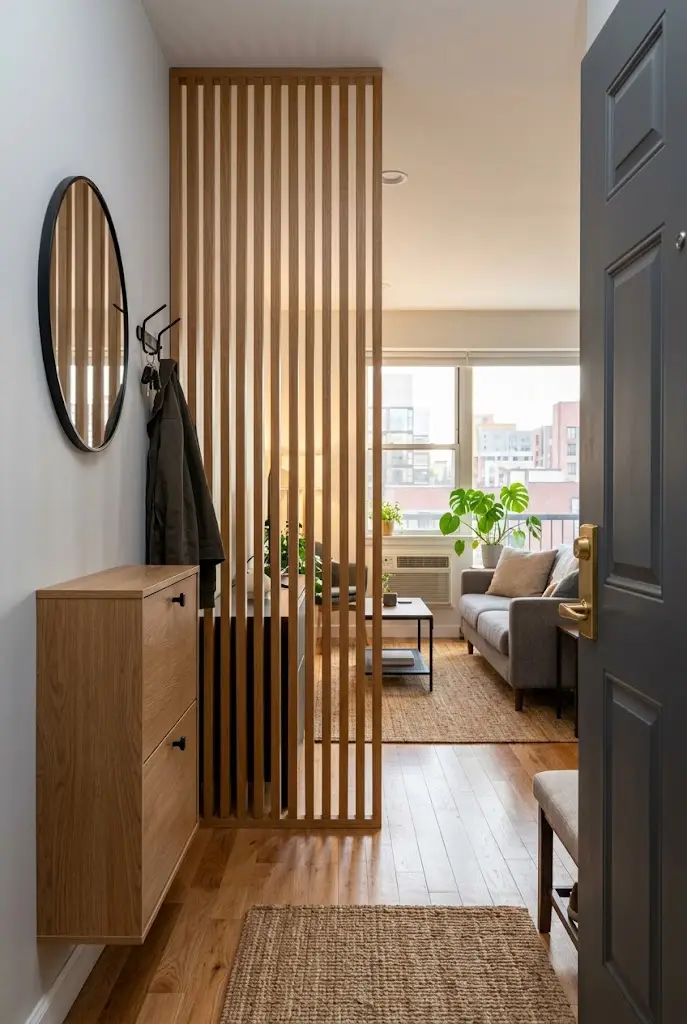
If your front door opens directly into the sleeping or living area, a narrow slatted divider can create a small entry zone.
Position it a short distance from the door.
Add a slim shoe cabinet, mirror, or hooks nearby.
The wood divider gives the entrance a sense of structure while still letting you see through to the rest of the apartment.
This can make even a very small studio feel more like a complete home.
13. Separate Your Workspace With a Wood Divider
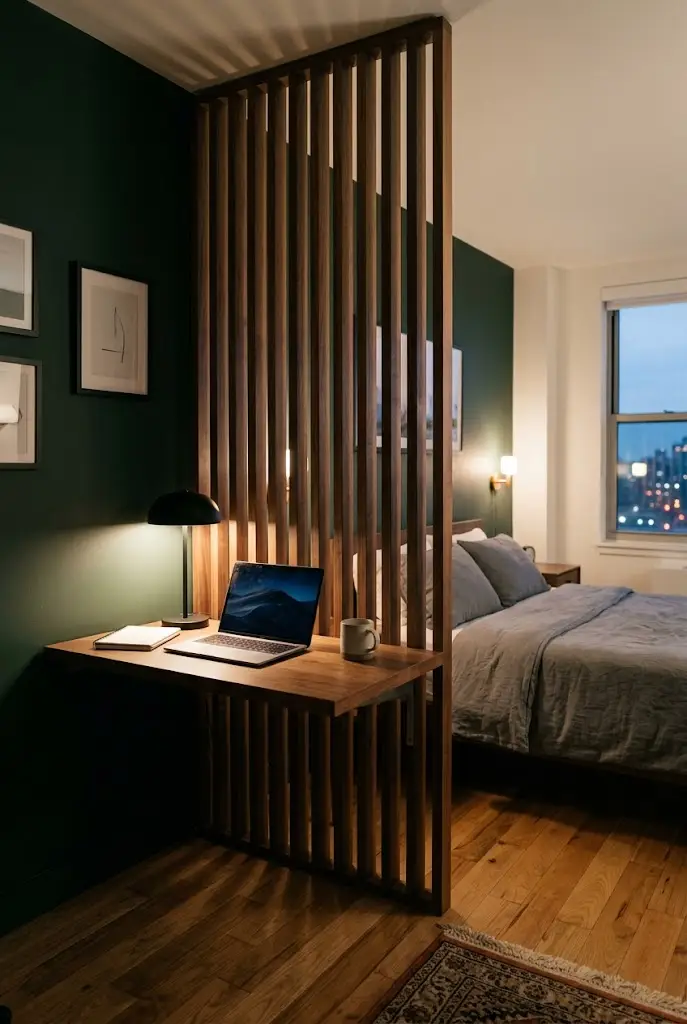
Working from home in a studio can make your desk feel like part of your bedroom.
A narrow slatted divider can create a visual break.
Place it beside the desk rather than surrounding the entire workspace.
You only need enough separation to make the area feel distinct.
Add a small shelf or plant nearby to soften the look.
At the end of the day, that little boundary can help the workspace feel less connected to the rest of your home.
14. Add Plants Around the Divider
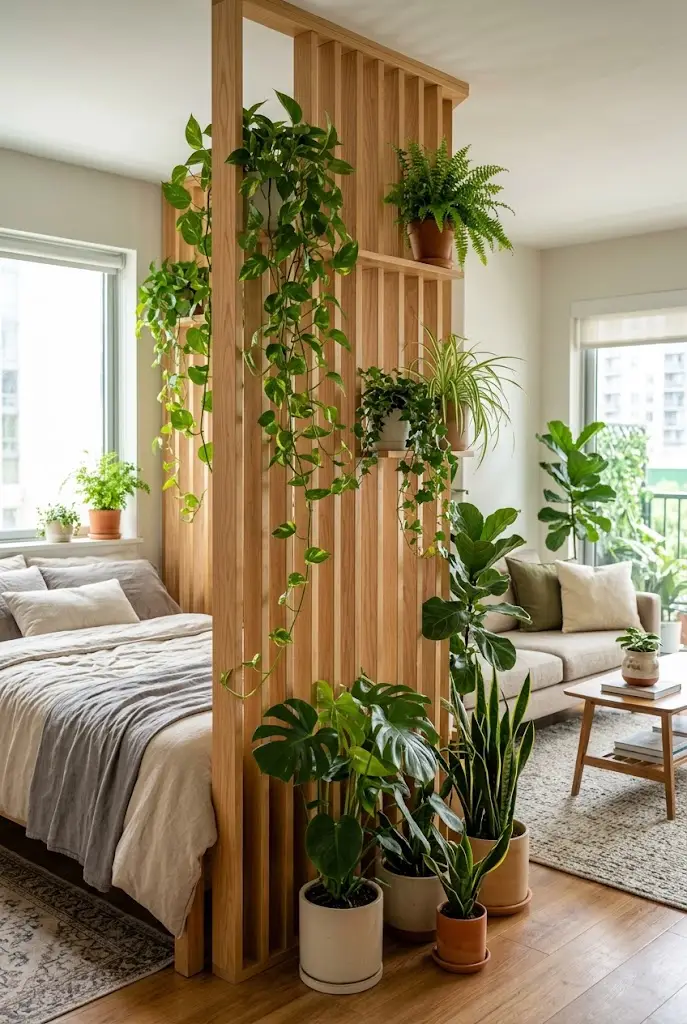
Wood and greenery work beautifully together.
Place trailing plants, tall floor plants, or small pots near your divider.
The leaves soften the straight lines of the wood and create an even more natural privacy screen.
Plants also help the divider feel like part of the decor rather than a structure placed in the middle of the room.
Choose plants that suit the actual light level in that area.
A divider far from the window may need varieties that tolerate lower light.
15. Keep the Floor Around the Divider Clear
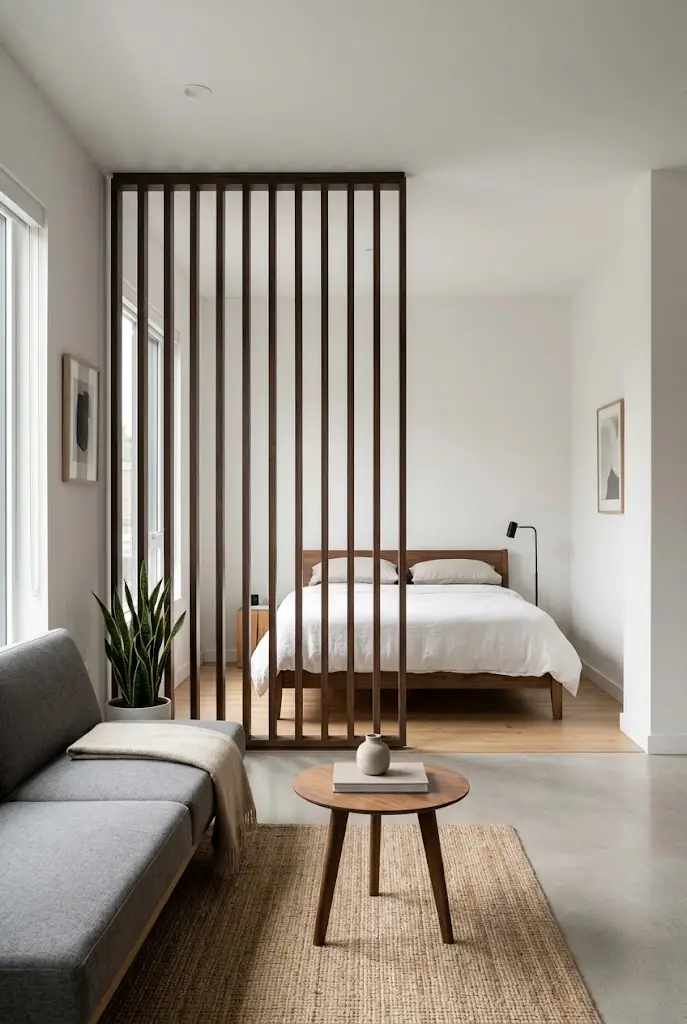
Even a beautiful divider can make a studio feel crowded if too much furniture is packed around it.
Leave some breathing room.
Do not place baskets, chairs, side tables, and storage boxes on both sides unless they are truly needed.
Visible floor space helps the divider feel lighter.
It also keeps the walking path comfortable.
In a small apartment, circulation is just as important as storage.
16. Match the Wood Tone to Existing Furniture
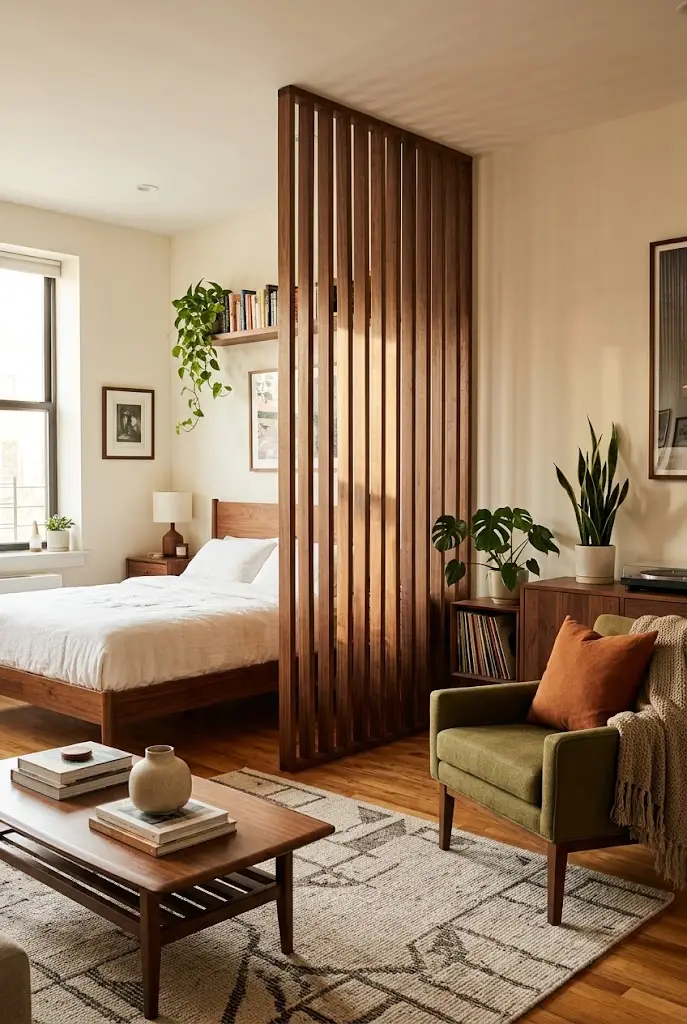
Your divider should feel connected to the rest of the room.
If your coffee table is warm oak, choose a similar wood tone.
If your furniture is dark walnut, repeat that finish in the divider.
Matching tones creates visual continuity.
This makes the divider look intentional rather than added later.
You do not need an exact match.
A similar undertone is usually enough.
17. Use the Divider to Frame the Sleeping Area
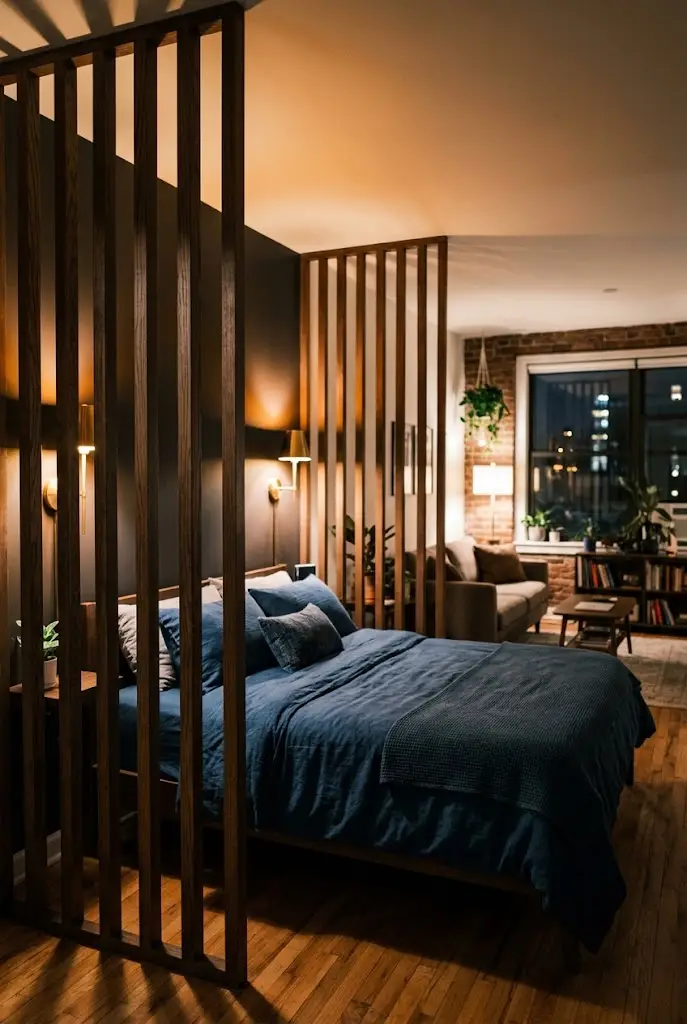
A wood divider does not need to completely hide your bed.
Sometimes framing the edge is enough.
Place a narrow slatted section beside the head or side of the bed.
This creates the feeling of entering a sleeping zone without enclosing it.
Add a wall light, soft bedding, and one small bedside surface.
The bed will feel more private, but the room will still remain visually open.
How Much Space Should Be Between Wood Slats?
The ideal spacing depends on how much privacy you want.
Wider gaps allow more light and visibility.
Narrower gaps create stronger separation.
For most small studios, a balanced design works better than a tightly packed divider.
You want enough openness for daylight to pass through while still creating a noticeable boundary.
Before installing anything permanent, you can test the look with temporary strips of cardboard or tape.
This makes it easier to judge how open or private the divider will feel.
How Tall Should a Wood Divider Be?
A low divider works well when you only need visual zoning.
A medium height design gives more privacy while keeping the ceiling open.
A tall slatted divider creates stronger separation but still allows light through the gaps.
Your ceiling height matters too.
In a lower studio, a massive floor to ceiling structure can feel heavy.
In a room with taller ceilings, vertical wood slats can draw the eye upward and make the architecture feel more dramatic.
Choose the height based on privacy needs rather than automatically choosing the tallest option.
Which Wood Divider Style Keeps the Most Light?
Open slats usually keep the room brightest.
Wood framed glass is another strong option.
Open shelving can also work well when the shelves are not overloaded.
A solid wood wall will create the strongest privacy but block much more light.
If your studio relies on one window, prioritize designs with openings.
This lets brightness move deeper into the apartment.
What Wood Color Works Best in a Small Studio?
Light wood is usually the easiest option for a small room.
It feels soft, natural, and visually light.
Medium wood tones can add warmth without dominating the space.
Dark wood creates stronger contrast and can look sophisticated, but it usually works best in smaller amounts.
Think about your flooring, furniture, and wall colors before choosing.
The divider should connect with the room rather than compete with it.
Common Wood Divider Mistakes to Avoid
The first mistake is making the divider too solid.
Privacy is useful, but blocking all daylight can make the apartment feel smaller.
The second mistake is choosing a divider that is too deep.
A bulky structure can reduce walking space.
Another mistake is placing it directly in front of the main window.
You should also avoid combining a large divider with too much decor around it.
The divider already adds visual structure.
Give it room to breathe.
How to Make a Wood Divider Look Expensive
Keep the design simple.
Use a consistent wood tone.
Avoid filling every nearby surface.
Choose clean vertical lines or an open geometric pattern.
Add one or two well placed plants.
Use warm lighting nearby.
Repeat the same wood tone elsewhere in the room through a table, frame, shelf, or small accessory.
I have noticed that simple wood dividers often look more polished than complicated designs with too many decorative details.
Create Privacy Without Losing the Best Part of a Studio
Open layouts are one of the things that can make a studio apartment feel bright.
A divider should improve that layout, not fight against it.
The best studio apartment wood divider ideas give you enough privacy to create distinct zones while still allowing light, air, and sightlines to move through the room.
Start with your main problem.
Maybe the bed feels too exposed.
Maybe your desk needs separation.
Maybe the front door opens directly into your living area.
Choose the lightest wood divider that solves that problem.
Use open slats, partial height panels, glass combinations, or shelving whenever possible.
Protect the window.
Keep your walkways open.
Leave breathing room around the divider.
When the wood adds warmth without blocking brightness, your studio can feel more private and more spacious at the same time.
Community
Join the conversation
Add a useful idea, ask a specific question, or share what worked in your space. Every comment is reviewed before it appears.