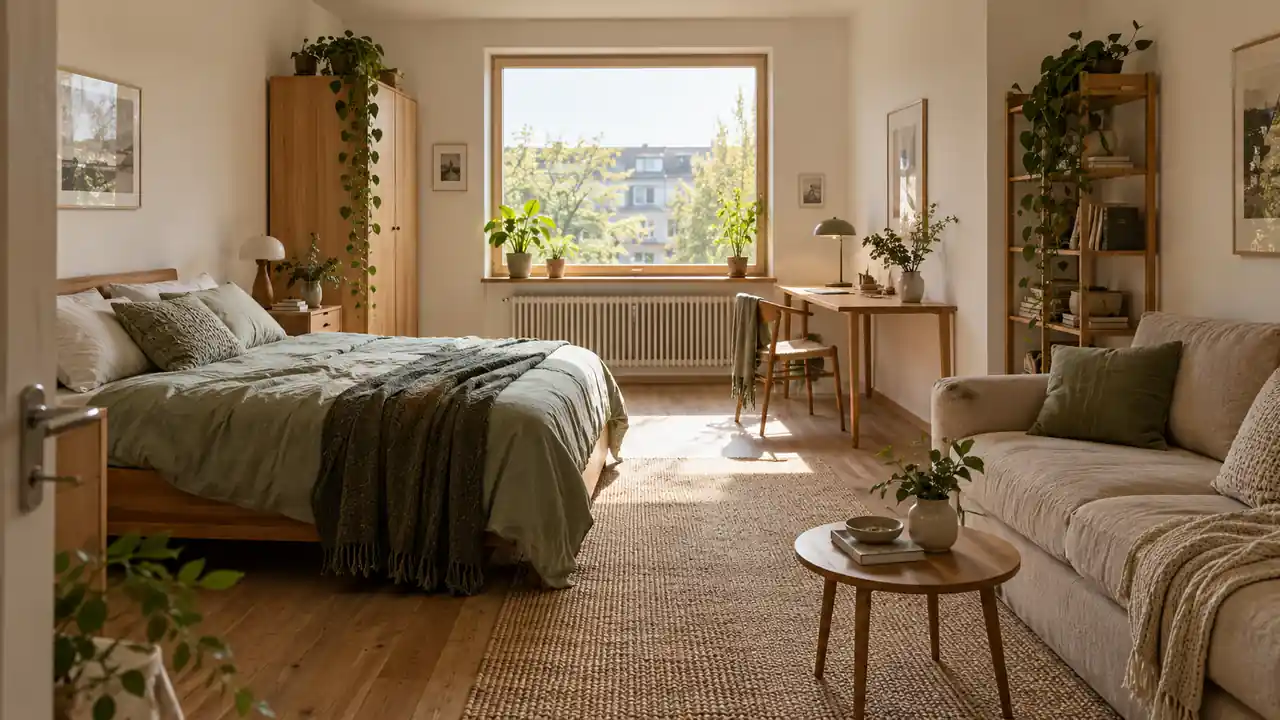
Your only window should brighten more than the chair beside it. These studio apartment layouts with one window help you arrange sleeping, lounging, working, and dining areas so daylight has room to travel.
A tall dresser in the wrong spot can leave the back of a studio feeling boxed in. A better furniture arrangement can open the view, protect your walking route, and give the brightest corner a useful job. You do not need to squeeze every idea into one apartment. Choose the layout that matches your room shape and daily routine, then test furniture positions with painter's tape before moving heavy pieces. Start with the window, keep its operation clear, and work inward.
1. Window Side Living Room
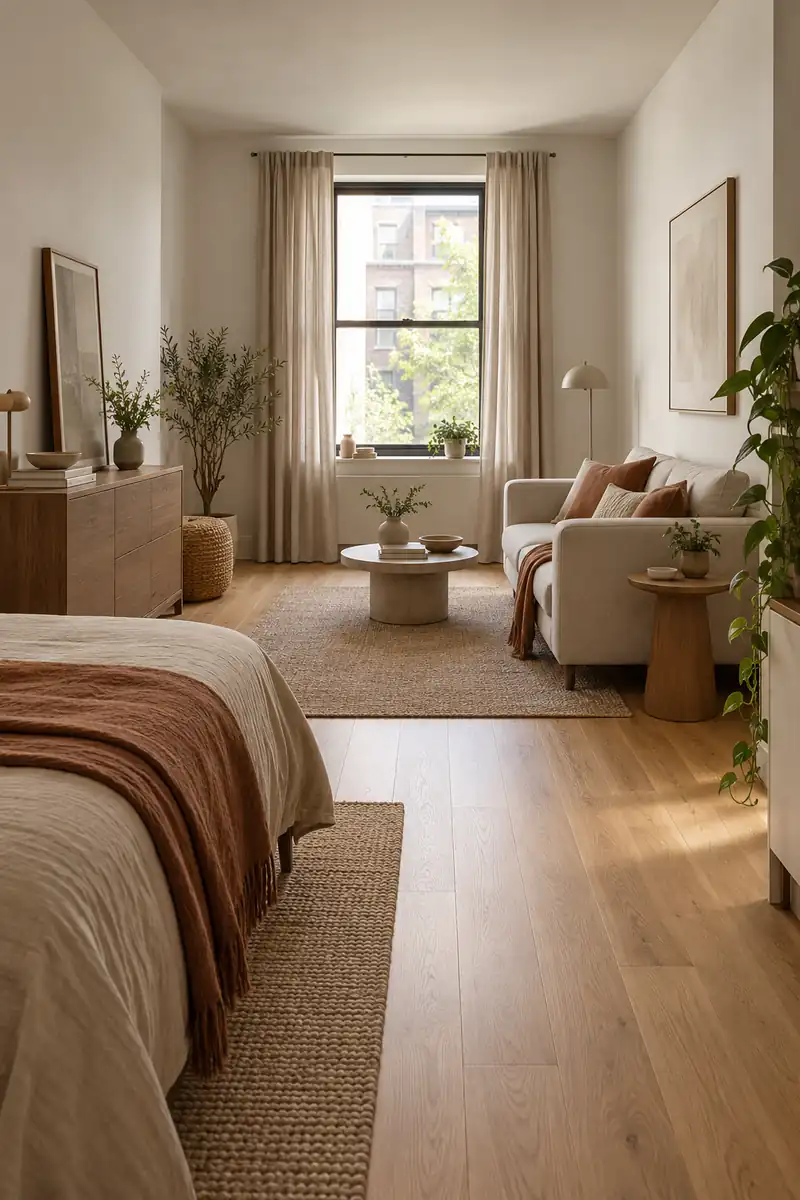
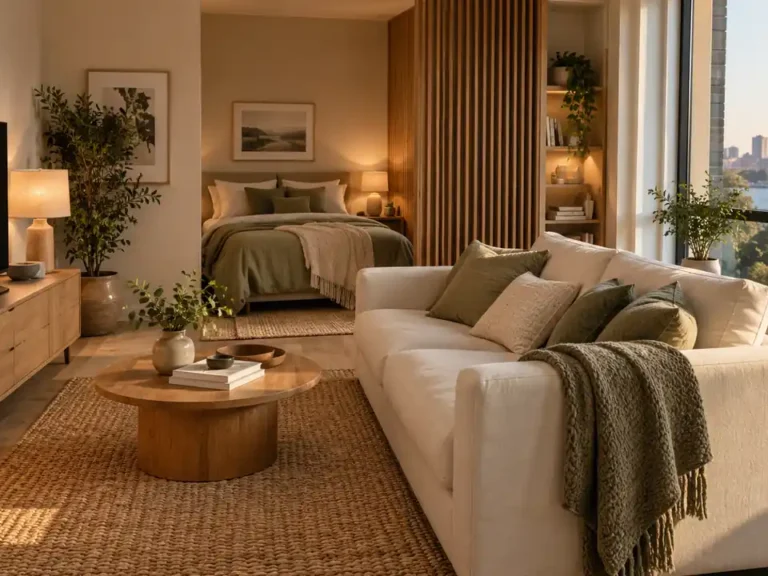
Let your favorite seat borrow the best light. Place a compact sofa along the side wall nearest the window, with its end facing the glass rather than its back blocking it. Keep the opposite side open so daylight reaches the middle of the room and your entry view stays clear.
Set the bed farther back along the same wall or against the rear wall, depending on the room shape. A rug can mark the lounge without a divider. Check that curtains, window handles, and nearby heaters remain accessible before settling on the sofa position. Leave room to walk around it.
2. Parallel Furniture Layout
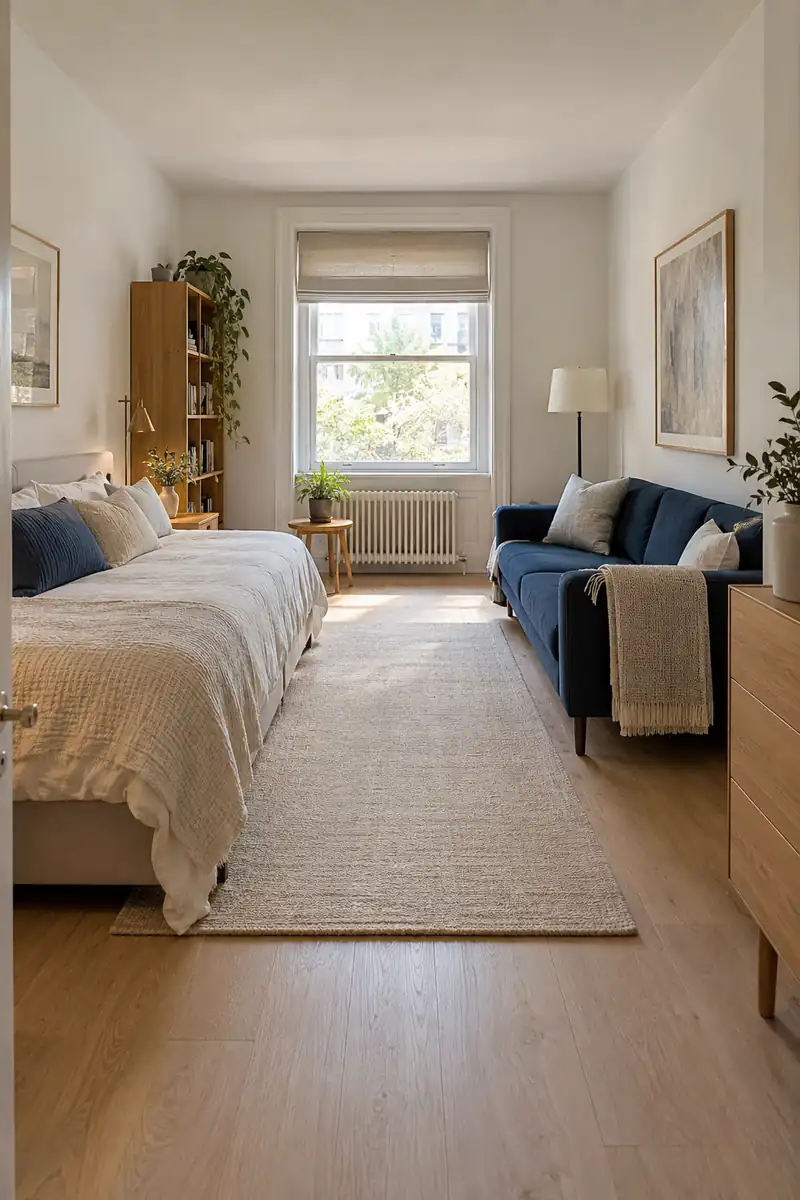
- Give a long room a clear center by placing the bed against one long wall and the sofa against the other.
- Offset the sofa and bed slightly so their largest sections do not face each other across the narrowest point.
- Keep a clear route from the entrance toward the window, with nothing parked across its end.
- Use a small side table instead of a coffee table if the center passage feels tight.
This arrangement suits a rectangular studio with its window on the short wall. The furniture stays around the edges while the middle remains open to light and movement. Test the route while carrying a laundry basket, then check that drawers and doors can open without trapping you between pieces.
3. Low Sofa Divider
Quick Tip:
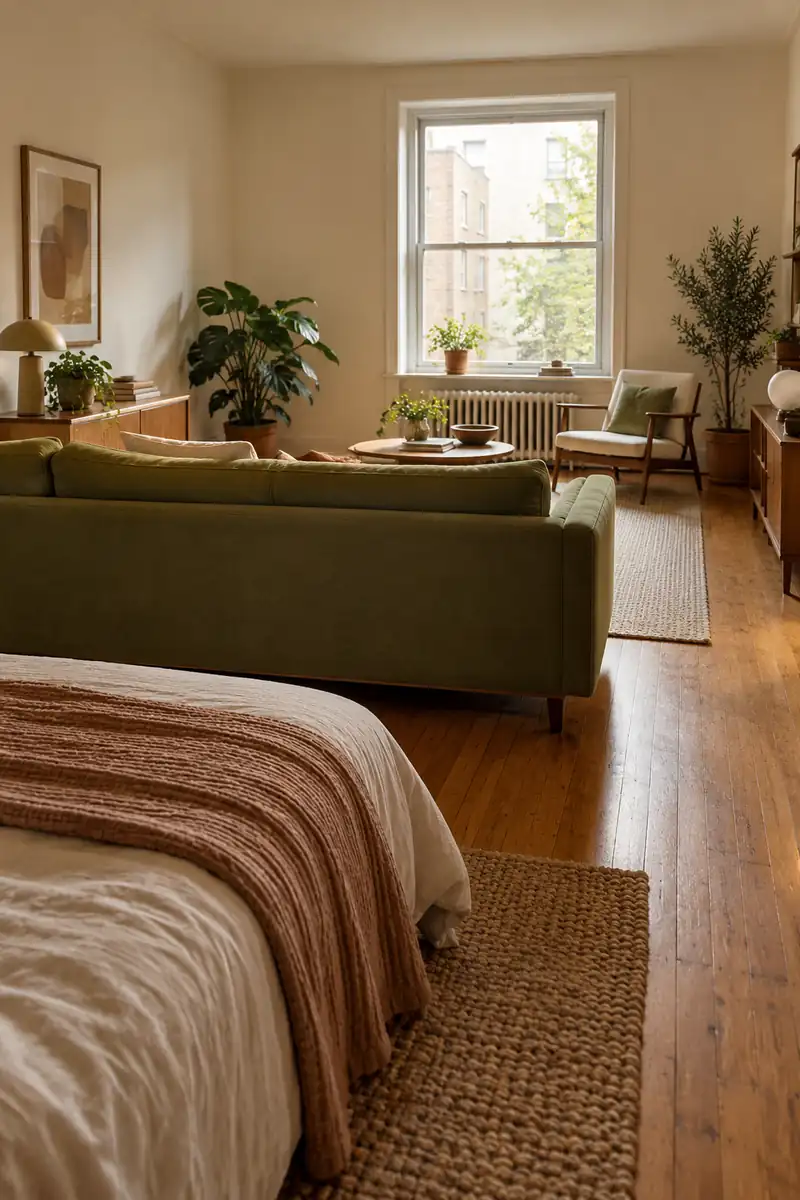
A low sofa can mark the bedroom without building a wall. Float it across part of the room, facing the window, and leave a clear passage beside one arm.
Place the bed behind the sofa only if there is enough depth for both zones and an easy route around them. Choose a low back that leaves the window visible from farther inside. Skip a tall console behind it; the open space above the sofa is doing useful work.
4. Interior Sleeping Nook
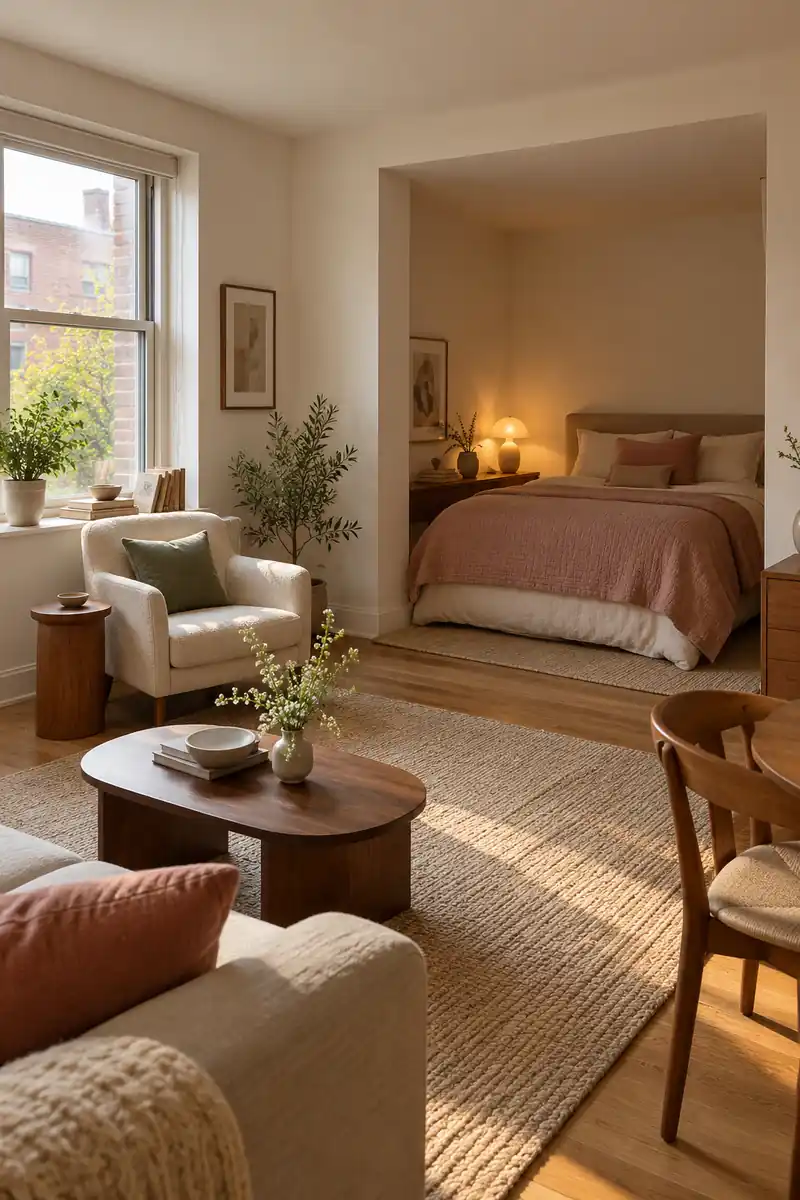
BEFORE
The bed sits across the window end of the studio. The only sunny area becomes a place you mainly use after dark.
AFTER
The bed moves into a suitable interior corner while the lounge takes the brighter end. An open approach to the sleeping area keeps the layout connected.
Reserve this setup for a rear corner that remains comfortable and ventilated. Add a bedside light because borrowed daylight will be weaker there. Keep the bed reachable without stepping over furniture, and avoid enclosing it with tall storage on every side. A low headboard helps preserve the open feeling.
5. Perpendicular Window Desk
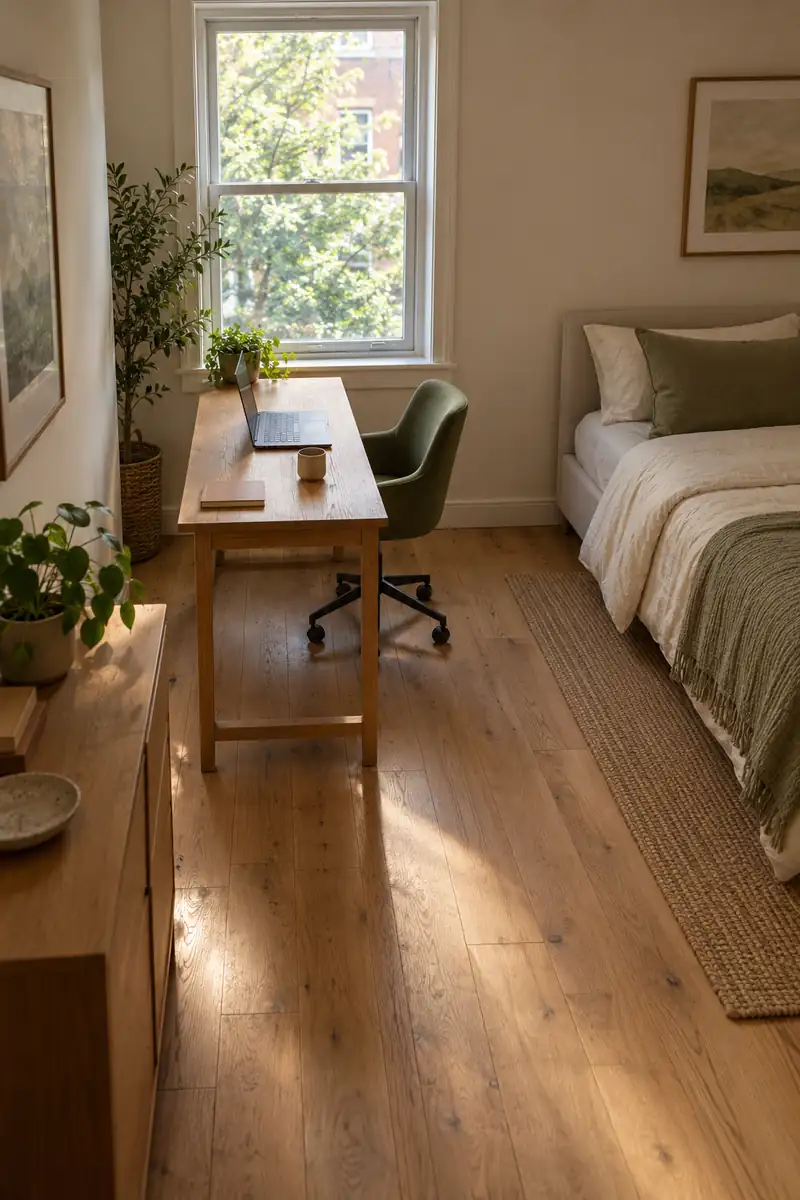
- Claim useful daylight without covering the glass: position a slim desk perpendicular to the window.
- Turn the screen so the window sits to one side rather than directly behind it.
- Place the chair on the side that leaves the main walking route open when you stand up.
- Move tall office storage to an interior wall and keep only daily essentials on the desktop.
Side light makes this corner pleasant for writing, sketching, or laptop work, though screen glare still changes throughout the day. Check the position at your usual working time before committing. A shallow desk and a chair that tucks in neatly leave more of the window area available to everyone.
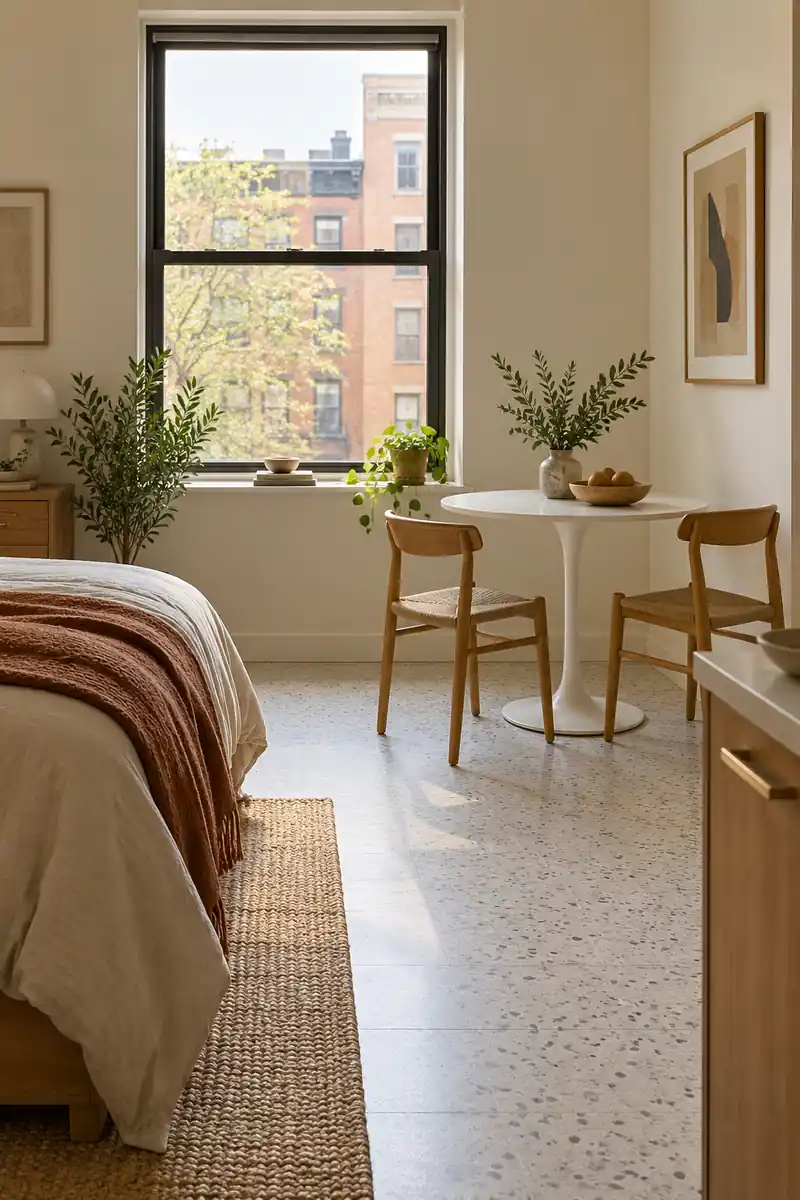
6. Round Window Dining
| Detail | Rectangular Table | Round Pedestal Table |
|---|---|---|
| Window corner | Corners can crowd the approach | Curved edge can ease the approach |
| Chair placement | Legs may limit seating positions | Central base can allow flexible seating |
| Floor footprint | Compare the full width and depth | Check diameter plus pulled-out chairs |
Breakfast deserves a bright spot, but the table still needs to fit when someone is seated. Place a small round table beside the window, leaving its opening and the main route clear. Start with two chairs, and measure the complete dining footprint before choosing a pedestal base or tabletop.
7. Open Shelf Zoning
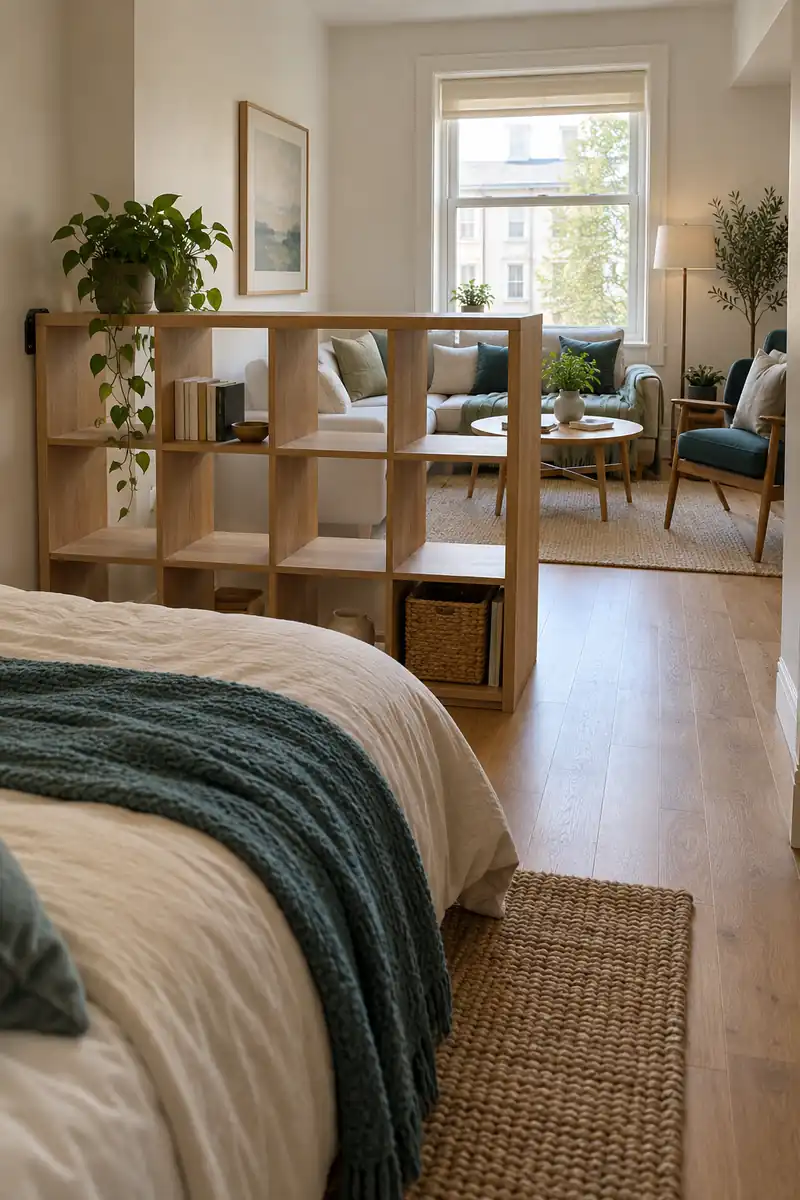
DO
- Let daylight pass through a short open shelving unit placed between the bed and sitting area.
- Keep several shelf spaces empty so the unit stays visually light.
- Follow the furniture maker's stability and anchoring instructions.
DON'T
- Fill every opening with solid storage bins.
- Put a tall shelf directly across the only window.
- Use an unstable freestanding unit as a room divider.
An open shelf gives books and everyday items a home while suggesting a boundary around the bed. Its usefulness depends on how you fill it. Store heavier items low, leave visible gaps, and check the view from the entrance. Too many baskets can make an open unit feel solid.
8. Daybed Living Zone
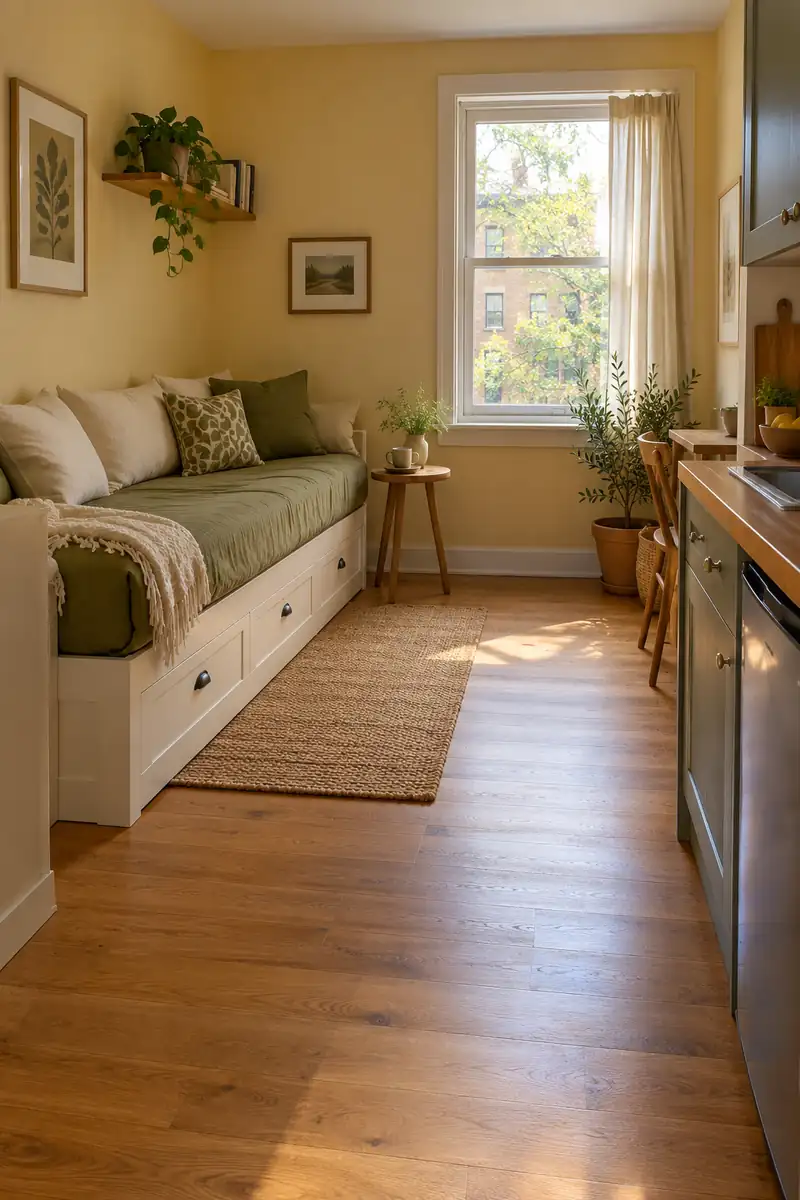
Best For: One main seat that can also serve as your bed
Placement: Along a side wall near the window
Daily Reset: Store bedding and arrange supportive back cushions
Check First: Sleeping comfort and access to storage drawers
One substantial piece can free the space a separate sofa would occupy. Position a daybed along the wall rather than across the window, then add a small movable side table. Choose the mattress for sleeping comfort first. Hidden bedding storage makes the daytime setup easier to maintain in a busy studio.
9. L Shaped Furniture Plan
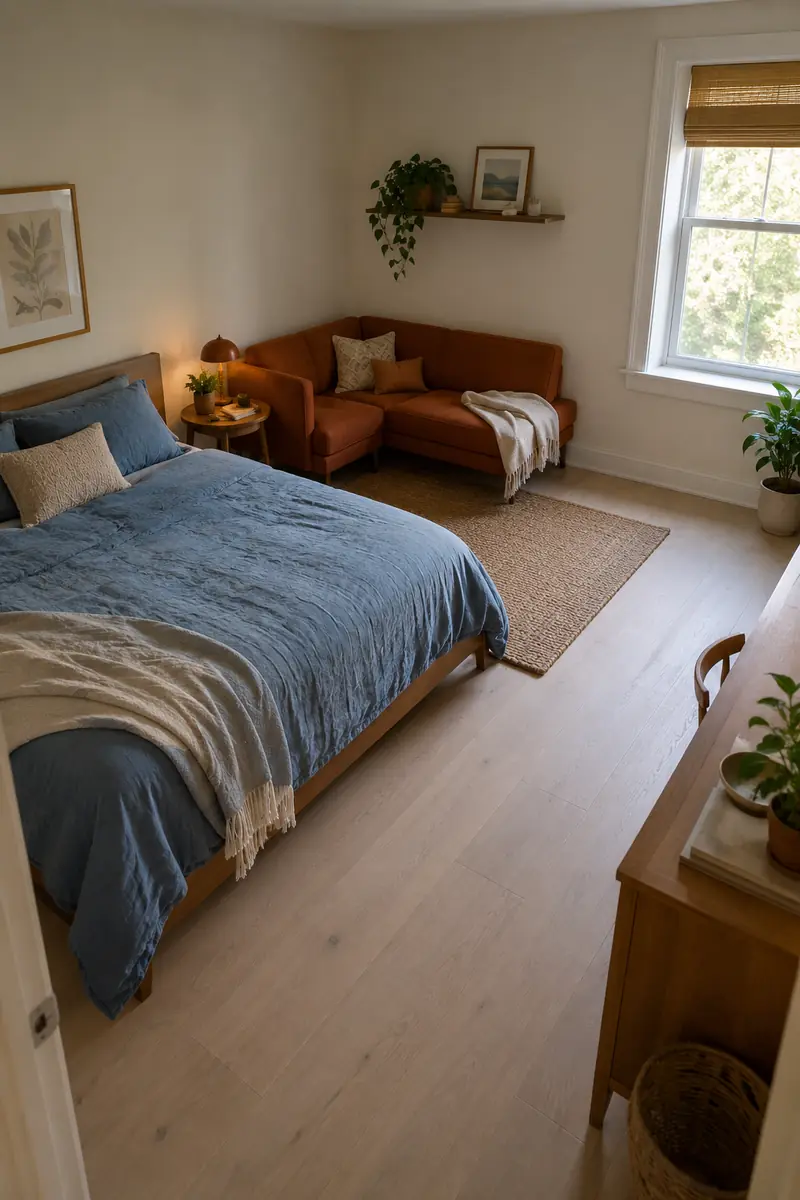
Two walls can hold most of the room without closing off its center. Arrange the bed along one wall and the sofa along the adjoining wall, forming an L when viewed from above. Keep the remaining side open toward the window so the arrangement feels connected to the daylight.
This works especially well in a squarer studio where parallel furniture would create an awkward corridor. Give the inside corner a job with one shared table, provided it does not crowd either seat. Avoid pushing extra chairs into the open side; that breathing room is what makes this layout useful.
10. Storage Wall Layout
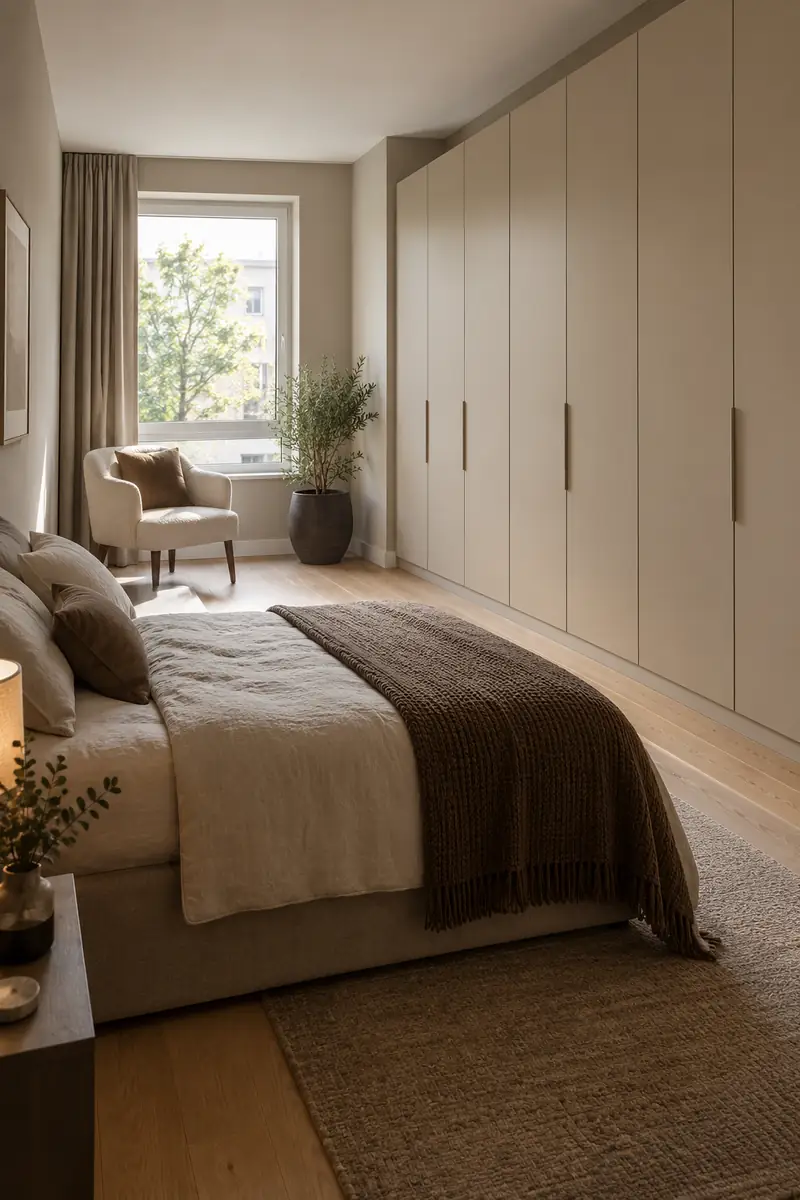
- Bring scattered storage together on an interior wall to leave the window side less crowded.
- Place the tallest cabinet farthest from the glass where the room shape allows.
- Keep cabinet depth consistent so the storage wall does not create several awkward projections.
- Leave door swings, ventilation, and furniture anchoring requirements clear.
A dresser here and a bookcase there can interrupt several views across a small room. Grouping suitable storage along one wall gives the living area a cleaner outline. Measure the remaining walking space before rearranging, and avoid turning the entrance into a narrow tunnel of deep wardrobes or cabinets.
11. Retractable Curtain Nook
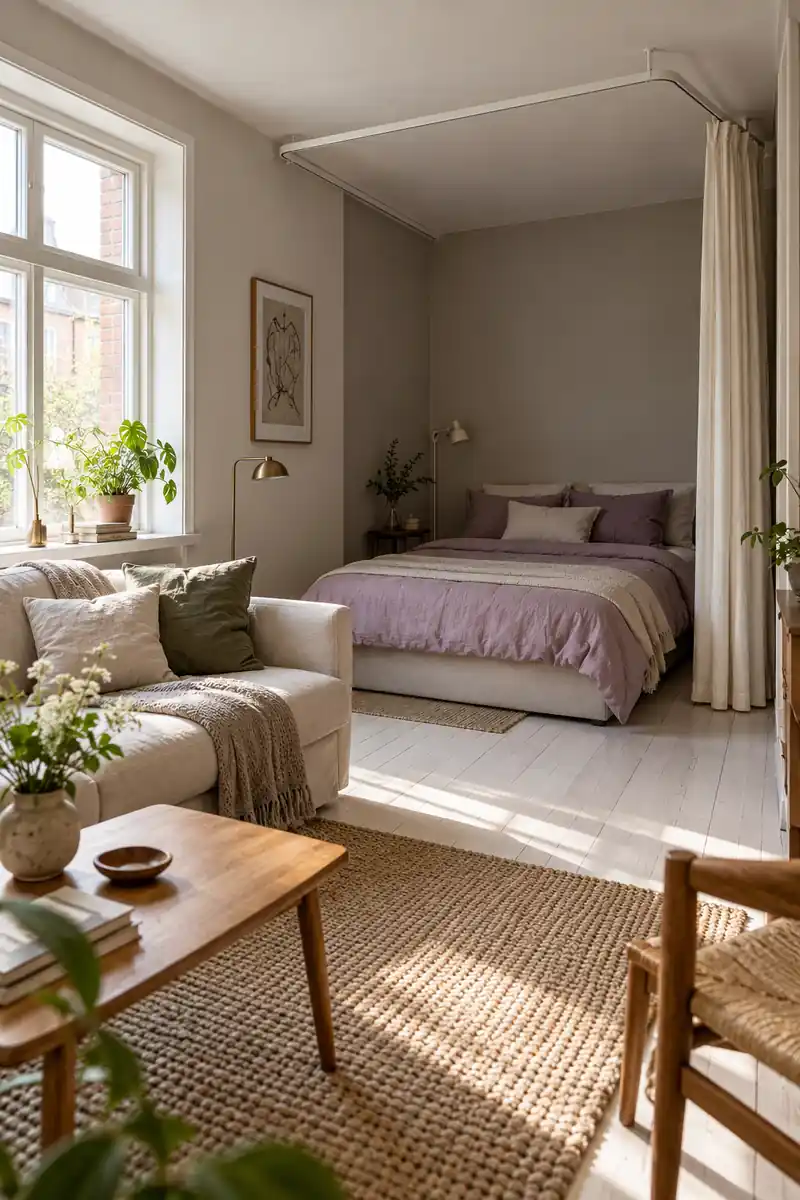
Quick Tip:
Privacy can disappear when you no longer need it. Position a curtain around the sleeping nook so it stacks away from the window during daylight hours, using a mounting method suitable for your home.
Keep the sleeping area at the side or rear of the studio rather than wrapping the curtain around its only light source. A light fabric preserves a softer boundary, though it offers limited privacy. Test where the gathered curtain rests so it does not block a walkway or cabinet.
12. Window Facing Lounge
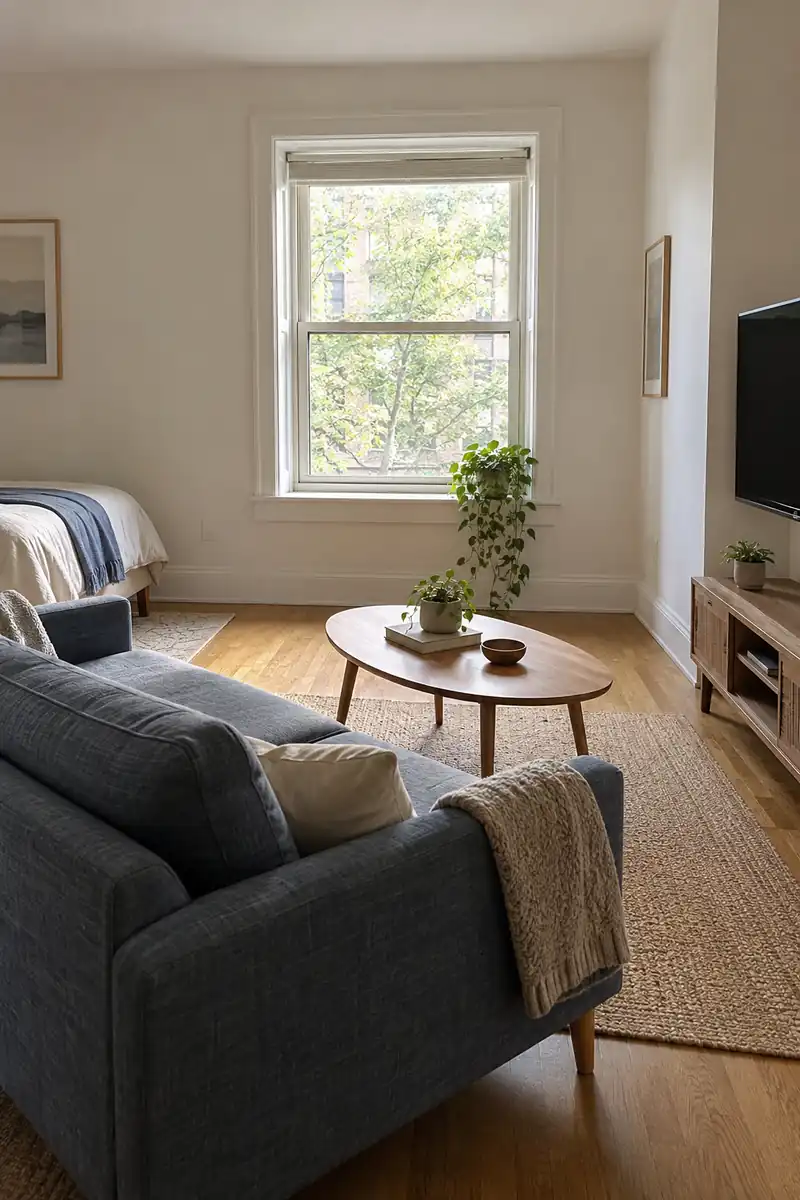
BEFORE
The sofa faces a tall television cabinet while the window sits behind a crowded dining setup. The first view from the seat is a wall of furniture.
AFTER
The sofa faces the window from farther inside the room. A compact television on a side wall leaves the outlook open when it is not in use.
Giving the sofa a view can make the room feel more generous without changing its dimensions. Keep the furniture between the seat and window low and sparse. Check television reflections before fixing its position, and choose curtains that control glare without needing to stay closed throughout the brightest part of the day.
13. Foldaway Dining Wall
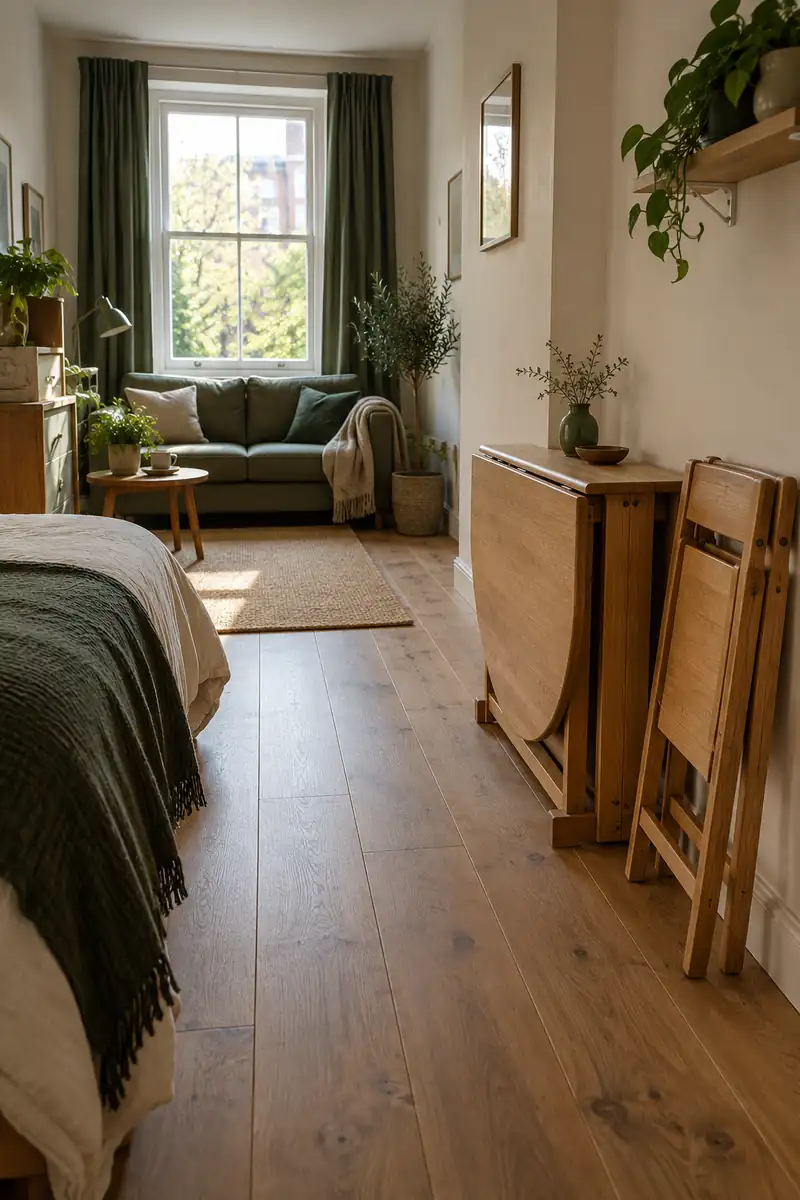
- Free the bright end for lounging by choosing a folding table for an interior wall.
- Mark the tabletop footprint on the floor in its open position.
- Add chair space to that outline and check your route to the window.
- Store folding chairs nearby, where retrieving them does not require moving the sofa.
A foldaway dining surface suits a studio where meals do not need a permanent corner. It leaves more open floor between the window and the back of the room during the day. Choose a freestanding design if wall mounting is unsuitable, and respect the table maker's stated load limits.
14. Mirrored Interior Wall
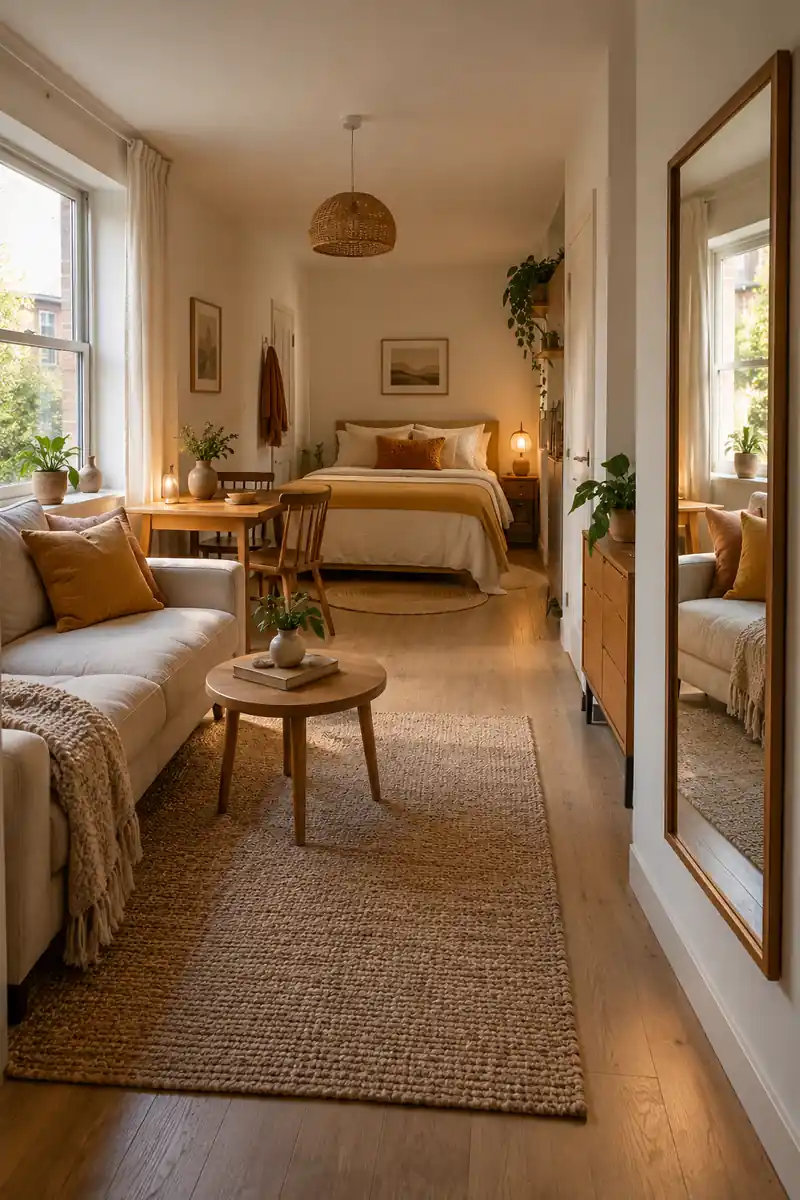
| Detail | Blank Interior Wall | Securely Mounted Mirror |
|---|---|---|
| View | Stops at the wall surface | Reflects another part of the room |
| Placement | No reflection to consider | Check for glare and clutter |
| Light effect | Depends on wall finish | Can reflect existing daylight |
The darker end can borrow a brighter view when a mirror catches the window or a light wall. Test the reflection from your usual seat before choosing a location. A mirror adds no daylight of its own, so keep the window clear and secure the mirror using suitable fixings.
15. Central Clear Path
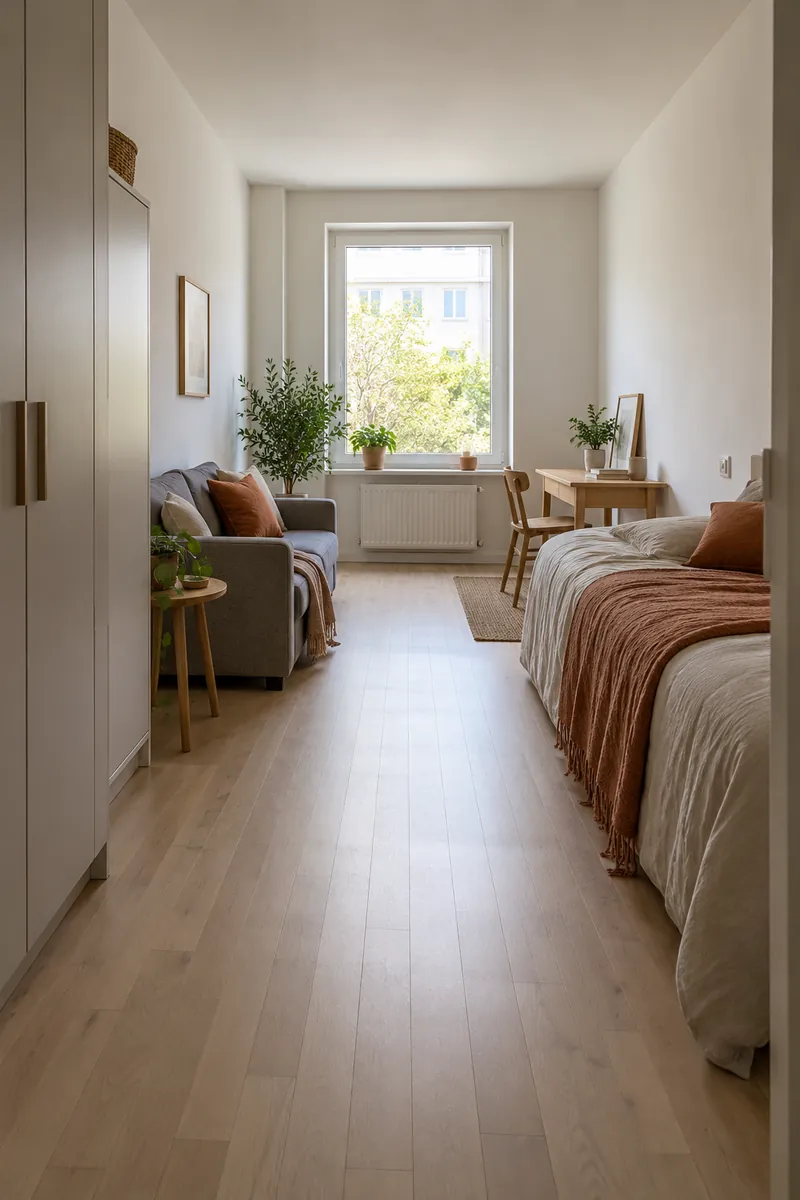
DO
- Open the longest view by keeping a continuous path from the entry toward the window.
- Place the main furniture along the sides of that route.
- Check the path with chairs pulled out and drawers open.
DON'T
- Park a storage cart across the window approach.
- Let a coffee table become a daily obstacle.
- Assume a clear floor plan will work before testing normal movement.
The most useful finishing check is a walk through the room with everyday tasks in mind. Carry groceries to the kitchen, reach the window handle, and approach the bed. Shift the piece that interrupts those movements. An open sightline feels better when the route beneath it works just as well.
Conclusion
A single window gives your layout a clear starting point. The most useful studio apartment layouts with one window protect that opening, keep tall furniture out of the light path, and make room for the activities you actually enjoy. Choose one arrangement that suits your floor plan, then test it with the furniture you already own. Notice how the room feels in the morning and again later in the day before buying anything. Start with one move that opens the view.
Community
Join the conversation
Add a useful idea, ask a specific question, or share what worked in your space. Every comment is reviewed before it appears.