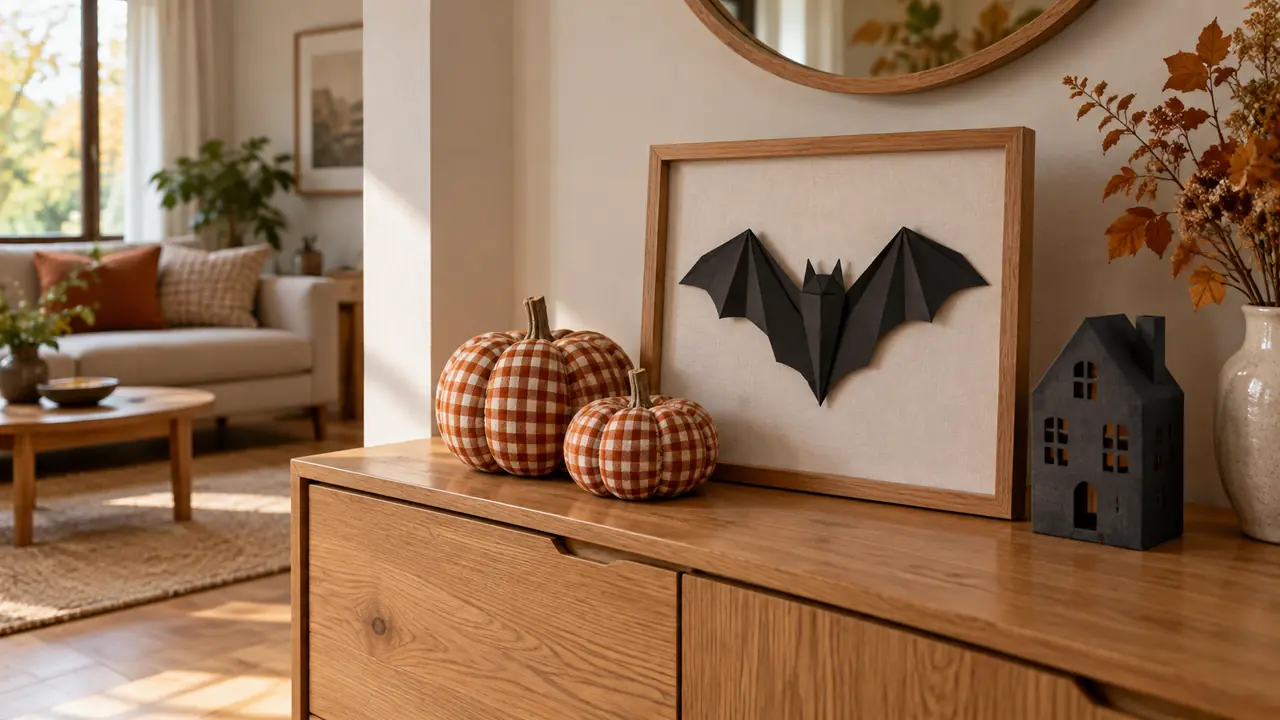
Searching for “apartment halloween decor diy” often brings up elaborate displays, but a small budget can still produce plenty of character. Start with clean jars, packaging cardboard, fabric scraps, and a few supplies already hiding in a drawer. The trick is choosing one clear shape and repeating a limited set of colors. A black bat, an ivory ghost, or a rust pumpkin reads well without expensive finishing touches.
These projects are designed for indoor shelves, trays, and useful corners of a compact home. Make a small batch rather than buying materials for everything at once. Keep paper and textiles away from heat, leave daily routes open, and use existing frames where possible. Handmade details can feel charming without looking crowded.
1. Folded Bat Frame
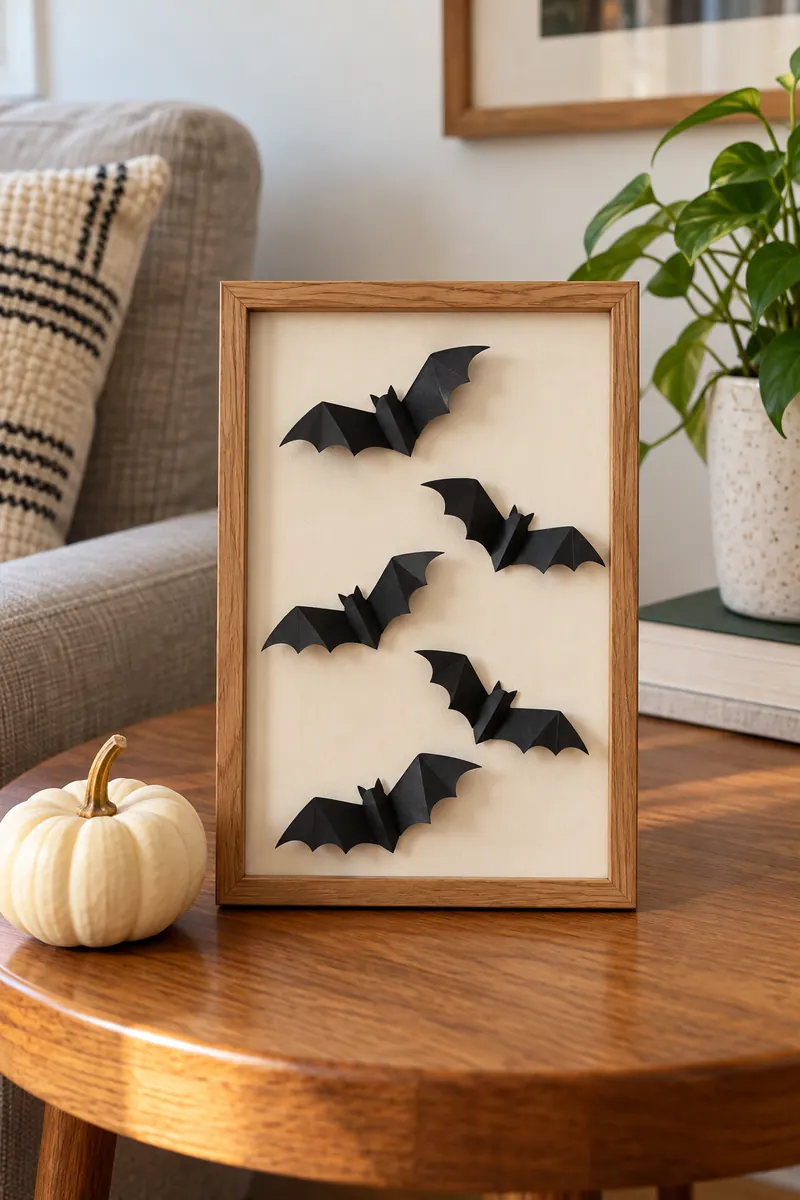
Cut several simple bat shapes from black paper, then fold each gently through the middle. Glue only the center to a cream backing card so the wings lift slightly. Slip the backing into an existing frame without glass, or use a deep frame that accommodates the folded wings.
Keep the bats inside the frame instead of spreading adhesive across a rental wall. A diagonal arrangement adds movement without needing many shapes. Display the frame on a stable surface away from heat, following NFPA Halloween guidance. Store the backing flat after gently pressing the wings down for next year.
2. Painted Jar Faces
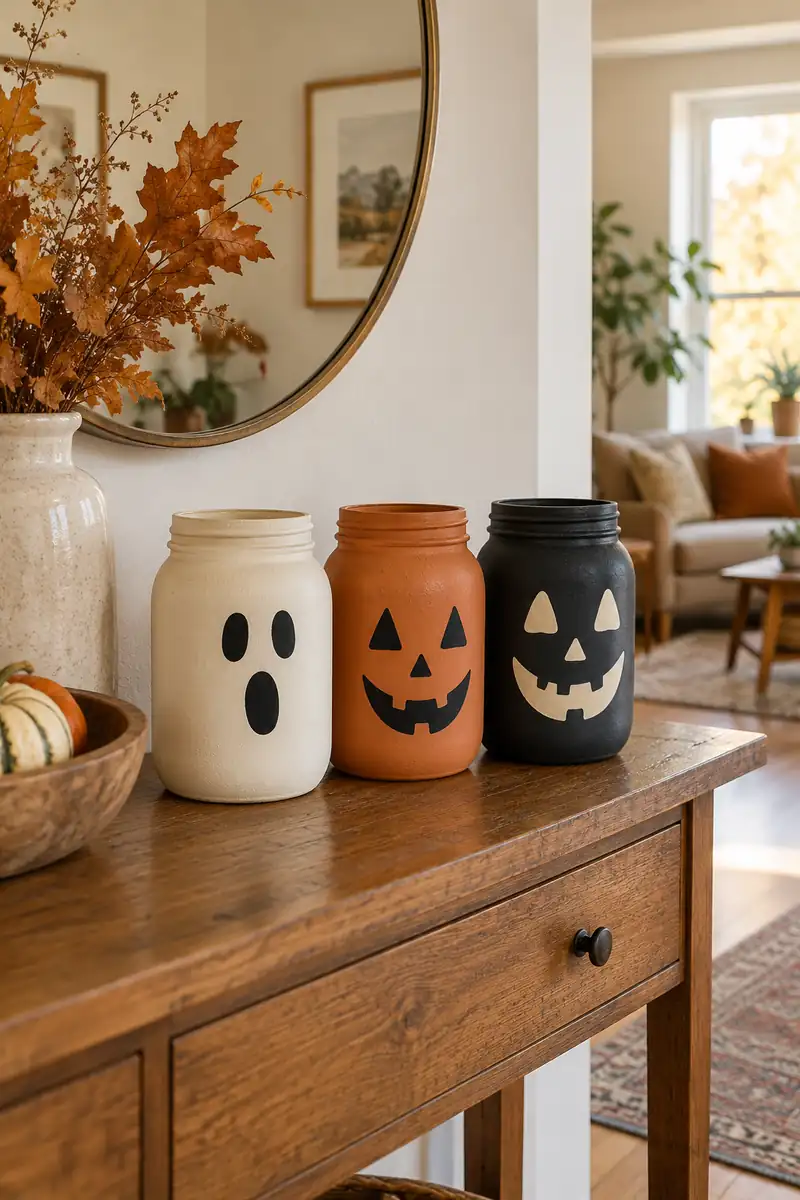
- Wash and thoroughly dry empty food jars.
- Check the rim and sides for chips before reusing them.
- Apply paint labeled for glass to the outside only.
- Add large ghost eyes or a simple pumpkin face after the base dries.
Turn a few jars into a little character collection rather than purchasing matching ornaments. Use them as empty decorative vessels, without candles or food inside. Follow the paint label for preparation and curing. Group different heights on a tray, keeping each jar far enough from the edge to avoid knocks.
3. Cardboard Haunted Houses
Quick Tip:
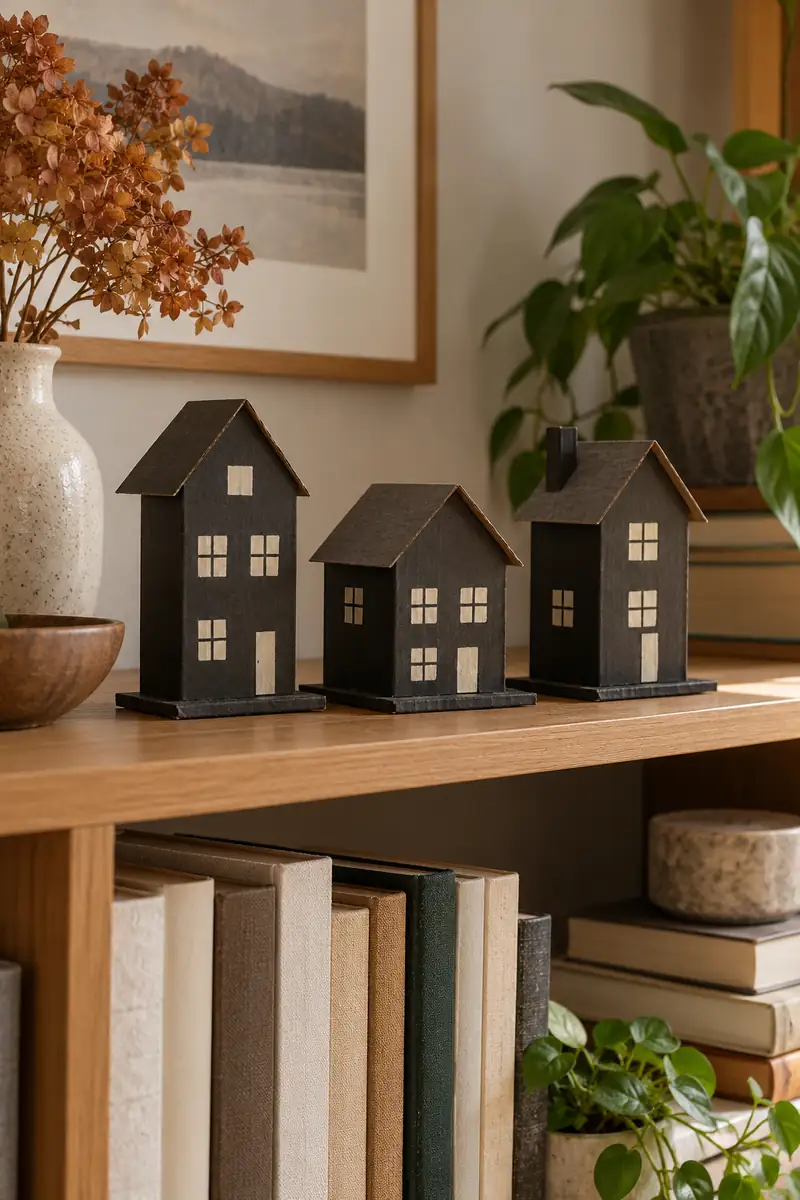
Start with a short cardboard box and a wide base. Add a low pitched roof so the house stands steadily without extra supports.
Build small boxes from packaging card, then glue two roof panels across each top. Paint them charcoal and draw pale windows instead of cutting openings. Attach each house to a broad card base. Three different heights create a tiny street that fits on one shelf without needing any lights.
4. Scrap Fabric Pumpkins
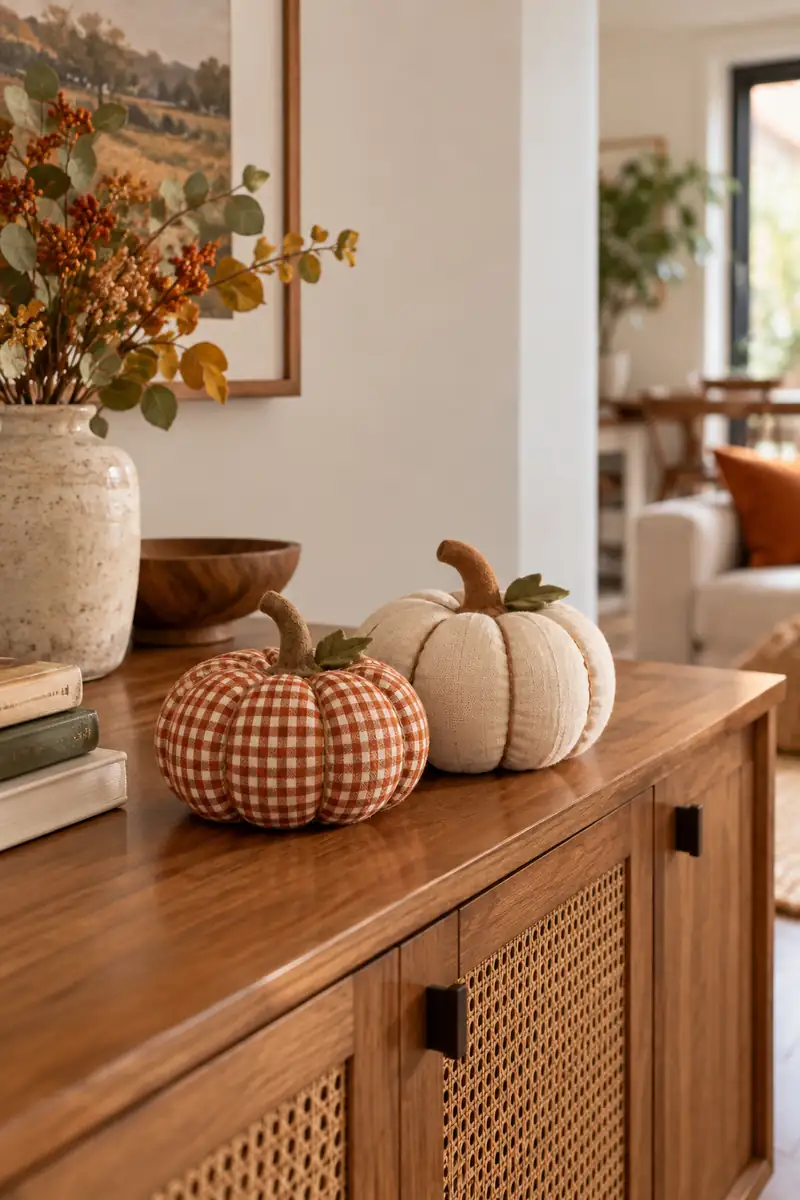
BEFORE
Small fabric leftovers fill a drawer. Their different prints feel too busy when scattered across a room.
AFTER
Two round pumpkins repeat the same rust and cream colors. The scraps become one tidy accent on a sideboard.
Cut a fabric circle, sew a running stitch around its edge, and gather it around clean stuffing. Close the opening securely, then stitch through the center to form soft segments. Add a short felt stem with stitches. Choose broad, low shapes that stay put when the nearby furniture gets used.
5. Paper Spider Silhouette
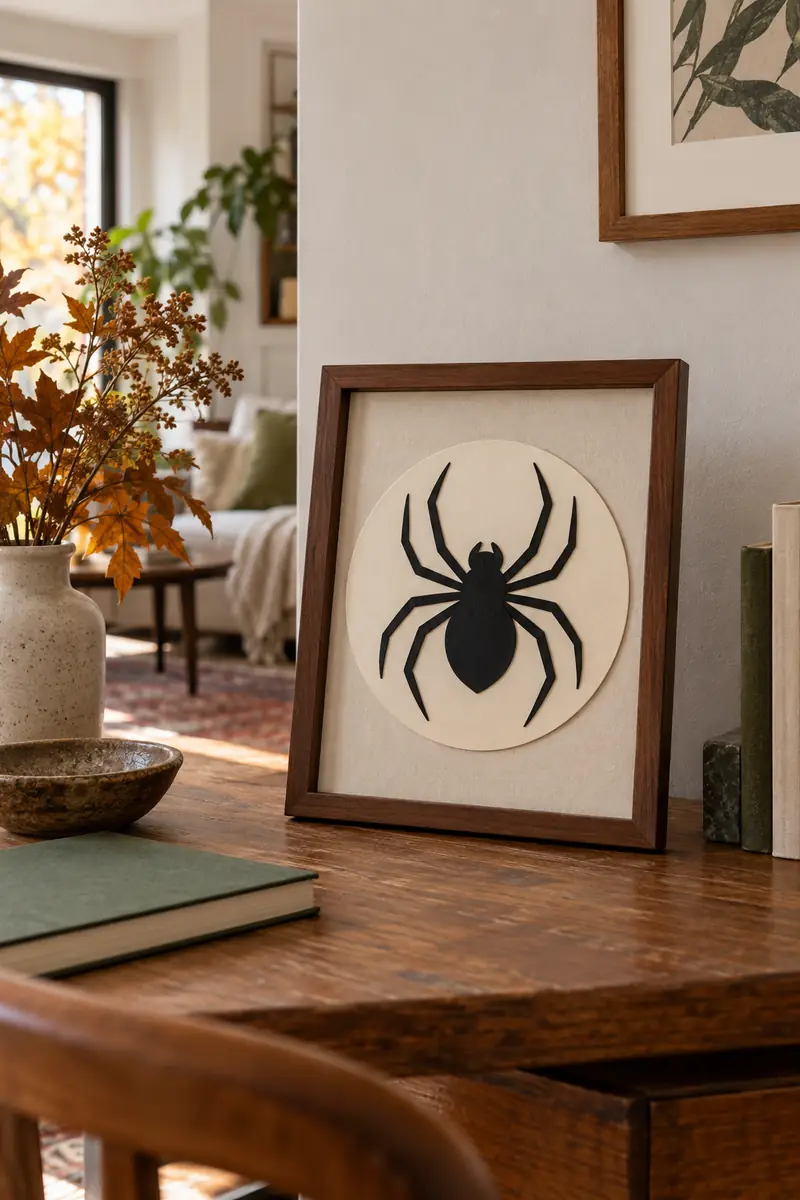
- Fold black paper and sketch half a spider against the fold.
- Cut around half the body and four broad legs on the folded paper.
- Open the shape and glue it flat to a pale card circle.
- Place the card in an existing tabletop frame.
A solid spider shape gives you the spooky theme without stretching web fibers around the room. Keep its legs chunky enough to survive cutting and storage. The pale background makes the silhouette readable from a sofa or doorway. Set it beside ordinary books so the homemade piece has a useful backdrop.
6. Coffee Filter Ghosts
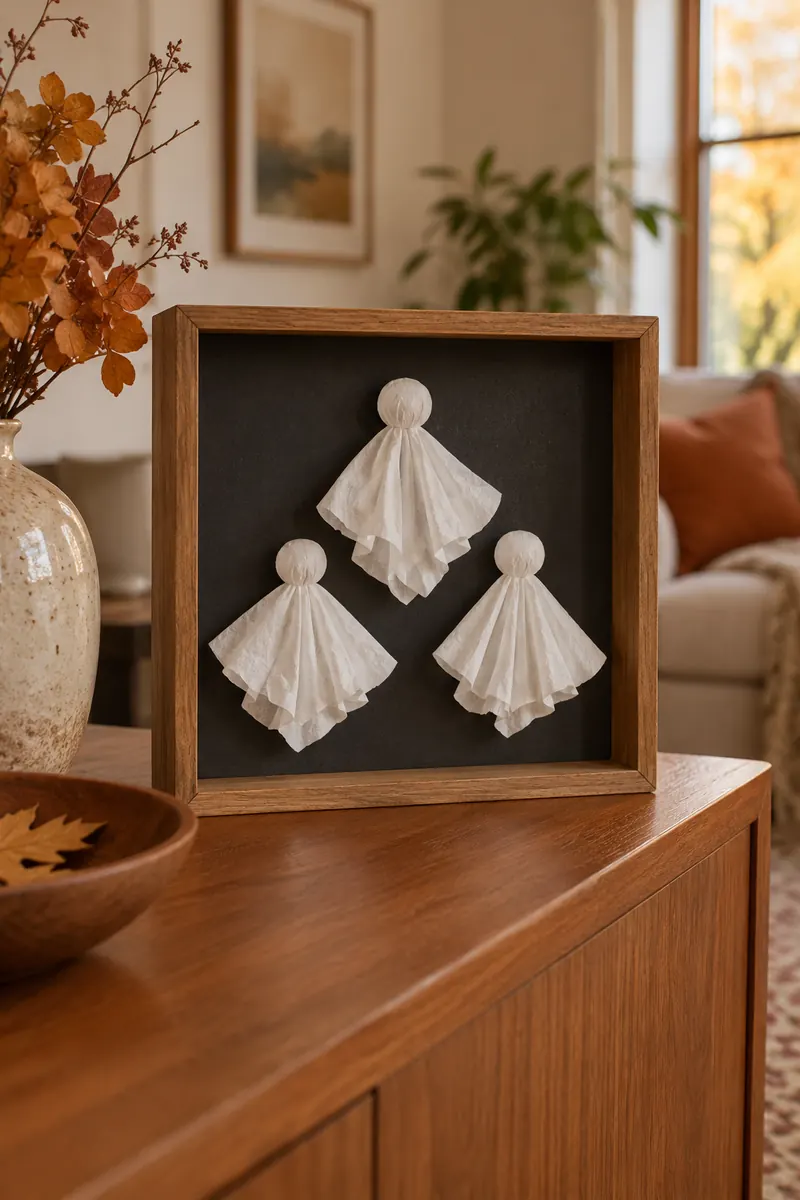
| Detail | Rounded ghosts | Pleated ghosts |
|---|---|---|
| Shape | Soft curved lower edge | Folded fan lower edge |
| Face | Two small paper eyes | Two drawn oval eyes |
| Display | Deep standing frame | Deep standing frame |
Flatten clean coffee filters and trim them into small ghost shapes. Fold lightly for texture, then glue each ghost onto a dark backing inside a shallow shadow box. Keep the material contained in the frame. This uses very little paper, and the white shapes stay visible against a simple charcoal background.
7. Spooky Book Jackets
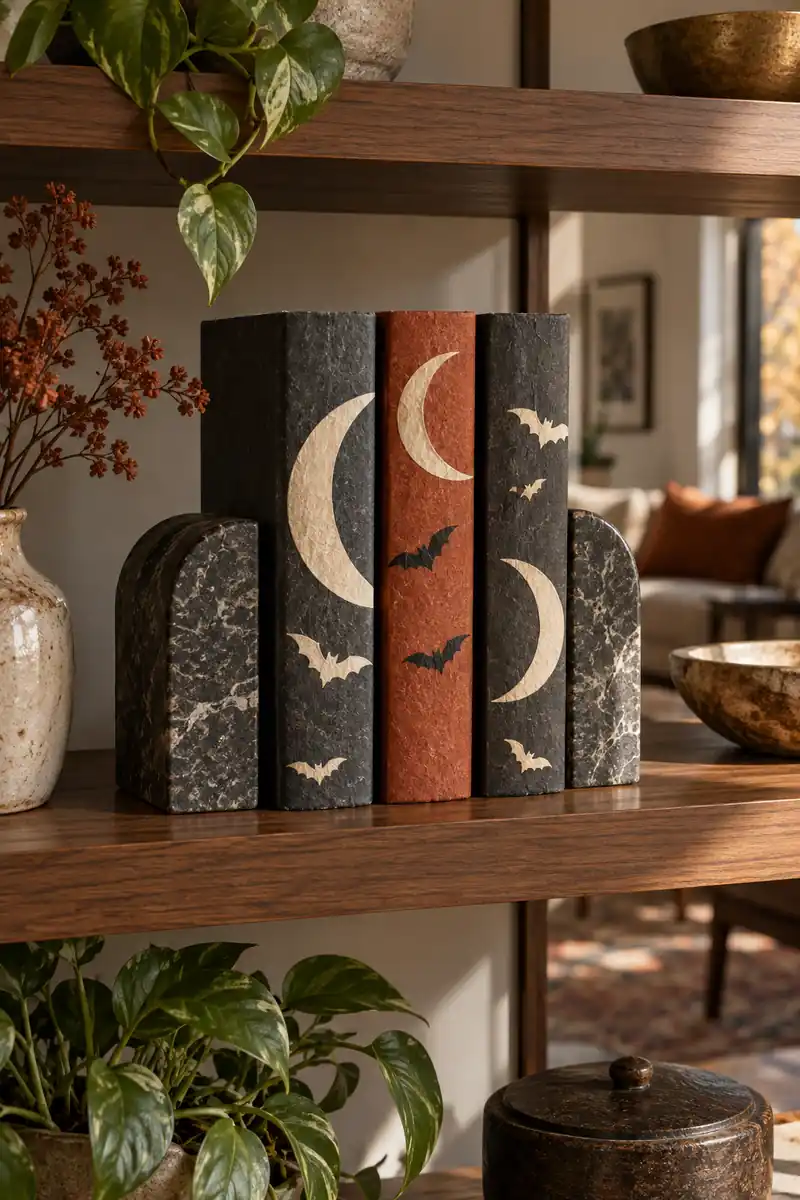
DO
- Measure the cover before cutting spare paper.
- Fold removable flaps around the existing jacket.
- Add one large paper silhouette to each spine.
DON’T
- Glue directly onto the book or original cover.
- Wrap library books if their care rules prohibit it.
- Hide books needed often behind a crowded display.
Plain kraft paper becomes a seasonal book jacket with charcoal paint and an ivory moon. Let the coating dry fully before wrapping, and check for color transfer first. Keep titles visible on an inner note if needed. A small group between existing bookends brings height without buying a decorative object.
8. Stamped Cushion Cover
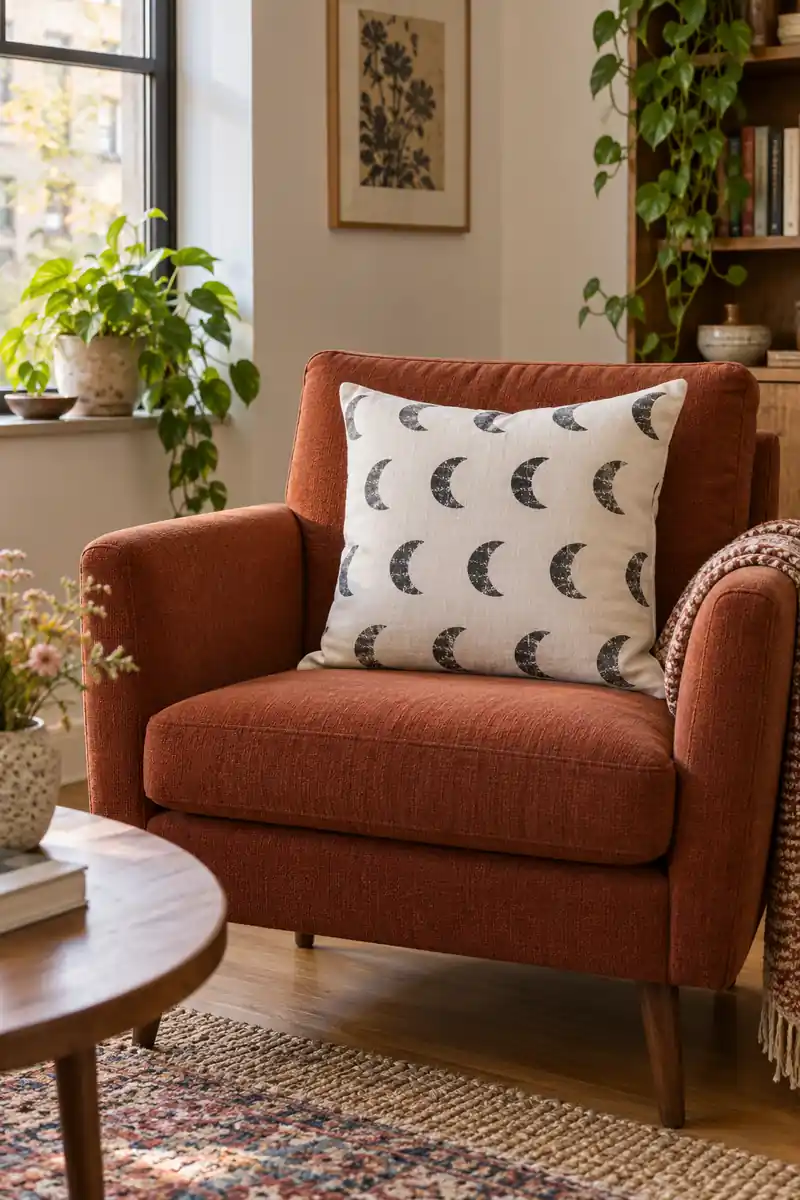
Base: A washable spare cotton cushion cover.
Stamp: A simple crescent cut from craft foam.
Color: One fabric paint suitable for the cloth.
Care: Follow the paint and cover labels for curing and washing.
Slide scrap card inside the empty cover so paint cannot pass through to the back. Practice on spare fabric, then stamp a loose repeating pattern with space between moons. Let the cover dry and cure as instructed before replacing the insert. One handmade cushion is enough to change a small chair.
9. Egg Carton Toadstools
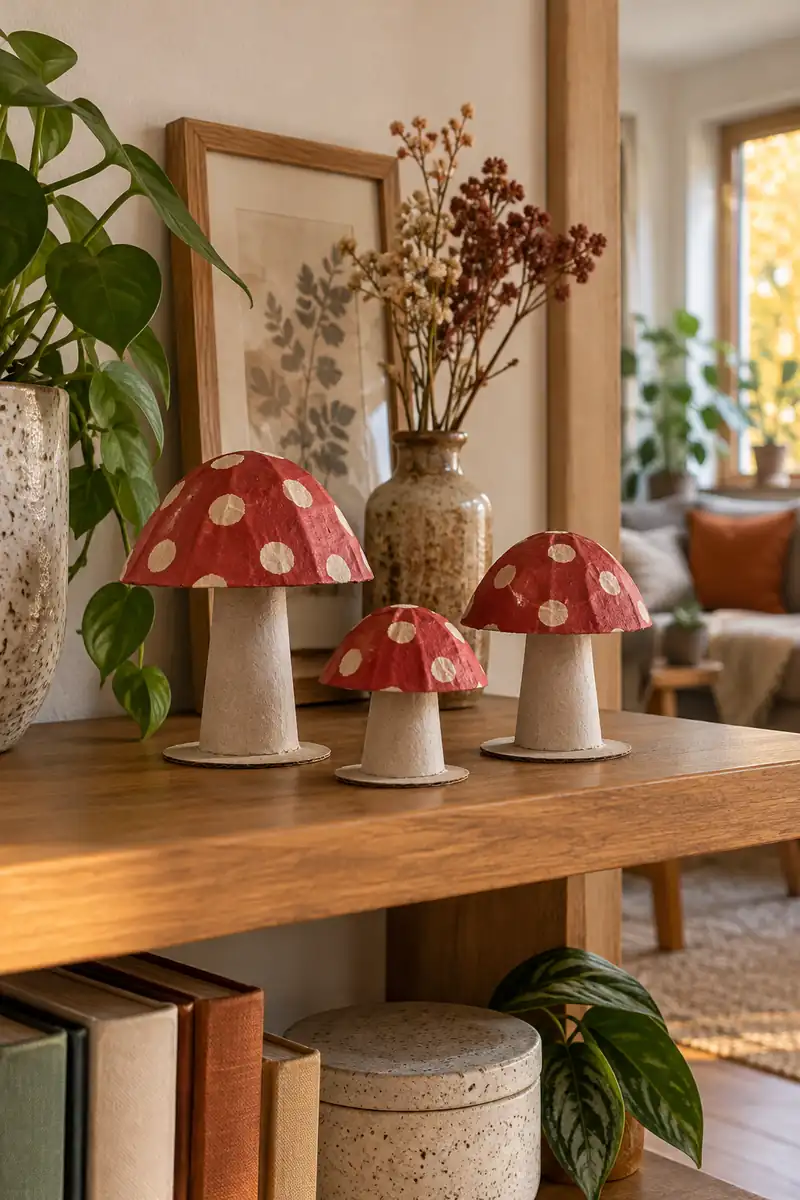
Trim clean paper egg carton cups into shallow mushroom caps, smoothing the edges with scissors. Paint the outside burgundy and add a few cream dots when dry. Glue each cap onto a short paper tube, then fix the tube to a wide card disc that forms a stable foot.
Make the tallest mushroom only slightly higher than its neighbors so the group feels balanced. These are decorative indoor crafts, not toys or food containers. Keep them in a dry spot out of reach of small children and pets. A dark backing helps the spotted caps look pleasantly eerie.
10. Paper Moon Panel
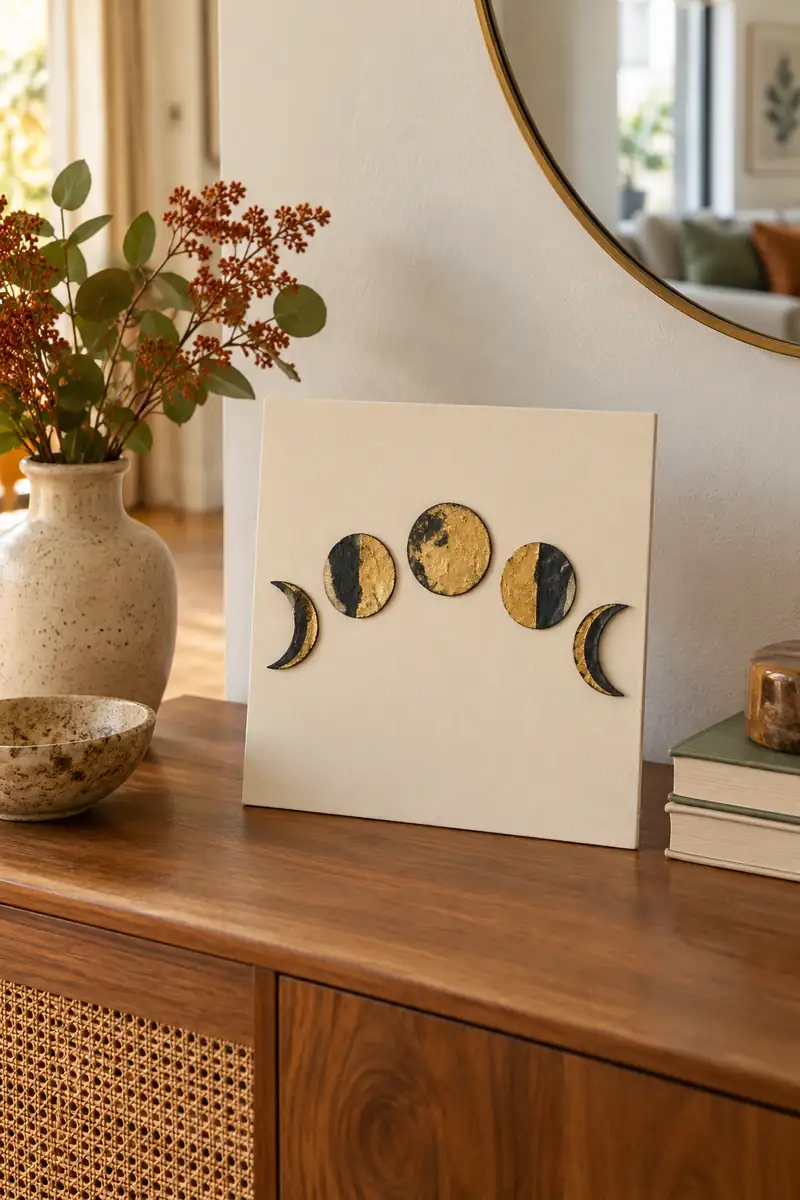
- Cut a small stiff backing panel from clean packaging.
- Cover it with leftover cream paper.
- Trace full and crescent moons on charcoal and gold scraps.
- Glue the shapes in a shallow arc and add a folded standing support.
A moon panel offers the look of a garland without loose strings or extra wall fixings. Keep the backing small enough to fit entirely on an existing shelf. Repeat only two moon sizes for a calmer arrangement. Pack the panel flat with tissue over its surface when the season ends.
11. Cardboard Coffin Tray
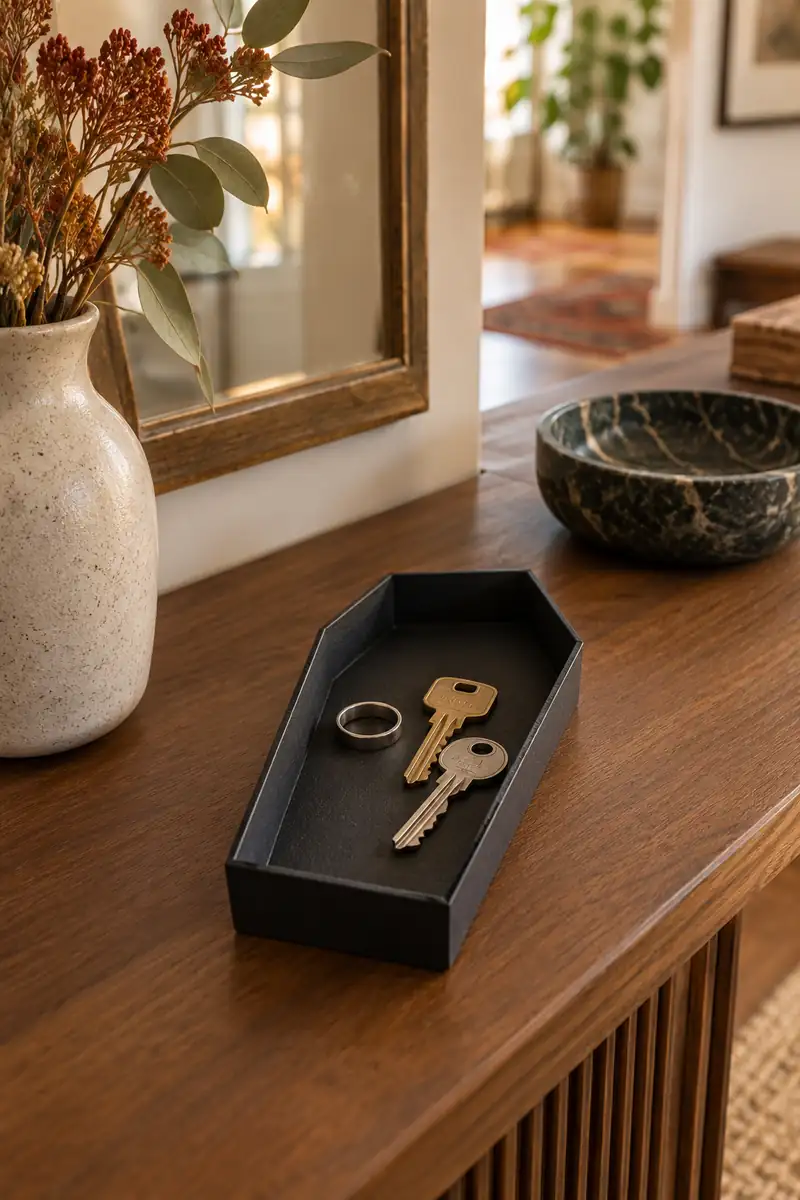
Quick Tip:
Make the base wider than a typical narrow coffin silhouette. It should hold small everyday objects without tipping when you lift one out.
Trace a coffin shape onto sturdy card, cut two matching bases, and glue them together. Add short folded card walls, then cover the seams with black paper. Let everything dry before using the tray for keys or jewelry. Keep this light craft away from drinks, heavy objects, and damp surfaces.
12. Sock Pumpkin Trio
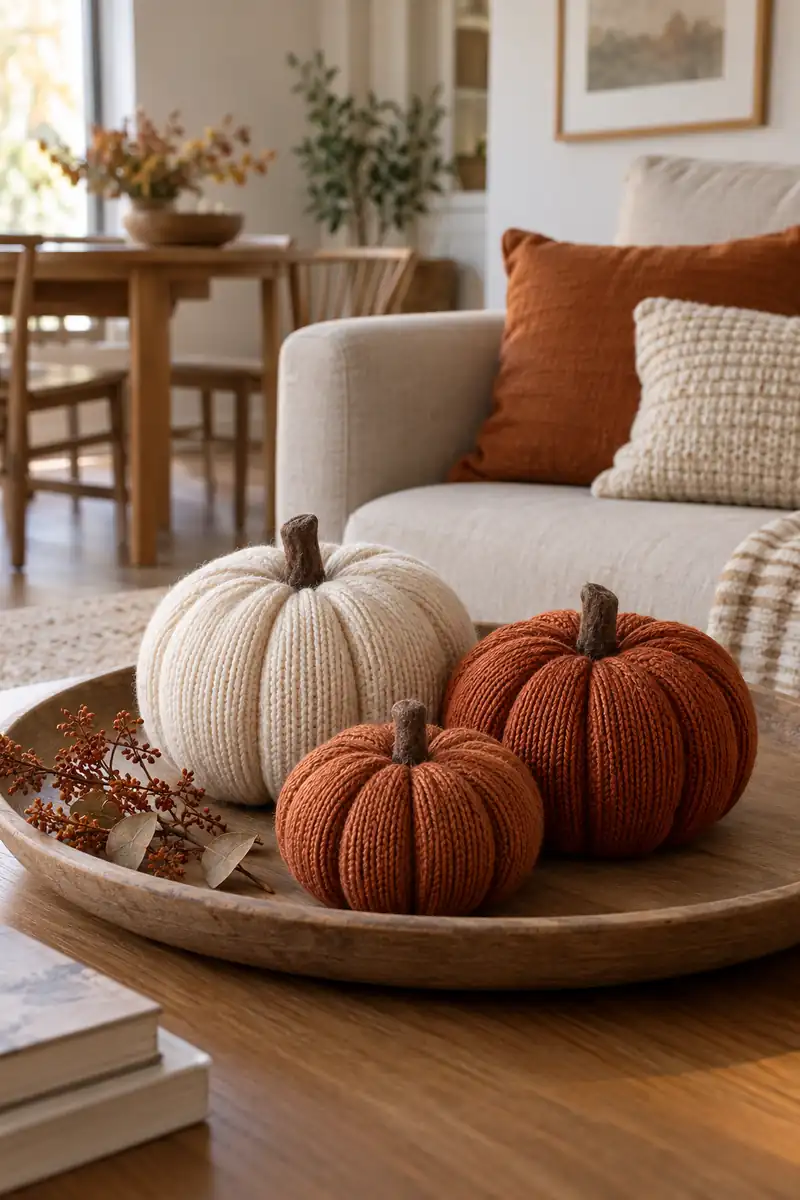
BEFORE
A few clean unmatched socks wait in the laundry basket. Their knit texture is useful, but the colors do not belong together.
AFTER
Three small pumpkins use only cream and rust socks. Soft ridges make the simple shapes look related.
Cut a tube from each sock, stitch one end closed, and add clean stuffing. Gather and sew the top securely before stitching through the center to create segments. Finish with a felt stem. Avoid loose elastic bands or exposed small fasteners, especially in homes with curious children and playful pets.
13. Paper Witch Hats
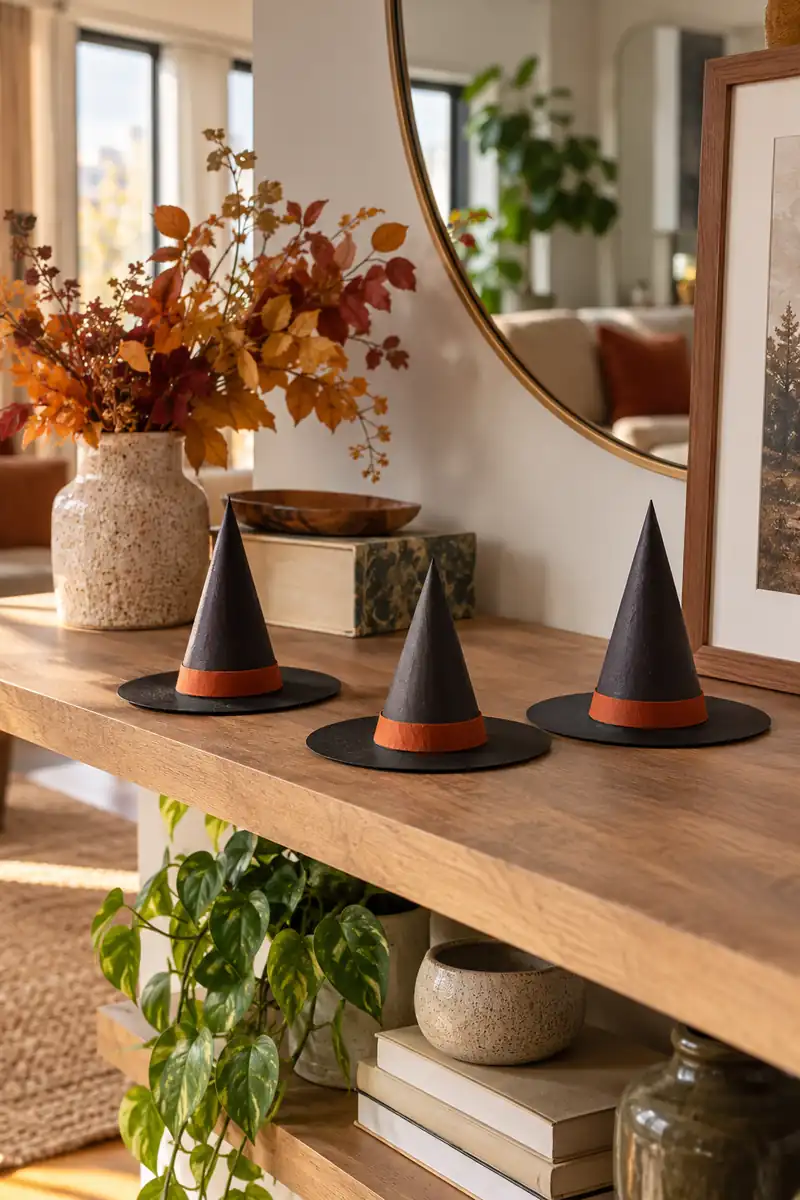
- Roll black card into a short cone and glue the seam.
- Cut a broad circular brim with a center opening.
- Glue folded tabs from the cone beneath the brim.
- Add a thin colored paper band and let the joints dry.
A trio of little hats brings a recognizable Halloween shape to a shelf without a large costume prop. Keep each cone short and its brim flat for stability. Use leftover paper for the bands rather than buying ribbon. Pair the hats with plain books so their pointed outlines remain easy to see.
14. Folded Paper Rosettes
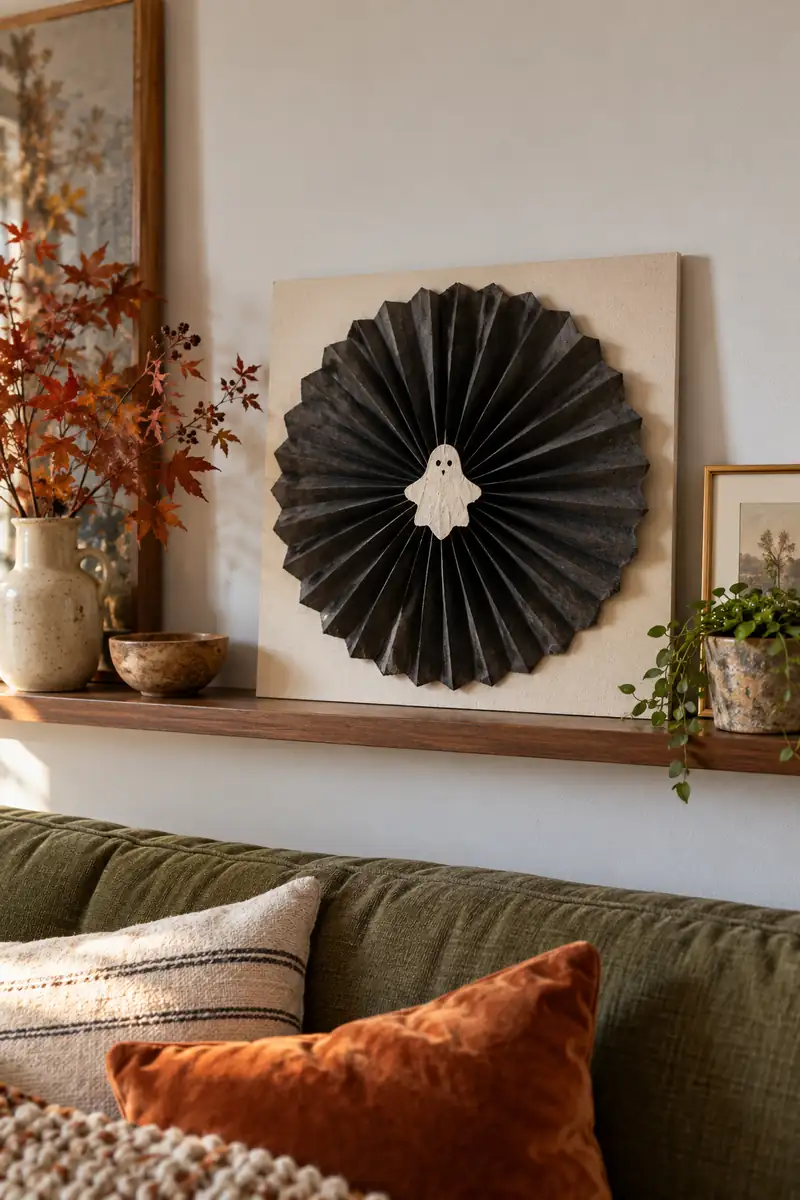
| Detail | Charcoal rosette | Rust rosette |
|---|---|---|
| Center | Ivory ghost shape | Black bat shape |
| Backing | Cream square card | Plain kraft card |
| Effect | Bold contrast | Warmer autumn color |
Accordion fold two matching paper strips, join their ends, and flatten the ring into a rosette. Glue a card disc over each center to hold the folds, then attach the front silhouette. Mount the finished rosette on stiff backing with its own support instead of sticking it directly onto a wall.
15. Clay Ghost Figures
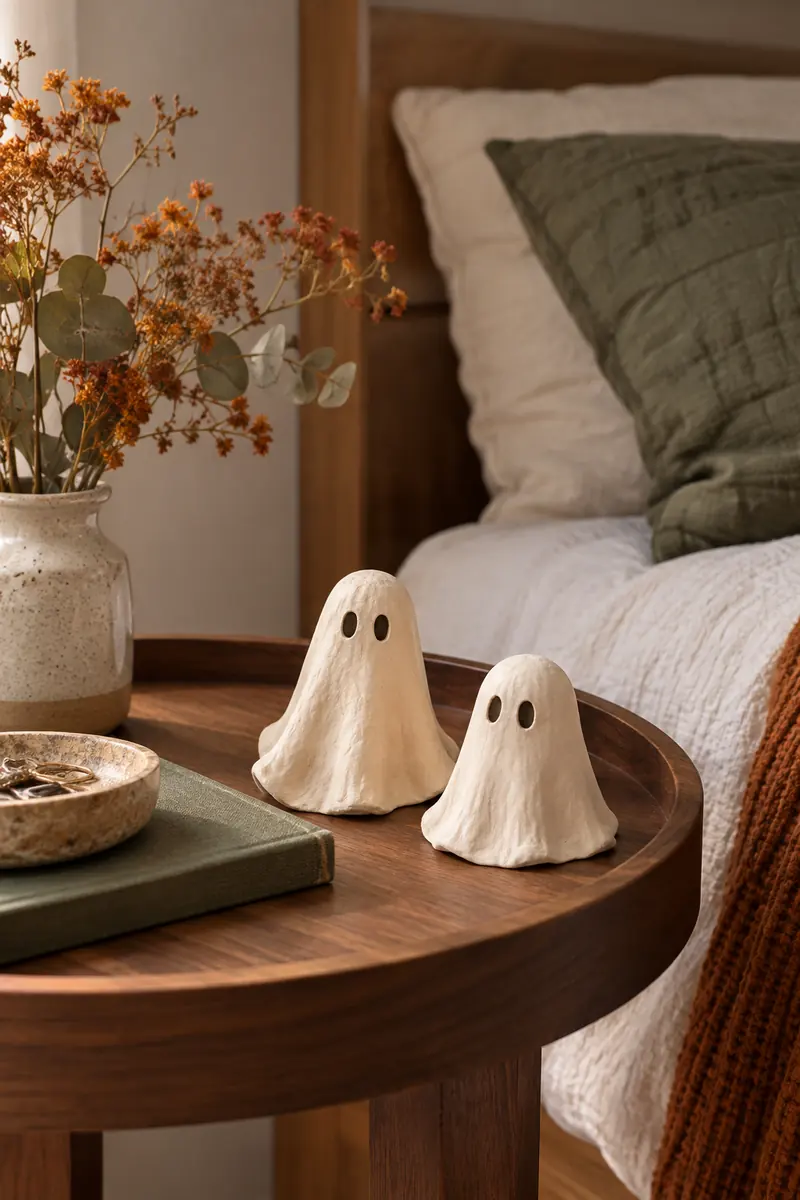
DO
- Use air dry clay according to its label.
- Shape a broad flat base before adding details.
- Let the pieces dry completely on a protected surface.
DON’T
- Present homemade figures as toys for small children.
- Seal damp clay and expect a durable finish.
- Place porous clay outdoors or beside splashing water.
Roll a small lump into a rounded ghost and pinch one side into a gentle waving shape. Press in two eyes with a blunt tool, then add dark paint once dry. Keep the figure squat rather than tall. An imperfect outline gives this simple project personality without needing molds or specialist equipment.
16. Scrap Paper Pennants
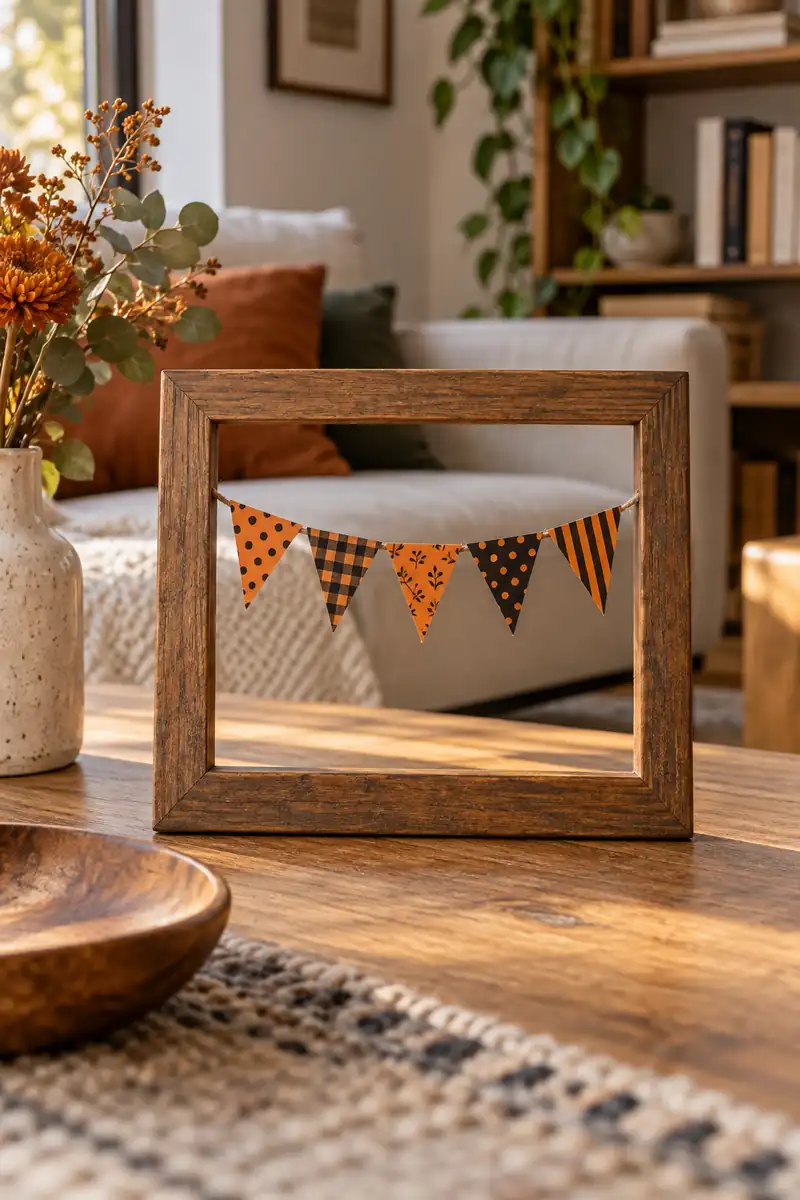
Size: Five small flags within one frame.
Material: Leftover patterned paper and a short length of twine.
Fixing: Glue only to a frame you own.
Storage: Lift out the complete string and place it flat.
Cut paired triangles, fold each over twine, and glue the two sides together. Attach the short string across the back of an empty standing frame, keeping every tail within its outline. This contains the decoration in a single footprint. Choose one busy paper and balance it with two plain colors.
17. Stenciled Thrifted Tray
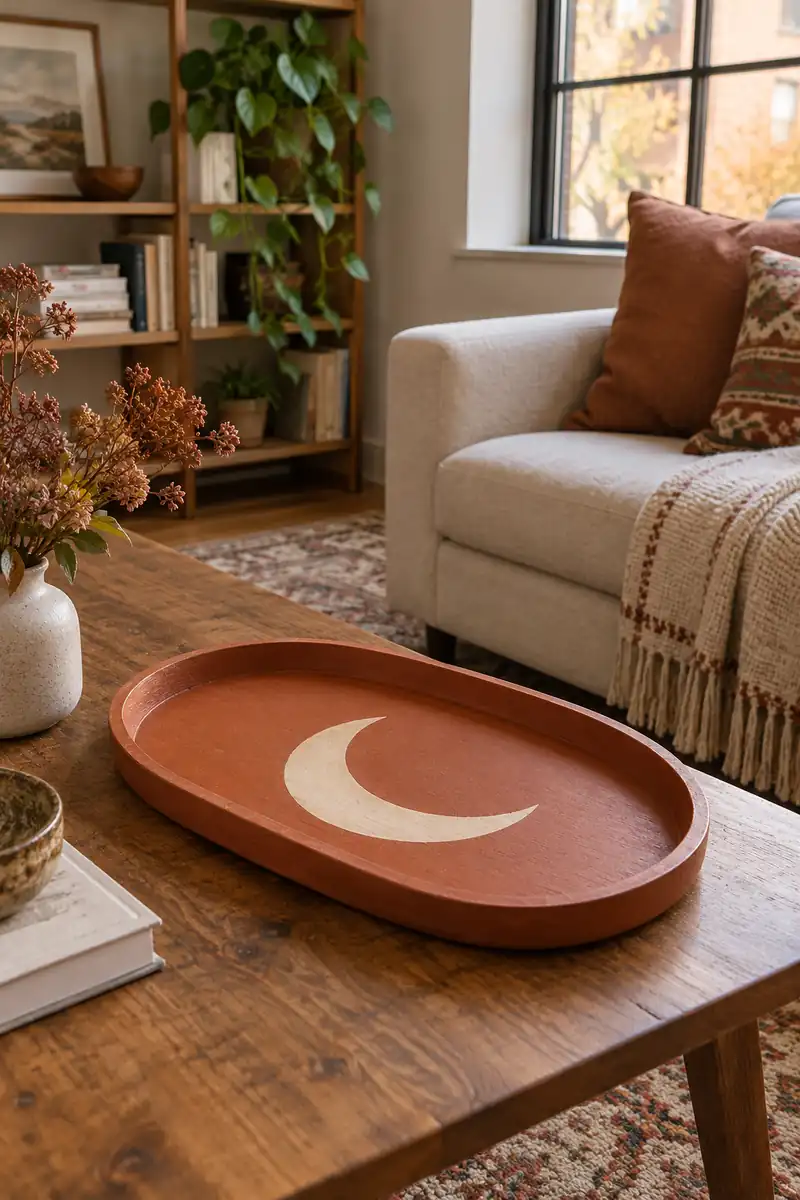
Give a tray a Halloween detail with a simple moon stencil. Clean and prepare it according to the paint instructions, then position a paper template in the center. Dab on a thin layer rather than brushing heavily toward the edges. Let each layer dry before deciding whether it needs another.
Use the finished tray for decorative objects, not direct food contact unless every coating is specifically suitable. A terracotta base and ivory moon work with ordinary autumn colors too. Keep a little empty space around the design so it stays visible. Reusing an existing tray also keeps seasonal storage manageable.
18. Felt Ghost Coasters
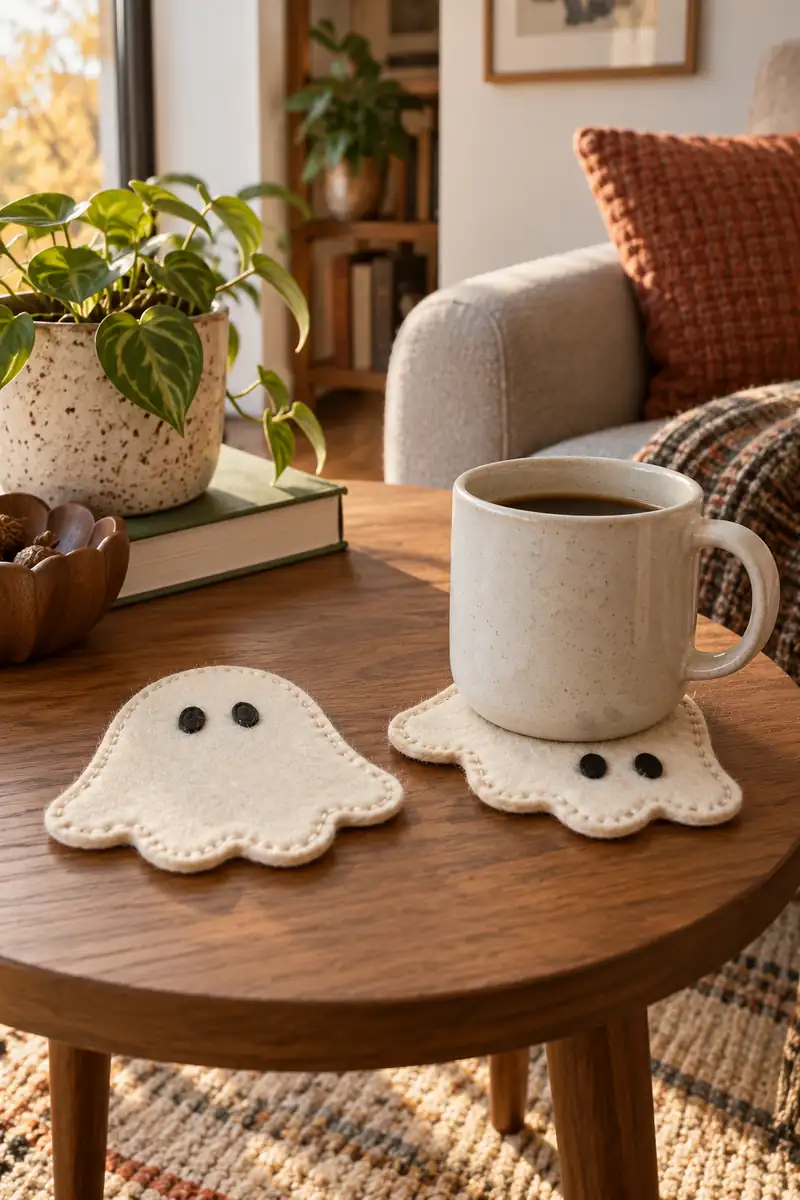
- Draw a broad ghost outline large enough for your mug base.
- Cut two matching pieces from suitable thick felt.
- Stitch the layers together around the outside.
- Sew small flat eyes onto the top layer rather than adding beads.
A coaster can carry the Halloween theme while still earning its space on a side table. Keep the base beneath the mug completely flat and test stability with an empty cup first. Check the felt against your furniture finish for moisture and color transfer. Put these aside if they distort when washed.
19. Yarn Wrapped Pumpkin
Quick Tip:
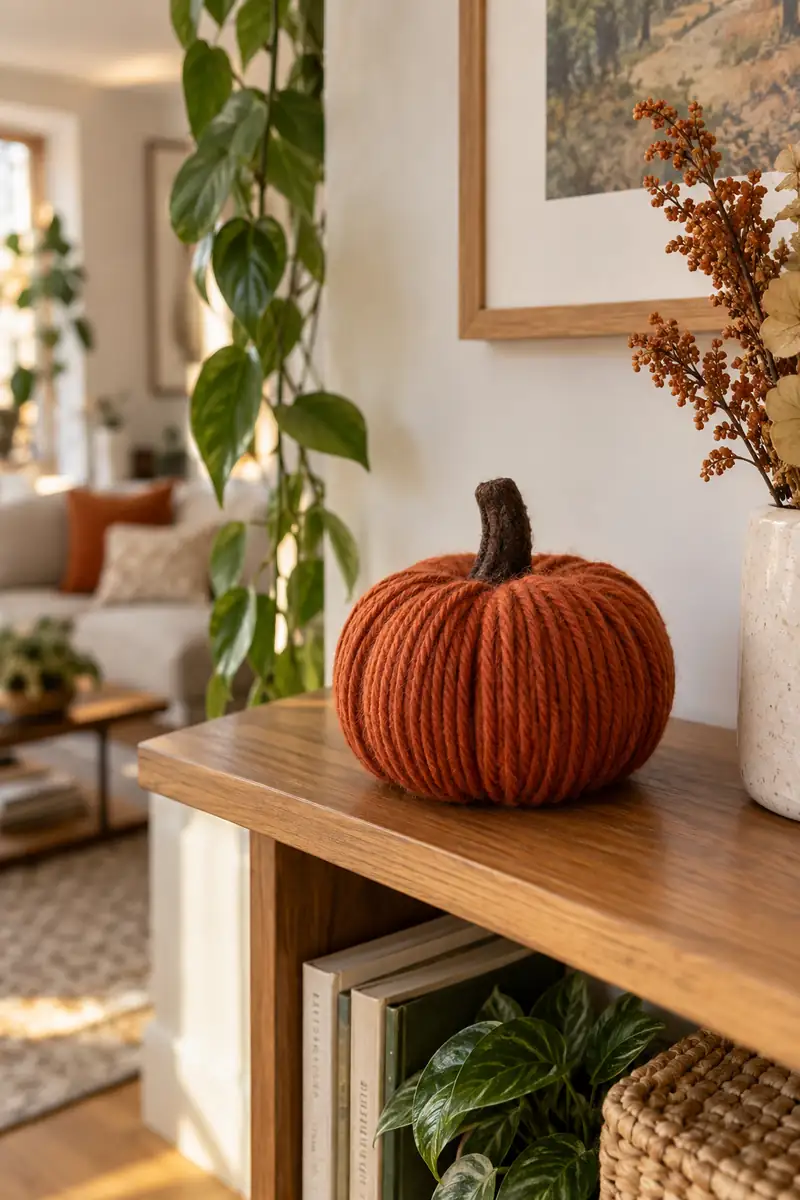
Reuse an artificial pumpkin with a stable base and intact surface. Choose thicker yarn if you want the covering to build up with fewer wraps.
Start beside the stem and glue the yarn in short sections using an adhesive suited to both materials. Work down around the shape without leaving loose loops, then tuck the end beneath the final row. Let the glue cure before display. Keep the pumpkin decorative and away from pets that chew yarn.
20. Moonlit Shadow Box
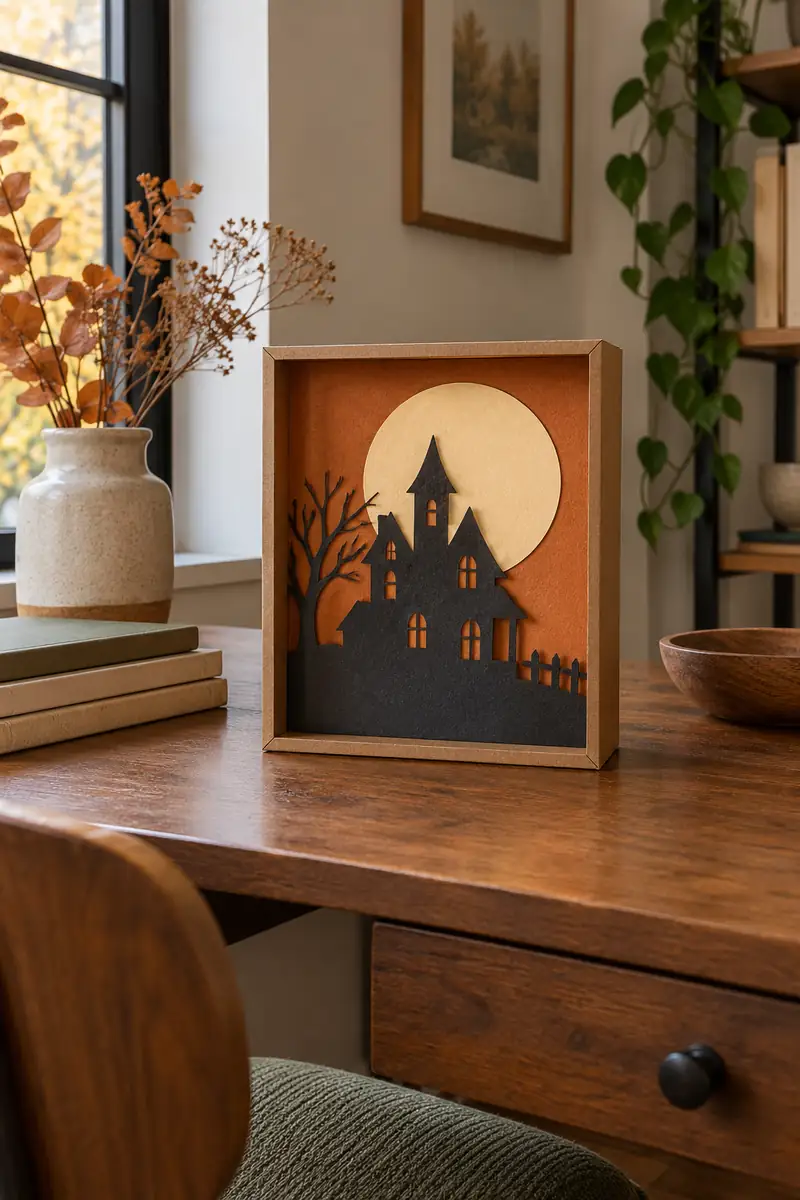
BEFORE
A small packaging box has a plain shallow interior. Its size feels too modest for a big display.
AFTER
Layered paper gives one house and a moon gentle depth. The entire scene stays within the original box footprint.
Line the box with muted orange paper, then glue a cream moon against the back. Add a charcoal house silhouette on folded card spacers in front. Keep all pieces below the rim so storage is simple. Storage divider ideas can help you choose a useful shelf for the finished scene.
21. Painted Block Pumpkins
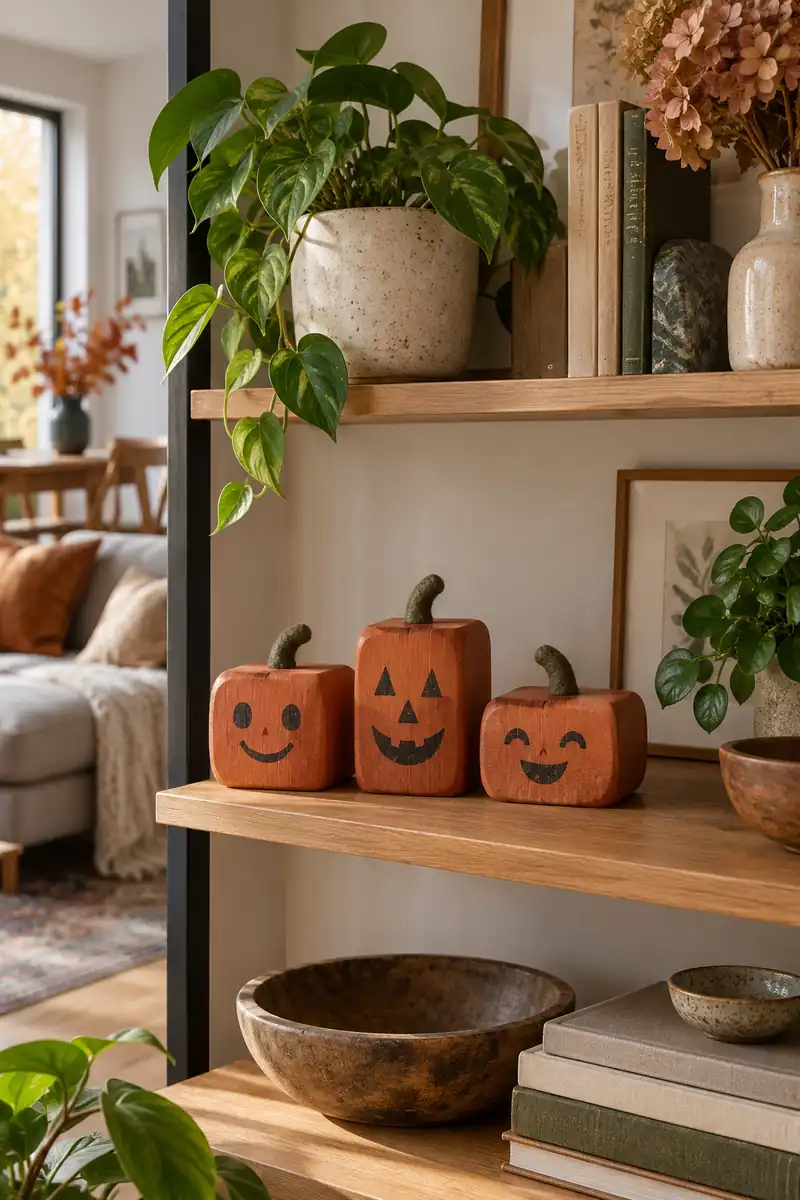
- Choose small wood offcuts with broad stable bases.
- Sand rough edges and remove dust before painting.
- Paint the blocks rust or cream and allow them to dry.
- Add simple faces and glue short felt stems onto the tops.
Wood scraps make pleasantly sturdy little pumpkins without carving or seasonal waste from fresh produce. Use blocks you can prepare safely with tools you already know. Avoid cracked pieces, sharp corners, or protruding fasteners. A small trio looks cohesive when the faces differ slightly but the colors stay within one quiet palette.
Conclusion
Good “apartment halloween decor diy” projects begin with materials you can use confidently and a place where the finished piece will fit. Choose one recipe that matches your supplies, then repeat its colors in a second small accent if you want more. Let paint and glue cure properly, keep decorations away from heat, and leave everyday surfaces usable. There is no need to make the entire list for a room to feel seasonal. Try a favorite project this weekend, save these ideas on Pinterest for another October, and share the guide with a friend who enjoys making something from everyday leftovers.

Community
Join the conversation
Add a useful idea, ask a specific question, or share what worked in your space. Every comment is reviewed before it appears.