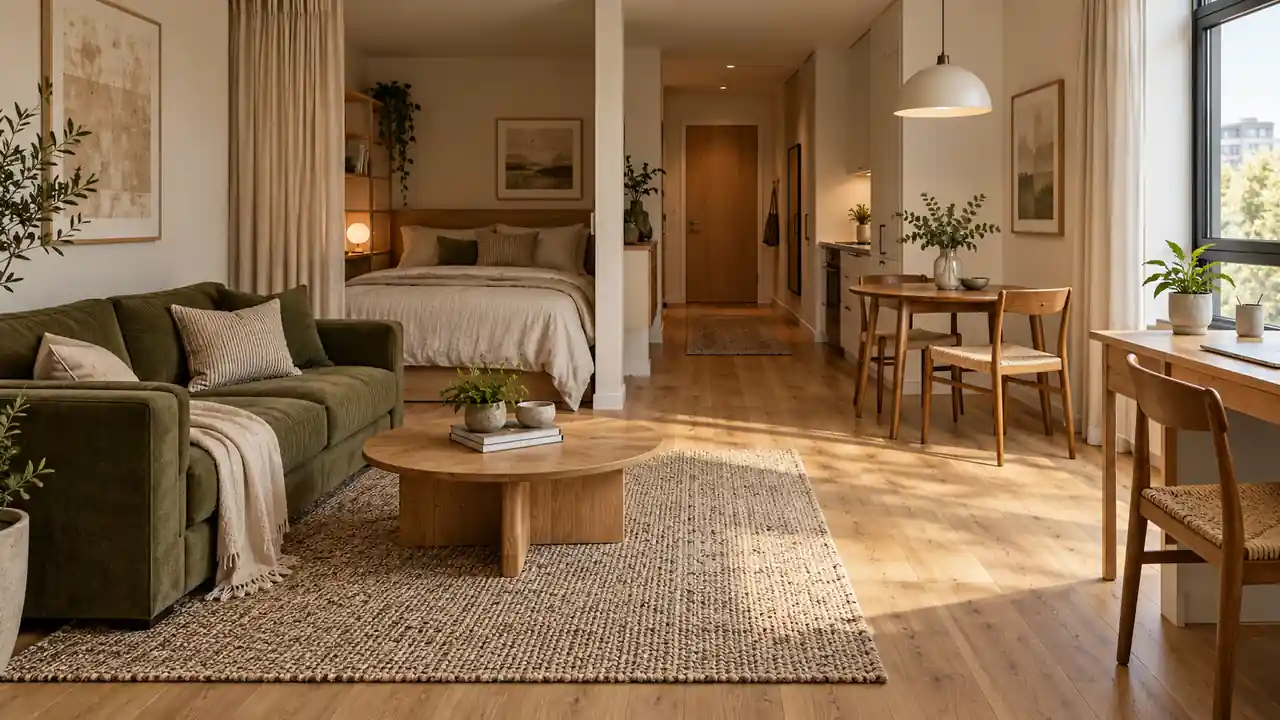
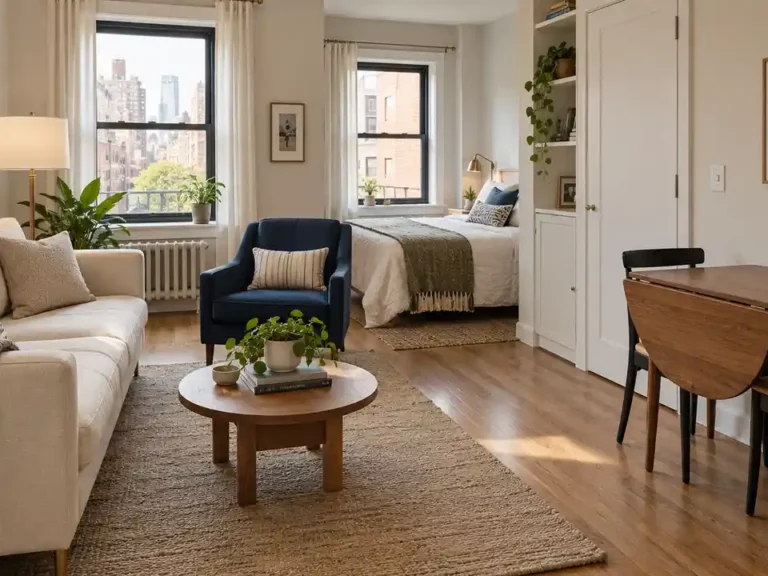
Wondering how to decorate a studio apartment for men when the bed, desk, kitchen, and sofa all share one room? Start by giving each daily activity a clear place. Your home can reflect your taste without following a fixed idea of what a man’s apartment should look like. The useful question is how you want to live there. These ideas focus on zones, from the first step through the door to the corner where you wind down. You can work through them with your existing layout, changing one area at a time rather than trying to redesign the entire studio at once.
1. Start With Daily Routes
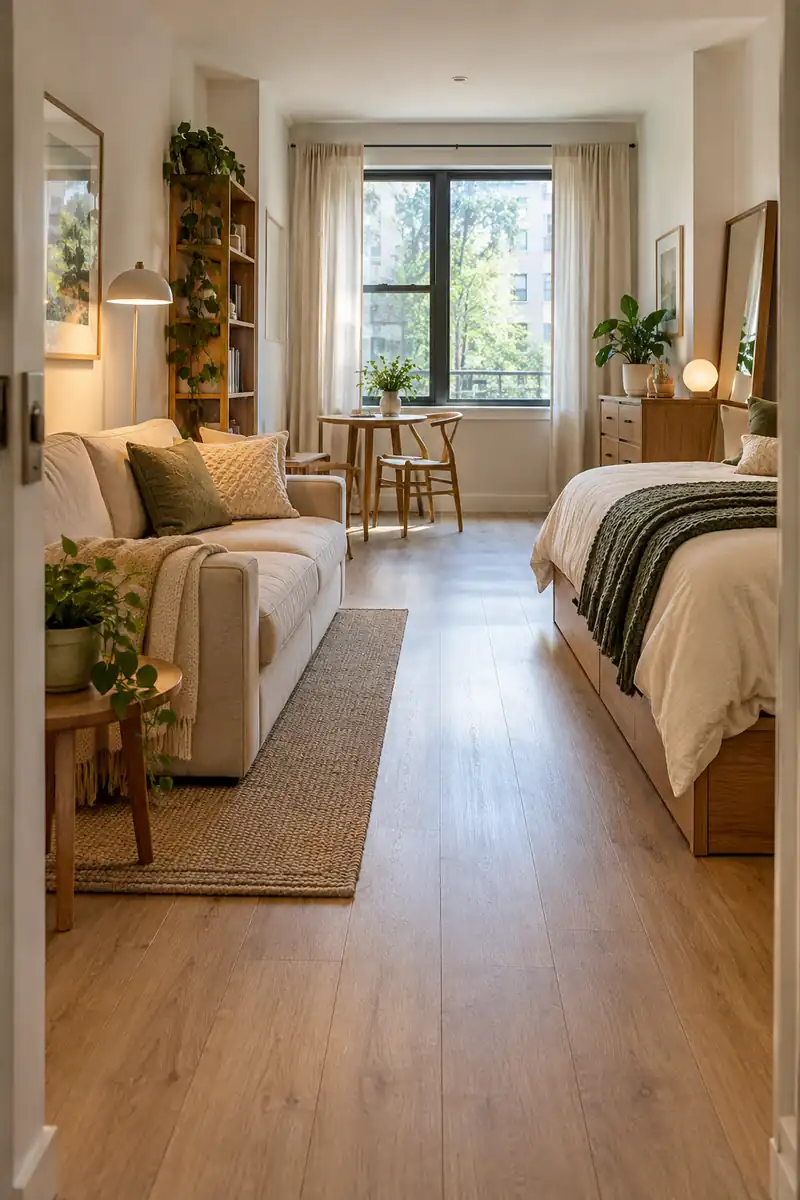
Before choosing a color or arranging a shelf, walk through a normal day in your studio. Notice the route from the door to the kitchen, from the bed to the bathroom, and from your desk to the window. These paths tell you which areas need open floor space and which corners can take furniture.
Sketch those routes on paper, then place the biggest pieces around them. A handsome chair loses its appeal if you must squeeze past it with laundry. Start with easy movement, and the decorative decisions become much simpler because every zone already has a sensible place.
2. Give Entry Its Place
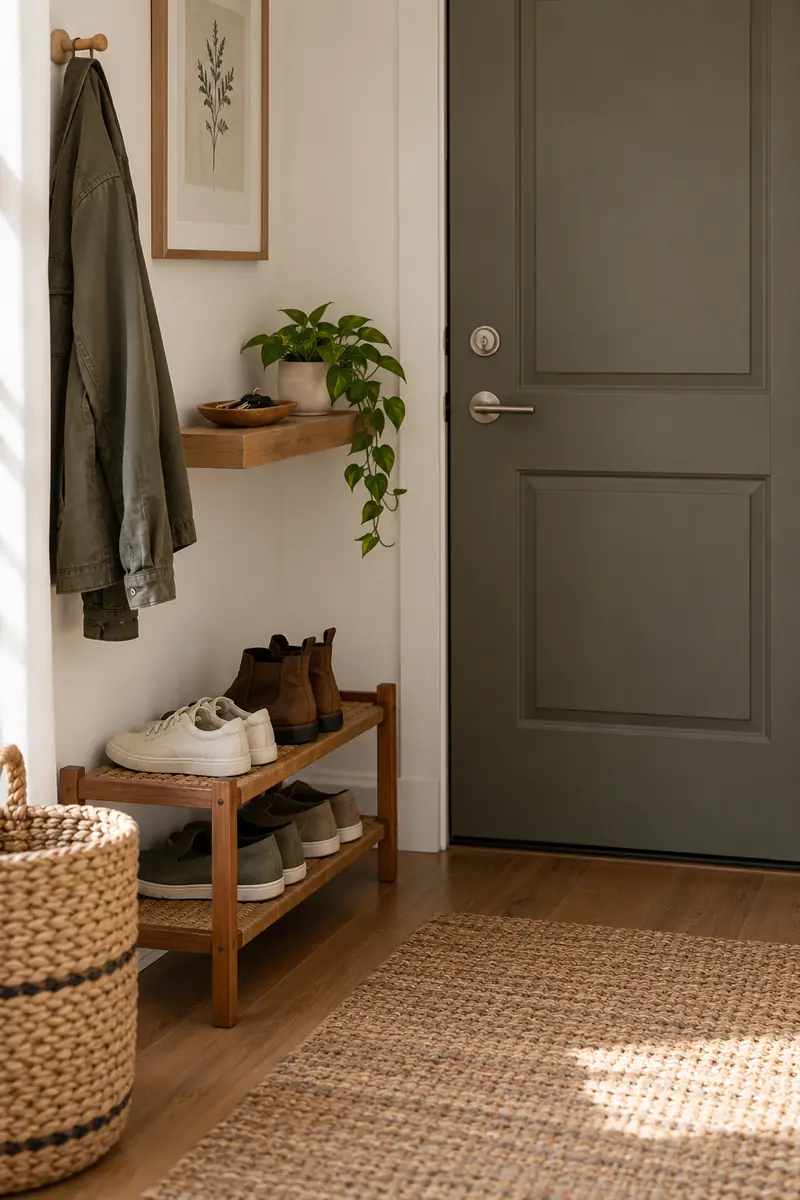
- Keep the door swing fully clear.
- Put everyday shoes beside the entrance.
- Give keys one shallow dish.
- Hang only the jacket currently in use.
An entry does not need its own room. It needs a repeatable place for the things you carry home. Keep this setup shallow so it stays beside your route rather than inside it. If the entrance opens straight into the living area, match the shelf finish to nearby furniture.
3. Turn The Sofa Inward
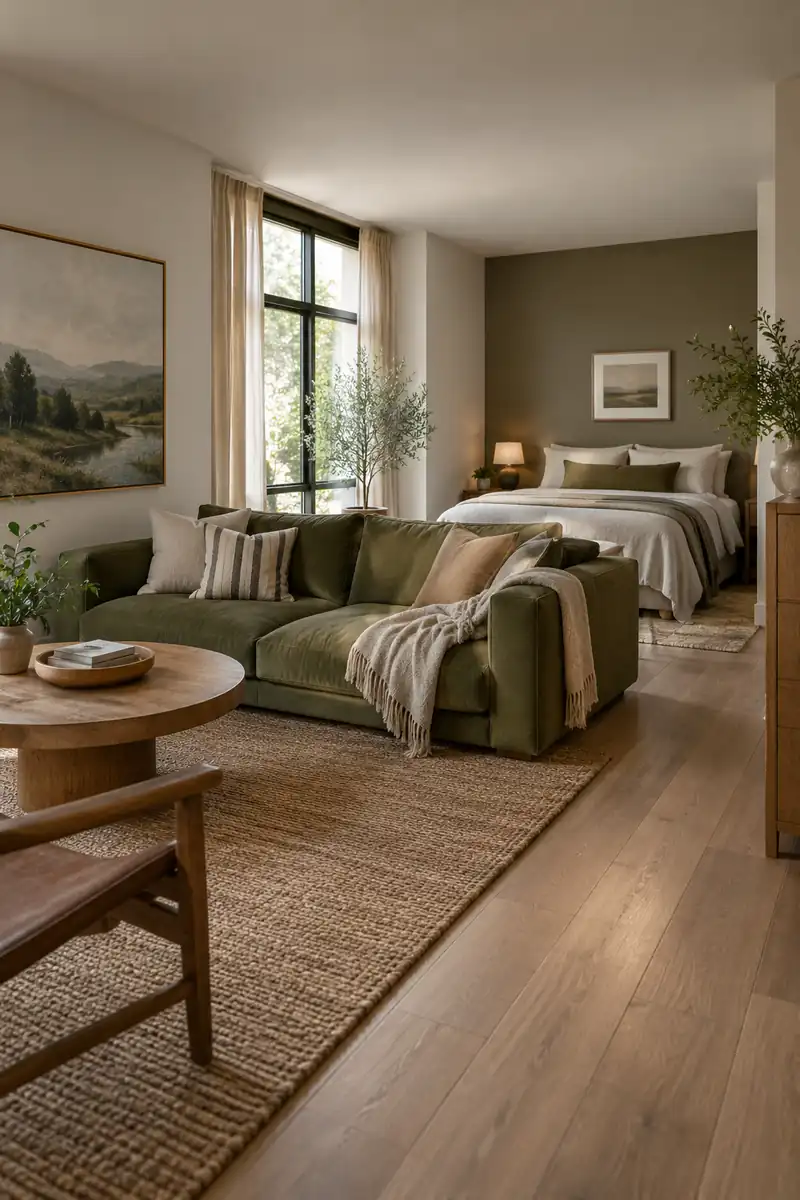
Quick tip: Try turning the sofa toward the activity it serves instead of automatically pushing it against a wall. Its back can mark the edge of the living area without adding another piece.
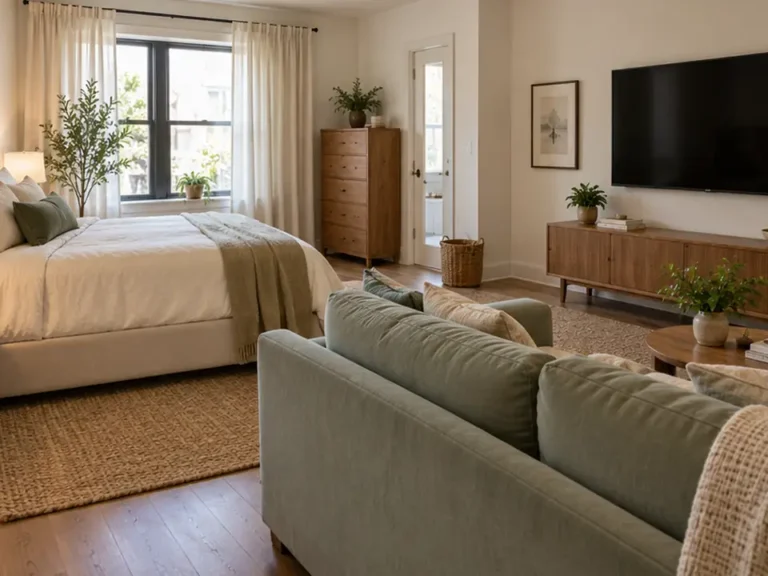
Check the view from the front door after the move. Ideally, you see an inviting seat and a clear route rather than the side of every object in the room. Leave enough space to pass comfortably behind or beside the sofa, and keep its back free of bulky storage.
4. Anchor The Living Zone
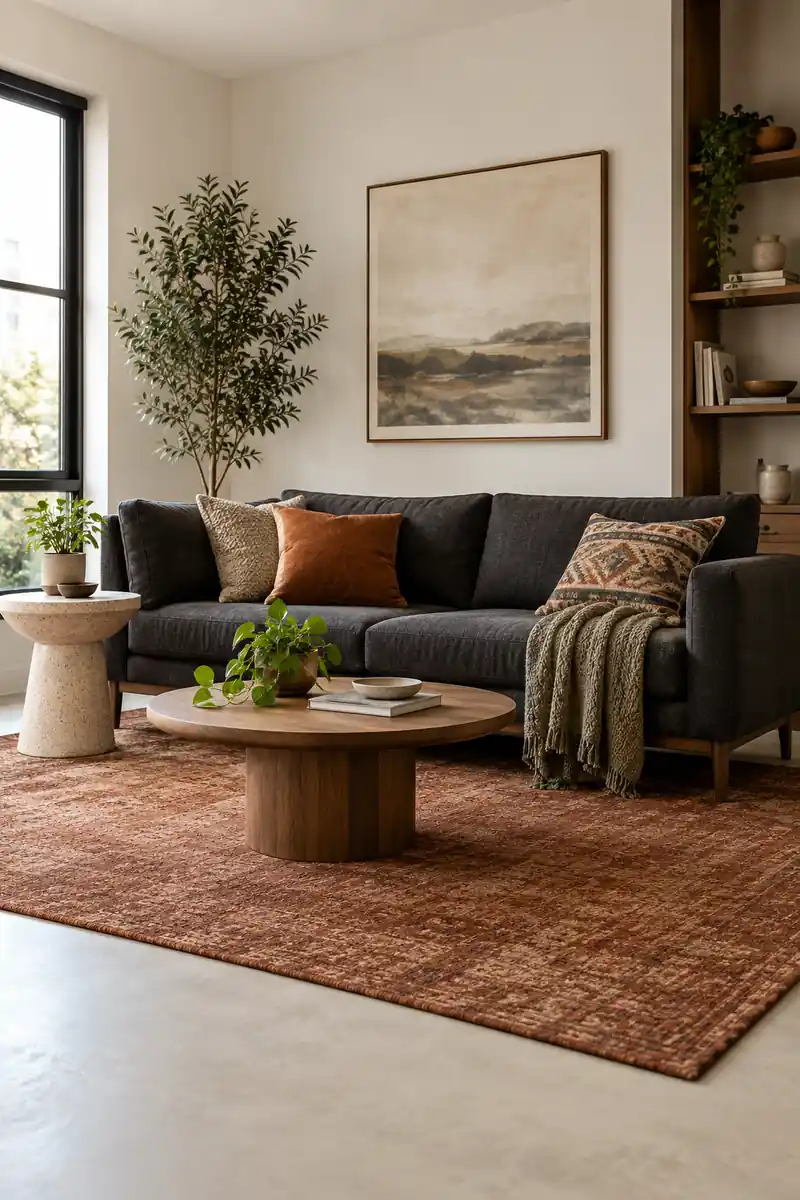
Before: A sofa and table sit in the middle of the studio without a clear relationship. The living area seems to spread toward the bed.
After: A rug brings the seating pieces into one group. A visible border of bare floor separates that group from the surrounding zones.
Choose the rug around the seating arrangement rather than around the whole apartment. Check that its edges lie flat and do not create an awkward transition beside a door. For more examples, explore these mini studio apartment rug ideas before deciding how much floor to cover.
5. Tuck The Bed Away
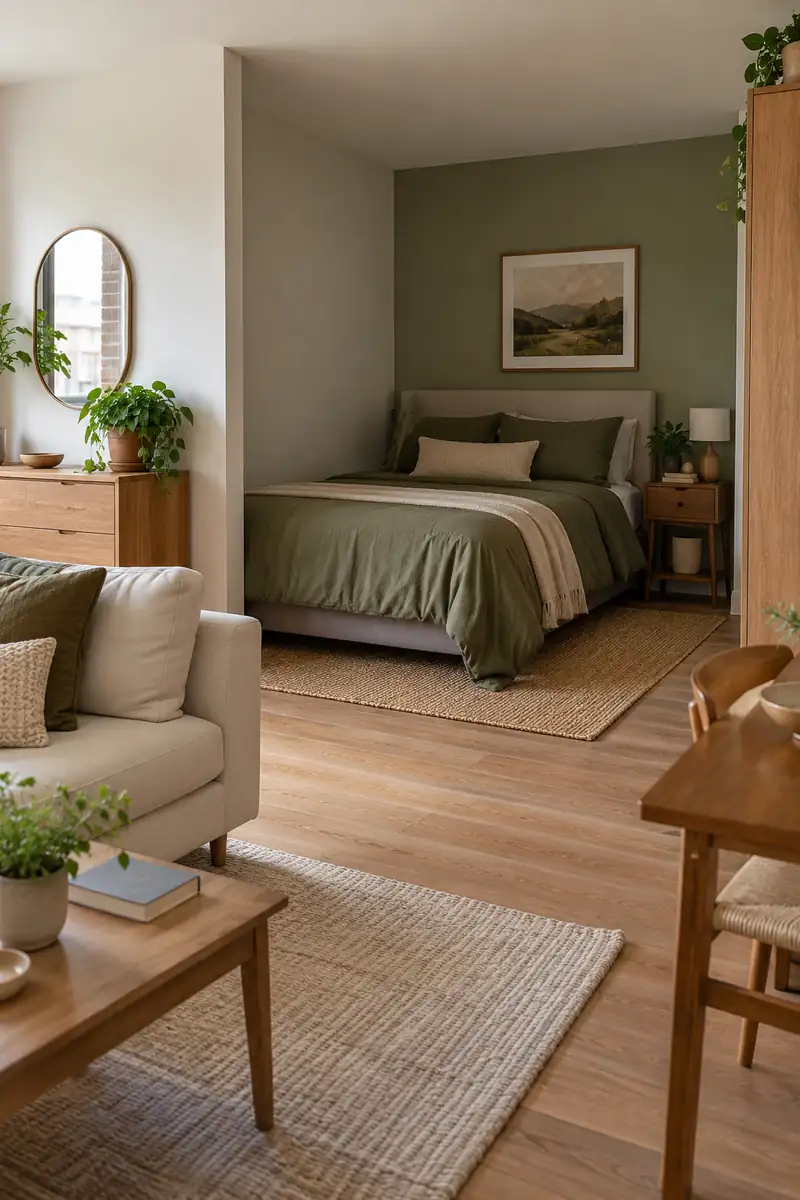
- Find the quietest usable corner.
- Place the head of the bed against a solid wall.
- Leave comfortable access on the side you use.
- Test the route to the bathroom at night.
A sleeping zone feels more settled when it has a clear back and a usable approach. Avoid choosing a spot only because it hides the bed from guests. You still need to change sheets, open nearby storage, and move around without shifting other furniture every time you get up.
6. Choose A Gentle Divider
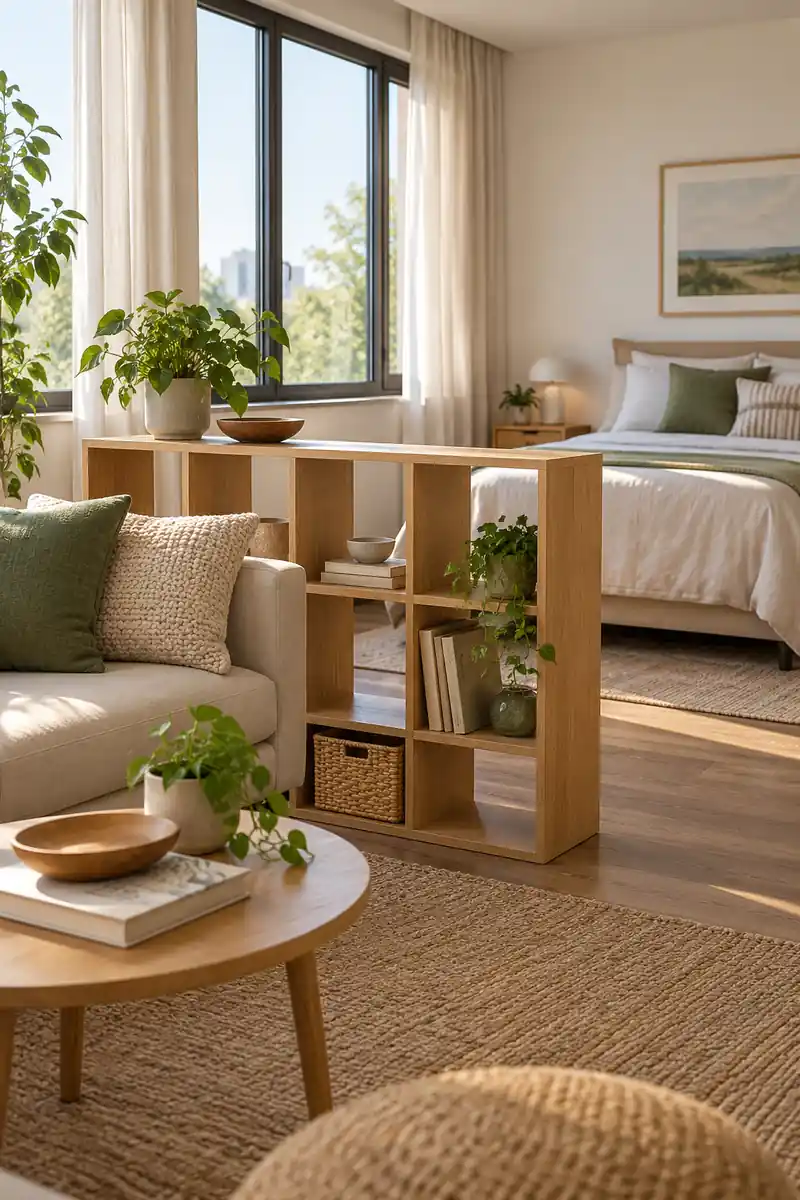
Low open shelf
Separation: Suggests a boundary while preserving views.
Storage: Holds a few useful books or baskets.
Best fit: A layout that benefits from shared access.
Sofa back
Separation: Marks the living edge without another unit.
Storage: Adds none, but saves floor area.
Best fit: A tighter studio with enough existing storage.
Pick the lightest boundary that solves your actual problem. A divider does not have to hide every part of the bed to make the room feel organized. Keep the route around it obvious, and follow the furniture maker’s installation instructions if a storage unit requires anchoring to the wall.
7. Make Bedding A Boundary
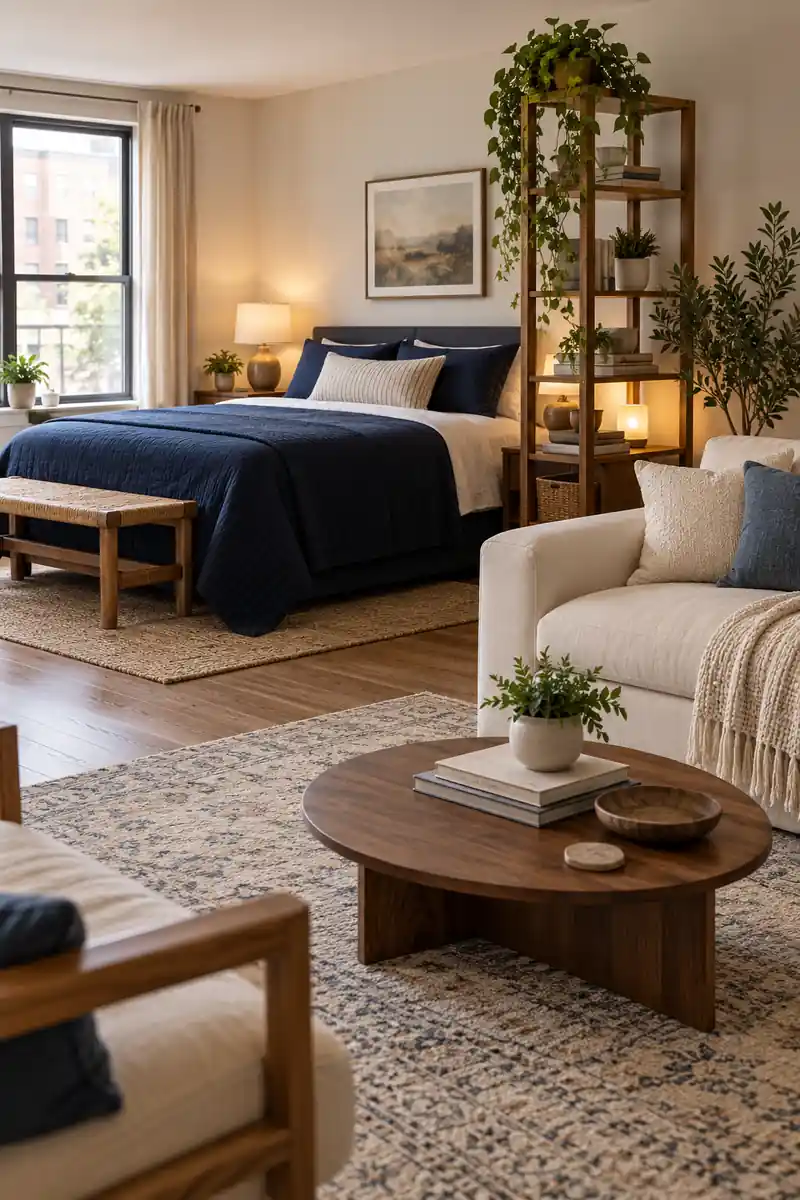
Do
- Smooth the bed each morning.
- Keep the main bedding colors related.
- Fold one useful extra layer neatly.
Don’t
- Build a mountain of spare cushions.
- Let bedding spill into the walkway.
- Use the bed as open storage.
In a studio, the bed is visible furniture throughout the day. A simple, finished arrangement helps the sleeping area read as a deliberate zone. You can still use pattern or a strong color here; keep the outline tidy so the bed feels restful beside the busier parts of the room.
8. Create Bedside Landing Space
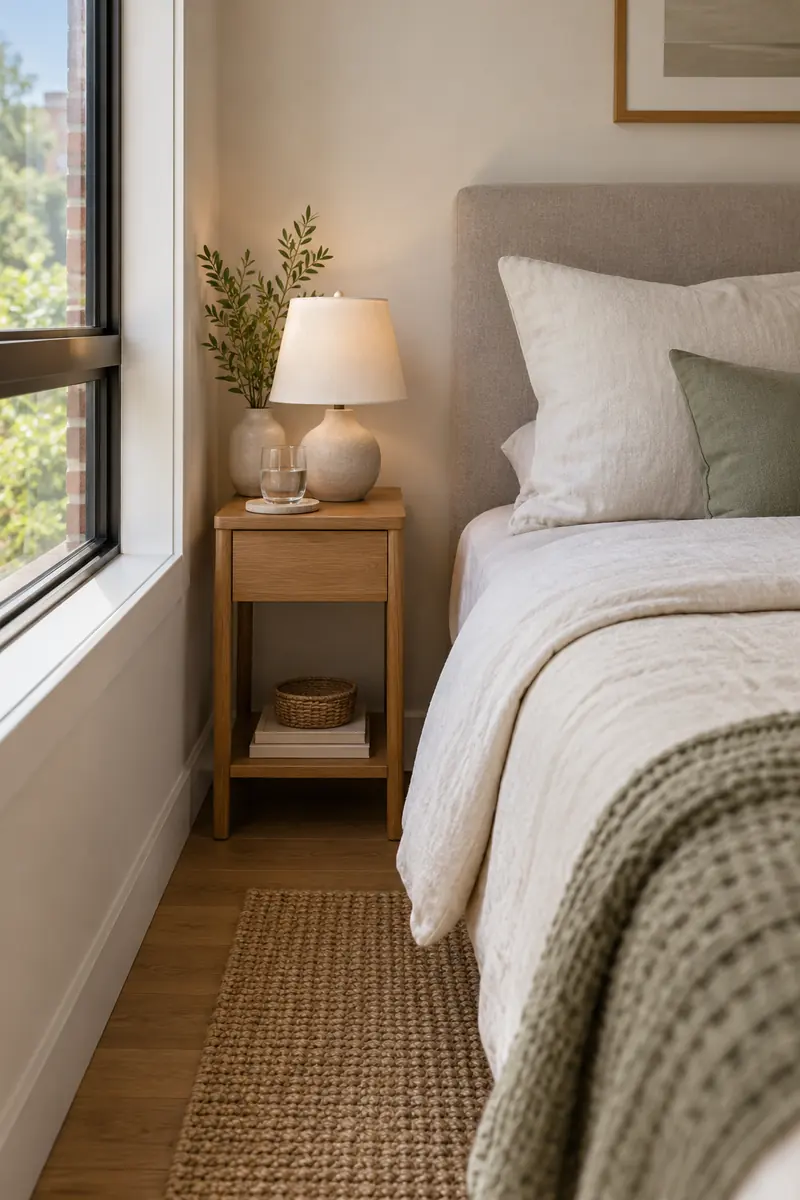
- Purpose: A reachable home for bedtime essentials.
- Placement: Beside the pillow end of the bed.
- Contents: A light and only what you use nightly.
- Check: The table does not pinch your walking route.
Choose the landing space around your habits. Someone who reads may need room for a book, while someone who uses an alarm needs an easy reach from the pillow. Avoid decorating away the useful surface. Keep charging leads near the wall and away from the route beside the bed.
9. Face Work Toward Light
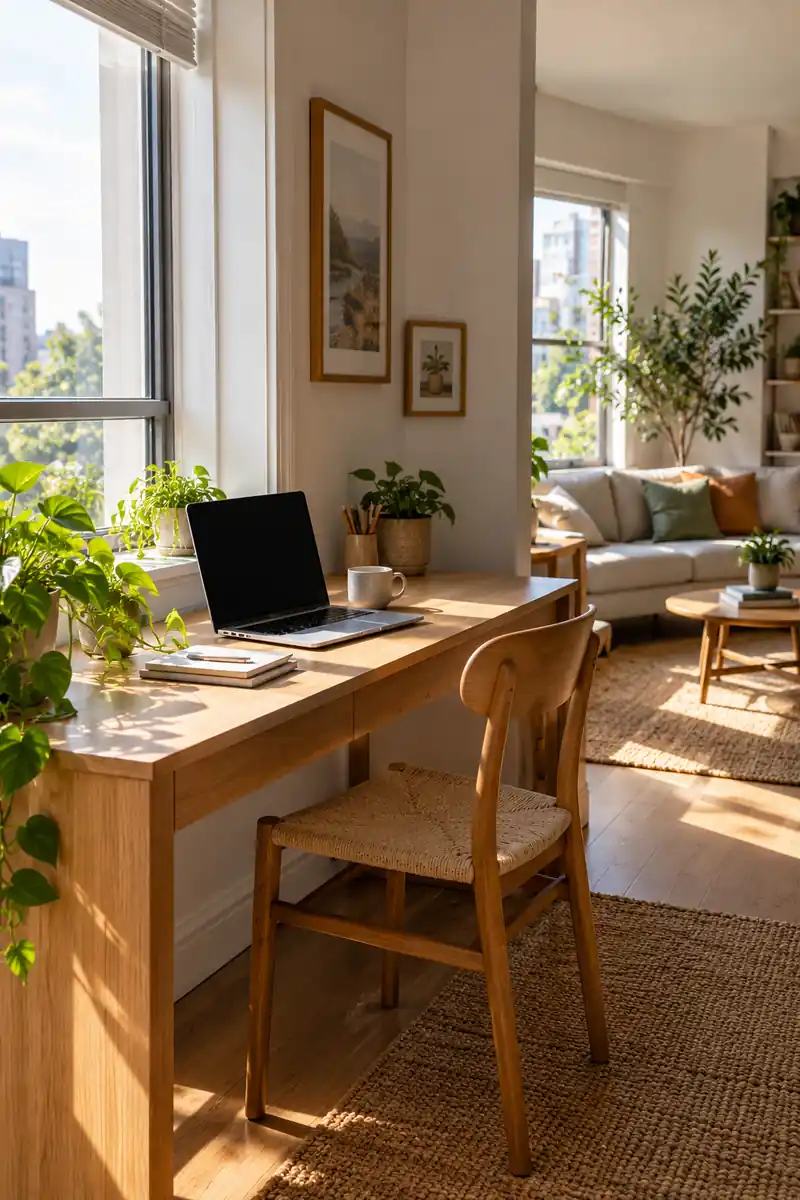
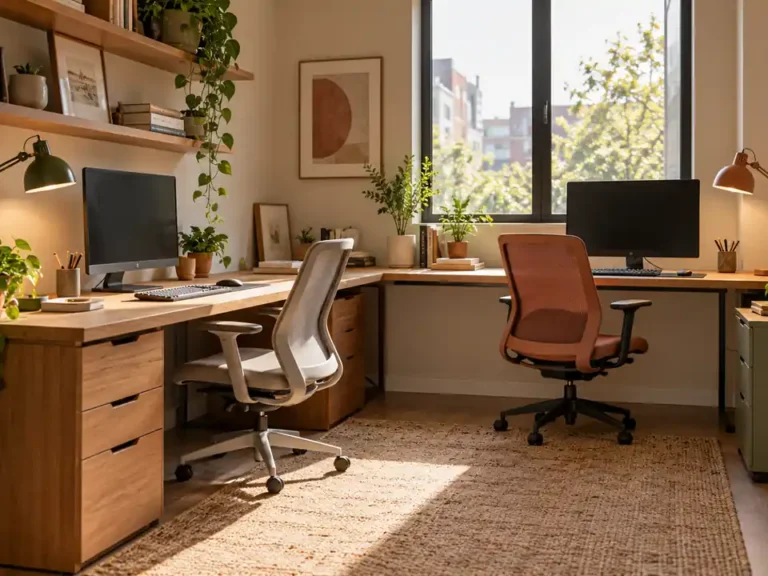
Give the work zone access to daylight without assuming the desk must sit directly under the window. A position at right angles to the glass may offer a better balance between the view, the available wall space, and what appears on your screen. Try the chair there before moving everything.
Then sit down at the time you usually work. Notice distracting reflections, the view behind your screen, and whether anyone passing through the studio would brush your chair. A desk belongs where concentration and movement can coexist, even if that means choosing a less obvious corner of the apartment.
10. Close Work After Hours
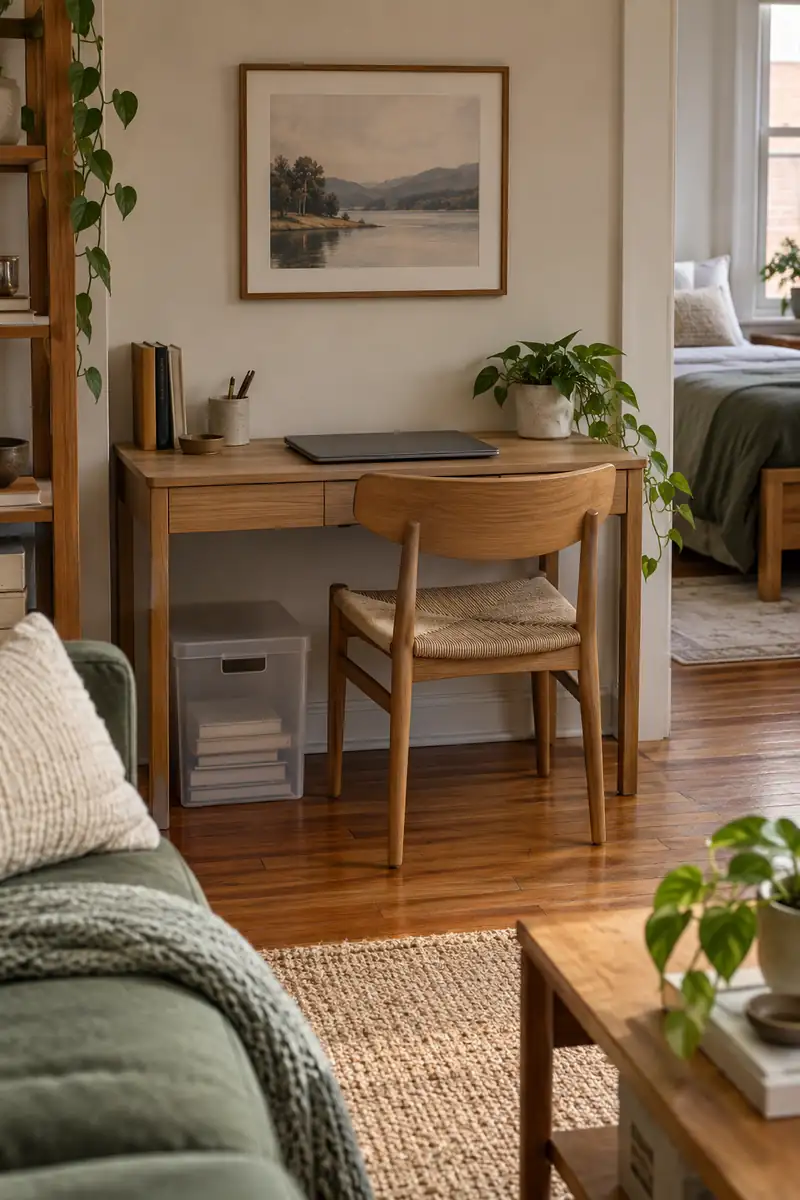
- Close the laptop when work ends.
- Store current papers in one container.
- Put loose cables in the desk area.
- Return the chair beneath the surface.
A visible work zone needs a simple closing routine. You do not have to make it look like a decorative console, but removing the active task helps the rest of the studio feel available for evening life. Keep tomorrow’s essentials together so clearing the desk does not make restarting harder.
11. Claim A Dining Corner
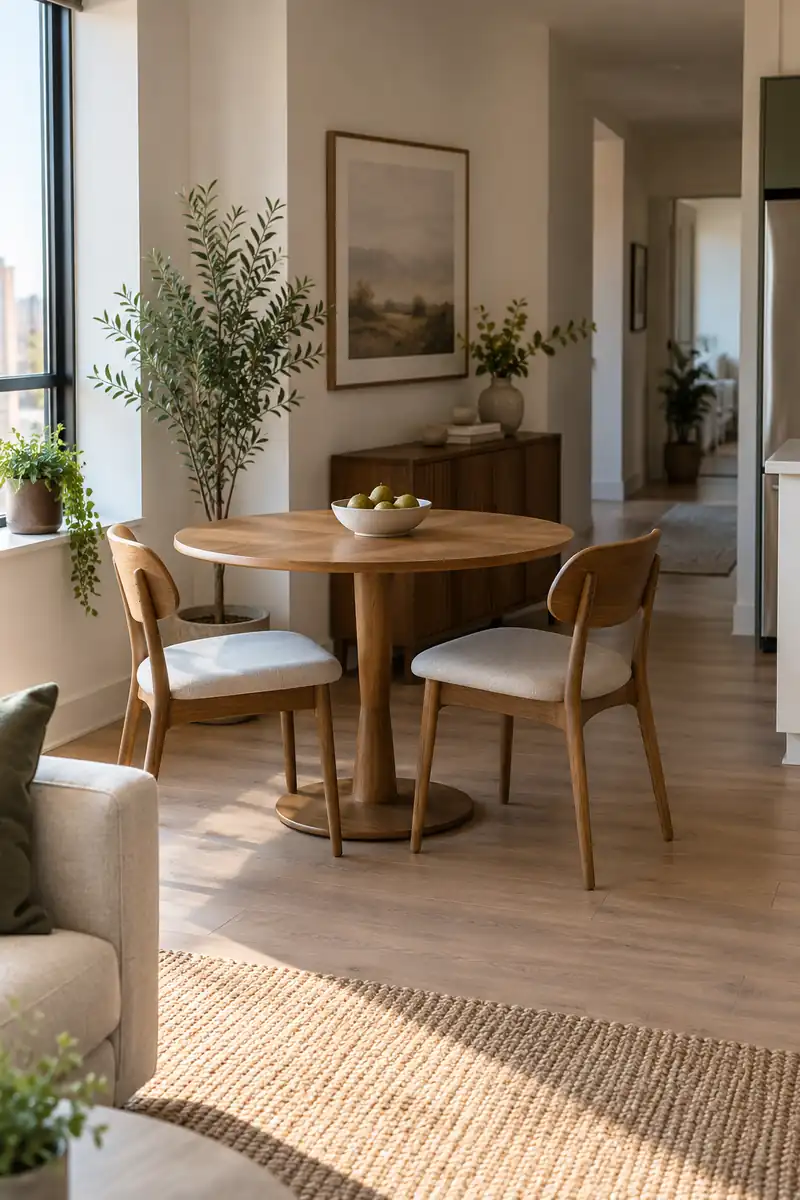
Quick tip: Pull out every dining chair before you settle on the table’s location. A table that fits when nobody is sitting there may still make the corner awkward to use.
Choose the spot by the full activity, including sitting down, standing up, and carrying a plate from the kitchen. A small round table can soften a tight corner, while a straight edge may sit neatly against a wall. Let the available route decide which shape earns its place here.
12. Separate Prep And Display
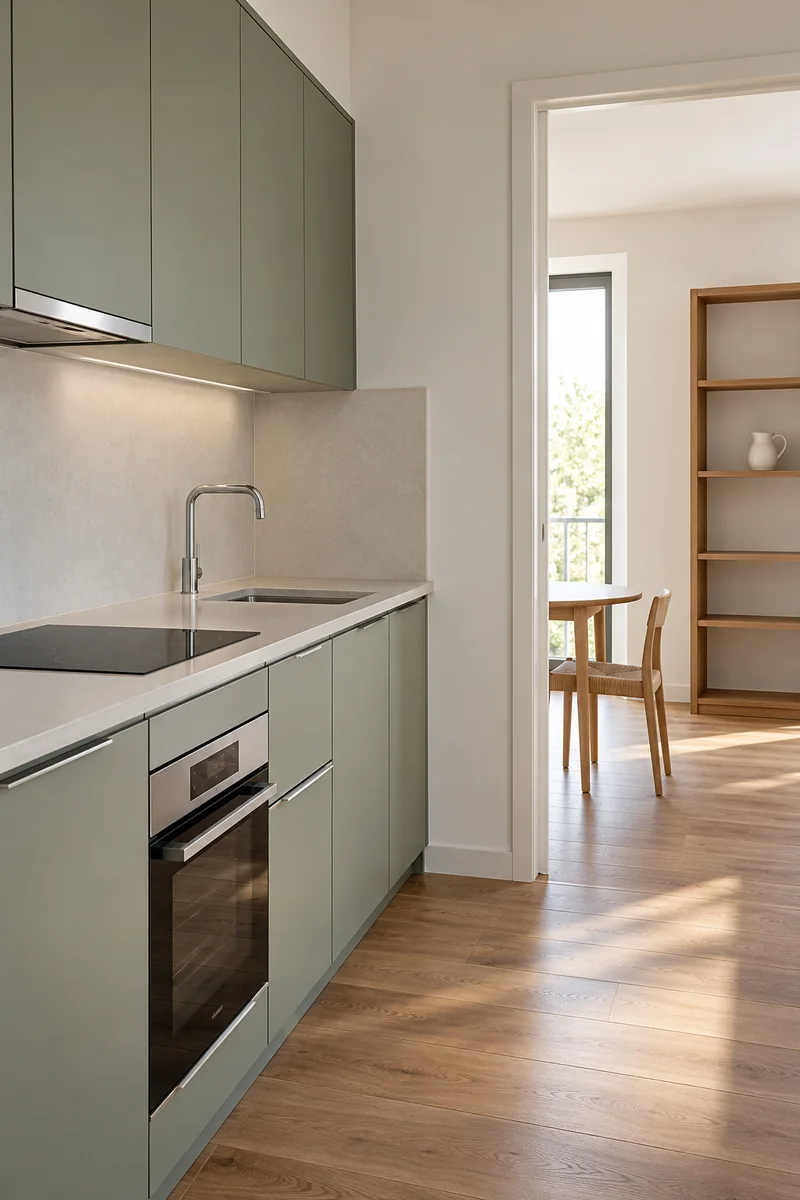
Before: Decorative jars, a plant, and a serving board occupy the only useful stretch of kitchen counter. Preparing even a small meal starts with moving things.
After: Everyday prep space stays open. One attractive object sits on a nearby dining shelf, where it can be enjoyed without interrupting cooking.
Treat the kitchen work zone as working space first. Keep decoration away from heat and the surfaces you use for food preparation. Useful items can still look good, but each needs a reason to be there. Move purely decorative pieces to an adjoining shelf or table rather than squeezing them in.
13. Link Kitchen And Living
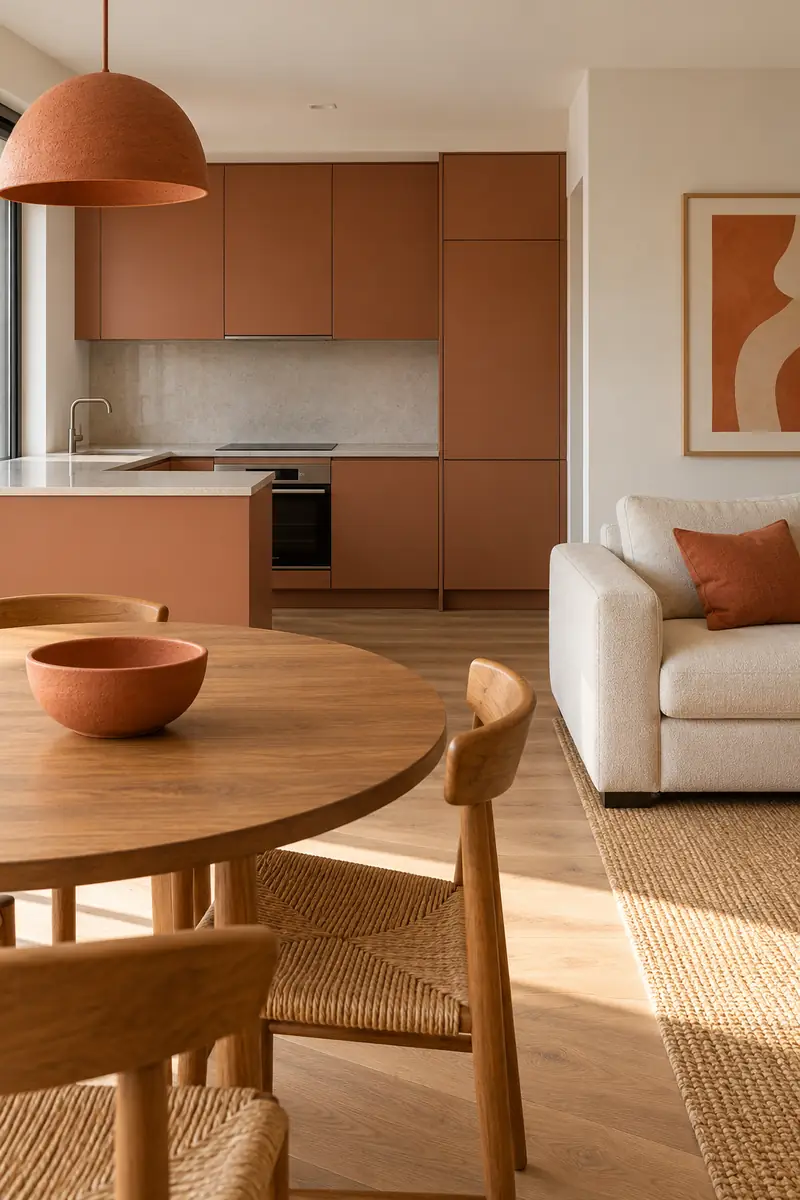
- Look at the kitchen’s fixed finishes.
- Choose one color that works with them.
- Repeat it once in the living area.
- Keep the kitchen counters mostly clear.
An open kitchenette feels less separate when one small detail connects it to the rest of the room. The link might be a terracotta bowl and a similar cushion, or oak chairs that echo a cabinet finish. You do not need identical accessories or a full matching set to make the connection.
14. Build A Reading Pocket
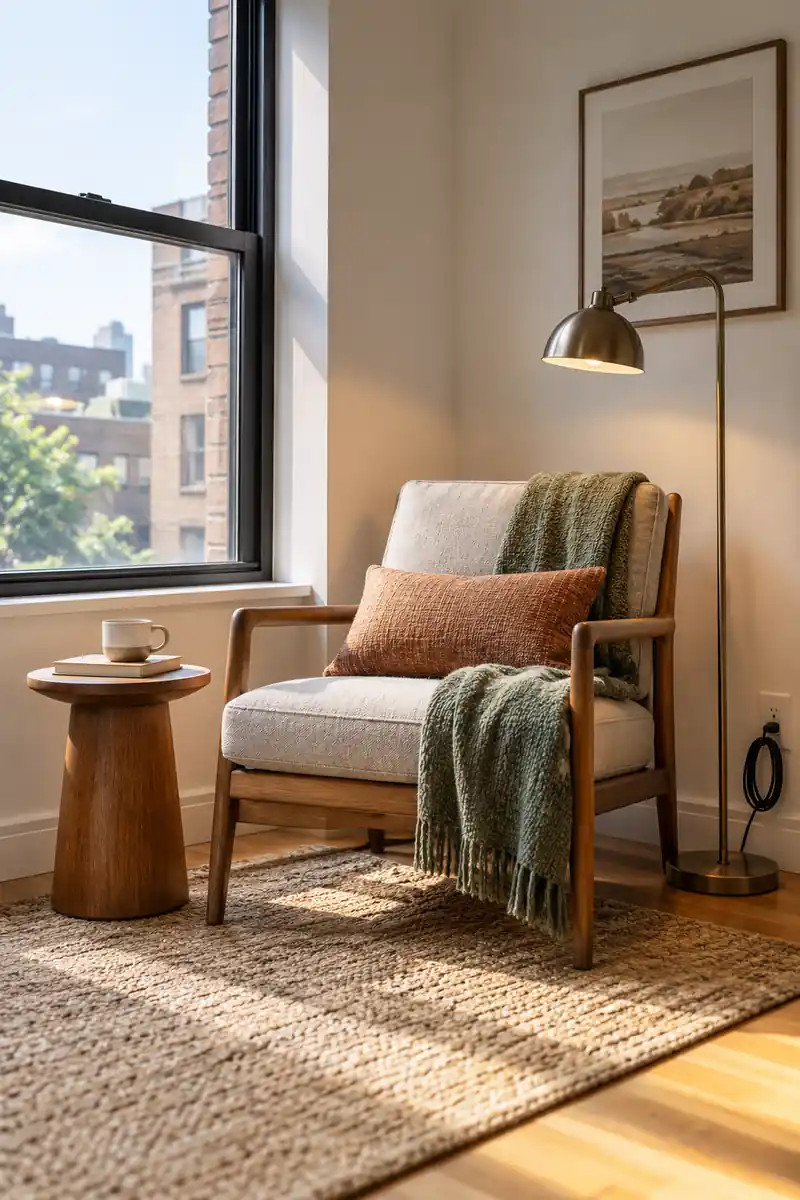
Window corner
Feel: Bright and connected to the view.
Furniture: One chair with a reachable side surface.
Watch for: Curtains and window access staying clear.
Quiet inner corner
Feel: More enclosed and less distracting.
Furniture: One chair with a suitable reading lamp.
Watch for: A clear path around the lamp base.
A reading pocket works when the seat, light, and landing space support one activity. Avoid filling the corner simply because it looks empty. Sit there with a book before adding anything else. If the setup blocks a window or forces you to step over cords, choose a different position instead.
15. Reserve Room For Hobbies
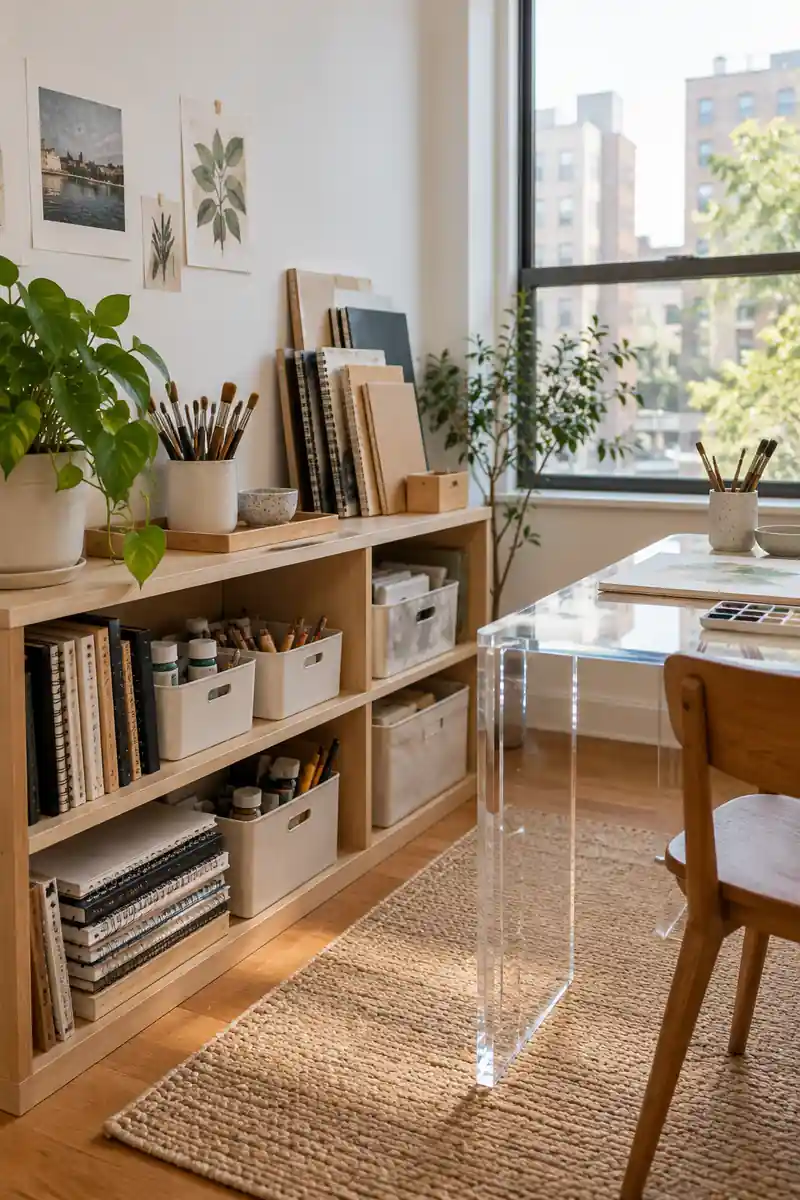
Do
- Store supplies beside where you use them.
- Keep one current project accessible.
- Give finished work its own home.
Don’t
- Spread equipment across every zone.
- Turn the dining table into permanent storage.
- Buy organizers before sorting the contents.
Your hobbies deserve a place in the layout, even if that place is a single shelf. Grouping the supplies makes the activity easier to start and easier to put away. Let the objects show something real about you, but leave enough room to use them rather than only display them.
16. Place Media Deliberately
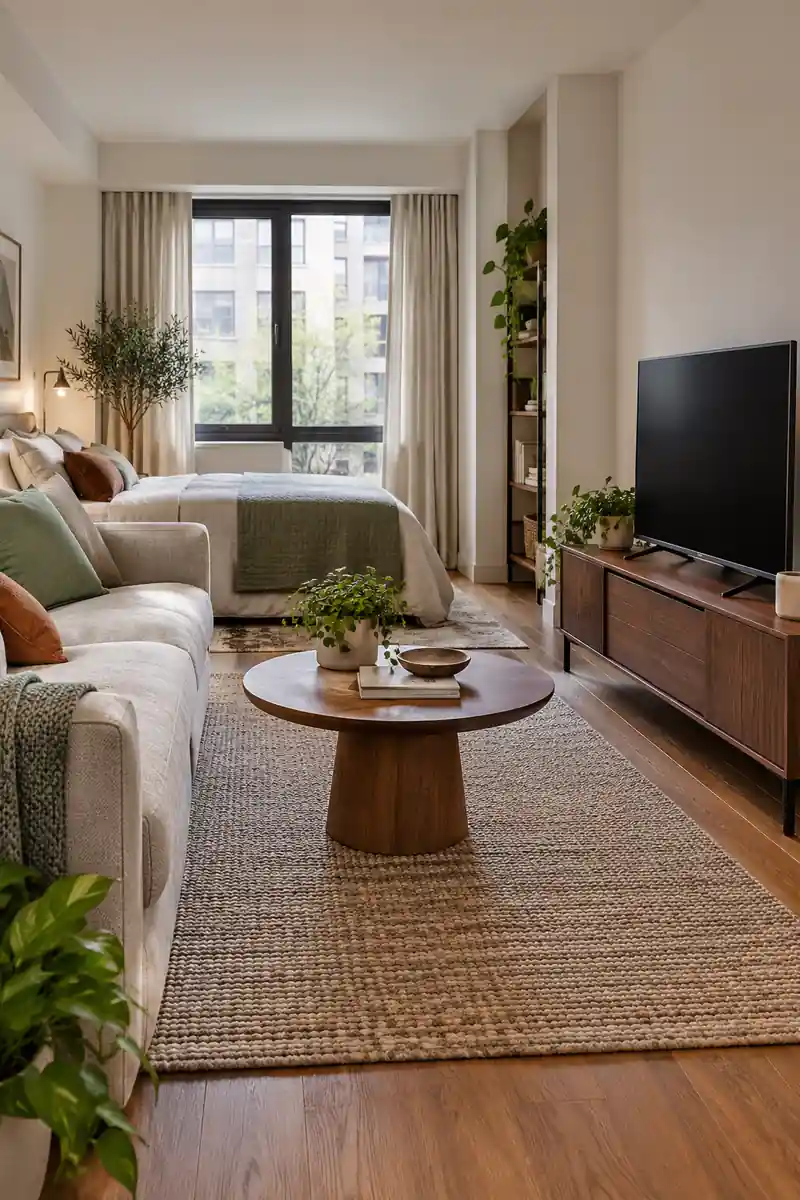
- Viewing: Face the screen toward the main seat.
- Storage: Group remotes and equipment in one console.
- Sightline: Check the blank screen from the entrance.
- Cables: Keep leads gathered close to the furniture.
Place media around how you actually watch or listen. A screen should not force every other zone into an awkward position. If it dominates the entrance view, try a lower console or a different wall before adding decoration around it. Keep equipment ventilation openings clear and follow the product instructions.
17. Group Clothes Together
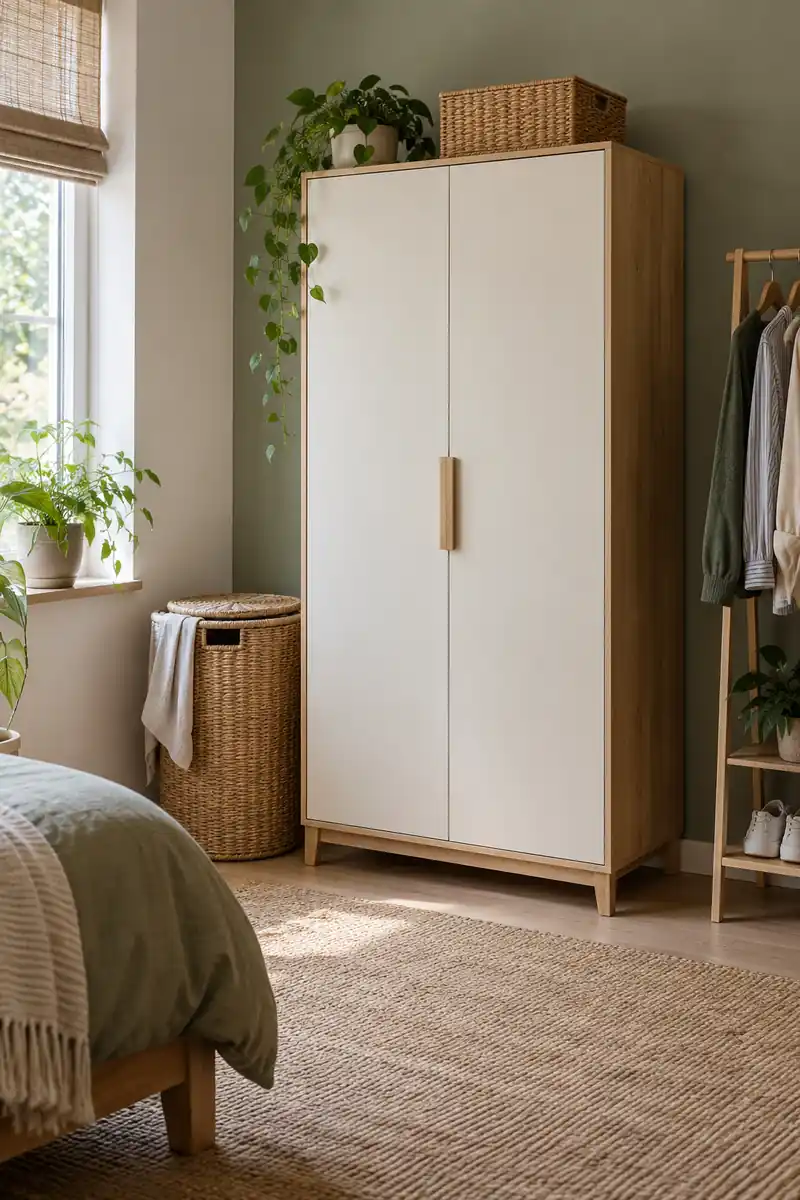
Scattered clothing storage can make a studio feel unfinished even when each piece is neat. Bring the wardrobe, laundry basket, and everyday getting-ready items into the same part of the room where possible. That creates a dressing zone instead of several small piles competing with the living space.
Leave room to open doors and drawers fully, then test the area while carrying laundry. A mirror can sit nearby if there is a suitable existing place for it, but it should support the routine rather than crowd it. Keep the top of the wardrobe from becoming a second unsorted storage shelf.
18. Give Guests A Seat
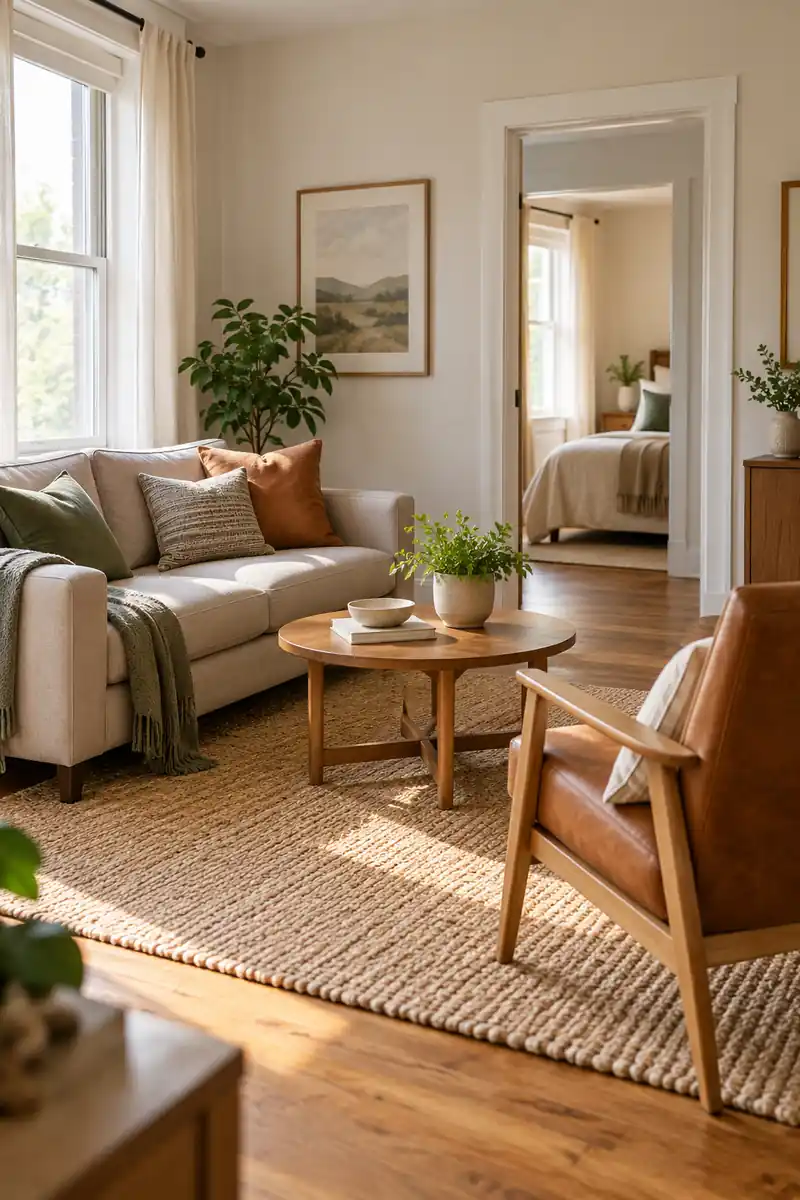
- Aim one extra seat toward the sofa.
- Keep a place for a drink within reach.
- Use a chair you can move easily.
- Leave the exit route unobstructed.
Plan guest seating around a real conversation rather than a perfect photograph. People should be able to see each other without twisting around a coffee table. A dining chair can join the living area when needed, then return afterward. That flexibility often works better than keeping another large chair permanently in place.
19. Light Each Activity
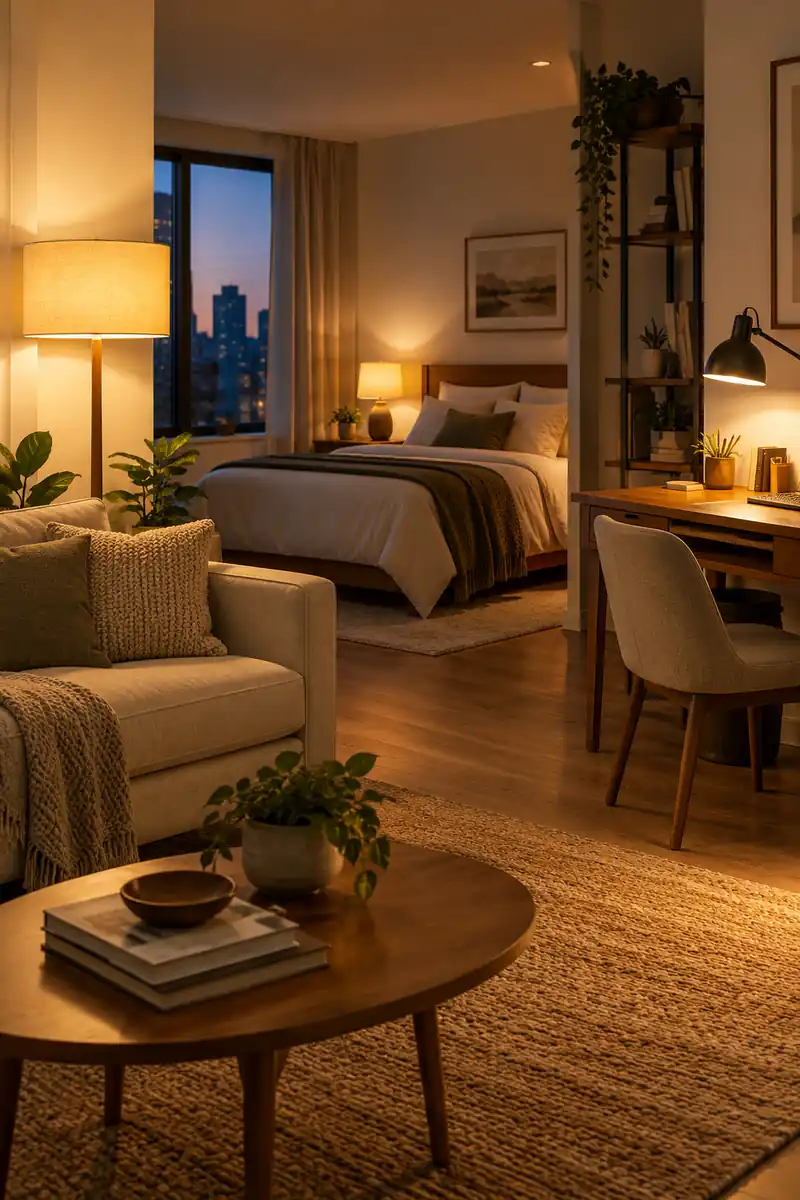
Quick tip: Turn off the main ceiling light and notice which activities become difficult. Those are the areas where a local light would do useful work, rather than simply adding another glowing object.
Use a reading light for the reading seat and a bedside light for winding down. The living area can have its own softer source so the entire studio does not need the same brightness. Plan cable routes before settling on positions, and keep cords out of doorways and walking paths.
20. Repeat One Connecting Detail
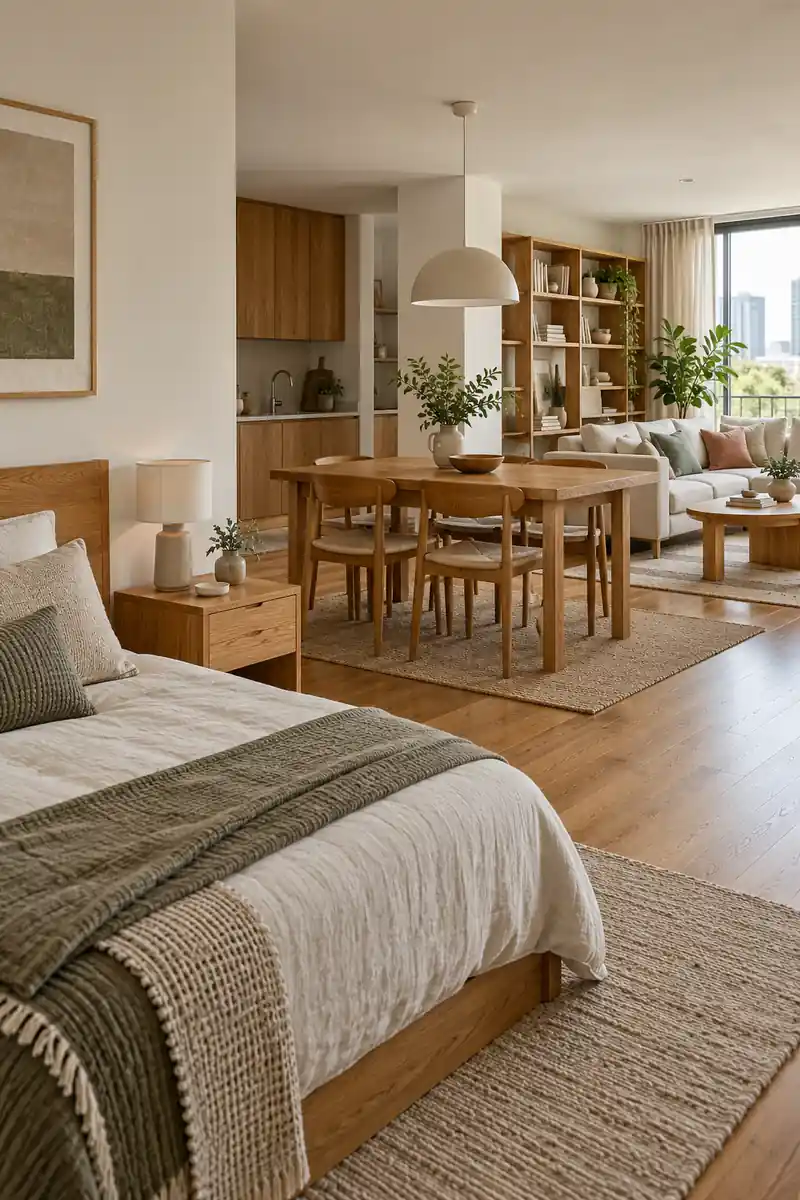
Before: Each zone uses a different finish, so the bed, dining area, and living room seem unrelated. The room feels busy despite having few objects.
After: Oak appears in three small places across the studio. Each area keeps its own function, but the repeated material gives the whole room a quiet connection.
Choose a detail already present in the apartment so the link feels natural. Repetition works with a wood tone, a fabric color, or a simple shape. You only need enough echoes to notice a relationship. Avoid changing every object to match, which can flatten the character of your existing pieces.
21. Leave A Flexible Patch
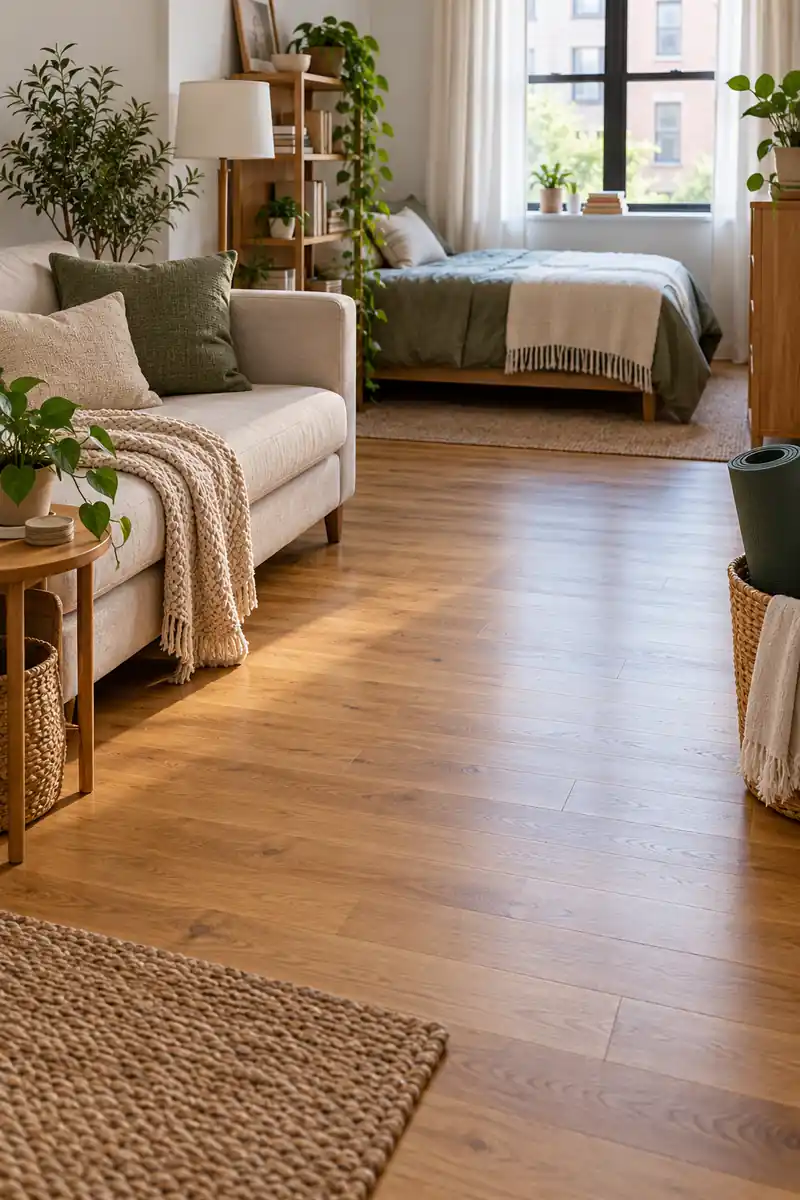
- Identify one activity that needs temporary floor space.
- Choose a clear area near its stored equipment.
- Move unnecessary small furniture out of that spot.
- Return portable items after each use.
An open patch of floor is a useful part of the plan. It can make room for stretching, sorting laundry, or working on a project without permanently dedicating the whole studio to that activity. Resist filling it just because it appears bare. A flexible zone gives a small home breathing room.
Frequently Asked Questions
Which zone should I plan first?
Start with the bed and the main walking route. The bed usually occupies a large fixed area, while clear access affects everything else. Once those work, place the sofa, work surface, and dining spot around your daily routines.
Do I need a room divider?
No. A sofa back, a rug, or a change in lighting may provide enough separation. Use a physical divider only when it solves a specific privacy or storage problem without making the apartment harder to move through.
How can I fit a desk and dining area?
First consider whether you need both at the same time. A shared table may work if you can clear work supplies into a nearby container. If work stays out all day, separate compact surfaces may be more practical.
What makes a studio feel personal?
Use the colors, art, books, and hobby objects you actually enjoy. There is no required masculine palette. Keep meaningful objects in the zone where you use or notice them, and let everyday comfort guide the final arrangement.
Conclusion
Learning how to decorate a studio apartment for men becomes easier when every area supports a real part of the day. Begin with the walking routes, settle the larger pieces, and then define the smaller zones with light, textiles, and useful surfaces. You do not need to use all twenty-one ideas. Choose the few that solve the biggest frustrations in your own room. After living with each change, adjust what still feels awkward. A studio feels personal and complete when the spaces for sleeping, working, eating, and relaxing fit together without making ordinary routines harder than they need to be.
Community
Join the conversation
Add a useful idea, ask a specific question, or share what worked in your space. Every comment is reviewed before it appears.