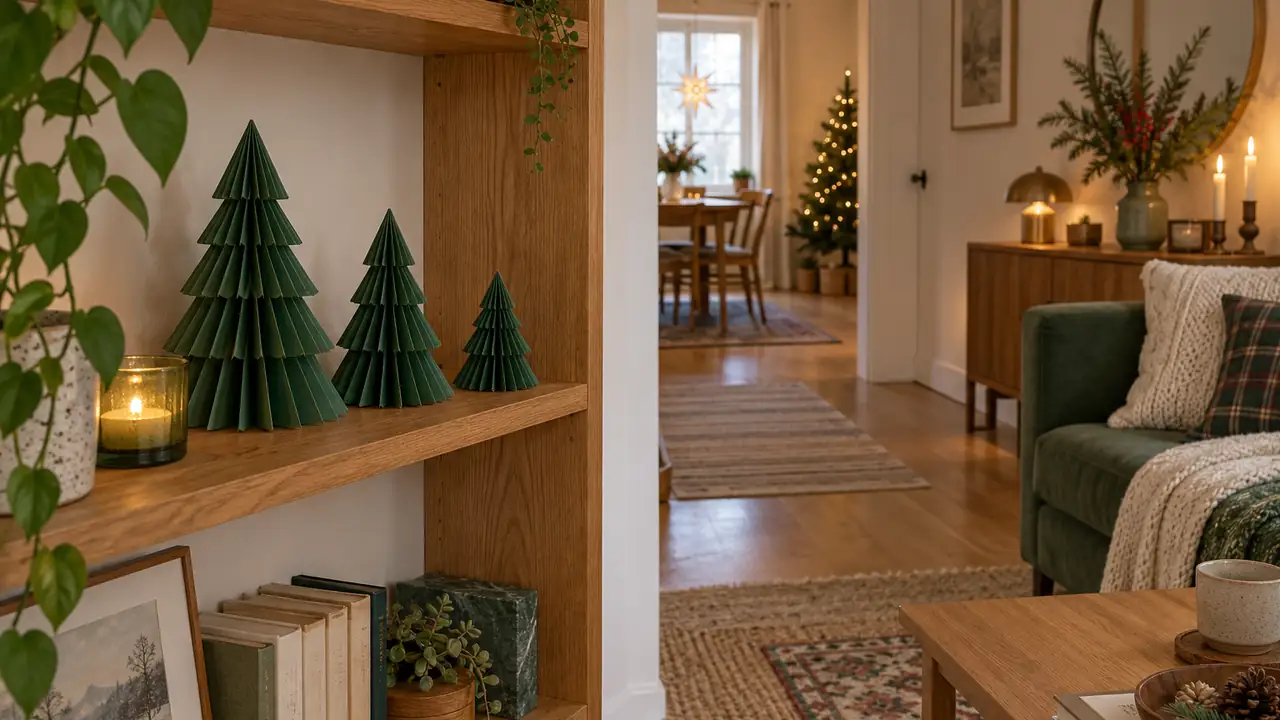
DIY small apartment Christmas decor should be fun to make and easy to live with. You do not need a large craft room, expensive tools, or a box of supplies for every project. Start with one clear table, gather a few materials you already have, and choose a decoration that fits a real spot in your apartment. These 17 handmade ideas focus on light pieces, small displays, and useful objects you can bring out again. Some take a short session, while others need drying time. Read the full steps first, protect your work surface, and make one sample before committing to a whole set.
1. Fold Paper Trees
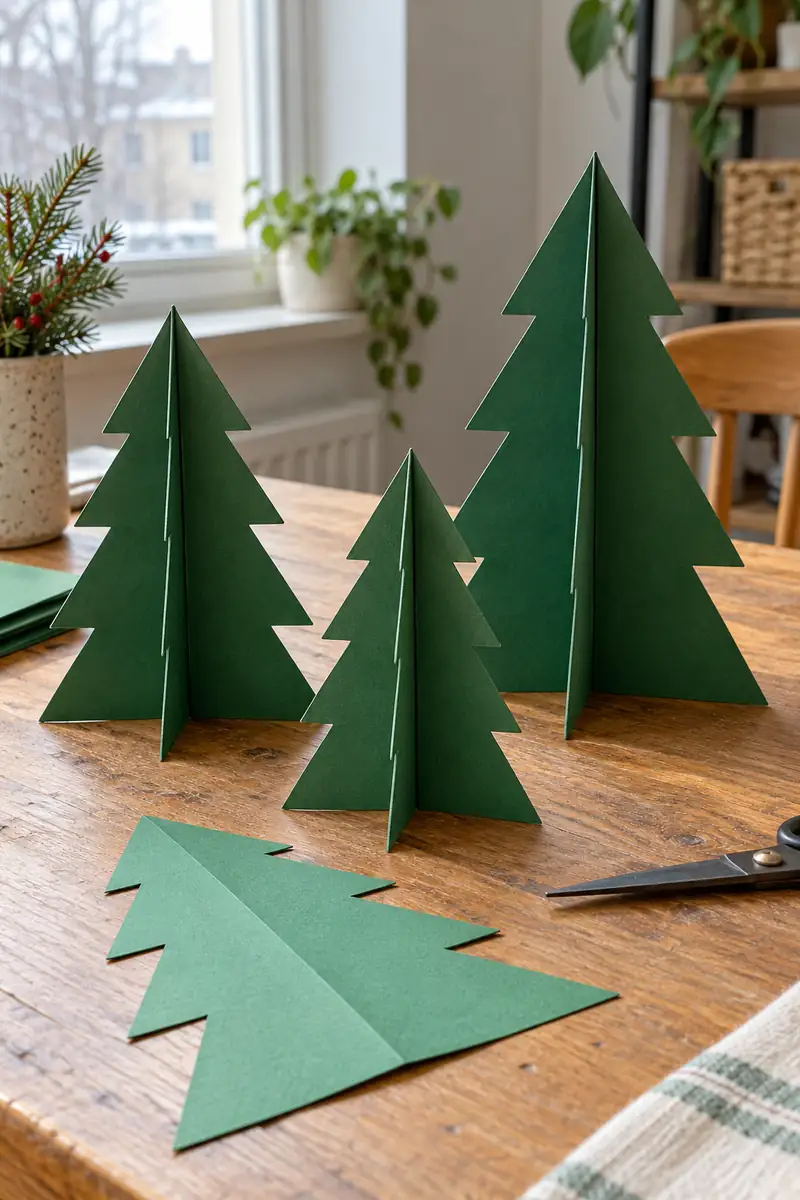
Fold a sheet of green paper in half and draw half a tree along the fold. Cut out the shape, then repeat it four times. Glue the folded halves together, leaving the last pair open until the others dry. Close the final seam to make a standing tree.
Trim the bottom flat so the tree stands without a separate base. Make a small group in two heights, using paper you already have. Keep these decorations on a dry shelf away from heaters, cooking areas, and candle flames. Flattened paper scraps can become gift tags instead of waste.
2. Tie Fabric Bows
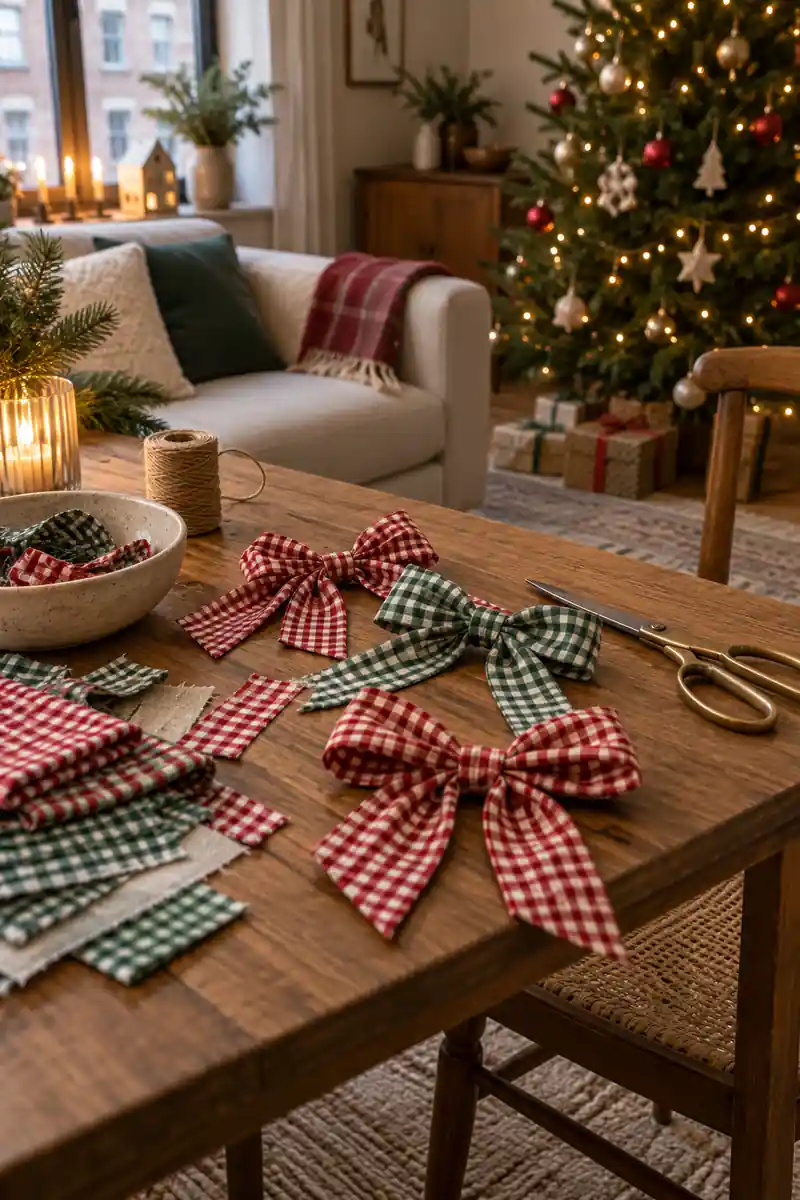
- Use clean fabric you already own.
- Cut strips with sharp scissors.
- Fold long edges toward the center.
- Tie and trim a balanced bow.
A fabric bow can soften a basket, wreath, or plain gift without glitter. Cut a strip from a clean cotton remnant, fold the raw edges inward, and tie a simple bow. Trim the tails short enough that they will not catch when you use the object underneath it.
3. Fill Clear Ornaments
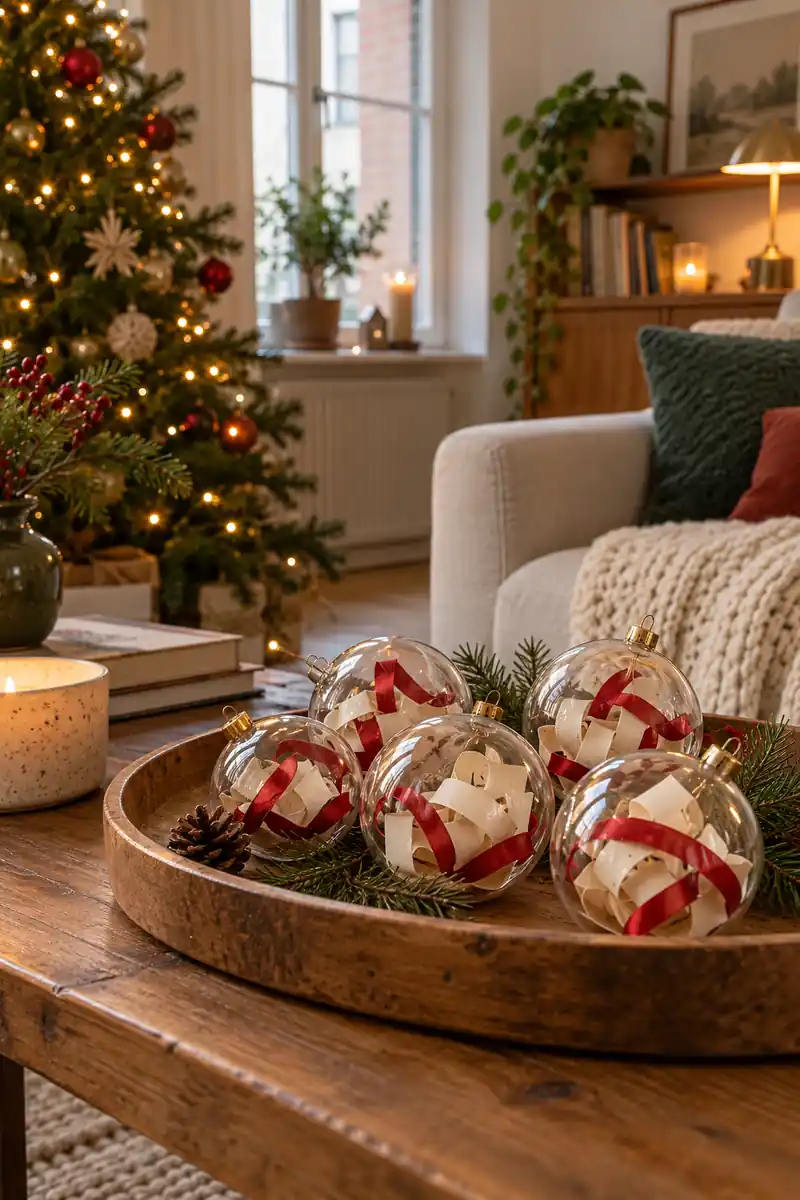
Quick tip: Use plastic ornaments if breakage is a concern. Keep small caps, hooks, and loose filling away from young children and pets while you work.
Clear fillable ornaments turn tiny leftovers into a personal display. Open the ornament and add a small curl of paper, a piece of ribbon, or a little dried greenery. Keep the contents light, close it securely, and hang it where it will not brush against a walkway or lamp.
4. Wrap Cardboard Stars
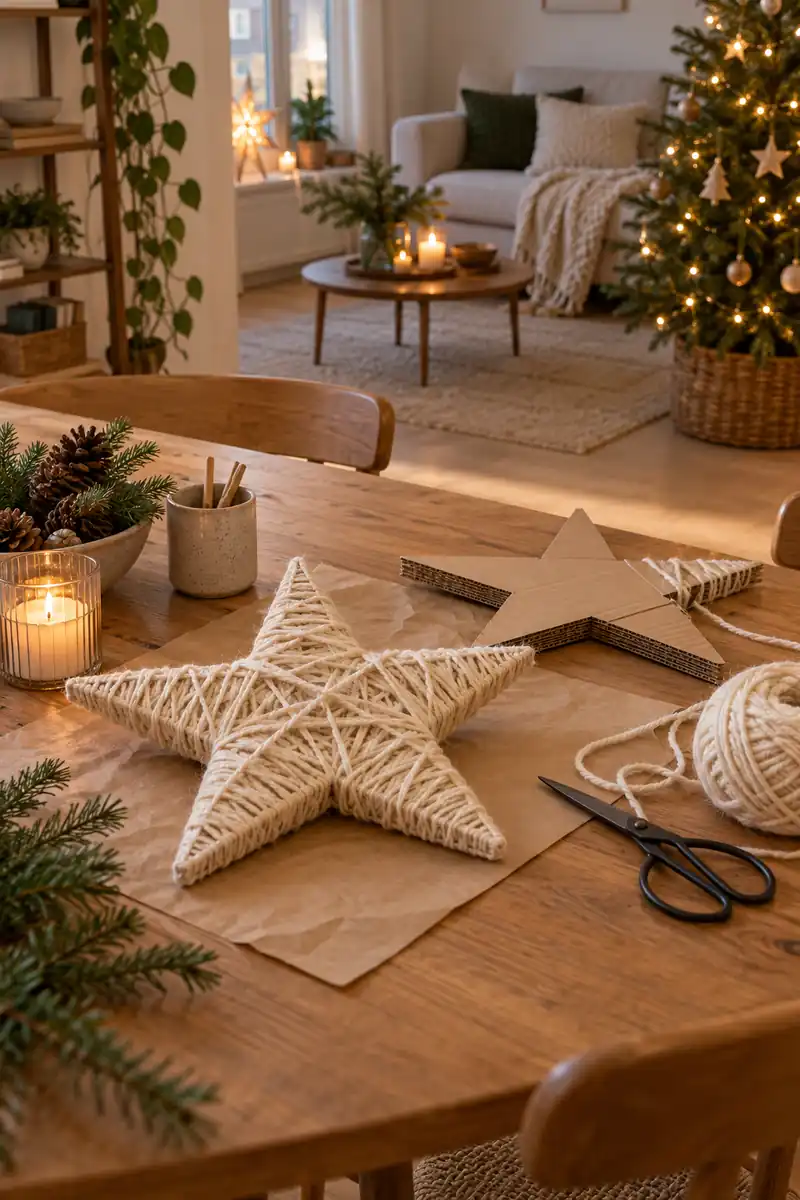
Before: A plain cardboard star looks like packaging. Its edges remain visible.
After: Soft cream yarn covers the star. A short loop makes it ready to hang.
Cut a simple five point star from sturdy scrap cardboard, then wrap it with yarn. Hold the starting end beneath the first few loops and finish with a small dot of craft glue on the back. Let it dry flat before adding a short hanging loop through a punched hole.
5. Make a Paper Chain
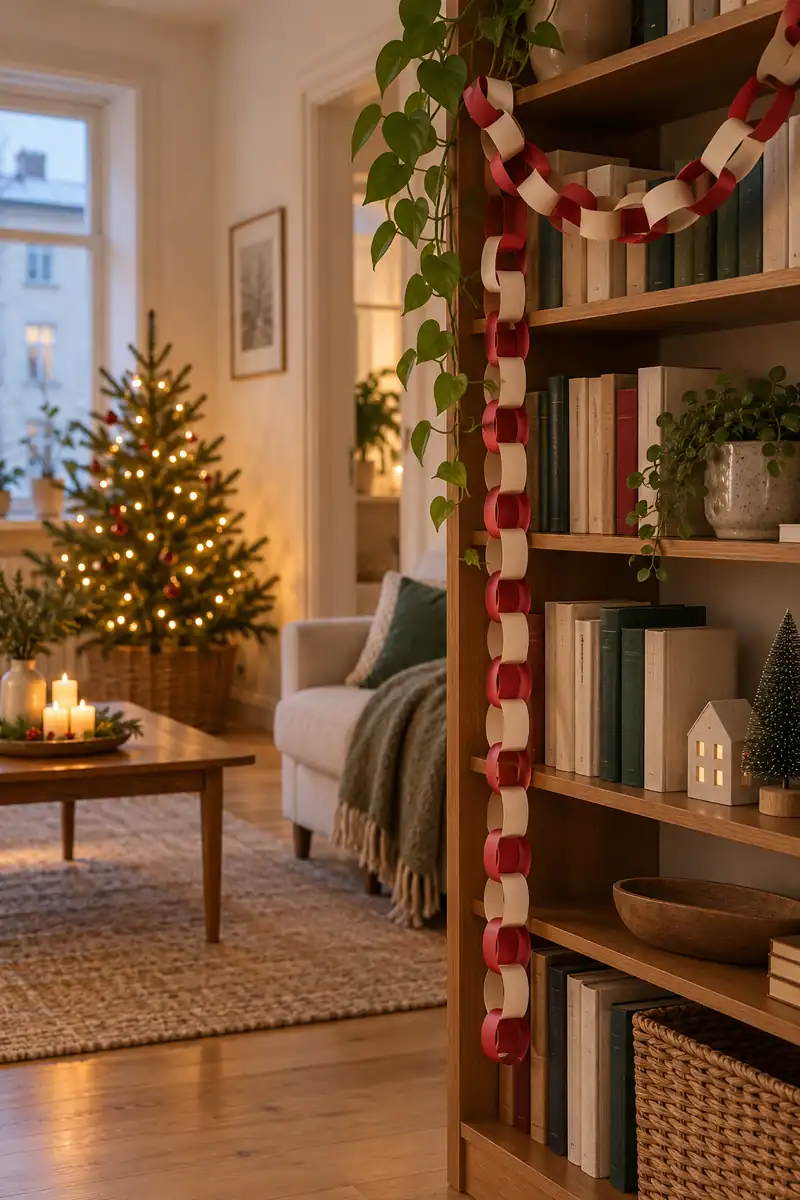
- Cut equal paper strips.
- Glue one strip into a loop.
- Thread the next strip through it.
- Close the loop and repeat.
- Let the glue dry before hanging.
Paper chains are a forgiving first project because each link is simple. Choose two colors that suit the room, then keep the chain short enough for one shelf or cabinet side. Use suitable removable fixings only where permitted, and never stretch the chain across a doorway or walking route.
6. Choose a Tag Material
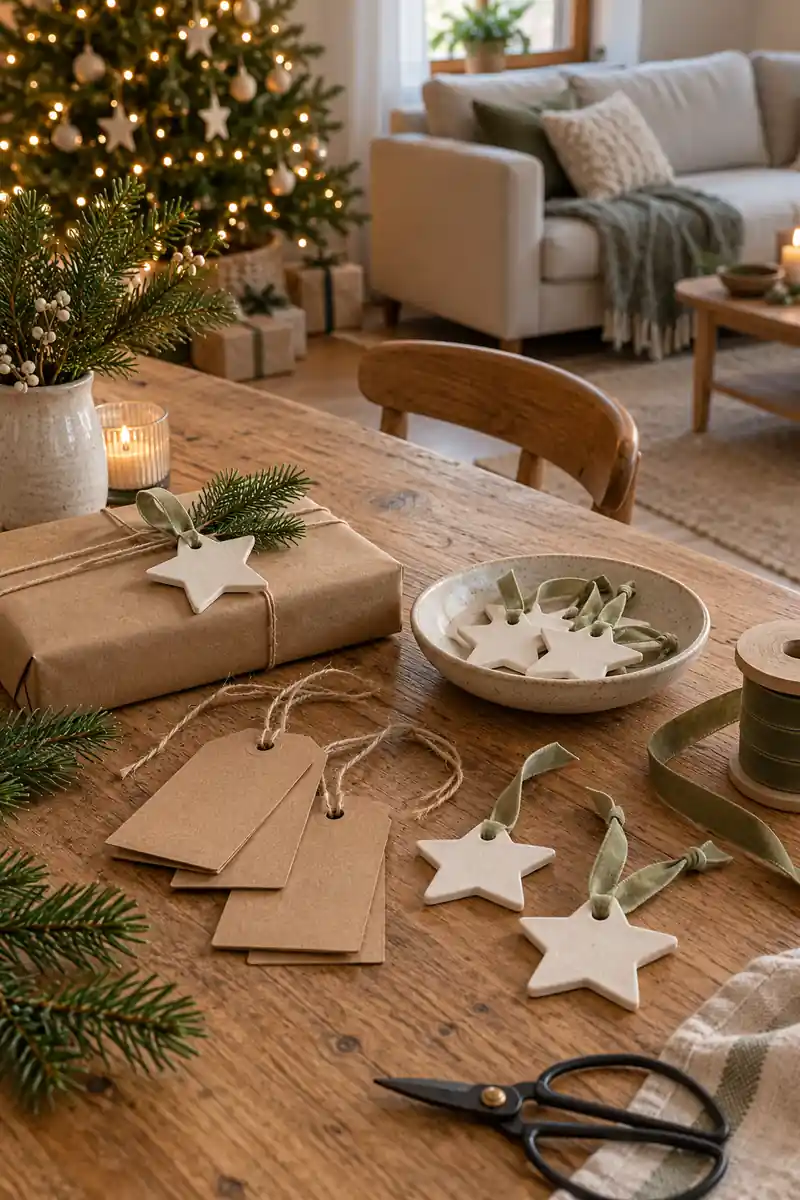
Card tags
Time: Ready after cutting
Tools: Scissors and hole punch
Storage: Flat envelope
Air dry clay tags
Time: Follow the clay drying time
Tools: Rolling tool and small cutter
Storage: Padded small box
Handmade tags can decorate a gift basket as well as wrapped presents. Cut a simple shape, punch a hole near the top, and add a short ribbon loop. Choose paper for a quick session or air dry clay when you have time for drying and a little more mess.
7. Build a Twig Tree
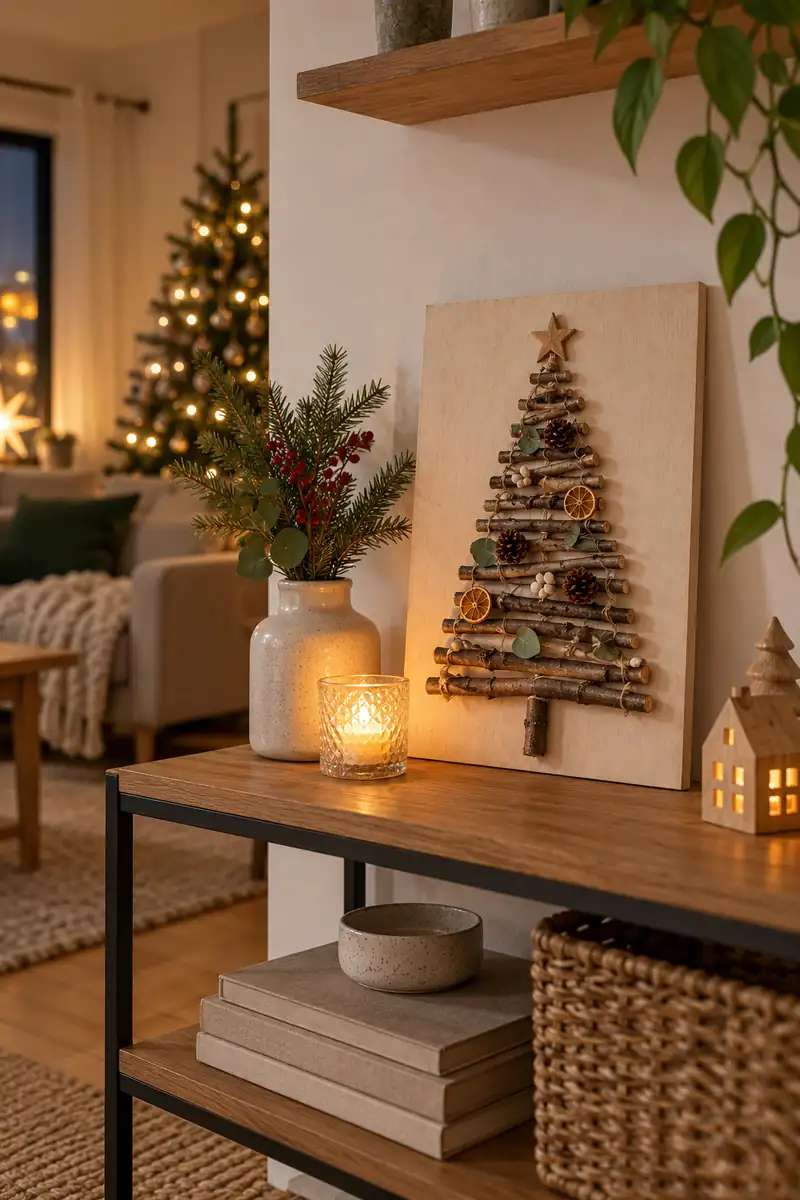
Do:
- Use dry clean twigs.
- Let glue cure fully.
- Keep the board stable.
Don’t:
- Collect from protected places.
- Add lights to dry twigs.
- Place the display near heat.
Arrange clean dry twigs from shortest to longest on a backing board, then glue them into a tree shape. Leave the lower end of one twig visible as a trunk. Use a lightweight board that can sit on a shelf, avoiding the need to hang a heavy handmade object.
8. Sew a Felt Garland
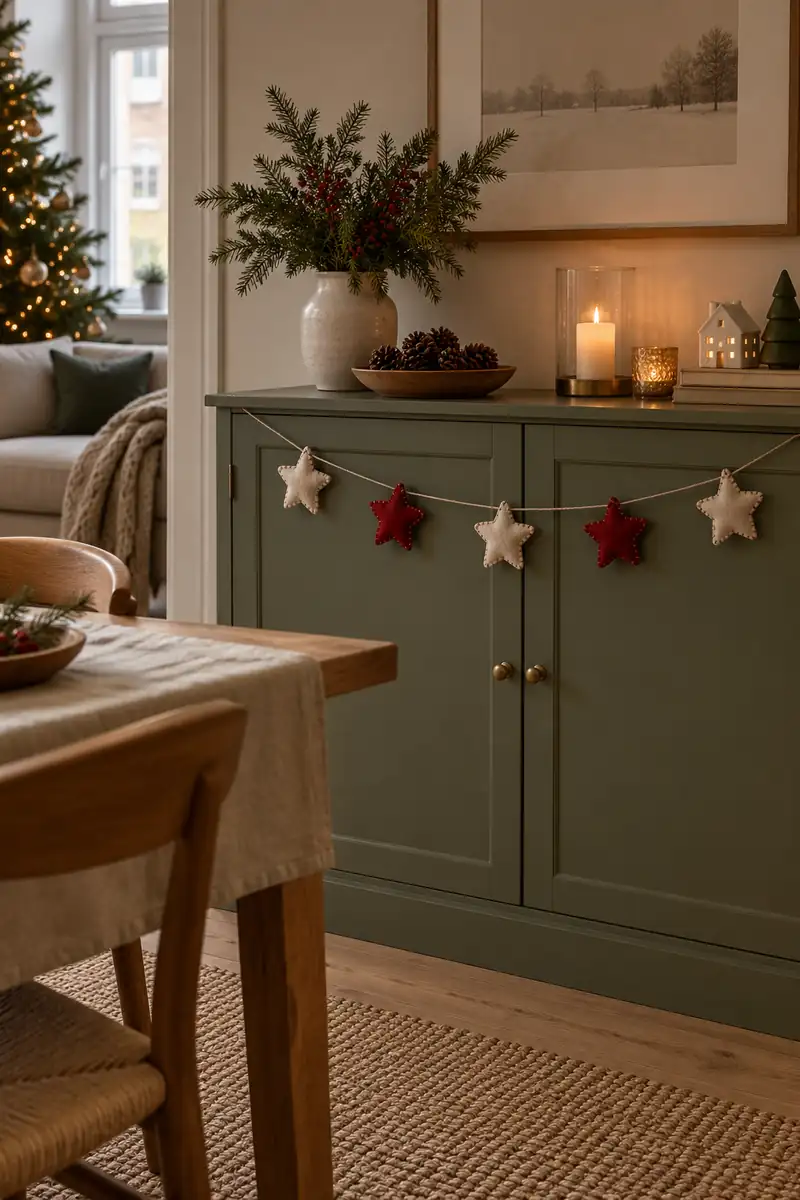
Material: Felt scraps and cotton tape.
Stitch: A simple running stitch.
Filling: A small pinch in each star.
Placement: A dry cabinet front with clear handles.
Cut pairs of simple felt stars, stitch each pair around the edge, and leave a small gap for a little stuffing. Close the gap, then stitch the stars to cotton tape. A short garland suits a cabinet better than a long strand that gets tangled around furniture or storage.
9. Dress a Plain Jar
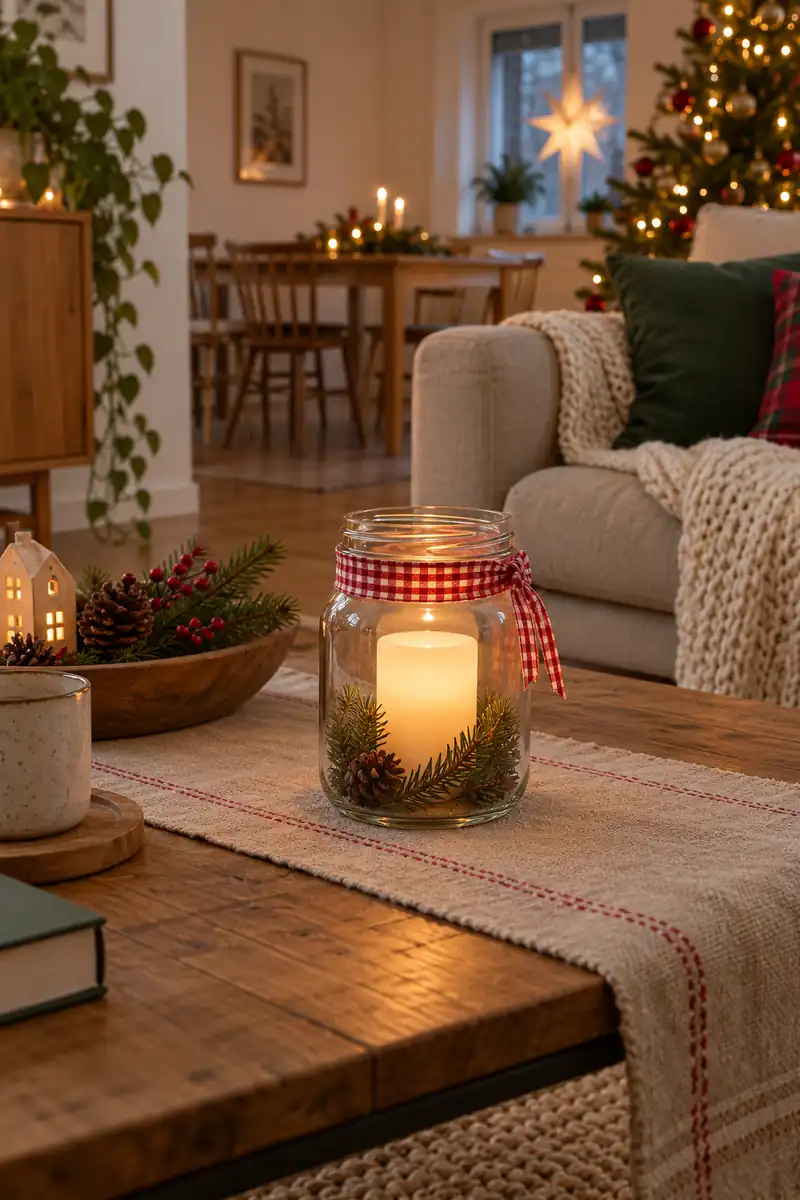
A clean jar becomes a small holiday holder with a fabric bow around its neck. Cut a narrow strip from a cotton remnant, wrap it beneath the rim, and tie a snug bow. Trim the tails neatly, then use the jar for pencils or a battery powered candle.
Choose a jar with smooth edges and a stable base. Skip loose sequins or glitter if you want an easy cleanup. A simple cotton bow is easy to untie later, so the jar can return to its normal job after the decorations are packed away for another year.
10. Create Mini Gift Boxes
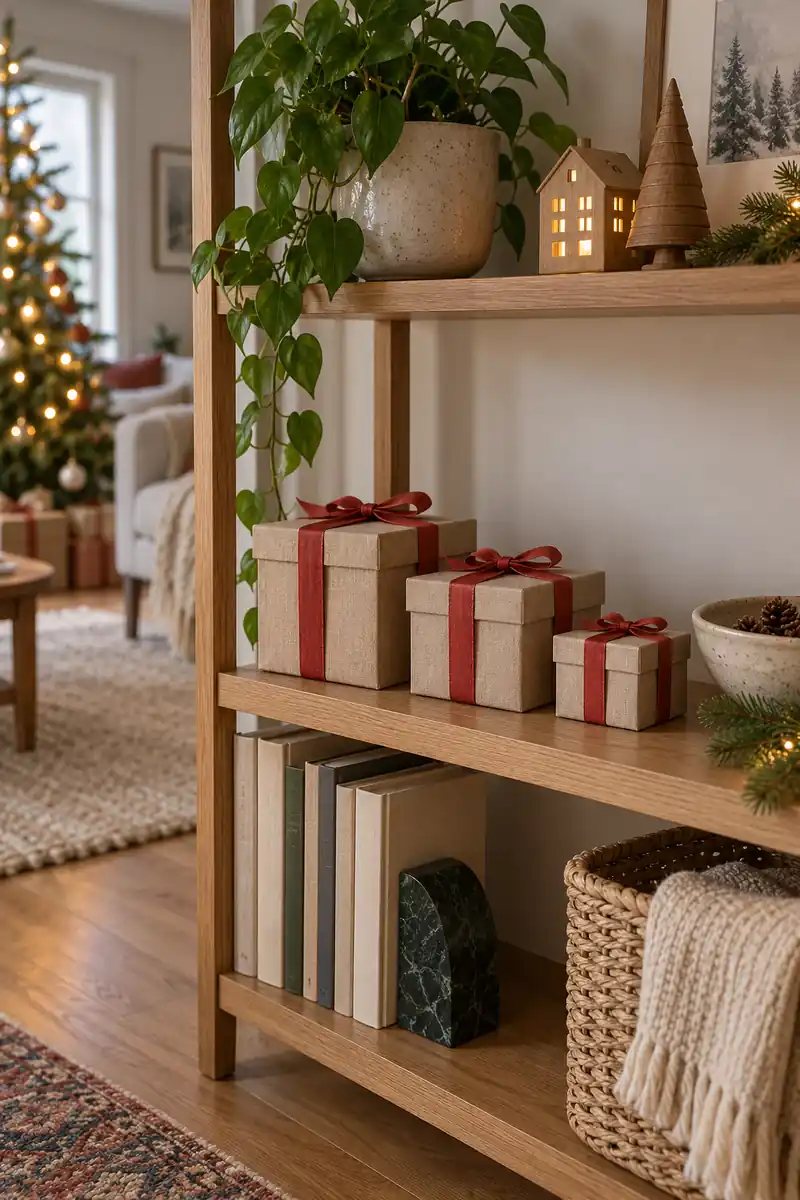
- Choose clean sturdy boxes.
- Wrap lids and bases separately.
- Use paper scraps in related colors.
- Label the contents underneath.
Small empty boxes can become reusable holiday props for a shelf. Wrap them in leftover paper and add ribbon without sealing the lid shut. Use them to hold spare ornament hooks or tiny gift tags, so the decoration earns its place even after the wrapping session is over.
11. Make Orange Garland
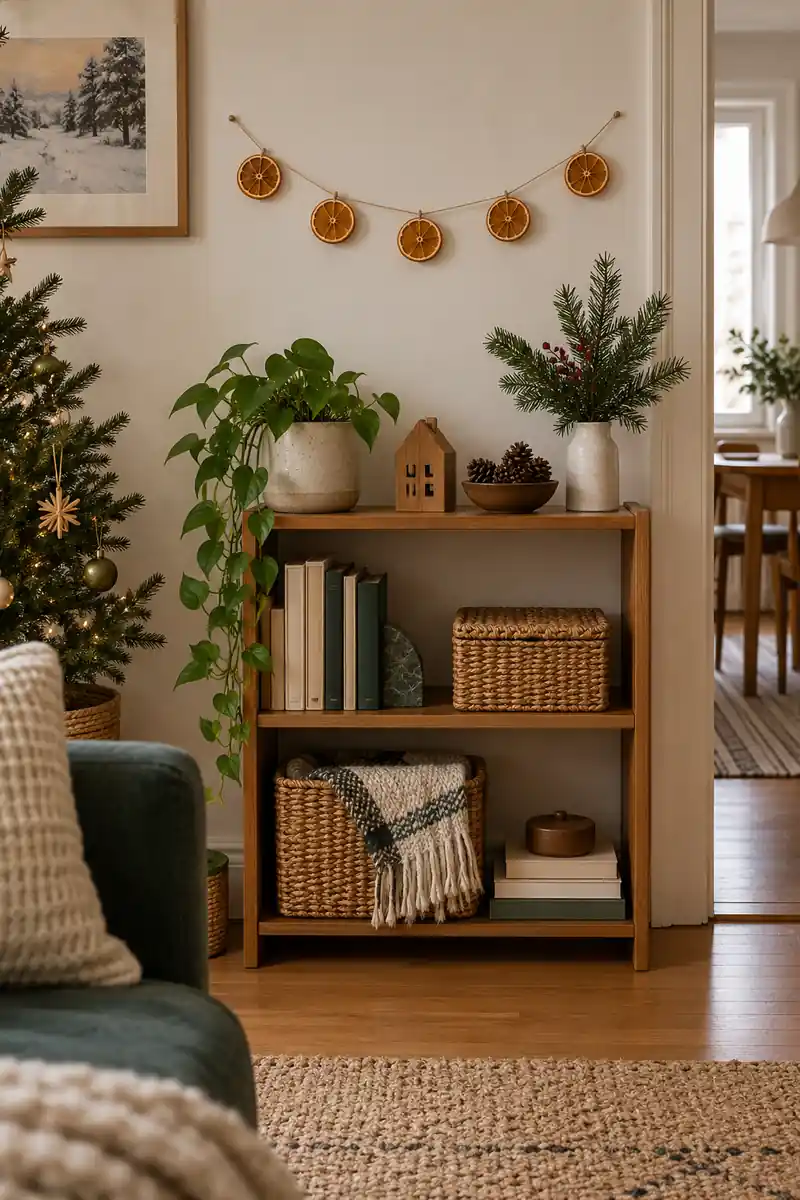
Quick tip: Discard slices that stay damp or develop mold. Treat the finished garland as decor, keep it away from pets and heat, and store it only when completely dry.
Dried orange slices bring warm color to a handmade garland. Slice oranges evenly, pat them dry, and dry them fully using a reliable food dehydrator method or your appliance instructions. Once cool and dry, thread them onto cotton string with a needle, spacing the slices rather than packing them tightly.
12. Turn Cards Into Art
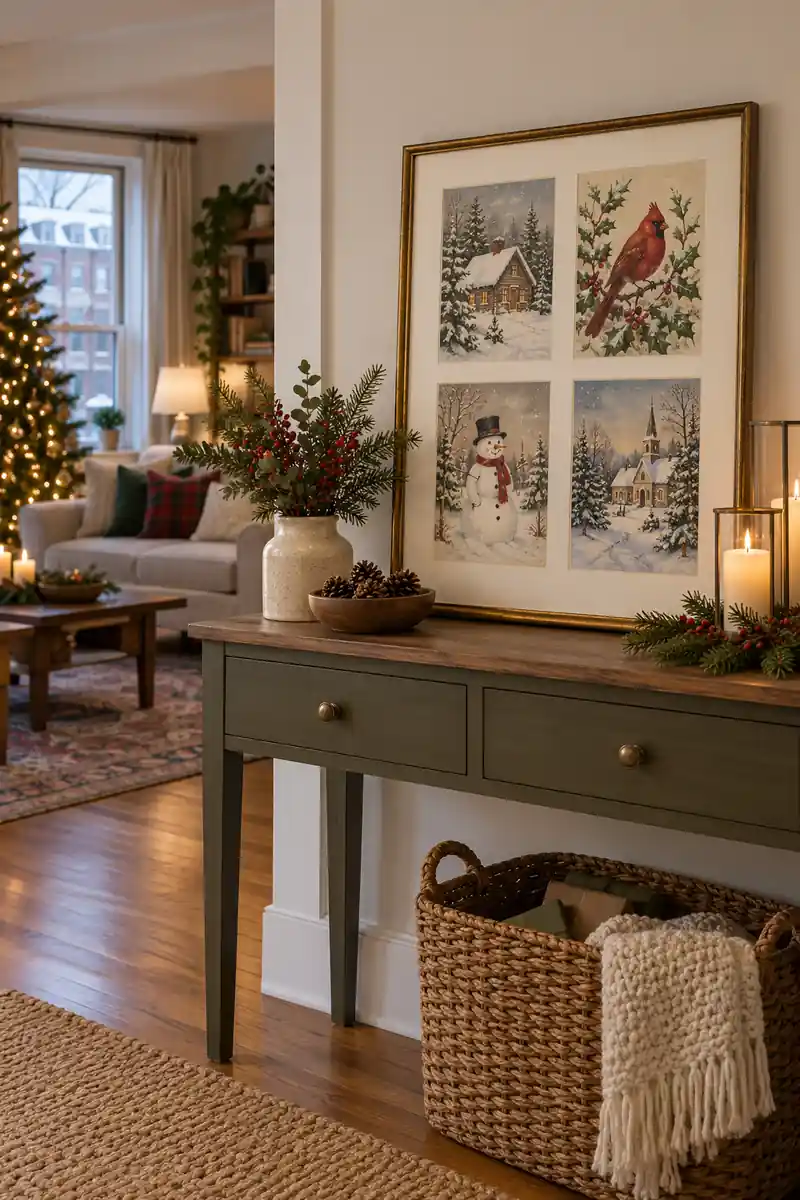
Before: Cards cover the table and fall behind books. Some become bent.
After: Four favorite card fronts sit inside one frame. The table is clear again.
Keep favorite holiday cards by arranging a few inside a simple frame. Cut a plain backing sheet to fit, position the cards without covering the details you like, and attach them with photo corners. The frame makes a mixed collection feel like one display instead of several loose pieces.
13. Craft Accordion Ornaments
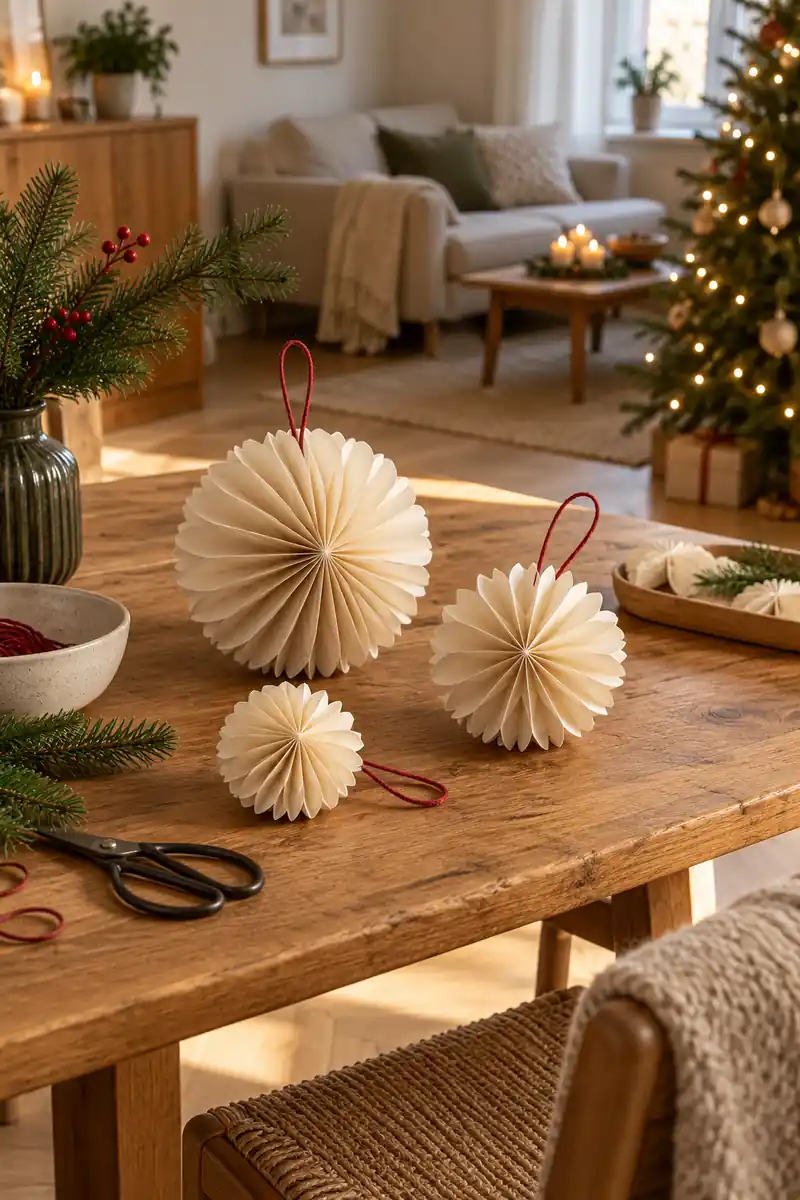
- Cut a long strip of paper.
- Fold equal accordion pleats.
- Fold the pleated strip in half.
- Glue touching edges into a fan.
- Join two fans and add a loop.
Accordion folded paper creates a light ornament with a crisp shape. Use thin paper that holds a fold, and make a small test piece before cutting a whole batch. The folds do the decorative work, so plain cream, green, or red paper can look lovely without any added glitter.
14. Pick a Wreath Base
Cardboard ring
Cost: Uses scrap packaging
Shape: Cut your own outline
Durability: Keep dry and flat
Embroidery hoop
Cost: Use one you already own
Shape: Even ready made circle
Durability: Reuse for another craft
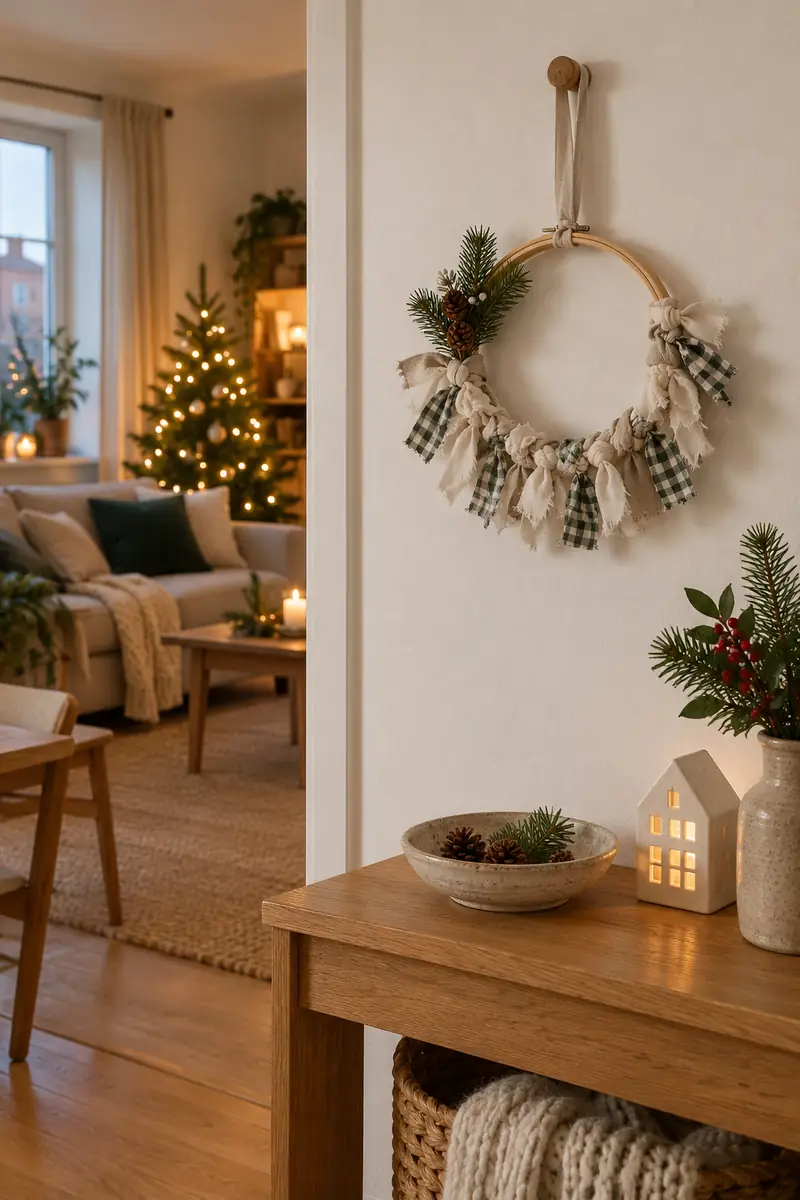
A small handmade wreath can use a cardboard ring or an embroidery hoop. Tie short fabric strips around the lower half, keeping the knots close together. The result is soft and light, with no loose branches. Hang it only from a fixing that suits the finished weight.
15. Paint Wooden Shapes
Do:
- Work in a ventilated area.
- Protect the table.
- Follow paint drying directions.
Don’t:
- Paint over sharp splinters.
- Use food dishes for paint.
- Leave small supplies within children’s reach.
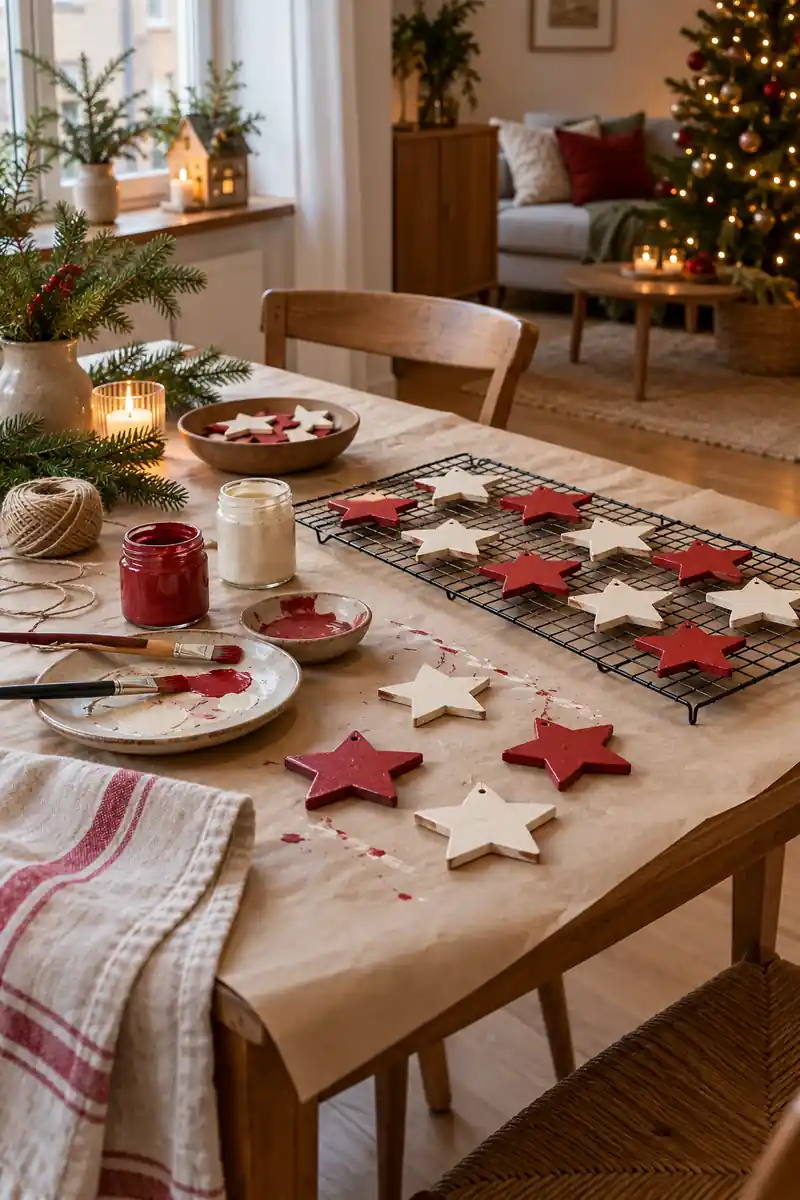
Plain wooden stars or trees are easy to personalize with a small amount of craft paint. Sand any rough edges, wipe away dust, and paint thin coats according to the product directions. Let each piece dry fully before adding a ribbon, then group several together for a simple shelf display.
16. Make a Ribbon Display
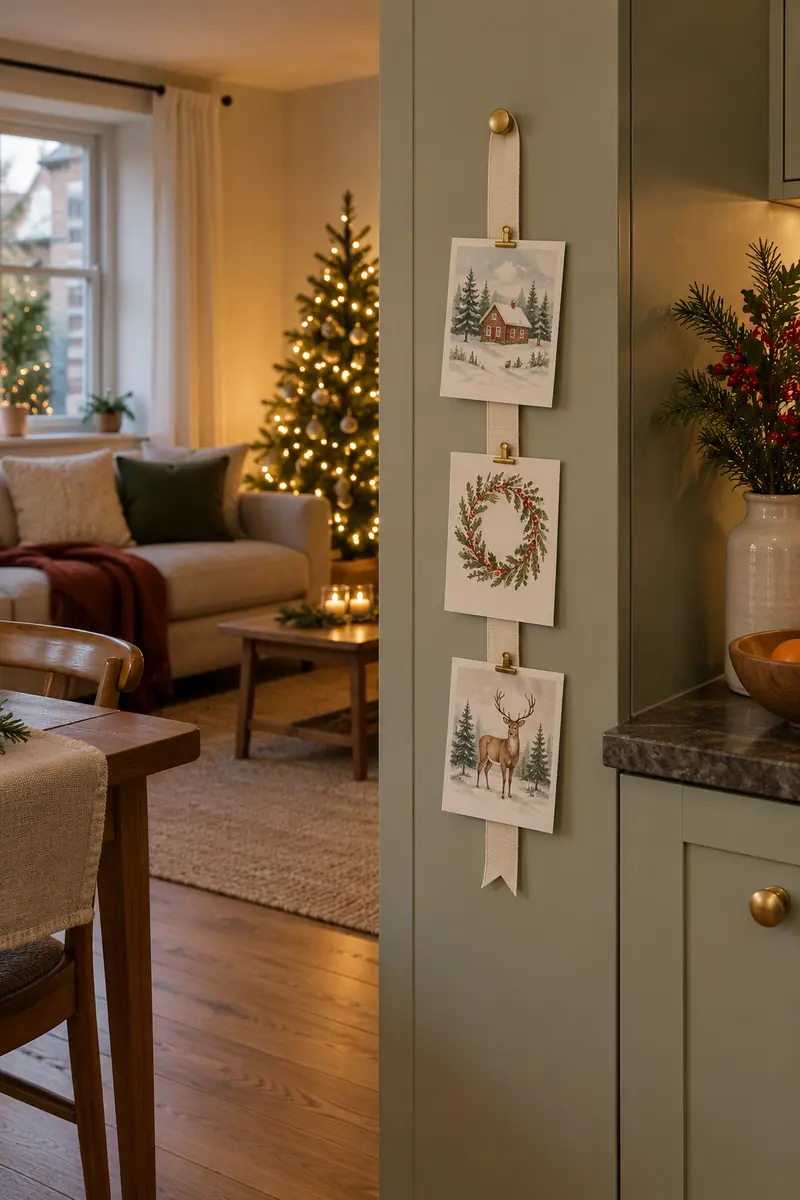
Ribbon: One short wide strip.
Clips: Small lightweight craft clips.
Cards: A few favorites only.
Location: A cabinet side clear of hinges.
A short length of wide ribbon can hold a few lightweight cards on an interior cabinet side. Fix the top securely with a suitable approved hook, then clip the cards along it. Keep the lower end above anything that opens, and use small clips that grip without damaging the cards.
17. Finish With Gift Scraps
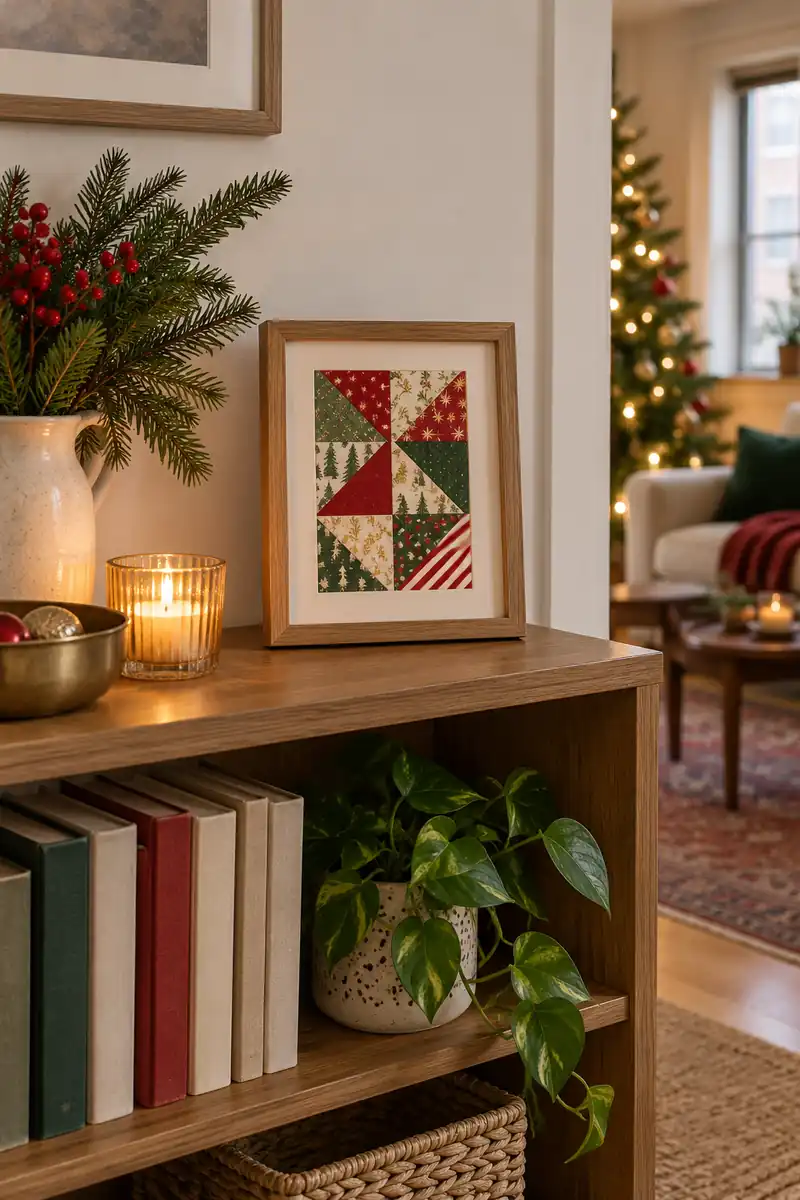
The last pieces of wrapping paper can become a tiny framed patchwork. Cut squares or triangles, arrange them on a backing sheet, and glue them down once the pattern feels balanced. Use one frame you already own so the project does not create another object to find space for.
Choose scraps with two or three related colors, leaving a little plain backing visible between them. You can make this after wrapping gifts rather than buying paper for the project. Keep a small envelope of good scraps for next year, and recycle pieces that are too damaged to use.
Frequently Asked Questions
Which project is easiest for a beginner?
Start with paper chains, fabric bows, or simple card tags. Each uses basic cutting and joining skills, and you can make a small batch without buying specialized tools. A short successful project is better than a large one that feels frustrating.
Can I use real candles with handmade decorations?
Use flameless candles around paper, fabric, yarn, and dried plants. Keep handmade decorations away from heaters and cooking surfaces too. A battery powered candle gives a soft glow without putting a flame beside combustible craft materials.
How do I store handmade Christmas decor?
Let everything dry fully first. Store paper pieces flat when possible and cushion clay or wooden ornaments in a small box. Keep dried plant materials dry, inspect them before reuse, and discard anything damaged or moldy.
How can I keep the cost low?
Choose a project based on supplies you already have, then make only what fits your display space. Reuse packaging, clean fabric scraps, and old frames. For more styling ideas, see these affordable apartment Christmas decorations.
Conclusion
Handmade decorations feel personal because you choose the colors, materials, and little details. You do not need to make all 17 projects to get that feeling. Pick one for a shelf, one for a gift, or one that uses scraps already waiting in a drawer. Work in small batches and leave time for glue, paint, or clay to dry properly. When the holiday is over, save the pieces you genuinely want to use again. A small collection of well made decorations can become part of your yearly routine, with room for a new handmade favorite whenever the mood strikes. For more low-cost ideas, see these budget-friendly apartment Christmas decor ideas.

Community
Join the conversation
Add a useful idea, ask a specific question, or share what worked in your space. Every comment is reviewed before it appears.