Introduction
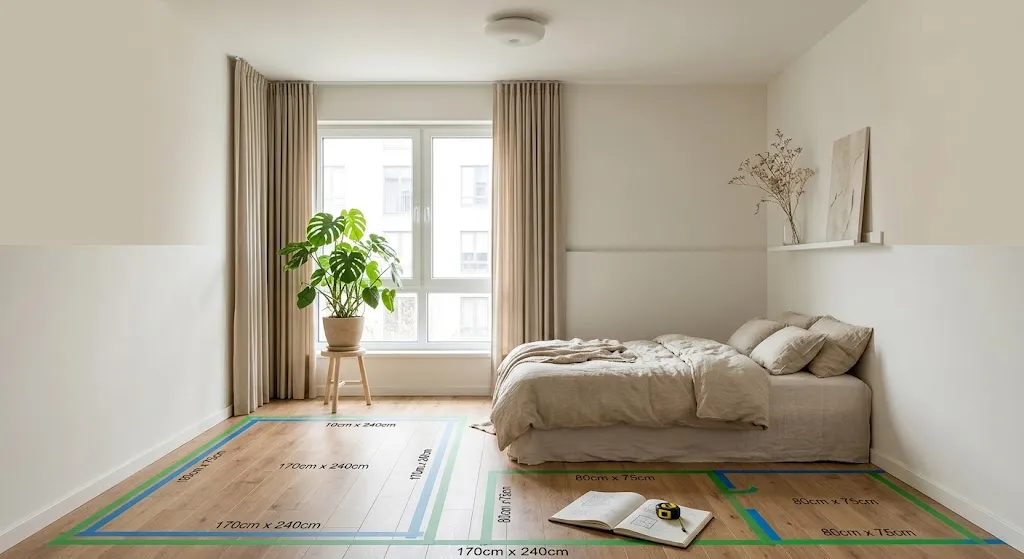
Buying furniture for a studio apartment without a plan is a fast way to waste money. There’s no spare room to store a couch that doesn’t fit or a desk that blocks the only window. Every purchase has to work the first time, which means the planning has to happen before the shopping does, not after. Most people skip straight to browsing furniture and only think about layout once boxes start showing up. That order causes most of the regret. This guide flips it. Measure first. Decide where the bed goes. Map how you actually move through the room. Test ideas with tape before spending a dollar. None of these steps take long, and each one prevents a mistake that’s much harder to fix once furniture is already inside a room this size. Here’s the order that actually works.
Studio Apartment Toolkit
Plan Your Layout Before You Buy Anything
Work through these 8 steps in order. Check each one off as you go and watch your plan take shape.
Step 1
Measure the Room First
Get exact length, width, ceiling height, and door swing. Guessing is where most layout mistakes start.
Step 2
Decide Where the Bed Goes First
Lock in the spot with the least traffic and the most privacy before planning anything else around it.
Step 3
Map Your Traffic Paths
Trace the routes you actually walk daily. Protect that space before anything gets placed near it.
Step 4
Test the Layout With Tape
Mark furniture outlines on the floor with painter’s tape before you spend a dollar on the real thing.
Step 5
Choose Zones Based on Light
Match each zone’s purpose to the window that actually lights it best during the hours you use it.
Step 6
List Your Non-Negotiables
Write down what you actually need before browsing. Everything else on the list is optional.
Step 7
Confirm What Your Lease Allows
Check wall-mounting, painting, and drilling rules before you plan a layout that depends on them.
Step 8
Budget a Buffer for One Wrong Guess
Even a careful plan usually has one piece that does not work out. Set aside a little room to fix it.
Measure the Room Before You Do Anything Else
Most layout mistakes start with a guess instead of a number. Someone eyeballs a corner, assumes a couch will fit, and finds out two weeks later it doesn’t clear the doorway. Get the real measurements first: length, width, ceiling height, and the width of every door and hallway the furniture has to pass through to get inside.
Window placement matters just as much as floor dimensions. Note the height from the floor to the bottom of each window sill, since that number determines what can sit underneath it. Door swing radius is another one people forget. A door that opens into the room eats up space nothing else can use, and it needs to be part of your plan from day one, not an afterthought once furniture is already in place.
Write these numbers down somewhere you’ll actually look at again.
Decide Where the Bed Goes First, Not Last
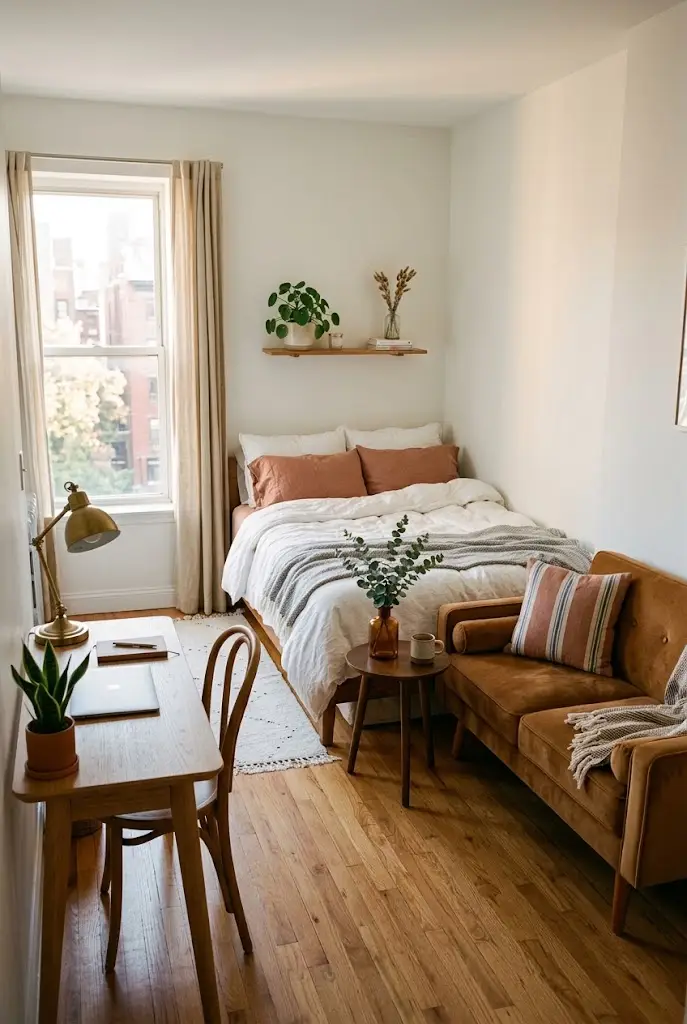
The bed is the largest single piece of furniture in almost every studio, and it also has the fewest good spots it can go. Placing it last, after everything else is chosen, usually means settling for whatever space is left over. That’s backward.
Start with the bed. Pick the spot with the least foot traffic and the most privacy from the entry door, since that’s the zone you’ll actually want to feel separate from the rest of the room. Once that’s locked in, every other piece gets planned around it instead of competing with it.
This single decision affects almost everything downstream. A bed in the wrong spot pulls your desk, your sofa, and your storage into awkward positions trying to work around it. A bed in the right spot makes the rest of the layout fall into place with far less effort.
Map Your Traffic Paths Before You Look at Furniture
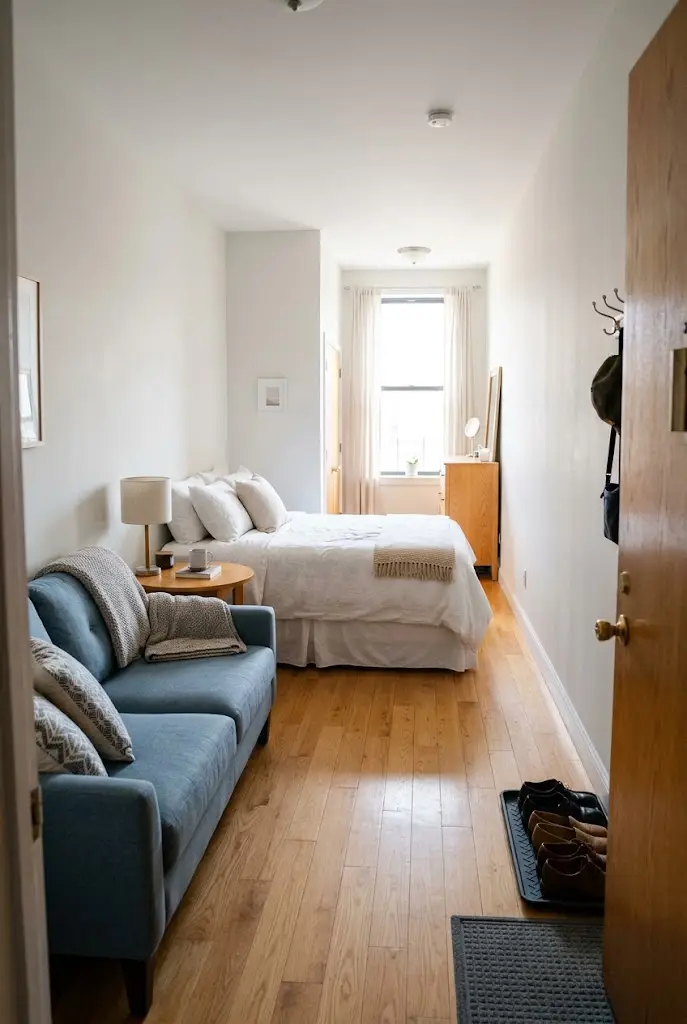
Picture your actual daily movement through the room. From the front door to the kitchen. From the bed to the bathroom. From the closet to wherever you get dressed. These paths need to stay clear no matter what furniture you eventually choose.
A common mistake is designing the “pretty” layout first and discovering the walking paths later, once furniture is already delivered. Do it in reverse. Mark the paths on paper or with tape on the floor, then treat that space as untouchable. Everything else gets built around it, not through it.
A narrow studio usually only has room for one or two real paths. Protect those before anything else, because once furniture blocks a path, you’re either walking around it daily or moving the furniture again anyway.
Test the Layout With Tape on the Floor
Painter’s tape costs almost nothing and saves more money than any other step in this process. Before buying a single item, mark out the footprint of each piece you’re considering directly on your floor using the actual dimensions from the listing.
Walk through the space as if the furniture were already there. Open closet doors. Sit where the bed would be. Notice where you bump into an edge that looked fine on a screen but doesn’t work in three dimensions.
This step catches problems no amount of planning on paper will. A sofa that looks reasonable in a photo can completely block a window once its real outline is on your floor. Fifteen minutes with tape prevents a return shipping fee and a wasted weekend.
Choose Zones Based on Light, Not Just Available Space
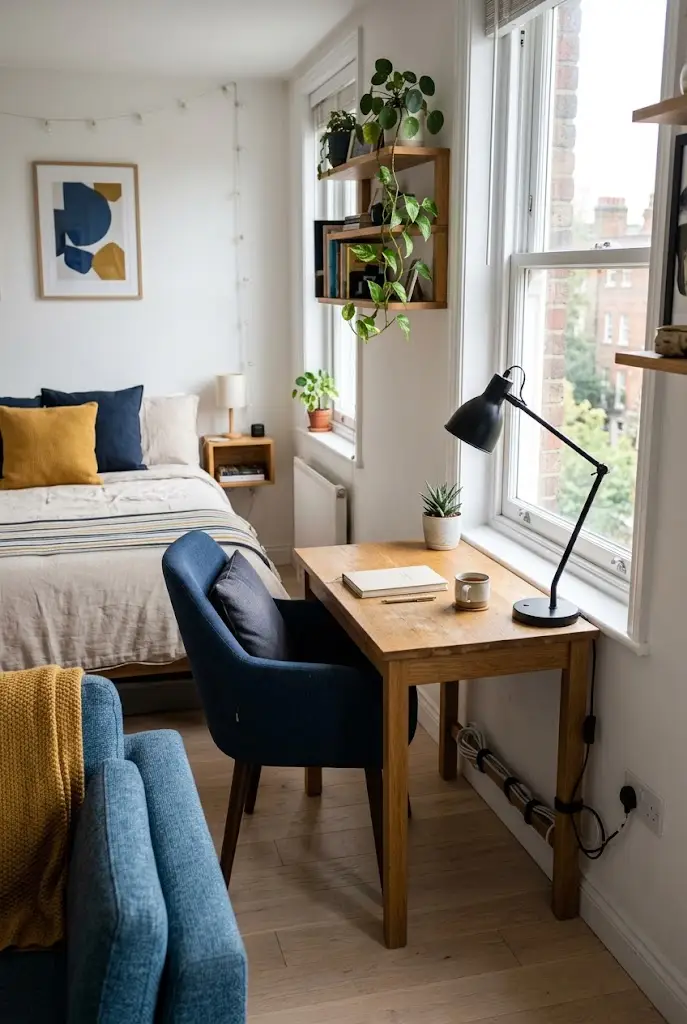
Most layout advice focuses on square footage and skips light entirely, which is a mistake in a room this size. Natural light does more to make a studio feel livable than almost any furniture choice.
Put your desk or reading chair near the window that gets the most daylight during the hours you’re actually home. If you work from home during the day, that’s the daytime window. If you’re only home evenings, prioritize warm artificial lighting in that zone instead, since natural light won’t matter much for you there.
The bed, by contrast, usually works better away from strong morning light unless you want to wake up with the sun. Matching each zone’s purpose to its actual lighting conditions makes the whole room function better, not just look better.
Write Down Your Non-Negotiable Pieces Before You Start Browsing
Furniture shopping without a list turns into furniture shopping driven by whatever looks good online that day. That’s how mismatched, oversized, or duplicate pieces end up in a room with no space to spare.
Before browsing anything, write down what you actually need: a place to sleep, a place to sit, a place to eat, storage for clothes, and whatever else applies to your specific routine. Everything outside that list is optional, not required.
This list becomes your filter. When a piece of furniture doesn’t serve one of those core needs, it’s easier to walk away from, even if it looks appealing in the store or on a website. A studio has no room for furniture that exists just because it seemed nice at the time.
Confirm What Your Lease Actually Allows You to Change
Planning a layout around a wall-mounted shelf or a Murphy bed only works if your lease actually allows it. Check before you plan, not after you’ve already committed to the idea.
Painting, drilling into walls, and any structural changes usually require written permission from a landlord, and the rules vary a lot between buildings. Some allow small nail holes. Others don’t allow anything beyond removable hooks.
Find this out early, because it changes what’s actually possible in your layout. A renter-friendly plan built around command strips and freestanding furniture looks different from a plan built around permanent installations, and it’s much easier to plan the right way from the start than to redesign everything after signing a lease that doesn’t allow what you had in mind.
Leave Room in Your Budget for One Wrong Guess
Even with careful planning, one piece usually doesn’t work the way you expected. A rug that’s the wrong size. A lamp that’s too tall for the shelf. A chair that looked fine in the store but crowds the walking path once it’s home.
This isn’t a sign of bad planning. It’s normal, and pretending it won’t happen leads to frustration when it does. Set aside a small portion of your furniture budget, even ten percent, specifically for this. That way, swapping out the one thing that doesn’t work doesn’t feel like a failure or a financial setback.
A studio layout rarely comes together perfectly on the first try. Planning for that one adjustment ahead of time makes the whole process feel less like a gamble and more like something you’re in control of.
Read More:
13 Studio Apartment Ideas with Brick Walls That Feel Cozy Instantly
15 Studio Apartment Layout Ideas With Beautifull Room Dividers
Community
Join the conversation
Add a useful idea, ask a specific question, or share what worked in your space. Every comment is reviewed before it appears.