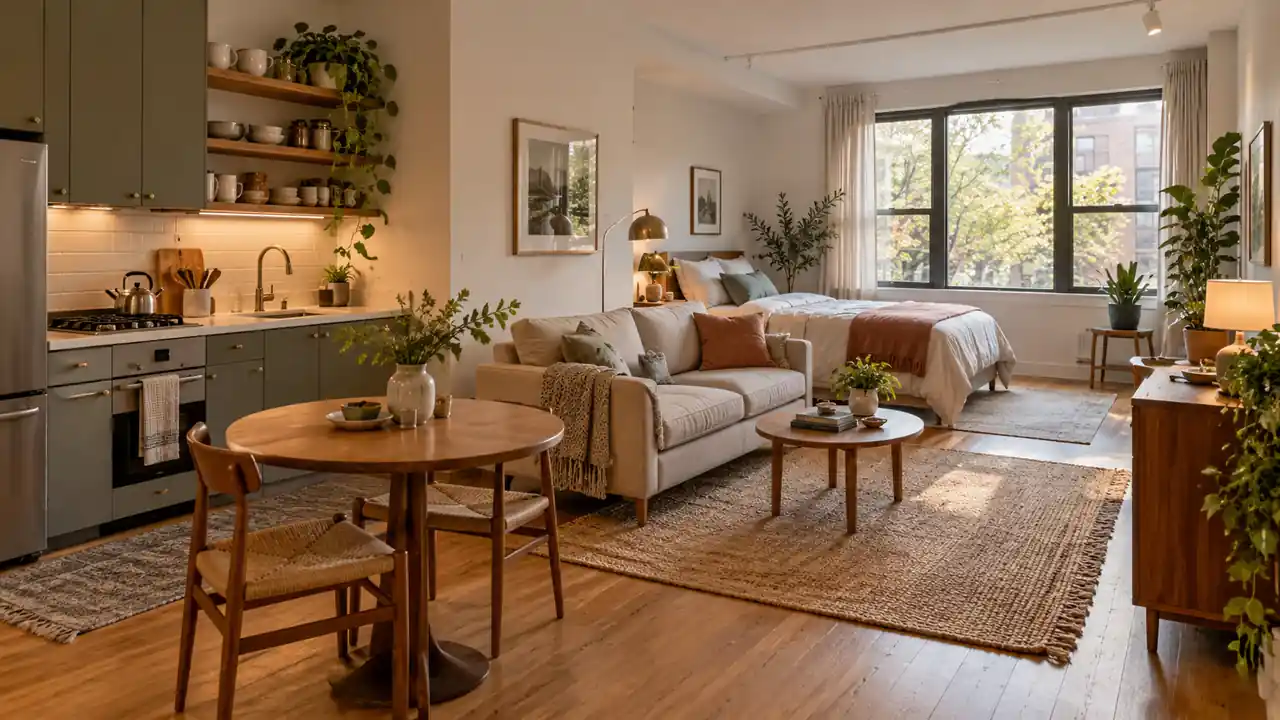
A studio feels bigger when its furniture supports the way you actually live. These 600 sq ft studio apartment layout ideas help you give sleeping, relaxing, eating, and working their own comfortable places without crowding the paths between them. You can build a useful plan around a few familiar pieces instead of buying a matching apartment full of furniture.
Start by drawing the main room and marking doors, windows, kitchen cabinets, and anything fixed in place. The advertised floor area may include the bathroom and closets, so use your own measurements for every decision. Think of the images as inspiration rather than measured plans. Then choose the arrangements that solve your specific daily frustrations, whether that means a quieter bed corner, somewhere to eat, or a desk that disappears from view after work.
1. Map Three Daily Zones
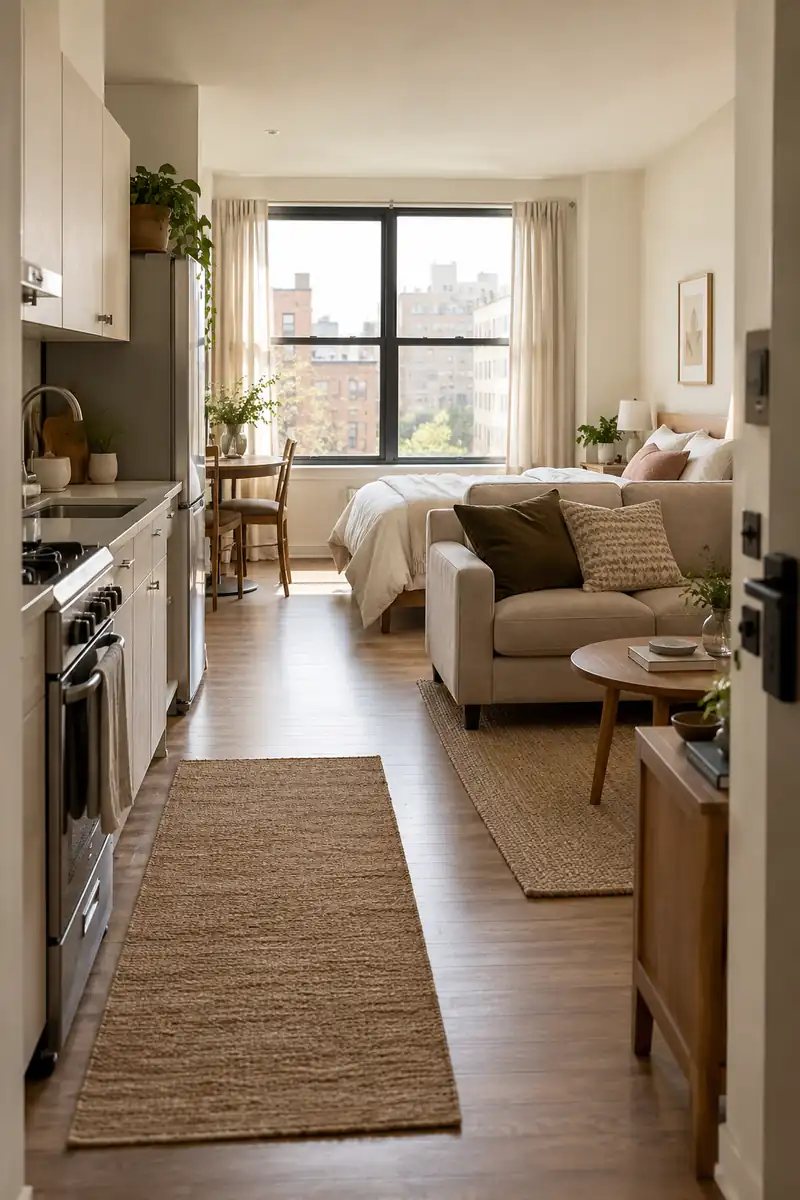
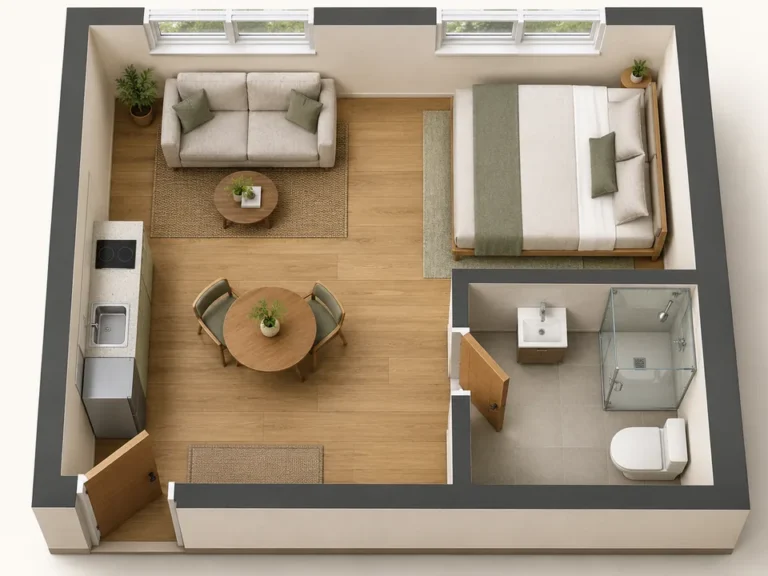
Begin with the three things your studio must support every day: sleeping, relaxing, and eating. Give each activity a home on a simple sketch before moving furniture. A bed near the quieter end and a lounge closer to the entrance often create a comfortable sequence through a rectangular apartment.
Treat the advertised square footage as background, since bathrooms, closets, and walls reduce the area available for furniture. Measure your actual main room, including awkward corners. The photos here offer visual inspiration rather than verified floor plans, so test each arrangement against your own doors, windows, and daily routines.
2. Keep One Clear Lane
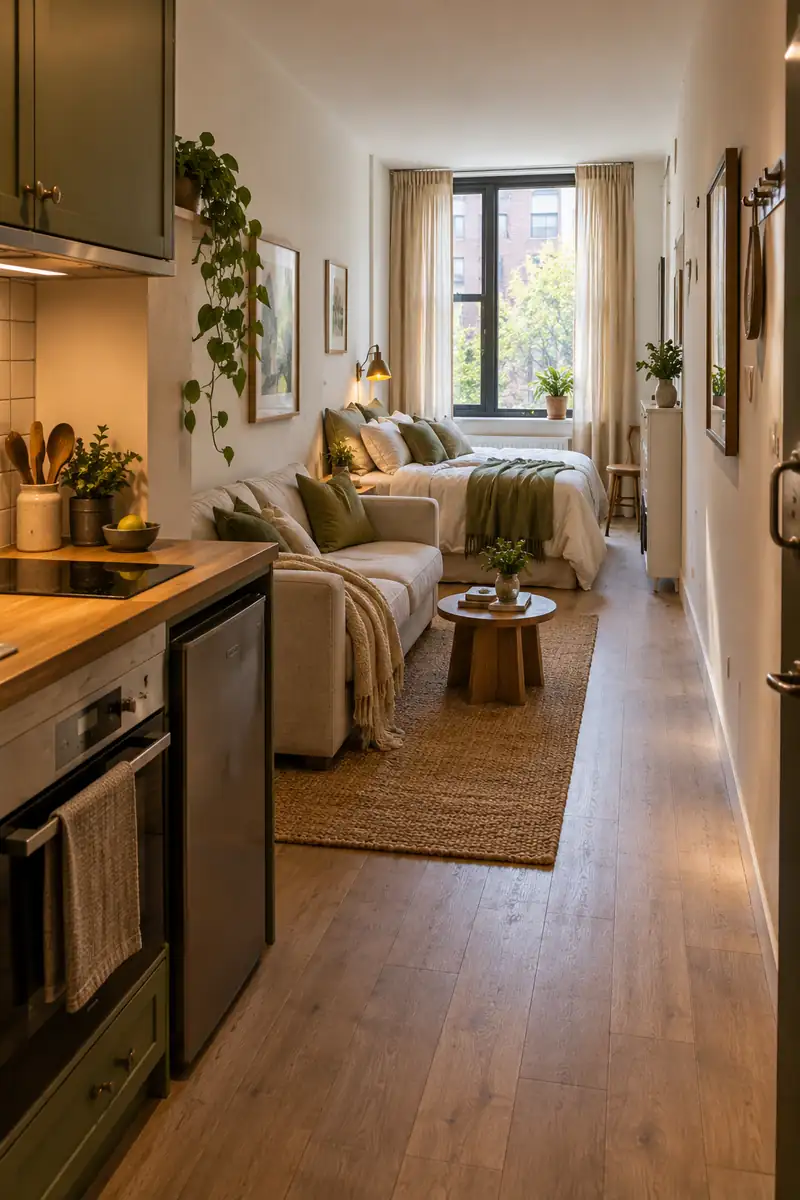
- Trace the route from your entrance to the bathroom, kitchen, and windows.
- Place larger furniture beside that route rather than alternating obstacles across it.
- Check the path with dining chairs pulled out and storage drawers open.
- Keep doors and windows unobstructed, including those needed for escape.
A continuous walking lane makes a long studio easier to understand at a glance. You should be able to carry groceries or a laundry basket without turning sideways around every piece. Walk your proposed route before settling the furniture, and adjust anything that catches your hip or interrupts an easy turn.
3. Let The Sofa Divide
Quick Tip:
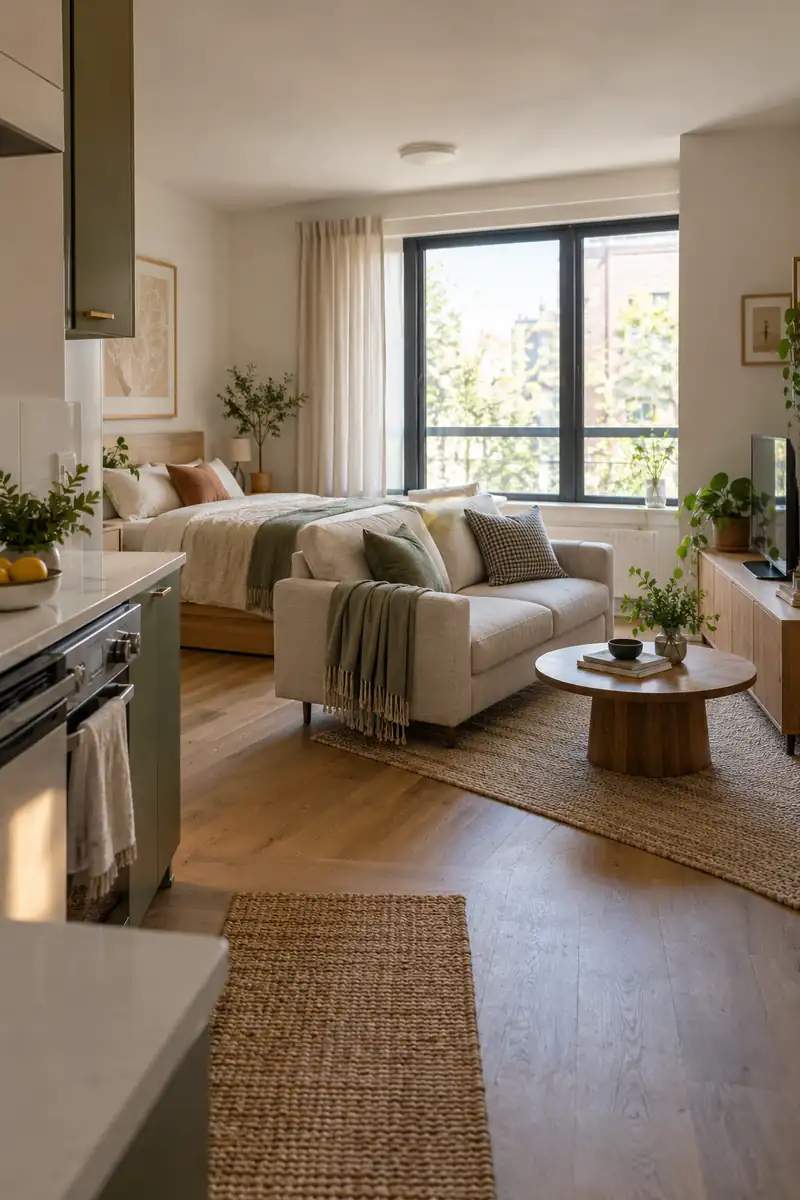
Use the back of a compact sofa to mark the edge of the sleeping zone. Choose a finished back you like looking at, and leave a usable route beside it.
This arrangement gives the living area a clear front without adding another object solely for separation. Aim the sofa toward a wall, low cabinet, or appealing view. If the sofa blocks most of the available light, rotate it or try a lower profile rather than squeezing in another divider.
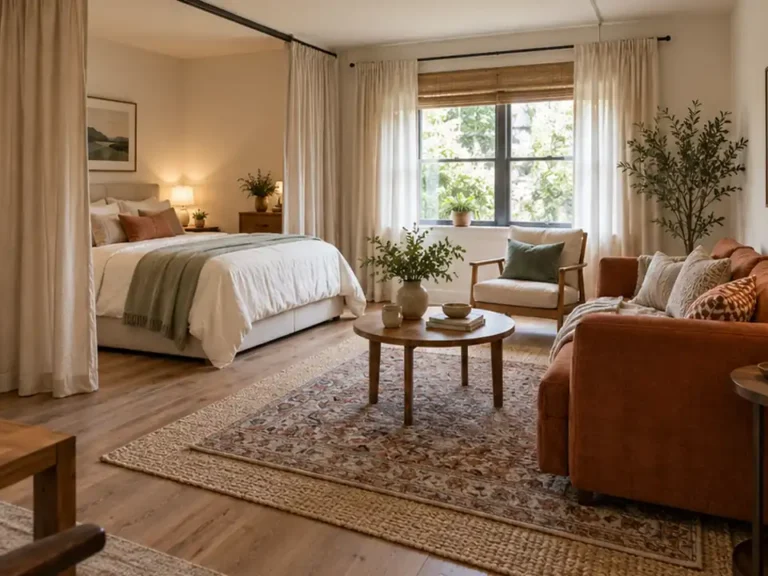
4. Soften A Sleeping Corner
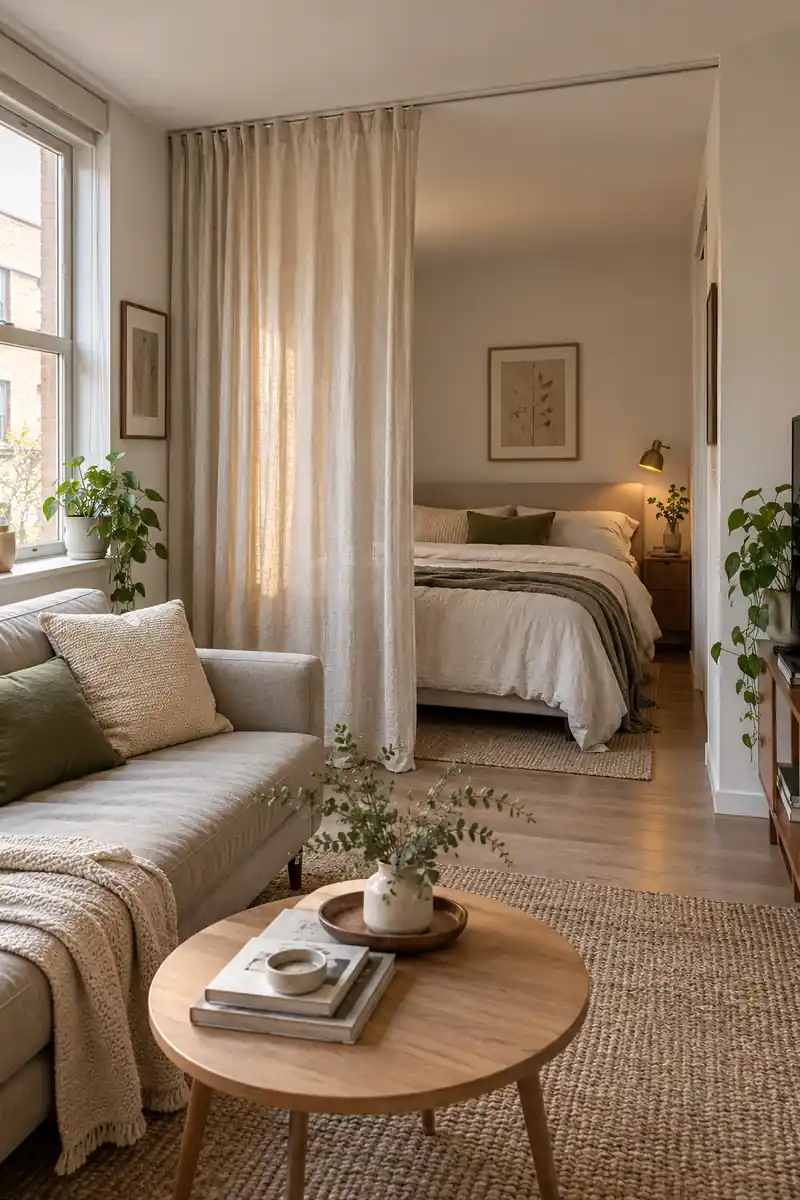
BEFORE: The bed is the first thing visible from the entrance. An added rigid screen makes the room feel chopped into narrow corridors.
AFTER: A lightweight curtain partly screens the sleeping corner. It draws back during the day so the larger room still shares light.
Check your lease and get permission before installing a ceiling track, then follow the system instructions for the ceiling type. Keep fabric away from heaters and cooking areas. Position the curtain so opening it never blocks a door, vent, or route around the bed, and avoid enclosing a windowless sleeping cubicle.
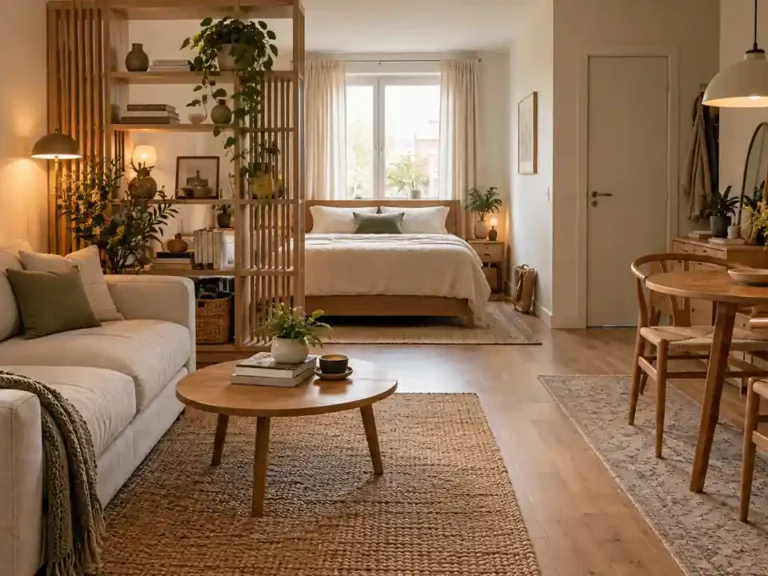
5. Try A Low Divider
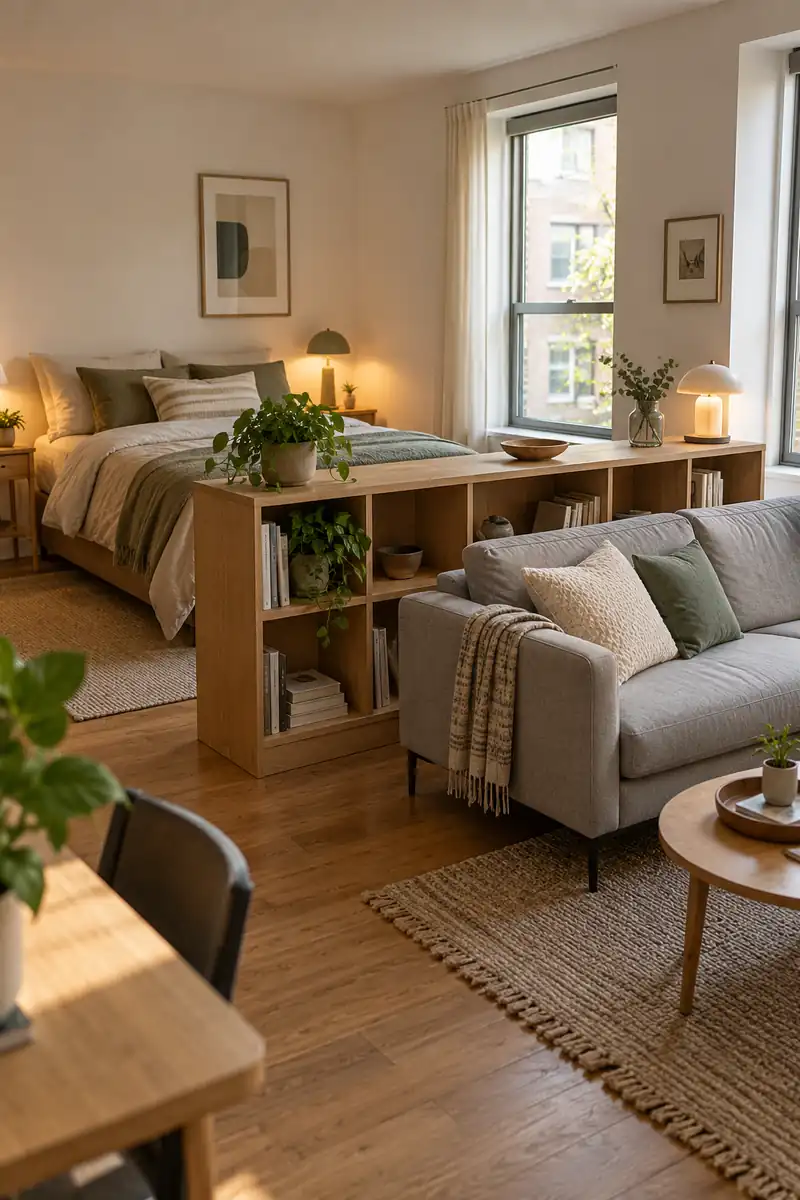
- Choose a low, broad storage unit designed for its intended placement.
- Confirm the manufacturer permits the arrangement and follow required anchoring instructions.
- Keep the top mostly clear and place heavier belongings in lower compartments.
- Leave a comfortable route around its end before adding any nearby chair.
A low divider can separate pillows from the living area while preserving a view across the room. Do not assume a short bookcase is safe to use freestanding. If its instructions require wall anchoring, choose a wall position or another dividing method instead of skipping that essential installation step.
6. Round Out Dining
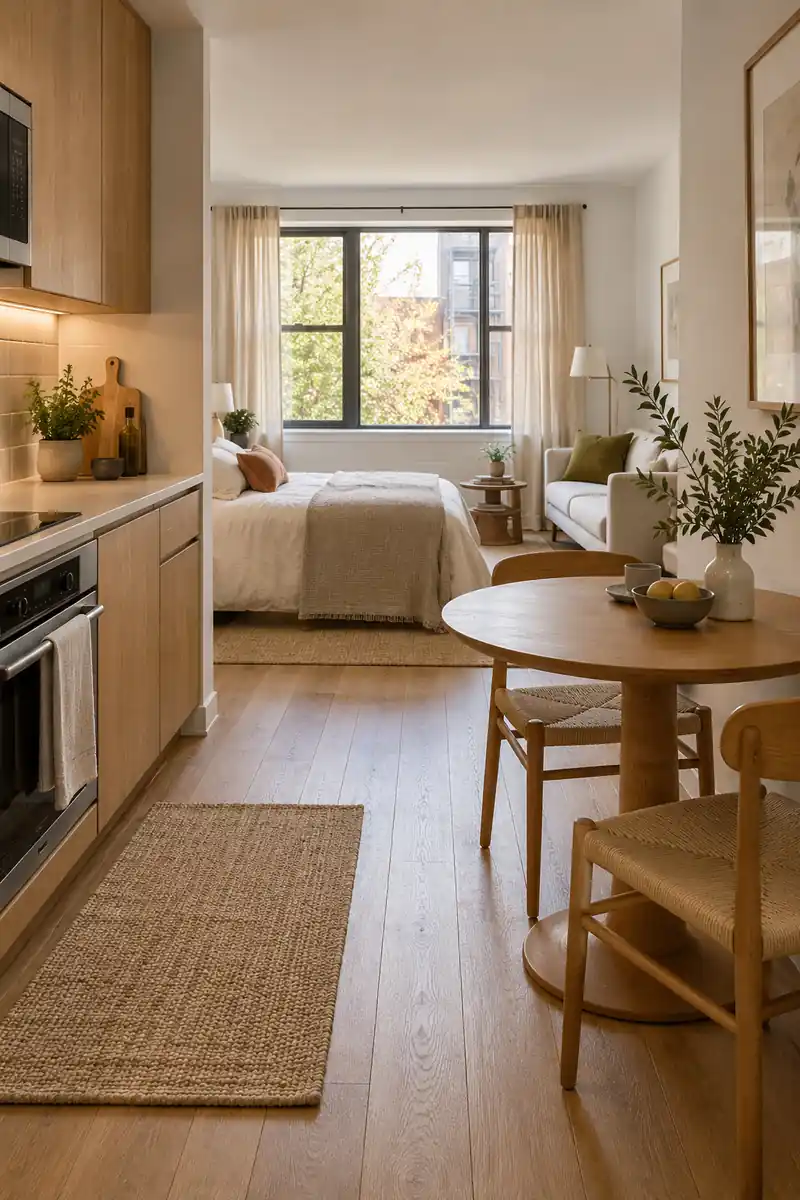
| Consideration | Round Table | Rectangular Table |
|---|---|---|
| Best location | Open corner beside kitchen | Along a spare wall |
| Chair placement | Flexible around the edge | Predictable on two sides |
| Everyday advantage | No projecting square corners | Can sit close to a wall |
A small round table can soften a studio full of straight furniture edges. Check the entire occupied footprint, including seated bodies and pulled out chairs, rather than judging by the tabletop alone. Two comfortable places used daily are more useful than four chairs that make every trip to the kitchen awkward.
7. Fold Back Dining Space
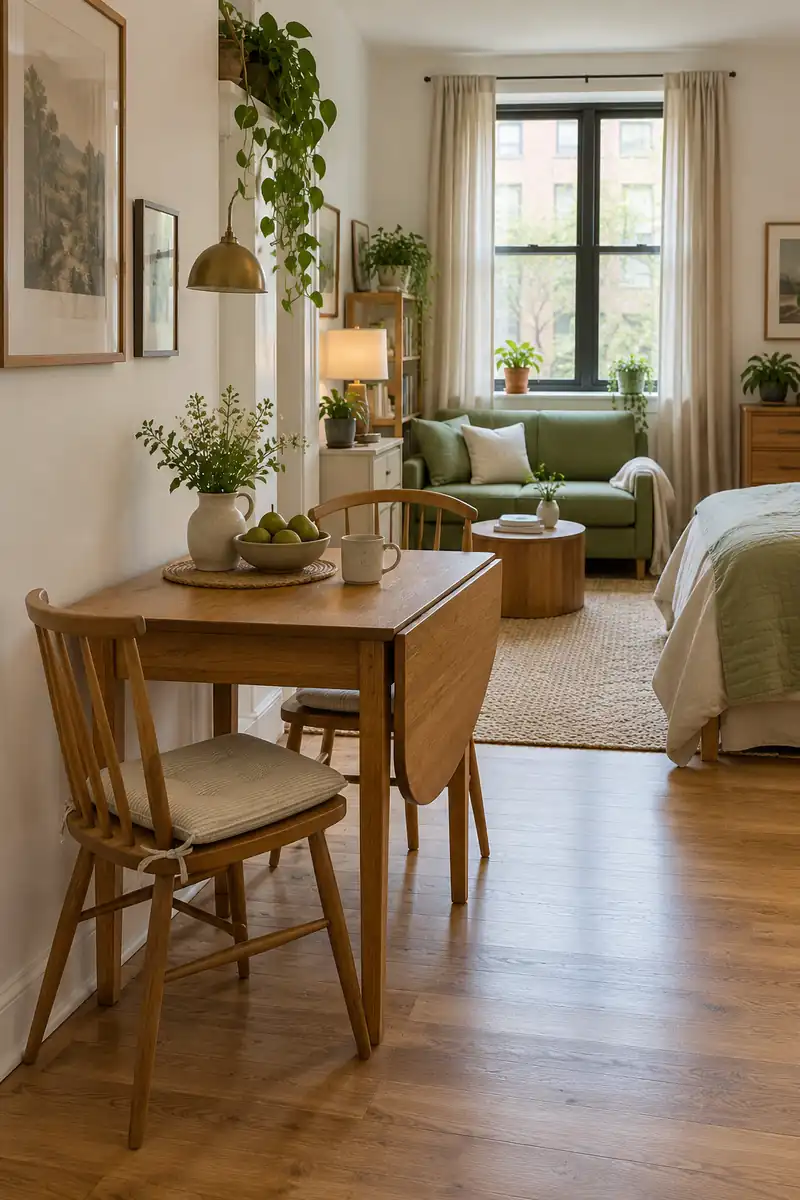
DO
- Choose a stable drop-leaf table with a locking support system.
- Measure the table with every leaf in use.
- Give folded chairs a real storage location.
DON’T
- Block the main route when opening a leaf.
- Use an unsupported leaf as a work surface.
- Choose a heavy folding setup you dislike moving.
A drop-leaf table works best when the smaller position already suits your normal routine. Open the extra surface for a project or meal, then return it to its usual footprint. Test the mechanism before buying, especially if you expect to adjust it alone several times during the same week.
8. Borrow A Window Edge
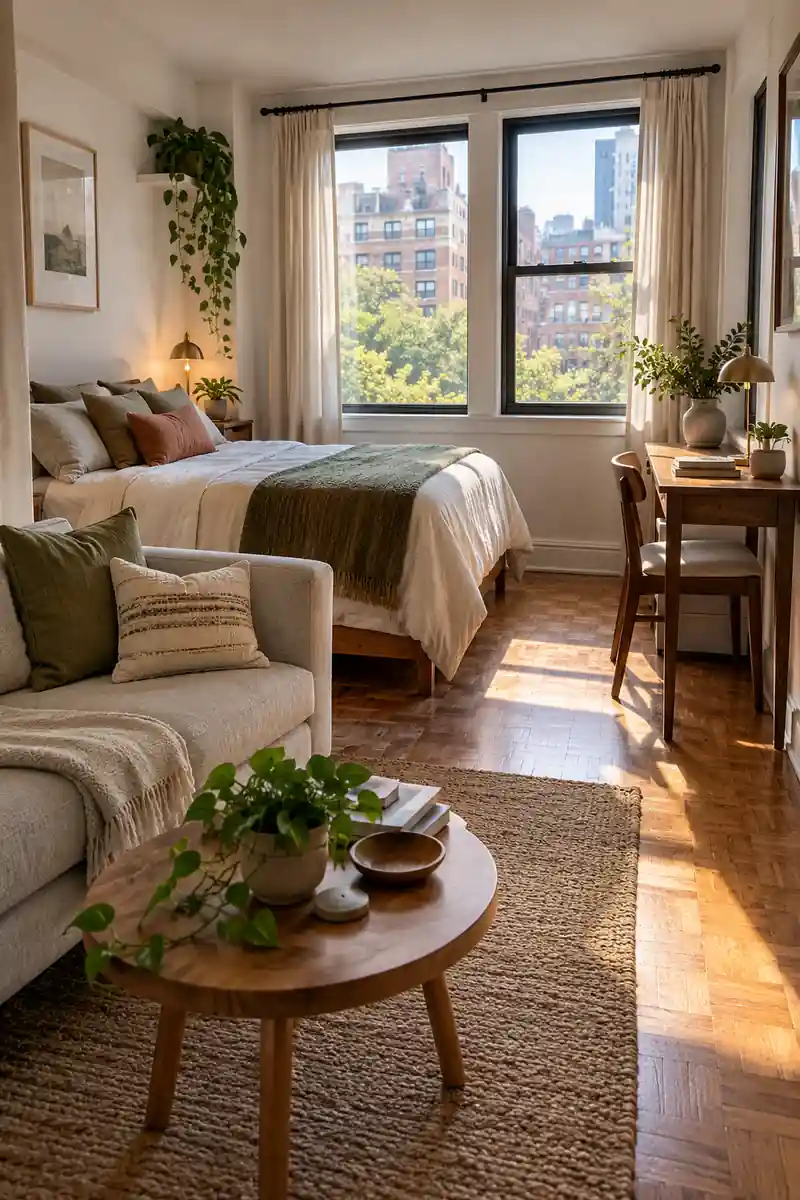
Placement: Put a shallow freestanding desk beside the window rather than across it.
Chair: Choose a seat that tucks completely beneath the top.
Light: Angle a screen to reduce reflections without covering the glass.
Access: Keep window handles, curtains, and the walking route reachable.
A bright work corner can feel separate from the bed even without a partition. Start by measuring the desk depth and the space your chair needs when occupied. A narrow tabletop only helps if your knees, equipment, and posture also fit, so try the setup during a full working session.
9. Make A Daybed Lounge
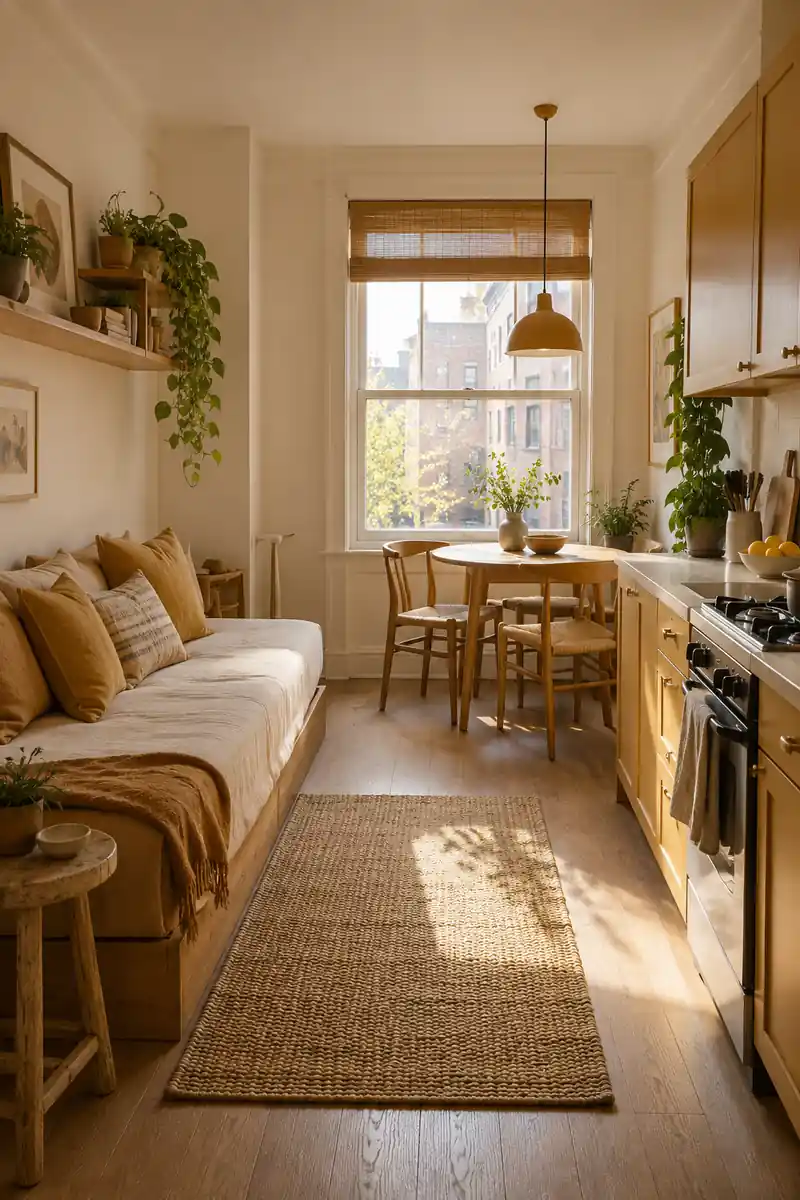
A daybed can give the studio one generous seating spot and a proper sleeping surface within the same footprint. Choose a mattress you would happily sleep on every night. Place the bed along a wall, then add supportive back cushions that can move into a nearby basket before bedtime.
This approach suits someone who values open floor more than a separate sofa. Keep the bedding routine simple so converting the room feels manageable after a long day. A washable cover and one long cushion can look tidy, while a small side table handles both evening drinks and morning essentials.
10. Store Beneath The Bed
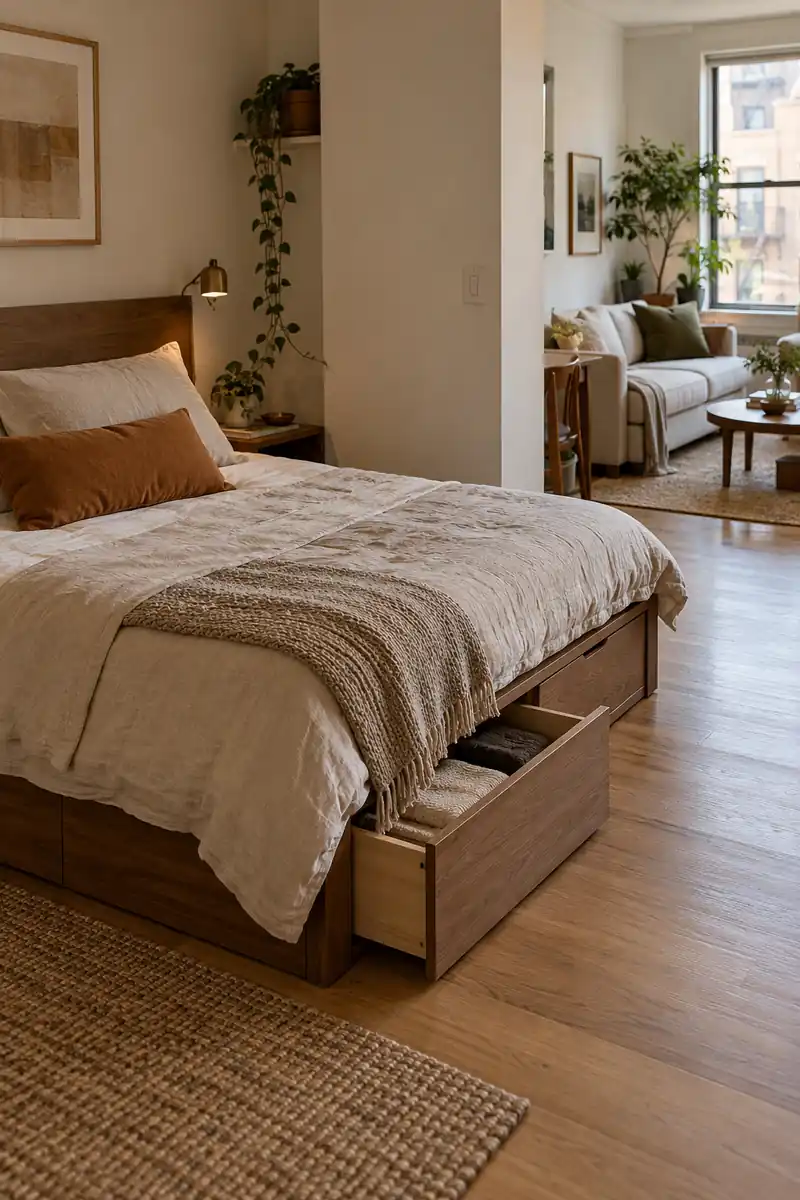
- Measure the frame footprint, including any headboard overhang.
- Choose drawers only on sides with enough room to open them fully.
- Use lidded underbed boxes for belongings you reach less often.
- Keep the bed height comfortable for getting in and out every day.
Underbed storage earns its place when it removes a separate bulky piece from the room. Decide what will live there before choosing a frame, then compare the usable compartment dimensions. Seasonal bedding may fit neatly, while everyday clothing needs easier access and enough nearby floor to sort or fold it.
11. Separate With Quiet Rugs
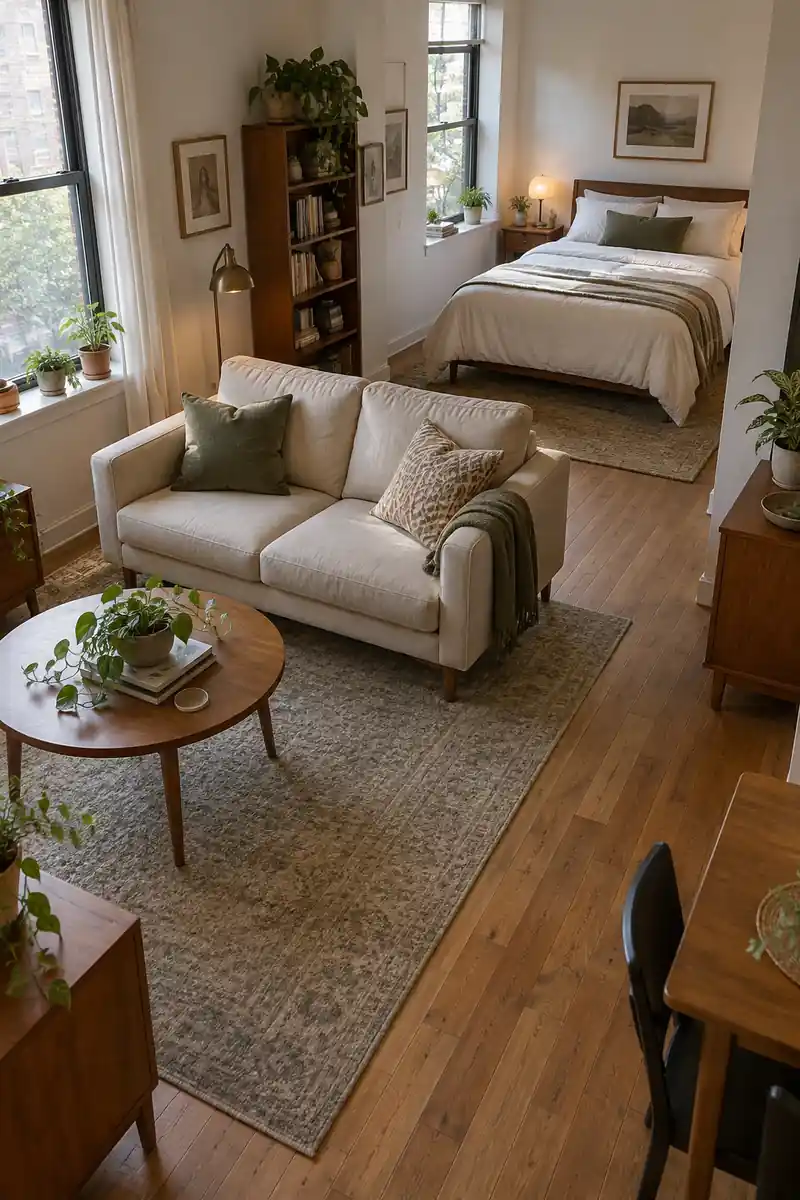
Quick Tip:
Use one rug to gather the lounge and another, if needed, to soften the bedside area. Leave a visible strip of floor between zones so their boundaries remain clear.
Rugs suggest separate rooms without using vertical space or interrupting daylight. Choose compatible colors and restrained patterns so the studio still feels connected. Check door movement, use a suitable nonslip pad, and avoid placing a raised rug edge across the route you take when you get up at night.
12. Give Entry Clutter Limits
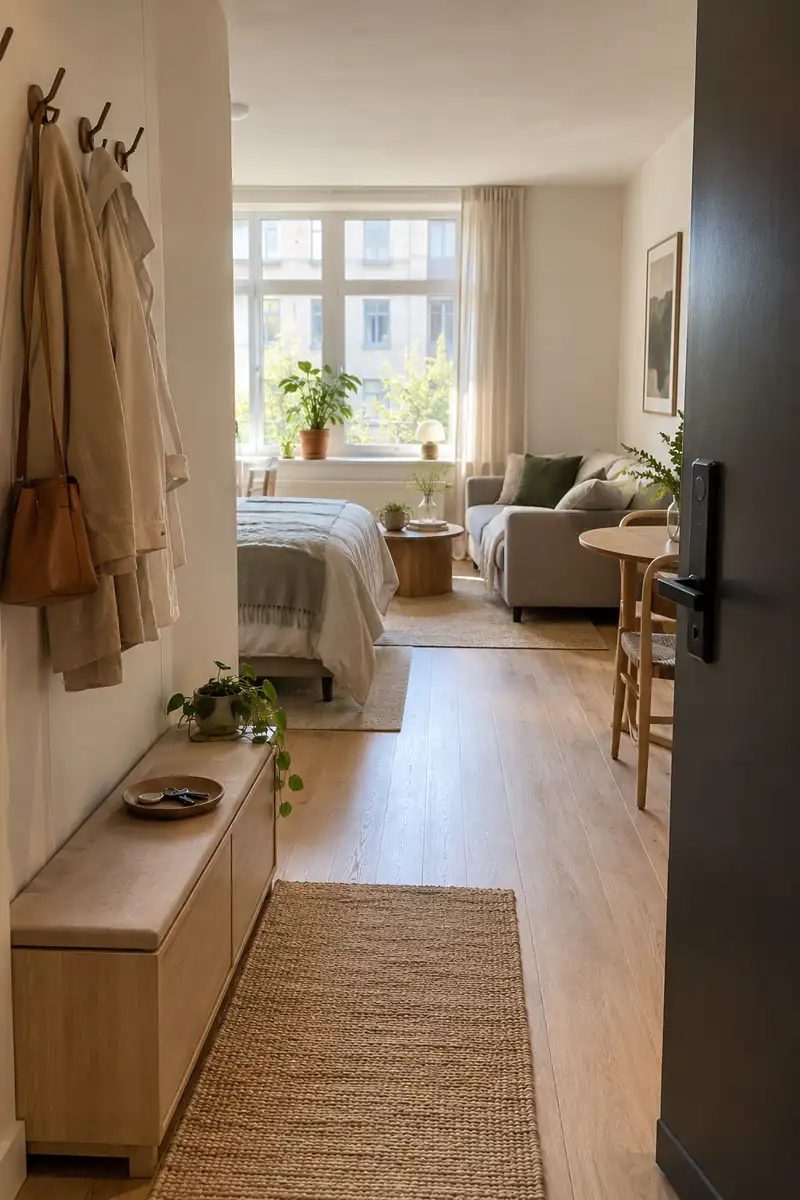
BEFORE: Shoes spread toward the kitchen, and bags land on the sofa. Coming home starts with moving yesterday’s belongings.
AFTER: A narrow shoe bench and a few permitted hooks create a clear landing spot. The entrance stays open because each item has a modest boundary.
Measure the entrance with the door fully open before choosing storage. A low shoe cabinet or bench should hold the pairs you actually use, while occasional items belong elsewhere. Keep the surface small enough to discourage piles, and leave keys in one shallow dish that never competes with your walking route.
13. Pair Flexible Lounge Seats
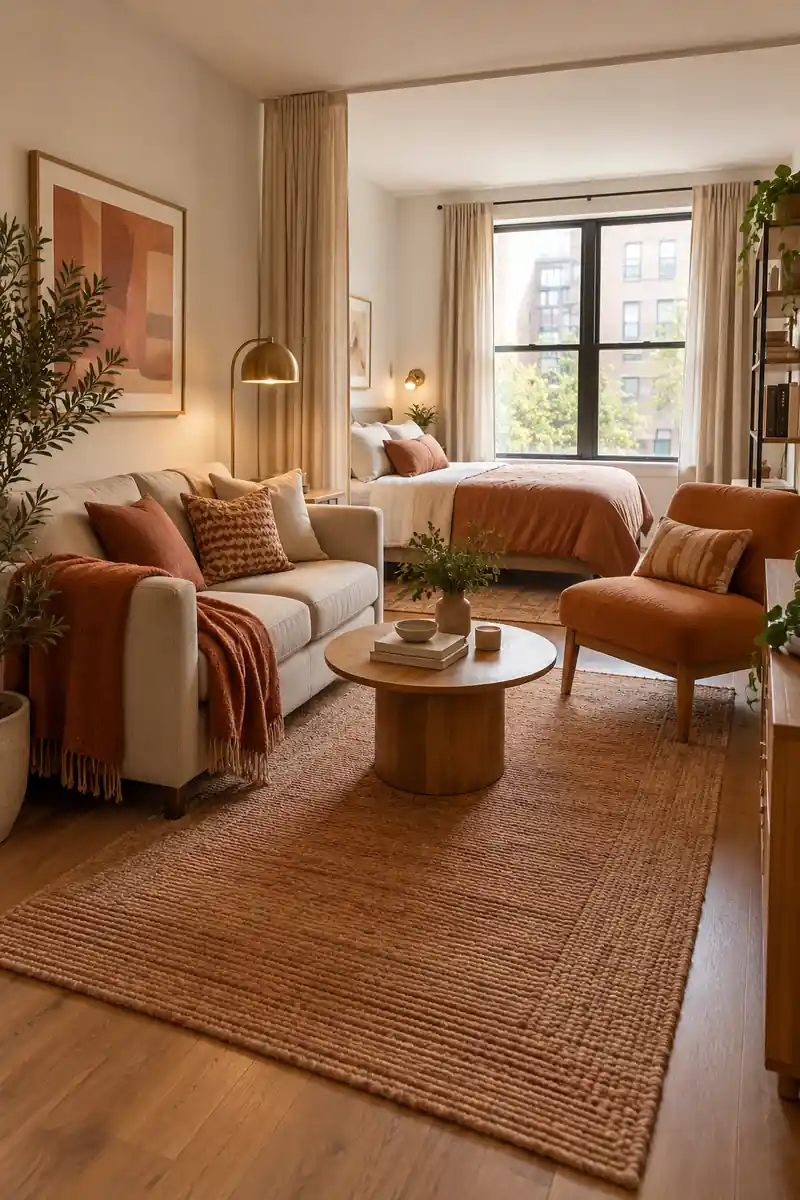
- Start with a compact sofa sized for your usual household.
- Add one light accent chair only if the room can keep a clear route.
- Angle the chair toward the sofa instead of lining every seat against a wall.
- Check that both seats can reach a small shared table comfortably.
Separate seats give you more options than one deep sectional in a studio with several daily jobs. The chair can turn toward a guest, a window, or a book. Choose its position after the bed and kitchen circulation work, so extra seating does not quietly take over your essential living space.
14. Tuck Dining Beside Walls
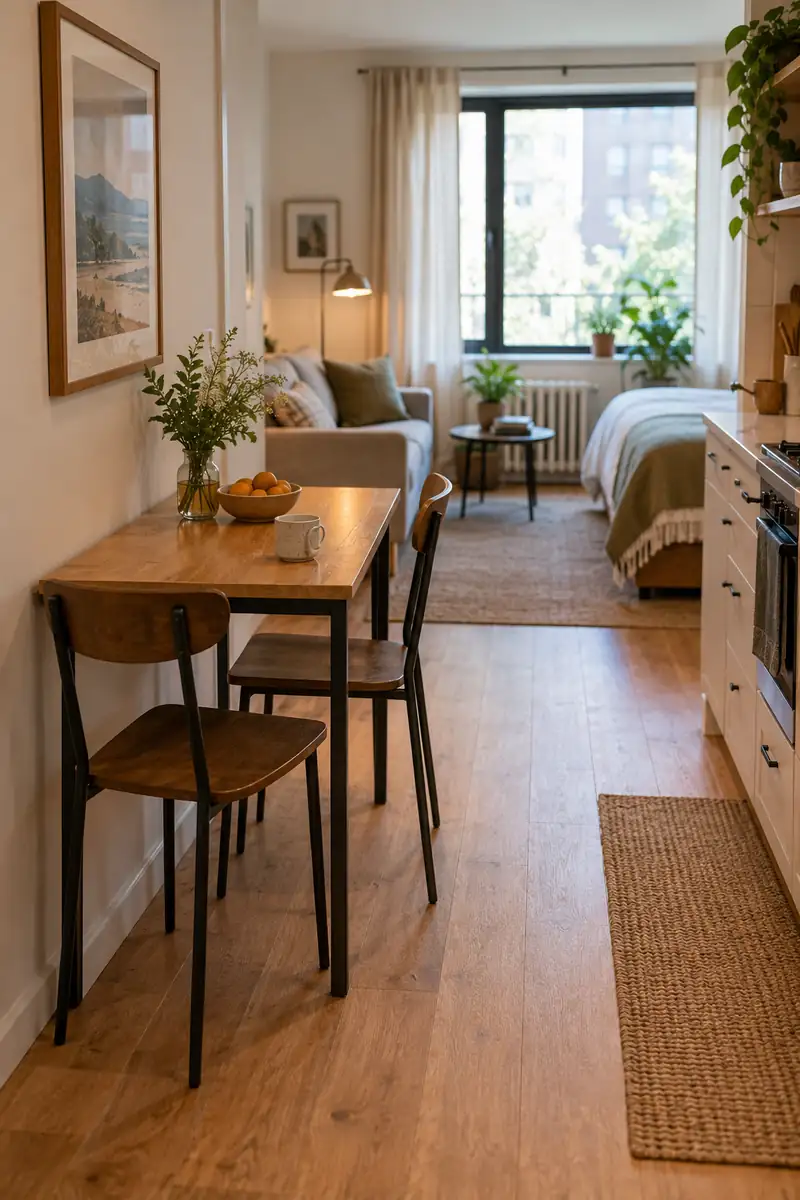
| Consideration | Wall-Side Table | Central Table |
|---|---|---|
| Floor demand | Keeps one edge against a wall | Needs circulation around its sides |
| Usual seating | One or two everyday places | More flexible guest arrangement |
| Other uses | Compact desk or breakfast spot | Shared project surface |
A wall-side table makes sense when eating is a small daily ritual rather than the main event of your home. Keep the tabletop deep enough for a plate and your elbows. Move it out only for occasional company, and confirm that the temporary position still allows access to the kitchen.
15. Turn Pillows From Entry
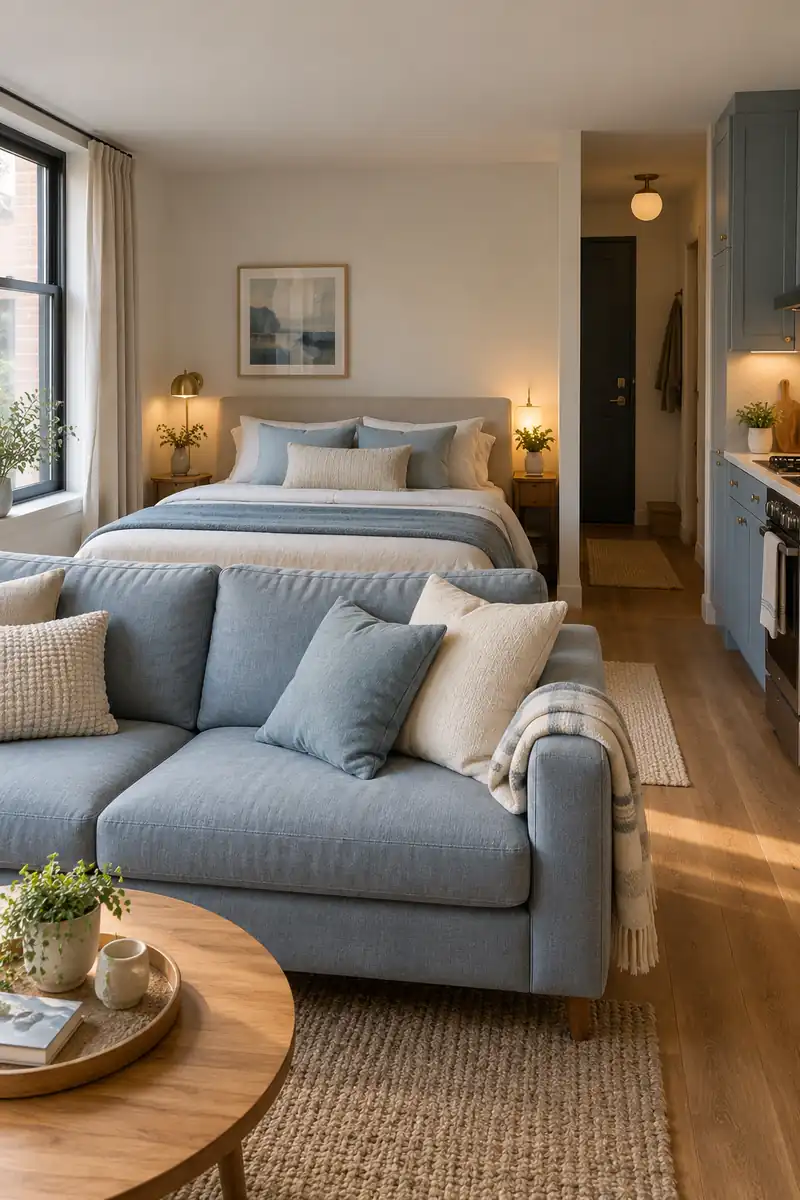
DO
- Try orienting the headboard toward a quiet side wall.
- Use the sofa angle to screen part of the sleeping area.
- Check the view from your actual front door.
DON’T
- Block a usable bedside route just for a prettier view.
- Push bedding against a heater.
- Add a tall unanchored screen to hide the bed.
Sometimes a quarter turn changes how private a studio feels more than another piece of furniture would. Shift the bed on your sketch first, including its actual frame dimensions. Keep your normal sleeping access and morning light in mind, then let the entrance view become a helpful final test rather than the only priority.
16. Park Work On Wheels
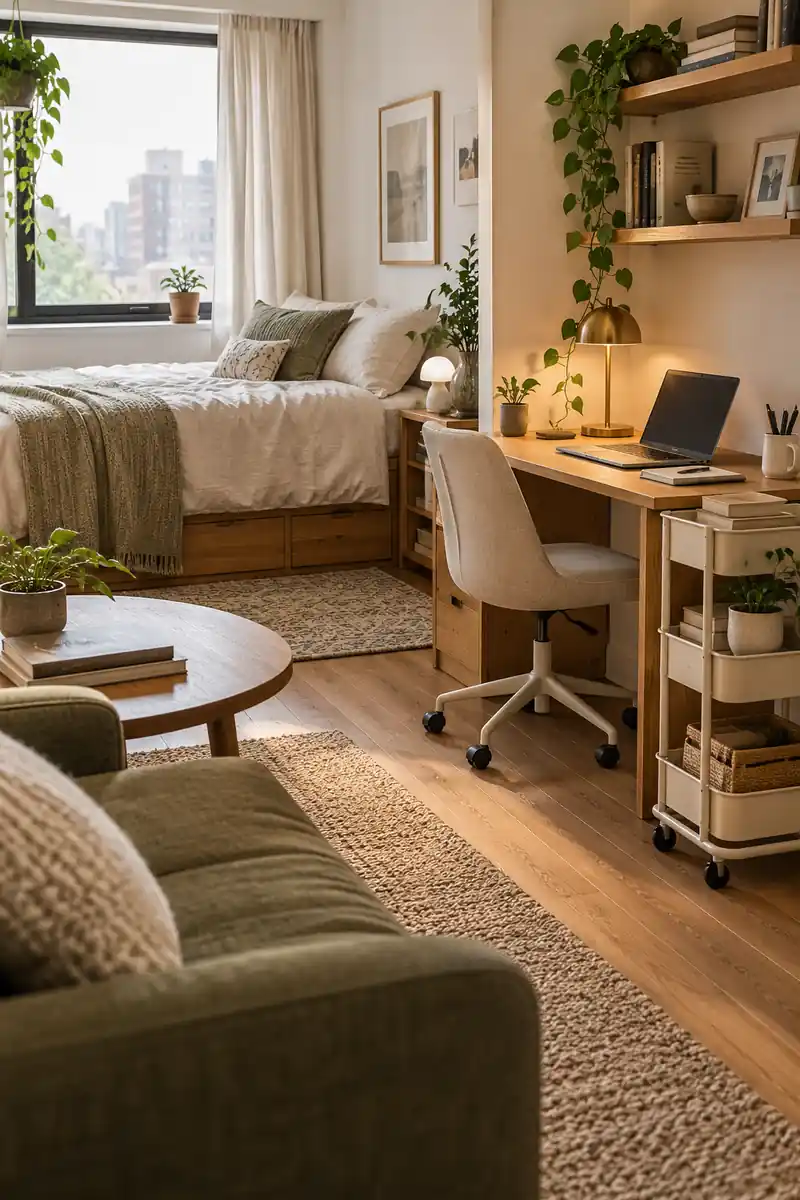
Home base: Choose one wall-side parking place for a compact cart.
Contents: Keep daily work tools together so the desk clears quickly.
Movement: Check wheels, floor suitability, and any locking mechanism.
Boundary: Store the cart outside door swings and walking routes.
A rolling work cart helps when your dining table also serves as a desk. It gives a laptop stand, notebook, and charging accessories somewhere to go at dinner. Avoid trailing cords while moving it, and keep heavy equipment low so the cart remains stable rather than becoming a top-heavy tower.
17. Nest The Coffee Tables
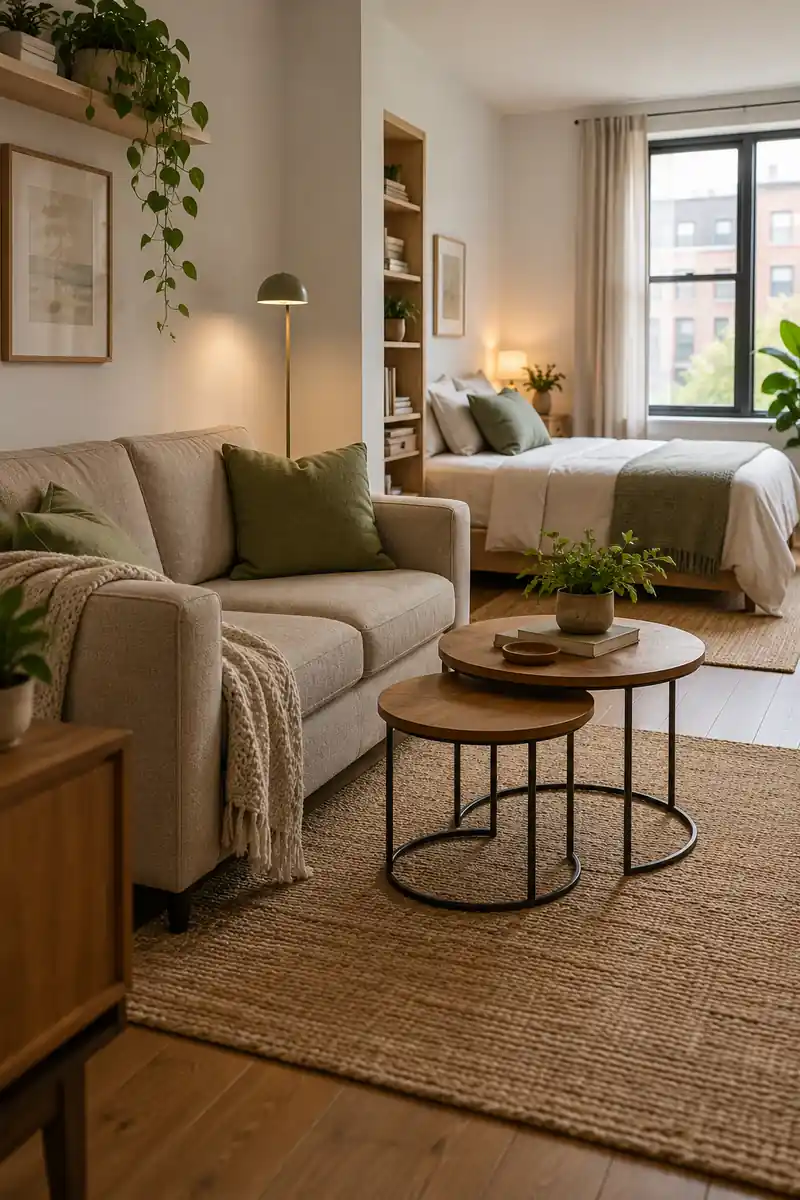
Nesting tables let a small lounge keep a useful surface without committing the entire center to one large rectangle. Start with the smaller table tucked beneath the larger one. Pull it closer to a guest when needed, keeping both pieces within reach of seats and outside the main walking lane.
Look for shapes that suit how you move around the sofa. Rounded corners can feel less intrusive in a tight arrangement, but the overall footprint still matters most. Set a cup on each surface to check stability, then decide where the extra table will live when the room gets busy.
18. Use An Existing Alcove
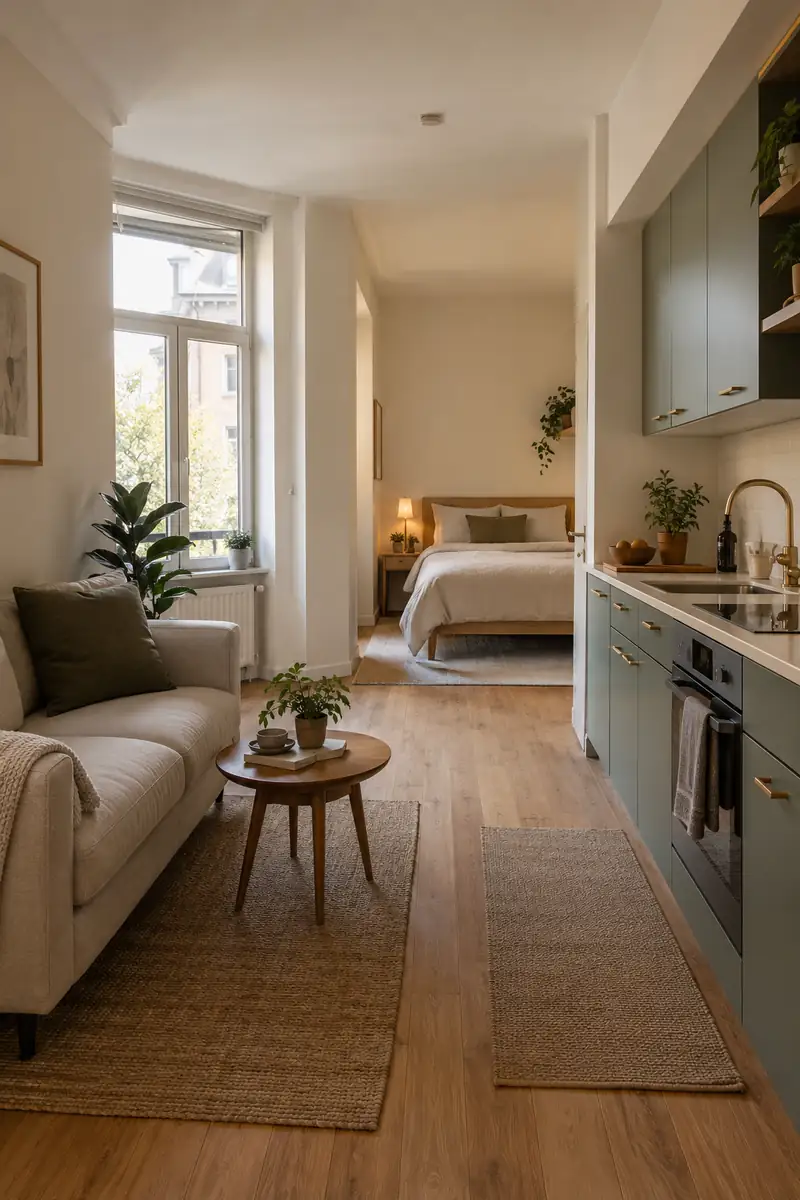
- Measure the alcove at floor level and at the height of the headboard.
- Compare the bed frame dimensions with the opening, including any projecting trim.
- Keep a usable route for changing sheets and getting into bed.
- Check that the nook has suitable airflow, light, and unobstructed access.
An existing recess can make the sleeping area feel settled without building a new enclosure. Let the architecture do most of the separating, then use similar colors in the lounge to connect both areas. If the bed leaves no practical access, assign the alcove to a desk or dining spot instead.
19. Leave A Breathing Patch
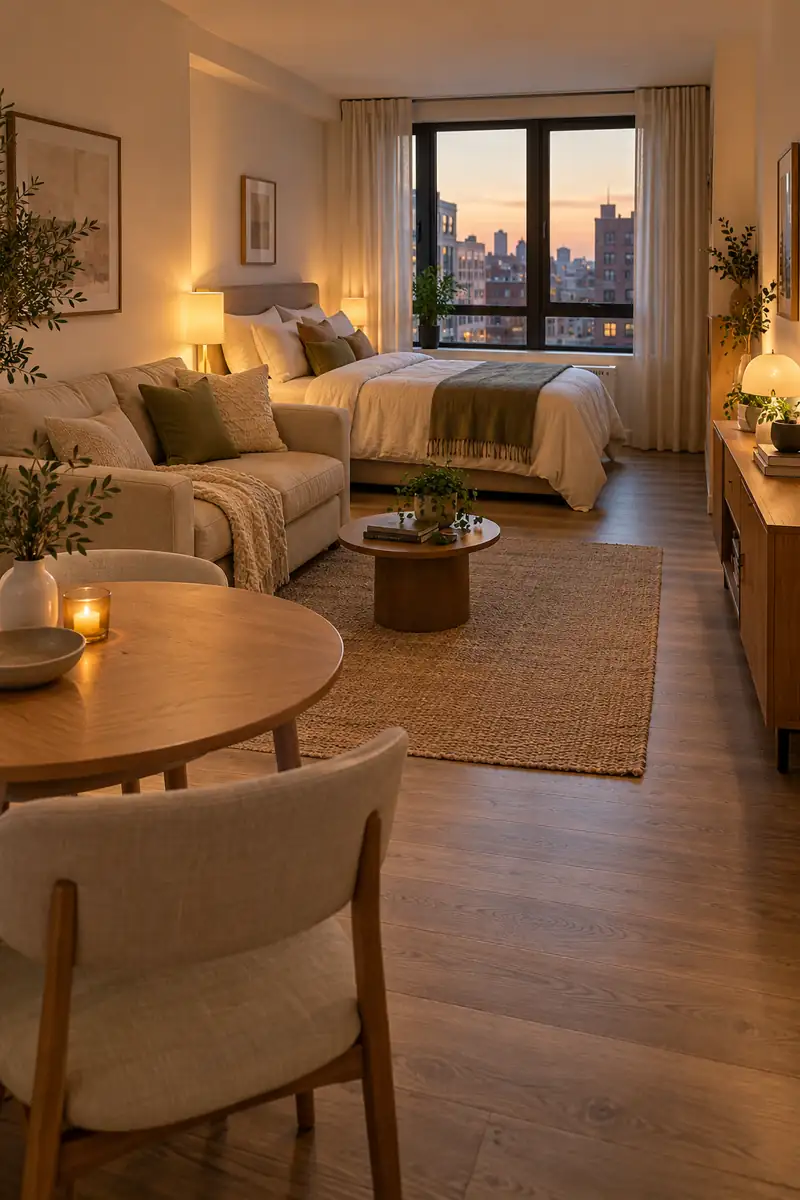
Quick Tip:
Reserve one useful patch of empty floor after the major furniture is placed. Let it handle stretching, packing a suitcase, or setting down shopping without moving three other things first.
Open floor is part of a functioning layout, especially in a home where several activities share one room. Resist filling every leftover corner immediately. Live with the arrangement for a week, notice where you naturally pause or turn, and protect that space before deciding whether another chair or cabinet truly belongs.
Conclusion
The best 600 sq ft studio apartment layout ideas begin with your routines and the real shape of your room. Choose one change that would make tomorrow easier, such as clearing the main path or giving the bed a calmer corner. Measure before moving, then test the arrangement with doors, drawers, and chairs in use. You can refine the smaller details after the big pieces feel comfortable. Save your favorite ideas to Pinterest so you can return to them while planning, try one this weekend, and share the article with someone making a small apartment feel more like home.
Community
Join the conversation
Add a useful idea, ask a specific question, or share what worked in your space. Every comment is reviewed before it appears.