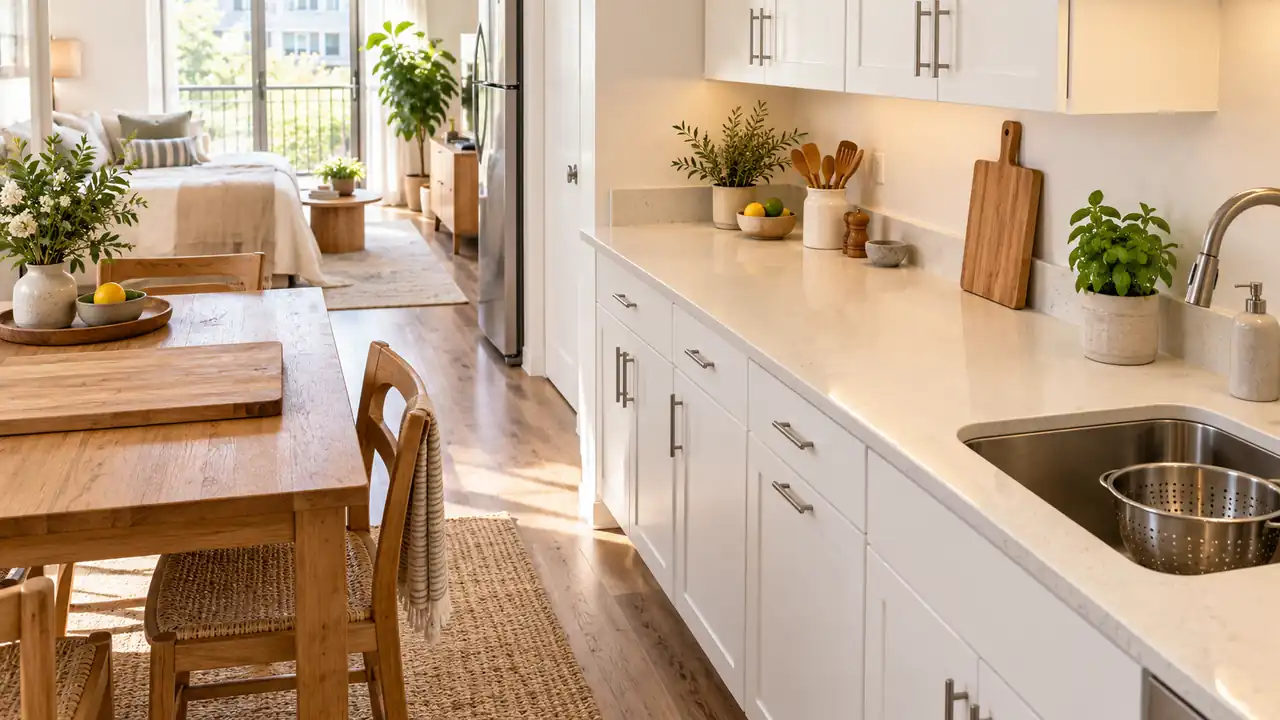
The best kitchen ideas for studio apartment living make every usable inch easier to share between cooking, storing, and sitting down to eat. A crowded counter is often the first frustration, but the fix might sit inside a drawer or beneath the dining table. These twenty-one ideas start with the space you already have: nesting tools, moving prepared ingredients, borrowing suitable surfaces, organizing small essentials, and choosing seating that tucks away. Begin with one awkward moment in your usual routine. Keep the stove and its surrounding heat zone clear, preserve door openings and walking routes, and get permission before installing anything. Follow the manufacturer’s instructions for supports and moving parts, and treat each photograph as inspiration rather than a measured plan.
1. In-Sink Colander
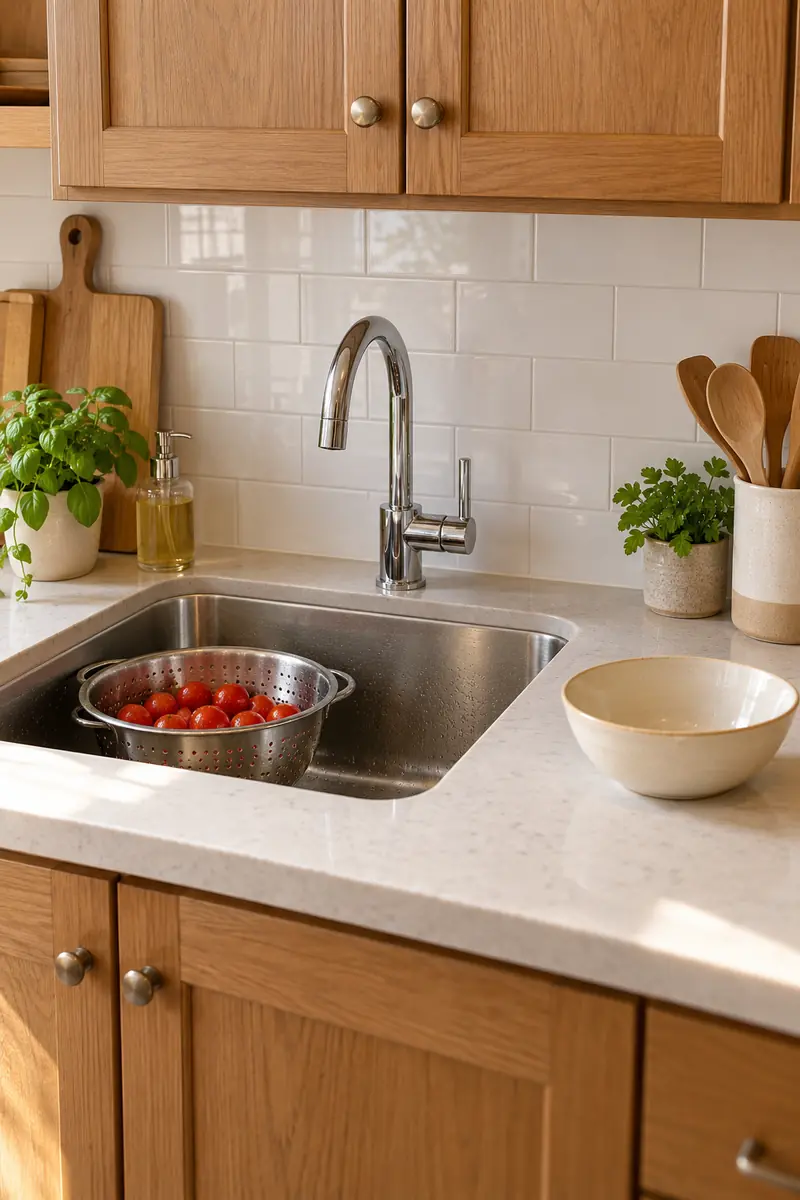
Give rinsed produce somewhere to drain without occupying the counter beside your board. A colander that sits securely inside a clean sink shifts that temporary holding space below counter level. Choose one that fits comfortably without tipping, and keep the remaining sink area available for the task you are doing.
This works particularly well when a bowl of wet vegetables would otherwise sit in your only preparation area. Clean the sink and colander before use, keep produce separate from raw meat, and rinse it under running water. Transfer drained ingredients promptly so the sink remains useful throughout the meal.
2. Stackable Prep Bowls
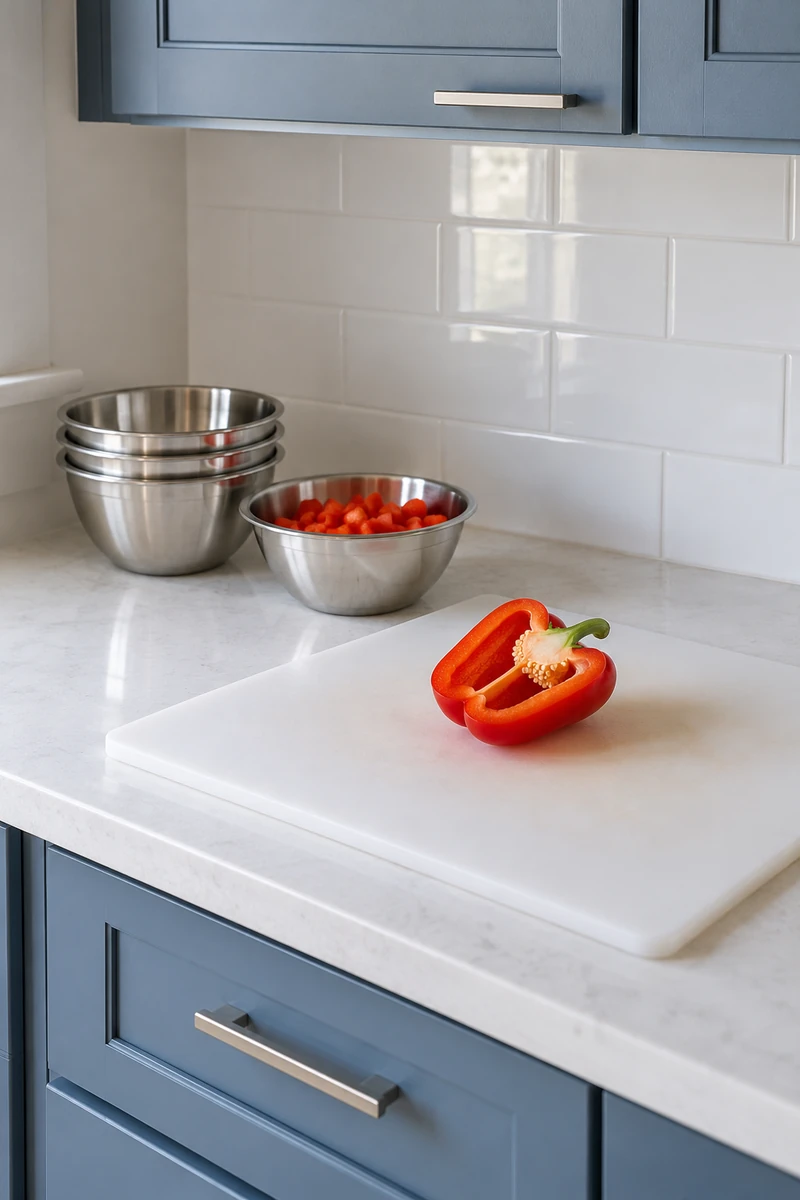
- Bring out only the small bowls your current task needs.
- Nest the empty bowls together instead of spreading them across the counter.
- Separate a bowl from the stack when an ingredient actually needs its own container.
- Return clean, dry unused bowls to storage before starting the next stage.
Several little bowls can quietly consume the same area as a large cutting board. Nesting the empty ones keeps the options available in a smaller footprint. Use bowls that genuinely fit together and lift apart easily, then avoid stacking open, filled bowls where a bump could spill their contents.
3. Upright Baking Queue
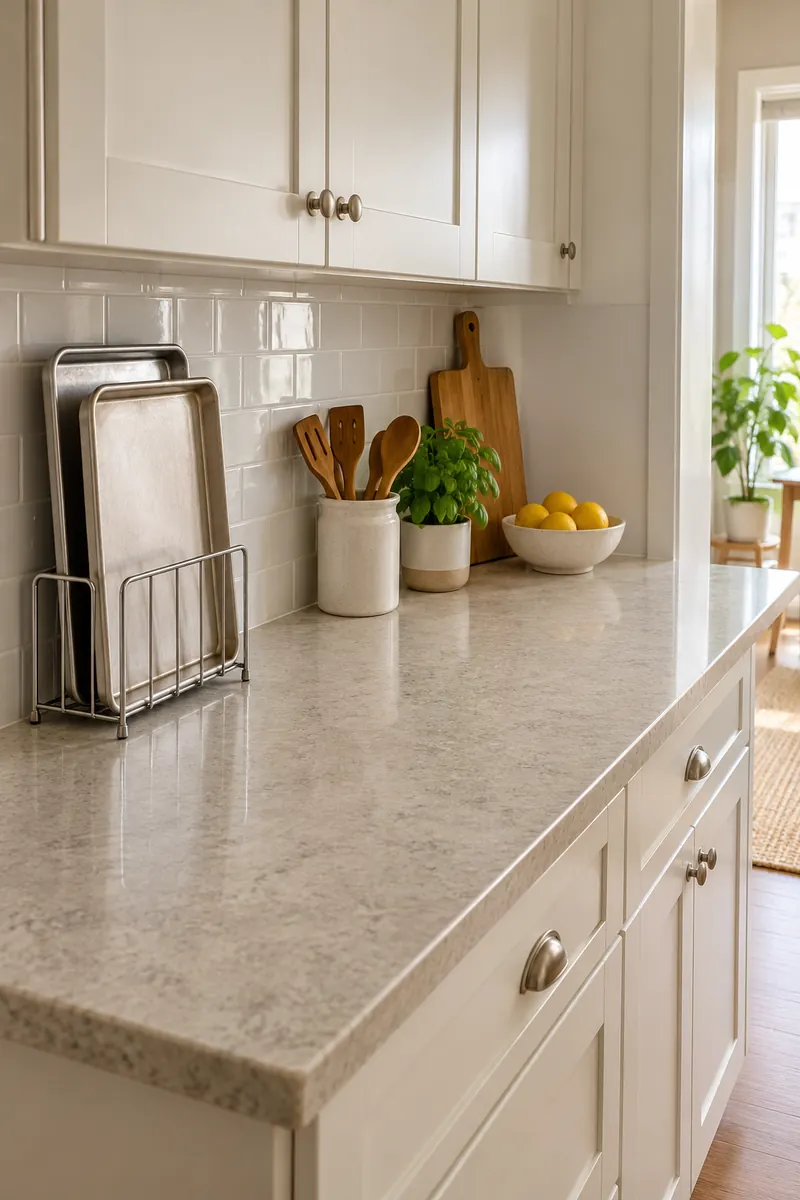
Quick Tip:
Stand clean, completely cool baking sheets in a stable slotted rack while they wait to be filled. Choose a position away from the stove and any heat source. Lay out only the sheet you are actively using.
A flat baking sheet takes up a surprising amount of working surface before anything goes into the oven. Holding the waiting sheets upright frees that area for mixing or shaping. This is temporary staging for cool trays only; hot cookware belongs on a suitable heat-resistant resting surface with adequate clearance.
4. Serving Tray Transfer
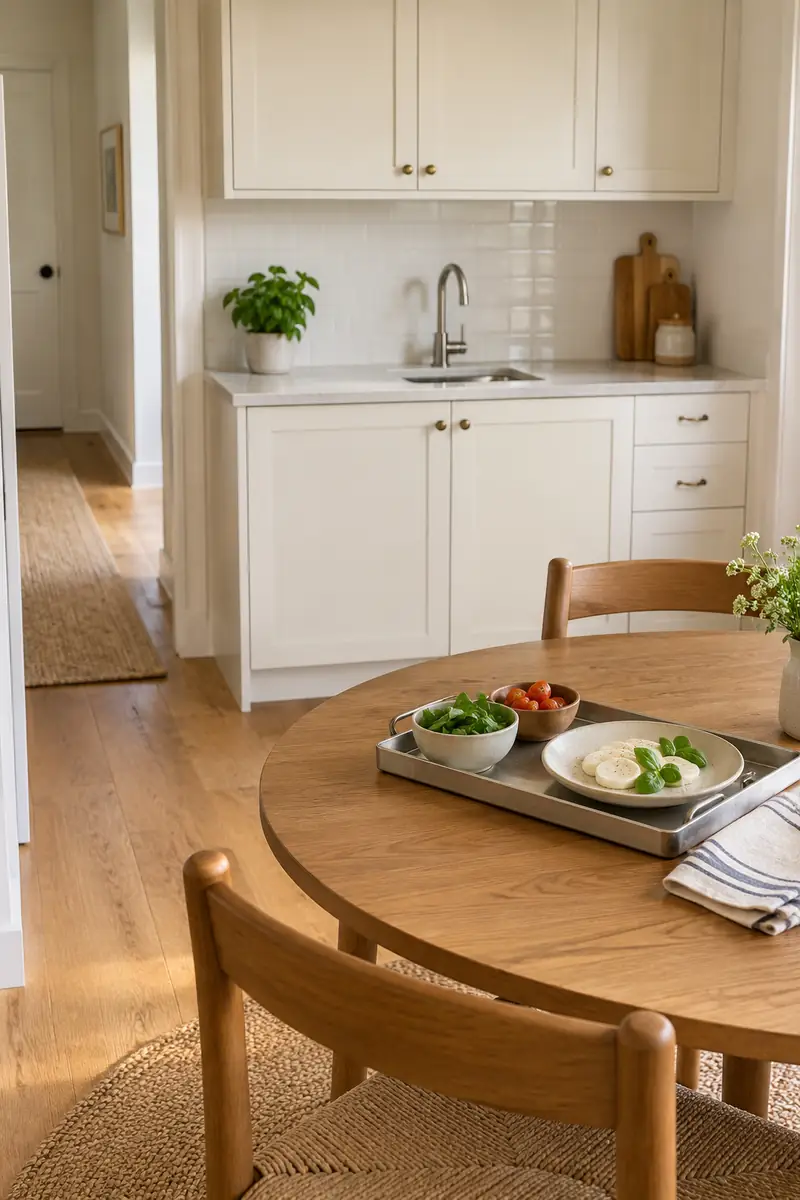
BEFORE:
Prepared ingredients and serving plates gather beside the cutting board. Each finished item leaves less room for the next task.
AFTER:
A lightweight tray carries those ready items to a nearby clear table. The counter becomes available again without several separate trips.
Choose a tray with secure handles and a size you can comfortably carry. Keep its destination ready before loading it, and move only a manageable amount at once. This approach borrows existing furniture for brief staging, then returns the table to dining when you are ready to sit down.
5. Two-Level Ingredient Stand
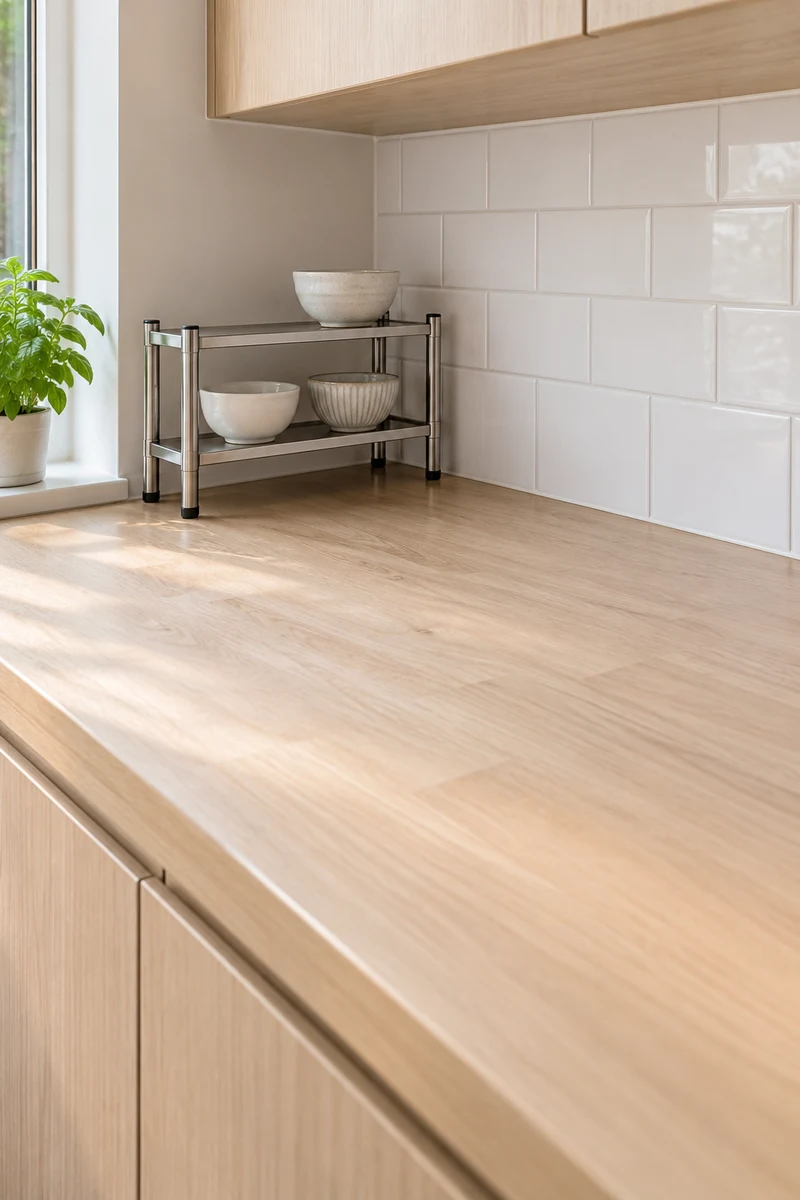
- Measure a cool rear corner of the counter that is outside your main working area.
- Choose a stable small stand with appropriate load limits and nonslip feet.
- Place lightweight bowls on the lower and upper levels without overhanging the edges.
- Keep the open counter in front available for the task that needs space.
A low two-level stand turns one small footprint into separate waiting spots. It helps when several little bowls would otherwise spread sideways across the counter. Check that you can reach each bowl without knocking another, and remove the stand if its supports take more useful space than it saves.
6. Pullout Chopping Worktop
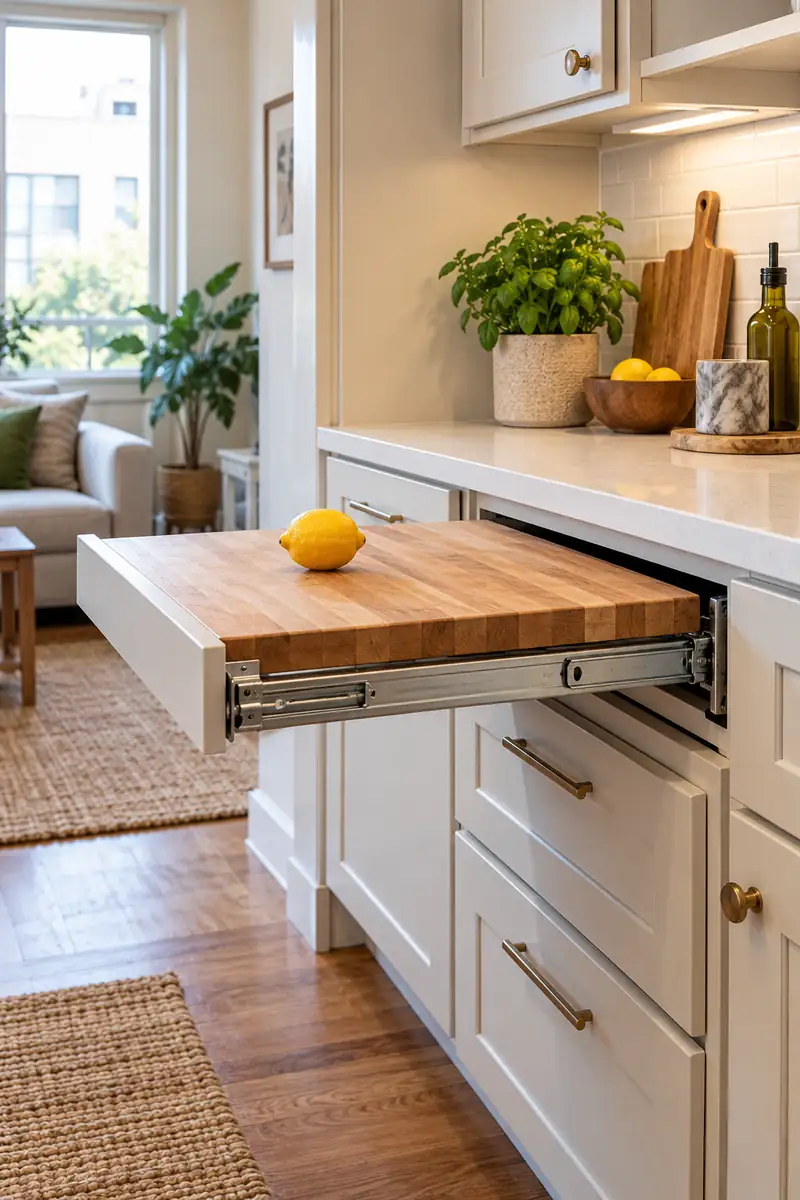
| Choice | Built-in pullout | Loose workboard |
|---|---|---|
| Support | Purpose-made runners and cabinet frame | Existing stable table or counter |
| Storage | Retracts into its designed opening | Needs a separate storage location |
| Before use | Check rating, fitting, and extension lock | Check full support and resistance to sliding |
A dedicated pullout worktop can add working area without leaving furniture in the aisle all day. It must be designed for that use, with suitable hardware, support, and load limits. Get permission and professional fitting where needed; an ordinary open drawer is not a substitute for a supported worktop.
7. Clipped Scrap Cup
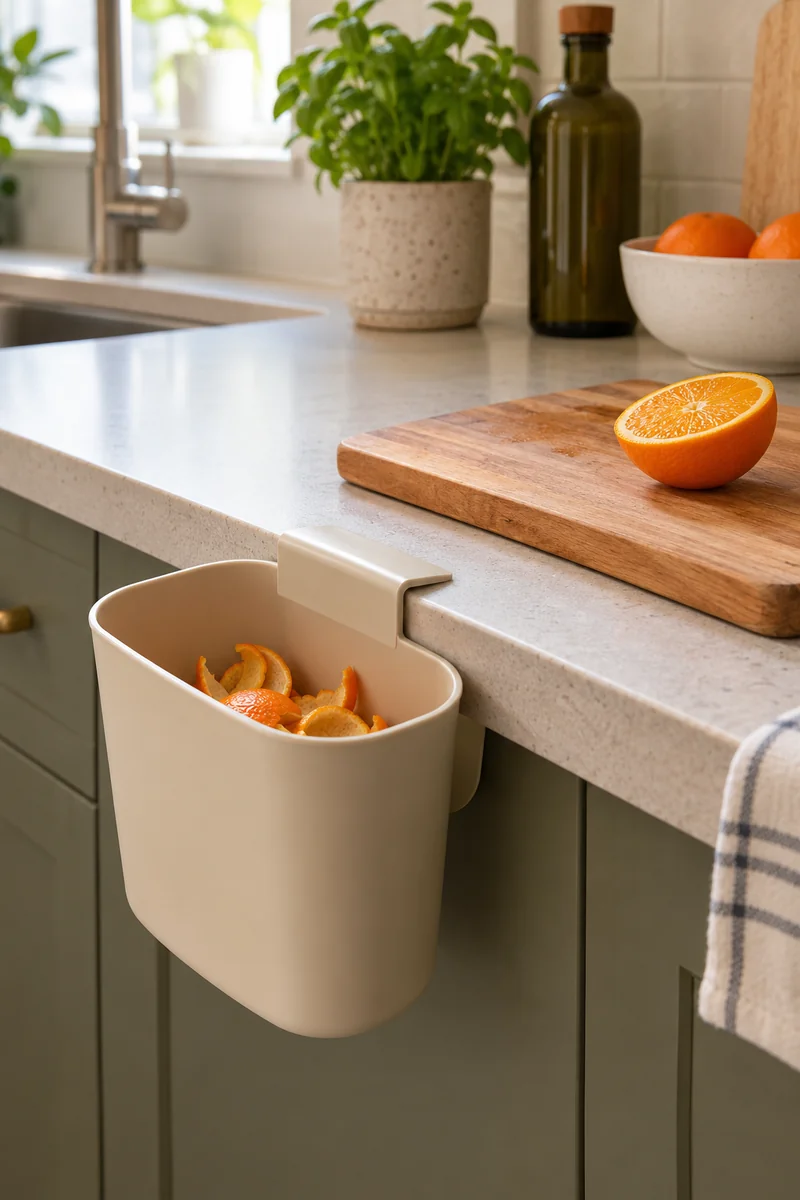
DO:
- Use a purpose-made container compatible with the counter edge or cabinet front.
- Keep the cup beside the board and outside your standing path.
- Empty it before its contents become heavy.
- Clean the cup and its attachment after use.
DON’T:
- Do not hang a loose bowl from an improvised hook.
- Do not let the attachment prevent a drawer or door from closing.
- Do not position the cup beside a stove or hot appliance.
Peels and trimmings need a landing place, but a large scrap bowl can crowd the board. A secure hanging cup moves that small holding zone below the counter edge. Test the attachment with the container empty first, follow its instructions, and remove it when you have finished preparing food.
8. Wall-Mounted Produce Bins
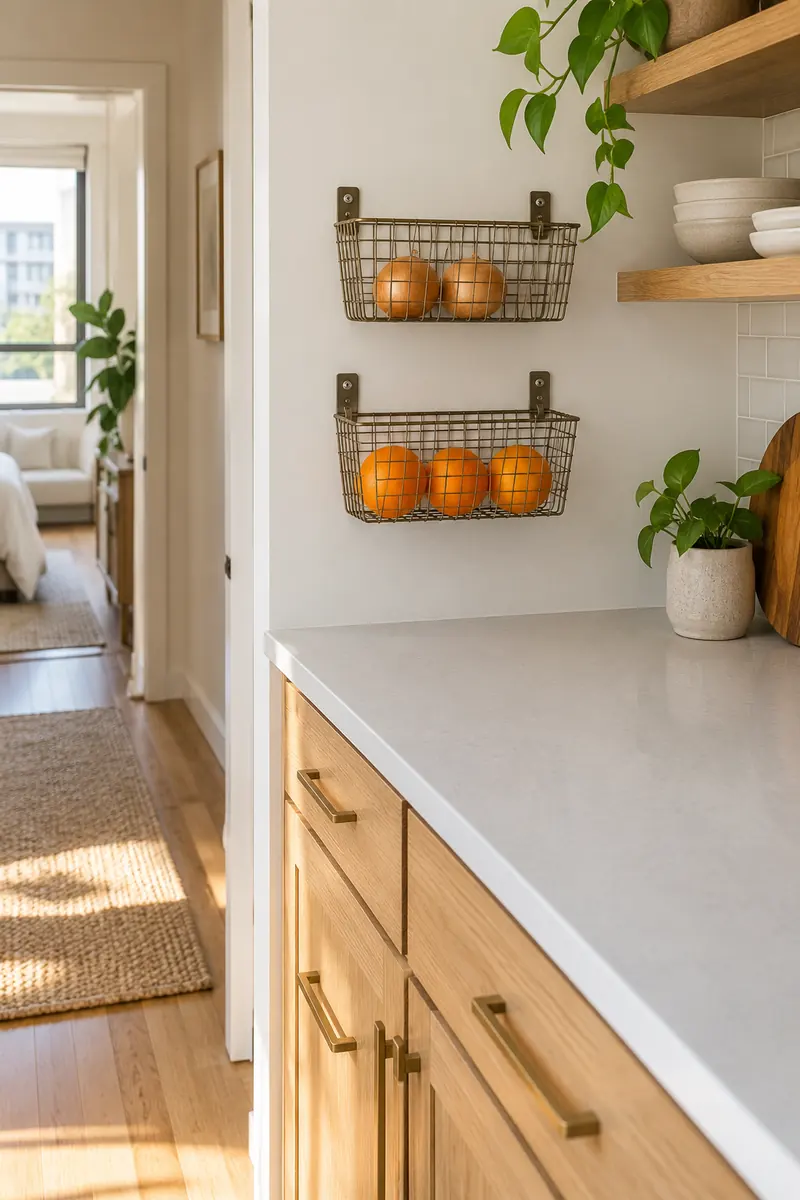
Space Saved: The footprint of a freestanding fruit or onion bowl.
Useful Location: A cool wall outside the cooking heat zone.
Fitting Check: Suitable fixings, wall construction, and stated load limits.
Renter Option: Ask permission before drilling or adding wall hardware.
A pair of modest wall bins can release the corner usually occupied by produce. Keep the contents light and easy to see, and store each food according to its needs. This is most useful when the wall is comfortably reachable; a high basket that requires stretching creates a different problem.
9. Window-Sill Bowl Perch
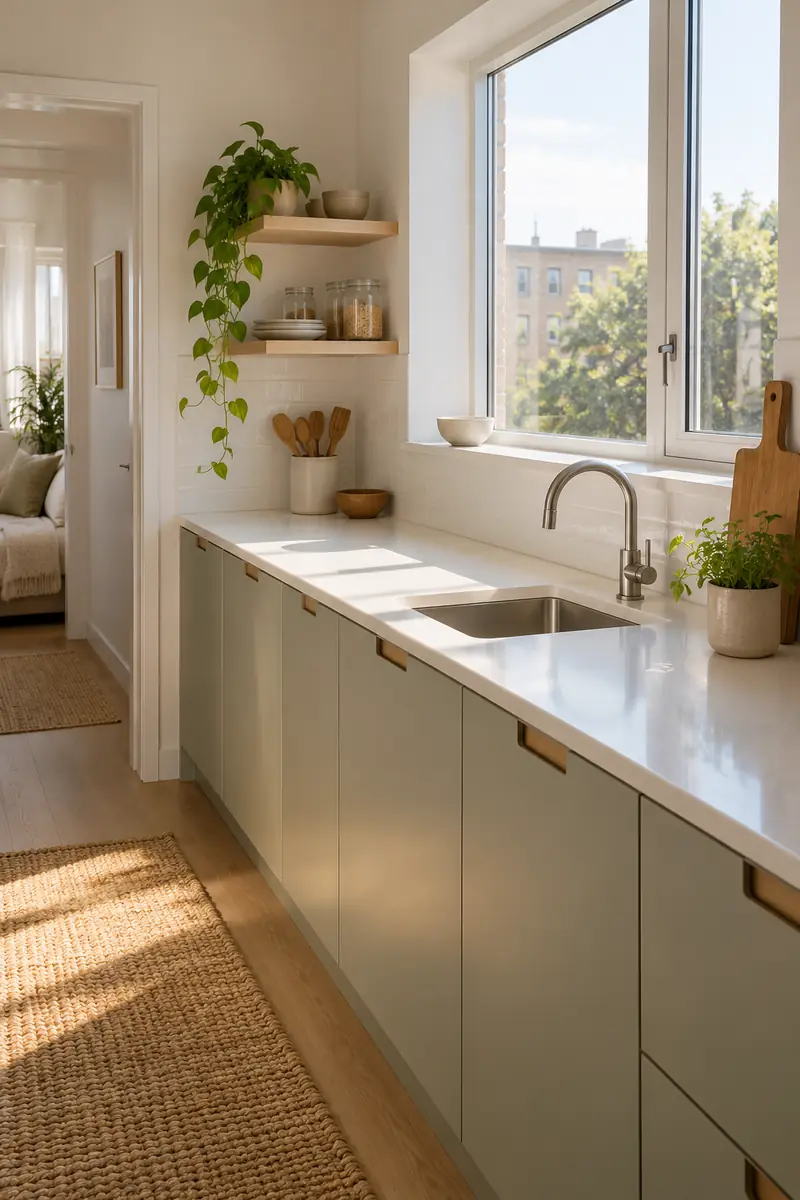
A deep interior sill can offer a temporary home for one small, lightweight bowl while the counter stays clear. Use it only when the bowl sits fully supported well behind the edge. The window must still open normally, and the sill should be far from any stove or hot appliance.
Treat this as a selective option rather than a reason to crowd every window. Skip narrow, sloped, unstable, or hard-to-clean sills, and never block a required exit. Keep food in a suitable container, clean the surface first, and remove the bowl once the short preparation task has been finished.
10. Dining Table Workboard
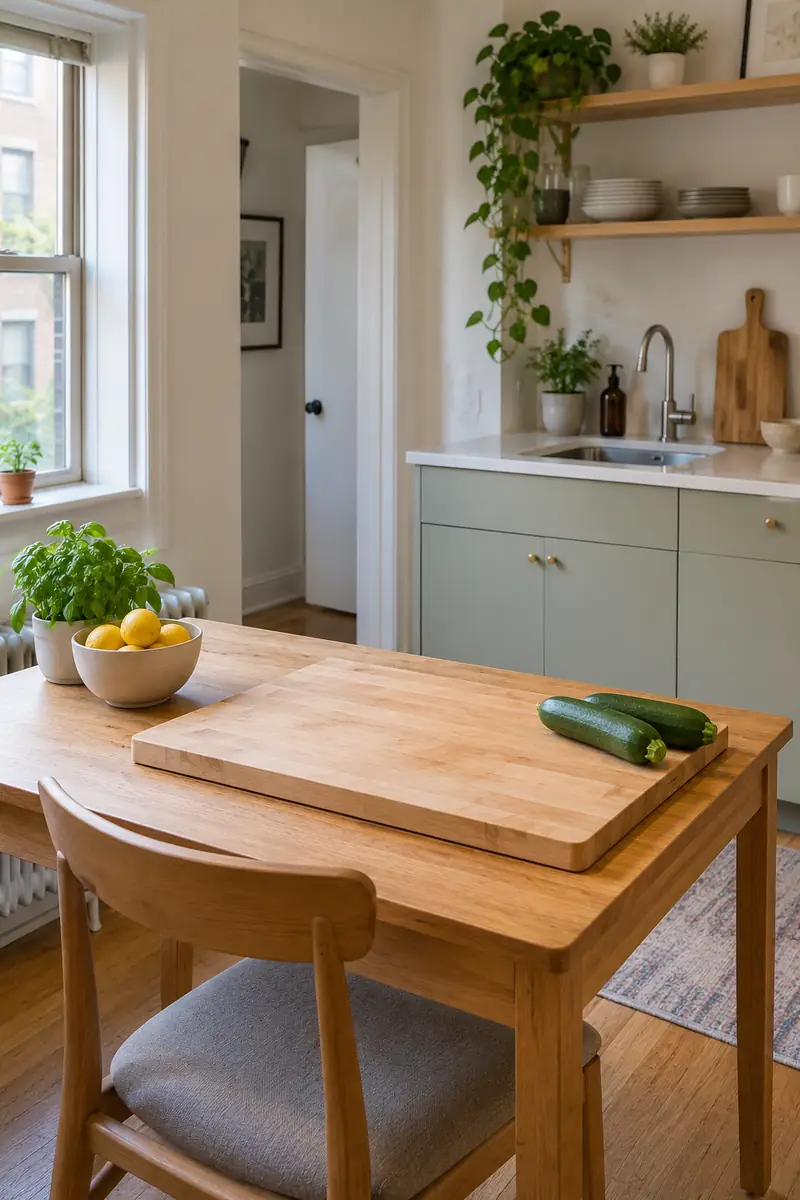
- Clear a sturdy dining table and clean the area you will use.
- Place a suitable food-preparation board fully on the tabletop.
- Check that the board resists sliding and the table does not wobble.
- Keep chairs, bags, and the path back to the kitchen out of your working route.
The dining table can become a second preparation surface without another piece of furniture. Reserve it for tasks suited to its height, then clean the board and table before eating. Protect the finish according to its care instructions, and keep raw foods separate from foods that are ready to serve.
11. Counter-Height Sideboard
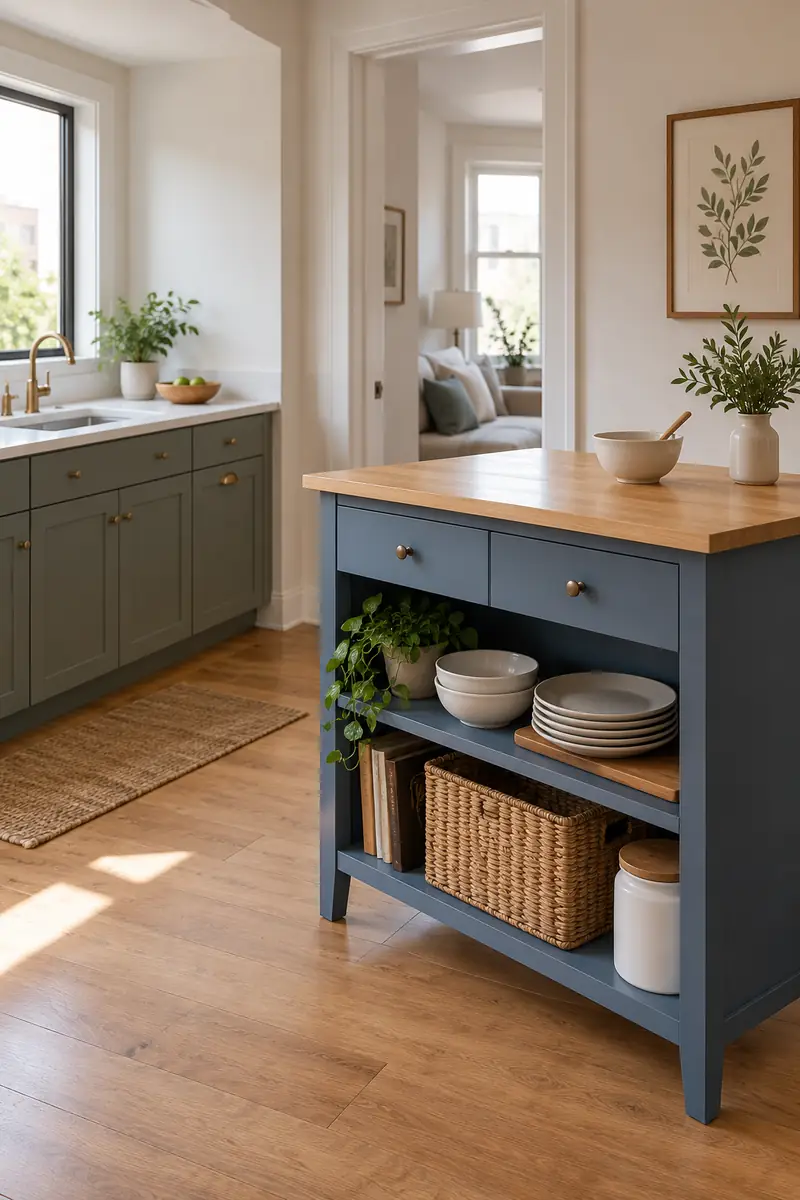
Quick Tip:
Look for a sturdy existing sideboard with a height comfortable for the task. Put a suitable removable food-preparation board on its fully supported top. Check the furniture instructions, stability, and surface care before treating it as a work area.
A sideboard near the kitchen can take mixing or assembling off the main counter. The location matters more than matching the cabinets perfectly: you need a clear route and enough standing room. Keep the furniture away from cooking heat, protect its surface, and use any required anti-tip fixings correctly.
12. Corner Staging Shelf
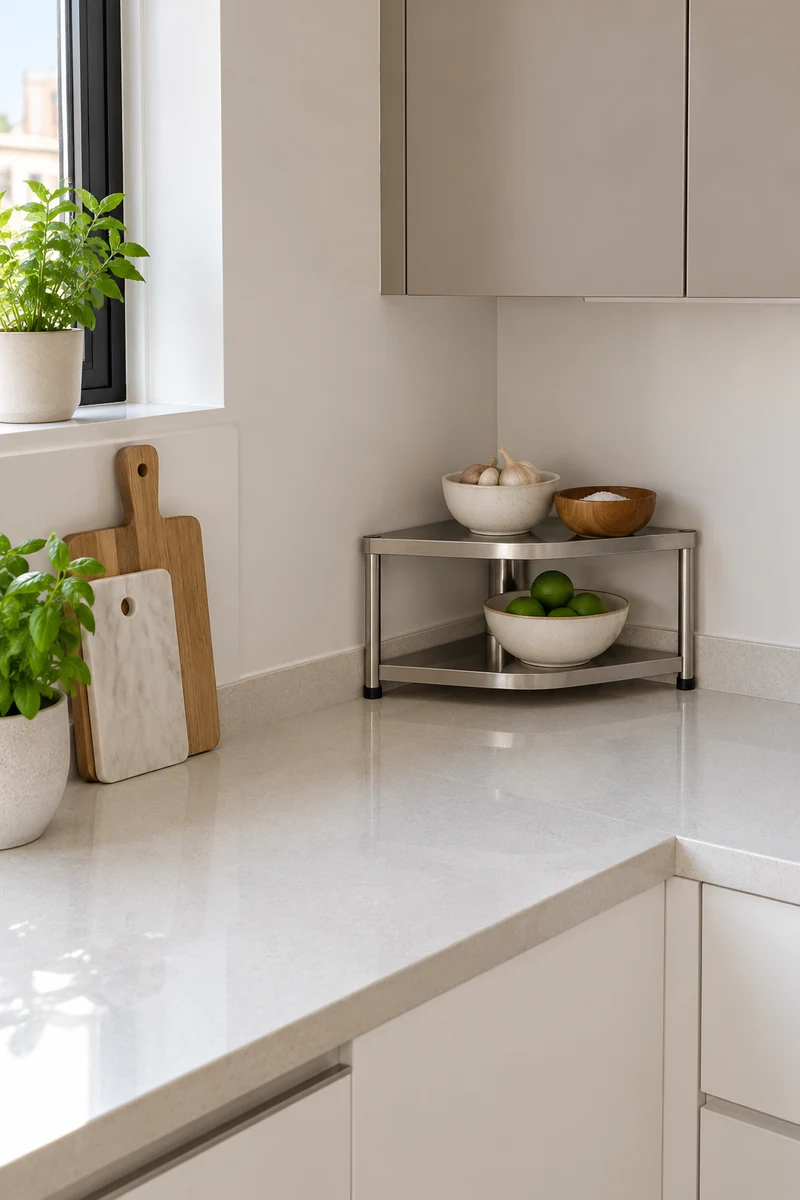
BEFORE:
Two small bowls sit side by side in the counter corner. Their rims push your working board toward the front edge.
AFTER:
A low corner-shaped shelf gives the bowls separate levels. The main stretch of counter remains available for the board.
A corner stand only helps when its shape matches a spot you already struggle to use. Compare the footprint with your bowls before buying one. Keep it low enough for comfortable access and outside the heat zone, then use it for temporary staging rather than filling it with permanent decoration.
13. Nested Measuring Tools
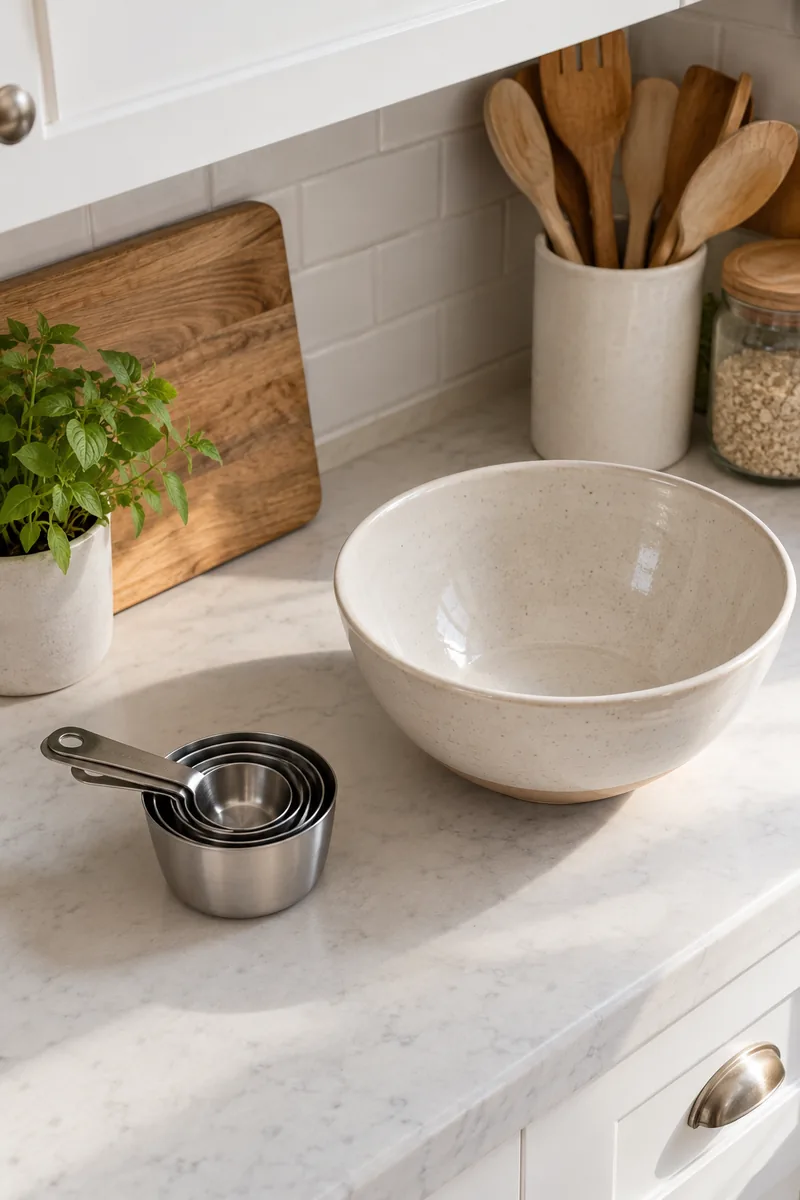
- Select only the measuring tools needed for the recipe.
- Keep unused cups nested inside the largest cup while you work.
- Place small clean measuring spoons within the set when they are waiting.
- Move used tools to the washing area instead of letting them spread across the counter.
Measuring cups rarely look like a space problem until every size is sitting out at once. Nesting the waiting pieces keeps their footprint small while leaving them close to hand. Keep clean and used tools separate, especially after contact with raw ingredients, and wash them before using them for another food.
14. Compact Wash Basin
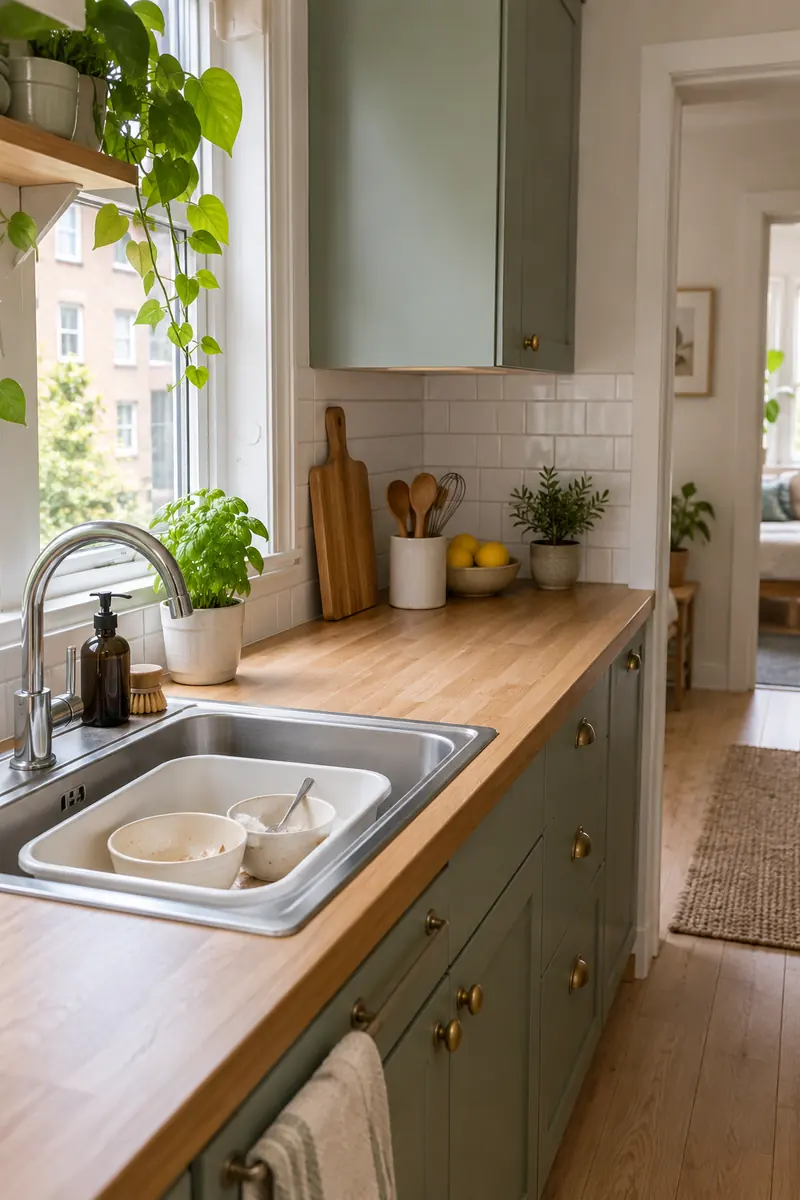
| Choice | Basin inside sink | Bowls on counter |
|---|---|---|
| Holding area | Below counter level | Uses working surface |
| Main advantage | Contains a small collection together | Leaves the sink immediately open |
| Tradeoff | Must be moved when the sink is needed | Can crowd food preparation |
A small washing basin can hold used prep bowls inside the sink instead of along the counter. Choose one that fits securely and can be lifted without strain. Empty and clean it promptly, keep sharp knives out of hidden dish piles, and leave access to the faucet and drain.
15. Divided Landing Tray
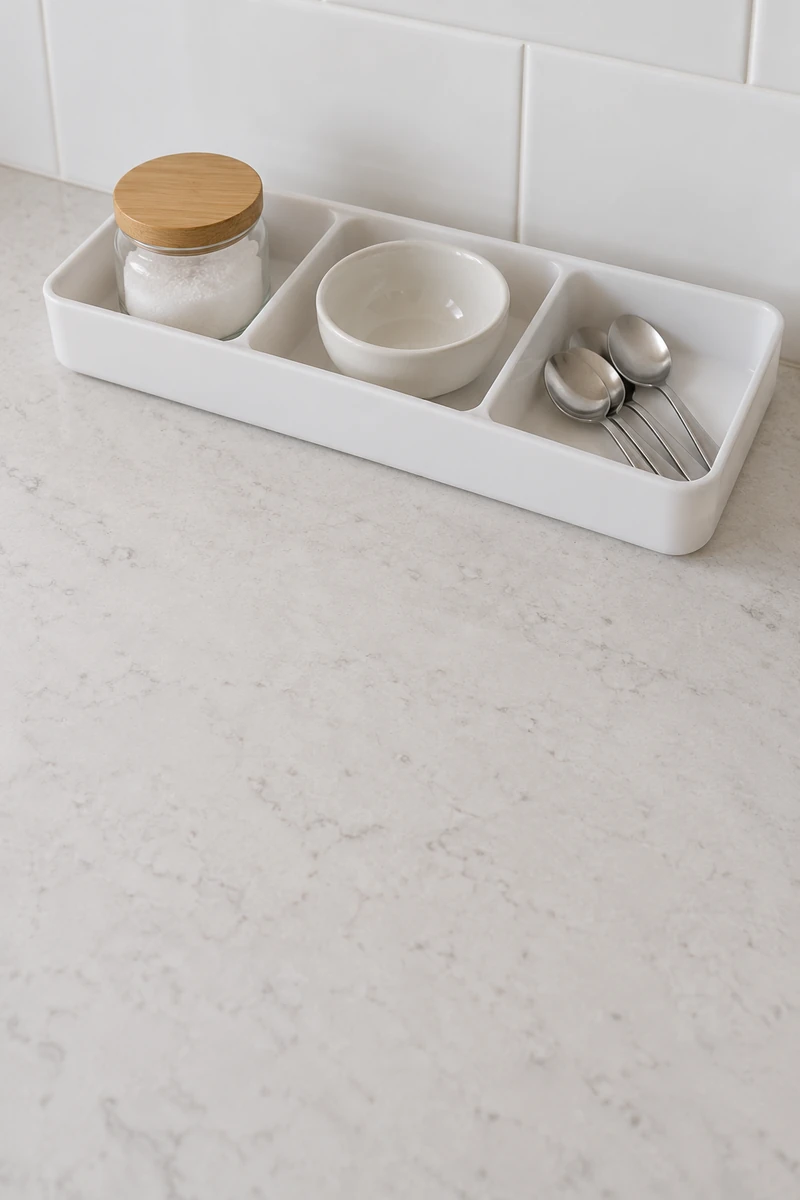
DO:
- Choose a shallow tray sized for the items that usually scatter.
- Keep every container fully inside the tray boundary.
- Place it at the rear of a cool counter section.
- Move the entire tray to a nearby table when you need the full worktop.
DON’T:
- Do not buy a tray wider than the clutter it is meant to control.
- Do not use the tray as a permanent dumping spot.
- Do not place it on the stove or within its surrounding heat zone.
A divided tray creates a clear limit for the small items waiting between tasks. Its benefit comes from gathering and moving them together, not from adding another object to the counter. Compare the tray with your actual containers, and choose a lightweight version you can carry comfortably when it is filled.
16. Expandable Table Leaf
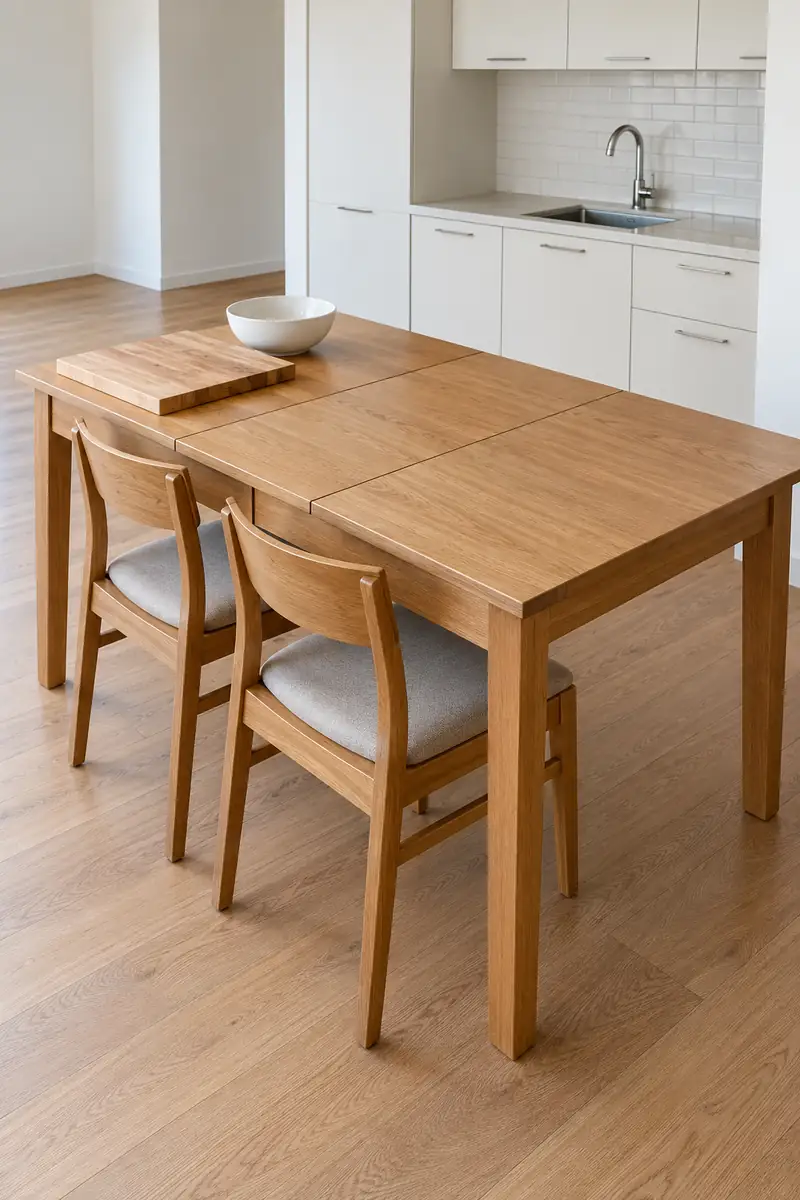
Extra Surface: A manufacturer-designed dining-table extension.
Useful Moment: A larger preparation session or several serving dishes.
Support Check: Fully engaged legs, catches, and any specified supports.
Room Check: The expanded table must preserve doors and walking routes.
If your table already has an extension leaf, consider whether opening it briefly solves the counter shortage. Set it up exactly as its instructions describe, then use suitable boards or trays to protect the surface. Fold or remove the extension afterward so the extra workspace does not become permanent crowding.
17. Portable Pastry Slab
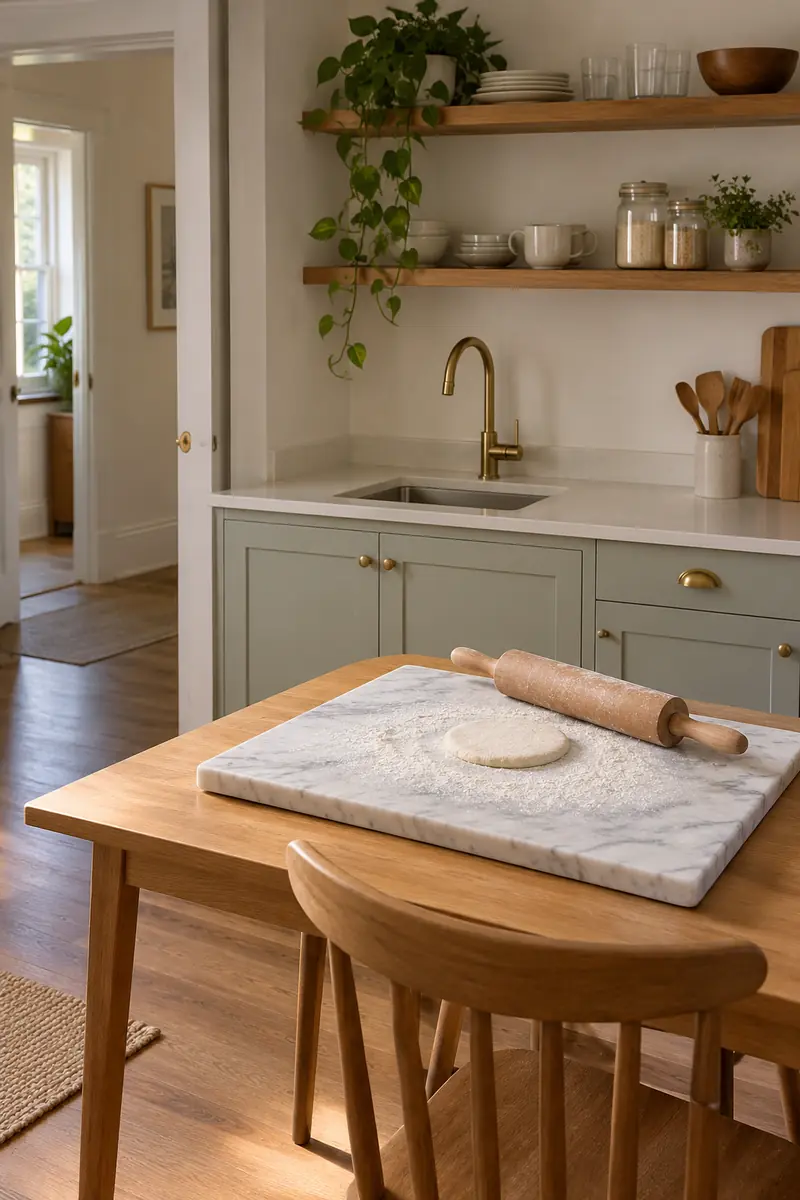
Move a pastry task to a sturdy table with a removable slab, leaving the kitchen counter available for everything else. The slab should sit fully supported and resist sliding while you work. Choose a size and weight you can carry comfortably, and protect the furniture underneath according to its instructions.
Plan the return trip before starting: a heavy board covered in flour is awkward to move through a small room. Clear and clean the slab at the table, then store it where it cannot fall. This idea gains space by relocating the task, not by covering an already crowded counter.
18. End-Panel Drop Shelf
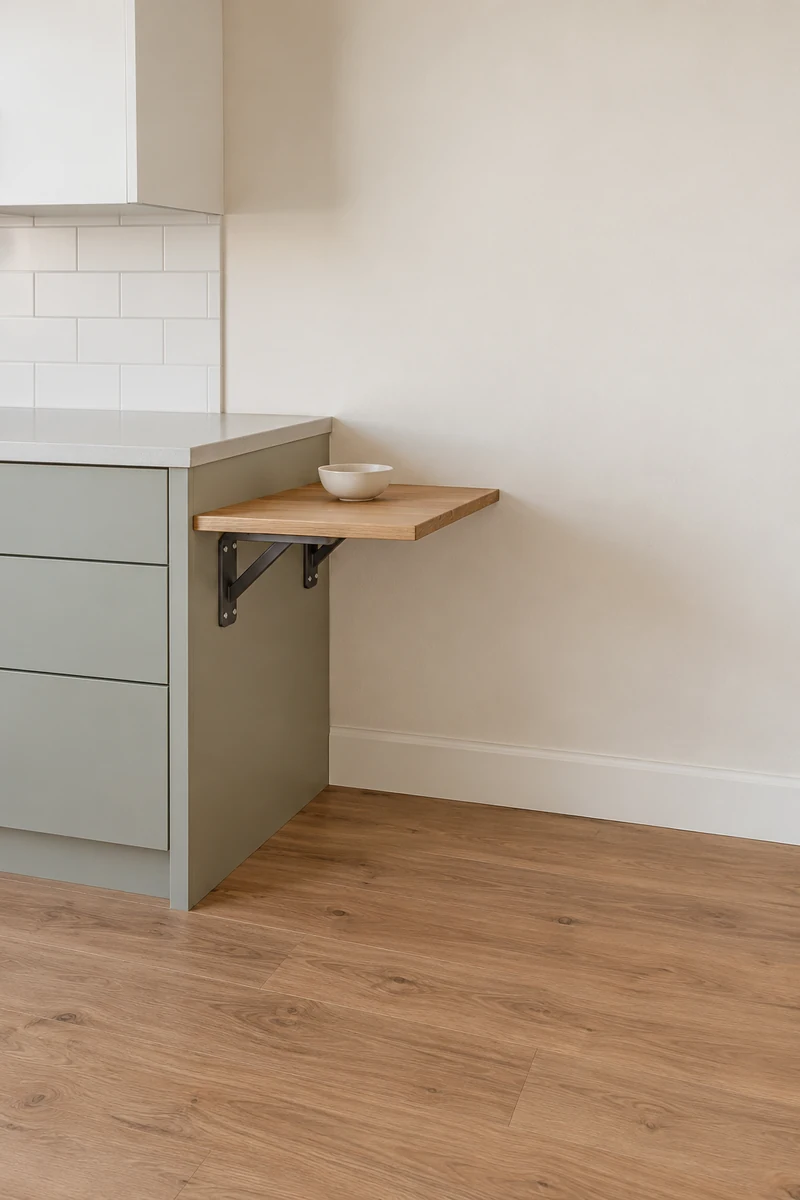
- Identify a cabinet end that is outside appliance clearances and walking routes.
- Ask whether the cabinet construction can support the proposed shelf and hardware.
- Use a purpose-made system with stated load limits and appropriate fitting instructions.
- Get permission and qualified installation where needed, then keep loads modest and fully supported.
A small hinged end shelf can provide a temporary bowl landing without occupying the main worktop. Its usefulness depends on what happens when it is open: doors must still work and people must pass comfortably. Check the supporting structure and complete system rating, rather than judging strength from the brackets alone.
19. Return-to-Storage Basket
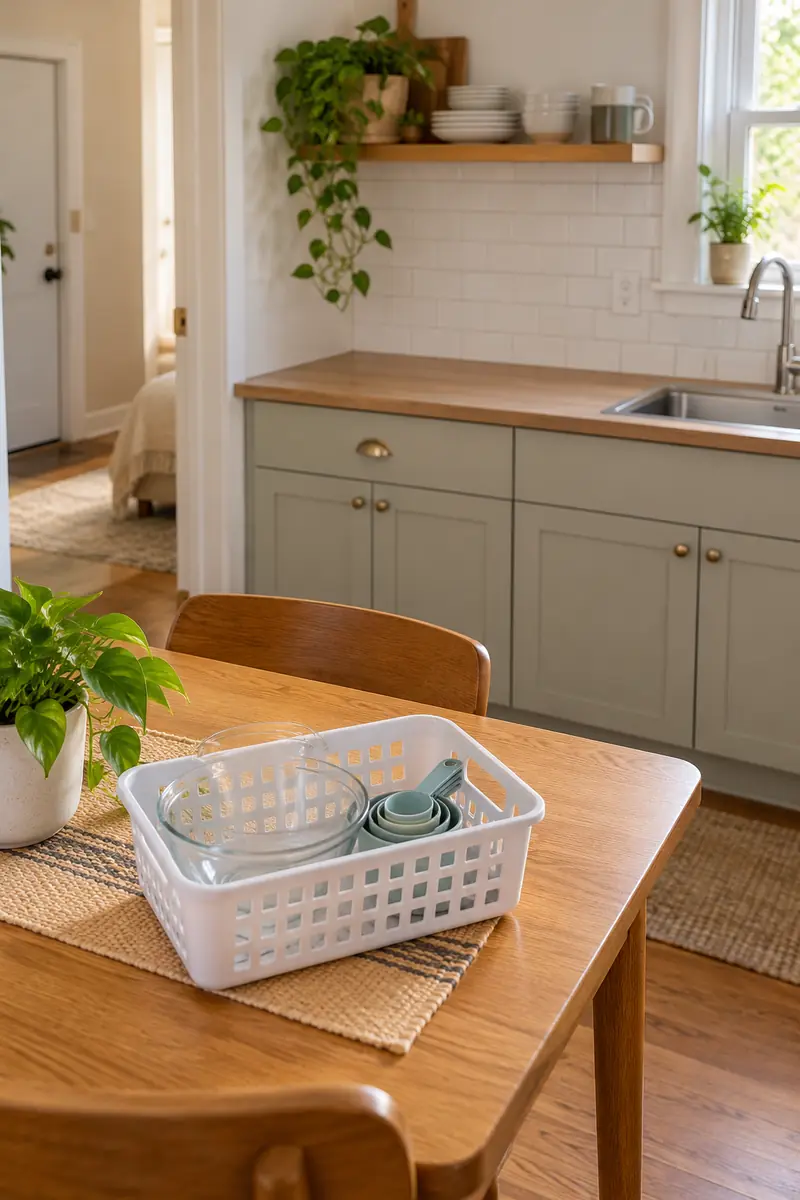
Quick Tip:
Give displaced counter items a planned return route. Place a small washable carry basket on a nearby table and collect only cool, clean tools that belong elsewhere. Return them to their usual storage after the task instead of leaving a second clutter pile.
A return basket helps when clearing the counter usually means shuffling things from one end to the other. Keep the basket small enough to empty in one short pass. It should carry tools away from your working surface, then disappear too, leaving both the kitchen and dining table usable again.
20. Adjustable Drawer Dividers
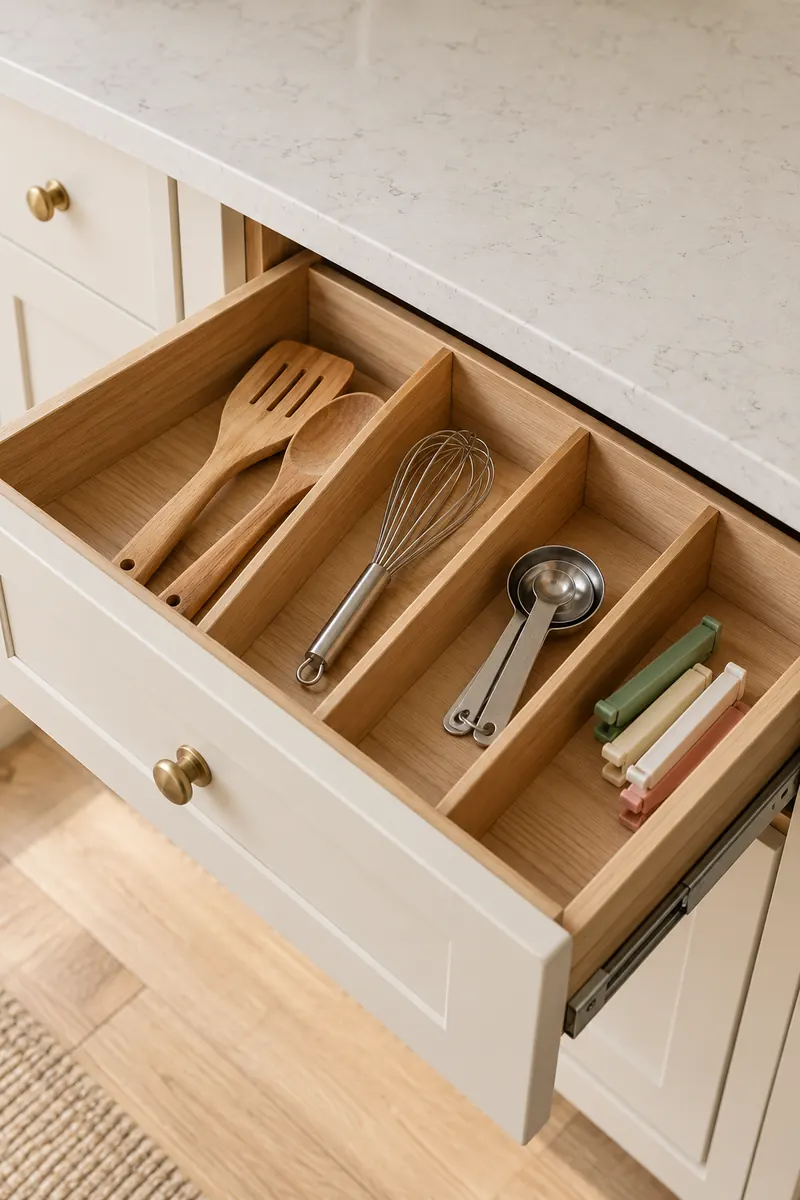
BEFORE:
Small utensils spread across a shallow drawer and catch beneath larger tools. The counter holds a spare utensil pot because finding anything in the drawer takes too long.
AFTER:
Removable dividers create separate lanes for everyday tools, clips, and measuring spoons. The pieces stay visible, making it easier to put them away instead of leaving them beside the sink.
Measure the drawer’s usable interior before buying an insert, including the height available when it closes. Group items by the way you actually reach for them, then leave a little spare room. A divider earns its space when you can find, lift, and return each tool without emptying the drawer.
21. Tucked-In Dining Stools
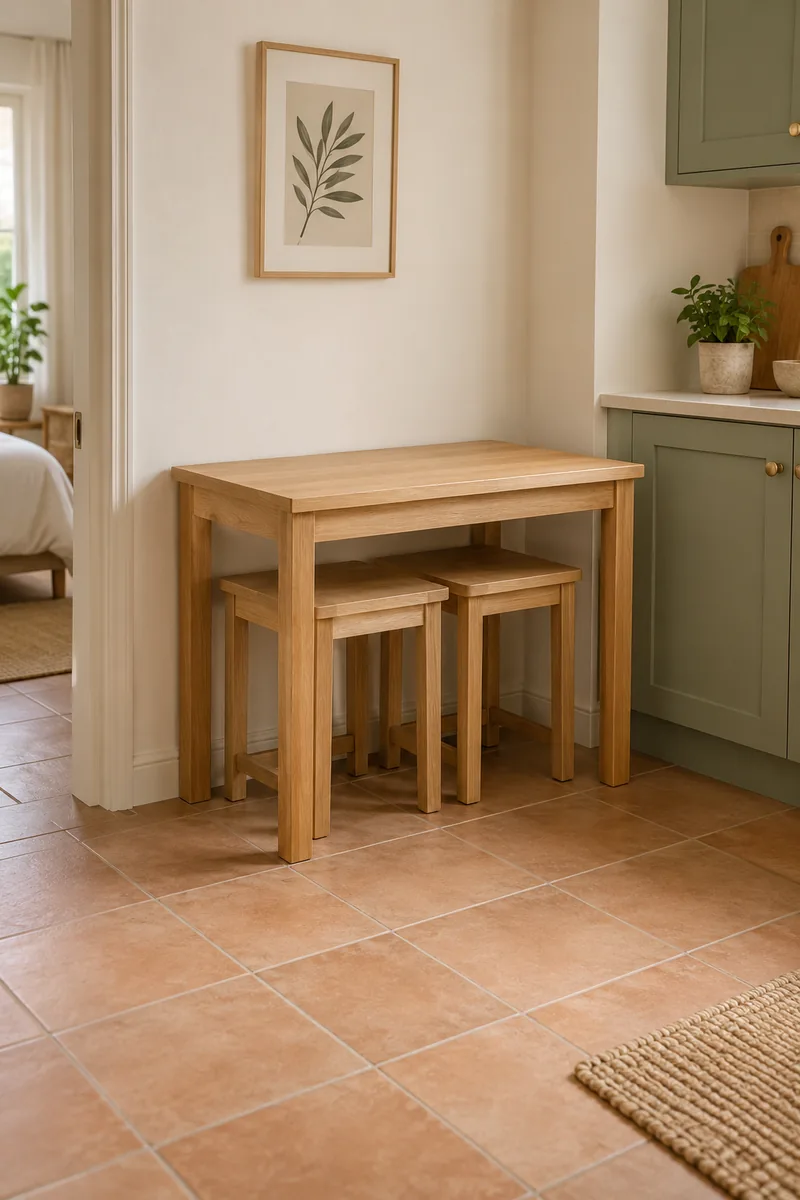
- Check the table opening beneath the top, including any low apron or support bar.
- Choose comfortable stools that fit completely below the tabletop when they are not being used.
- Test the arrangement with someone seated and all nearby cabinet or appliance doors open.
- Return the stools beneath the table after meals so the everyday walking route stays clear.
A compact dining corner feels more useful when its seats have a home between meals. Backless stools can work where a chair back would project into the room, provided they suit the people using them. Keep supportive seating if you need it, and never squeeze dining into an essential passage.
Conclusion
Useful kitchen ideas for studio apartment living make the room easier to use from the first chopped vegetable to the last cleared plate. Start with one crowded spot: nest empty bowls, divide a messy drawer, or tuck suitable seats beneath the table. Add a supported work surface only when your space and permission allow it. Keep heat zones clear and check each change with doors open and people moving around. Save your favorite idea to Pinterest, try it during your next meal, and share this list with a friend who wants a small kitchen to work a little harder every day.

Community
Join the conversation
Add a useful idea, ask a specific question, or share what worked in your space. Every comment is reviewed before it appears.