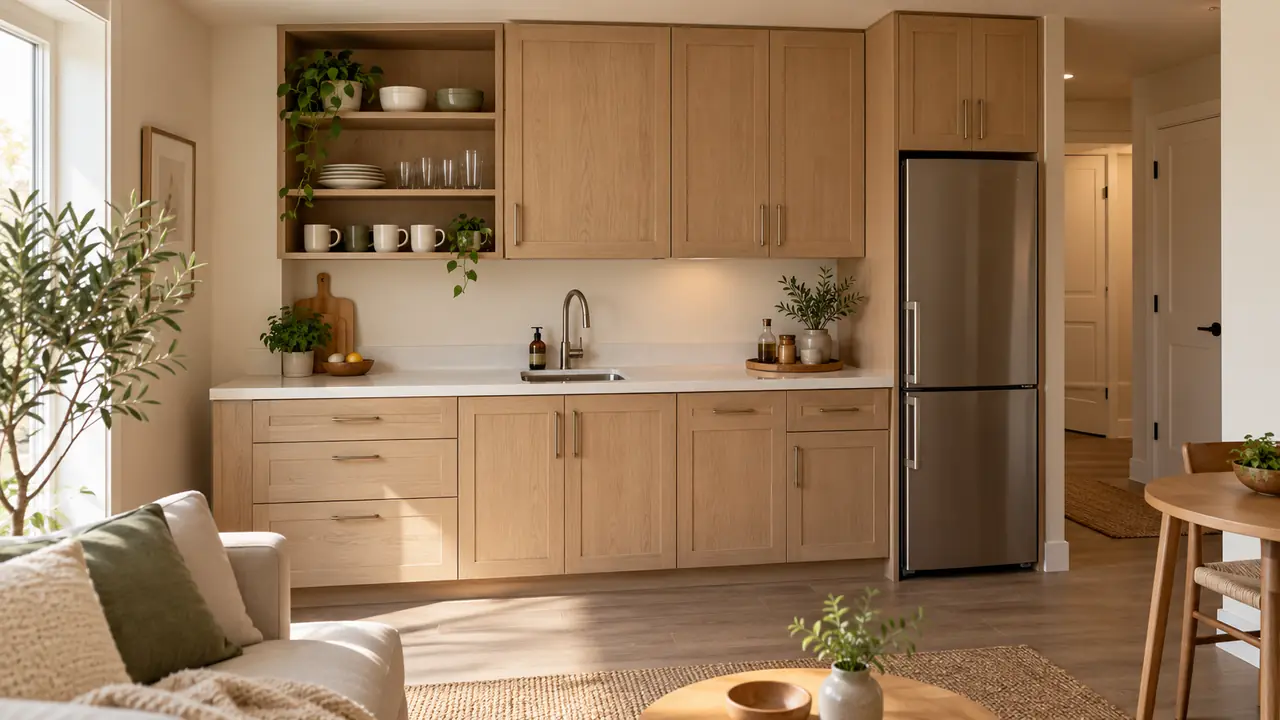
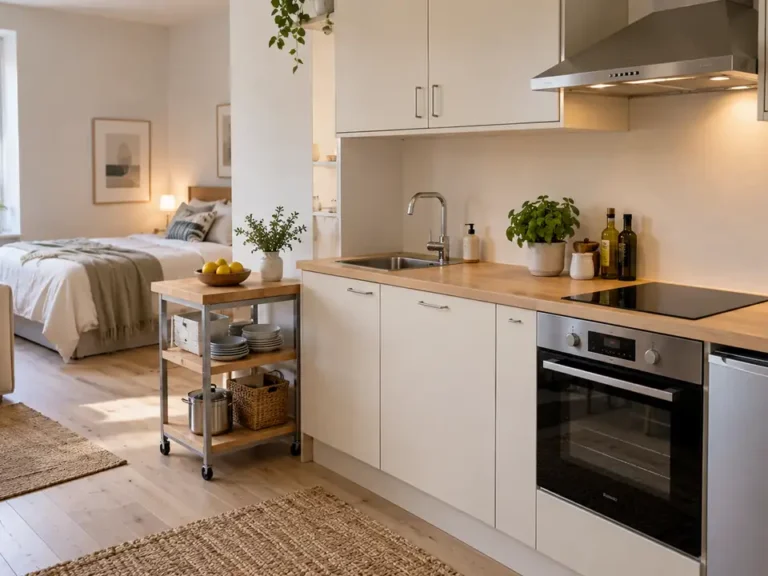
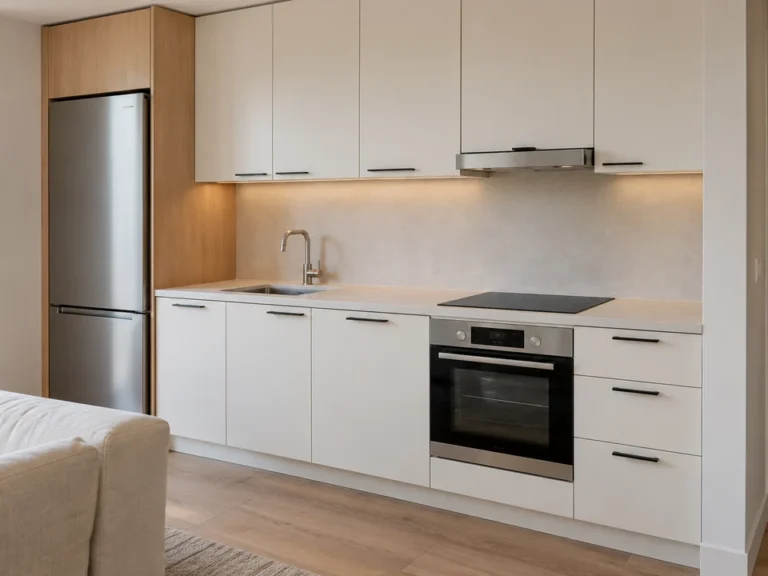
A studio apartment kitchenette works harder when every small storage choice earns its place. The awkward gap above your plates, the end of a cabinet, and the drawer that catches random utensils can all become useful parts of your daily routine. Start by noticing what you move out of the way before making breakfast. That little irritation is usually a better guide than buying another organizer. These nineteen ideas balance tidy storage with a few attractive details, so your cooking corner feels connected to the rest of your home. Check measurements, door movement, and product load limits before buying. Get permission for fixed installations, and keep the cooktop and its surrounding area clear.
1. Shelf-Riser Cupboard
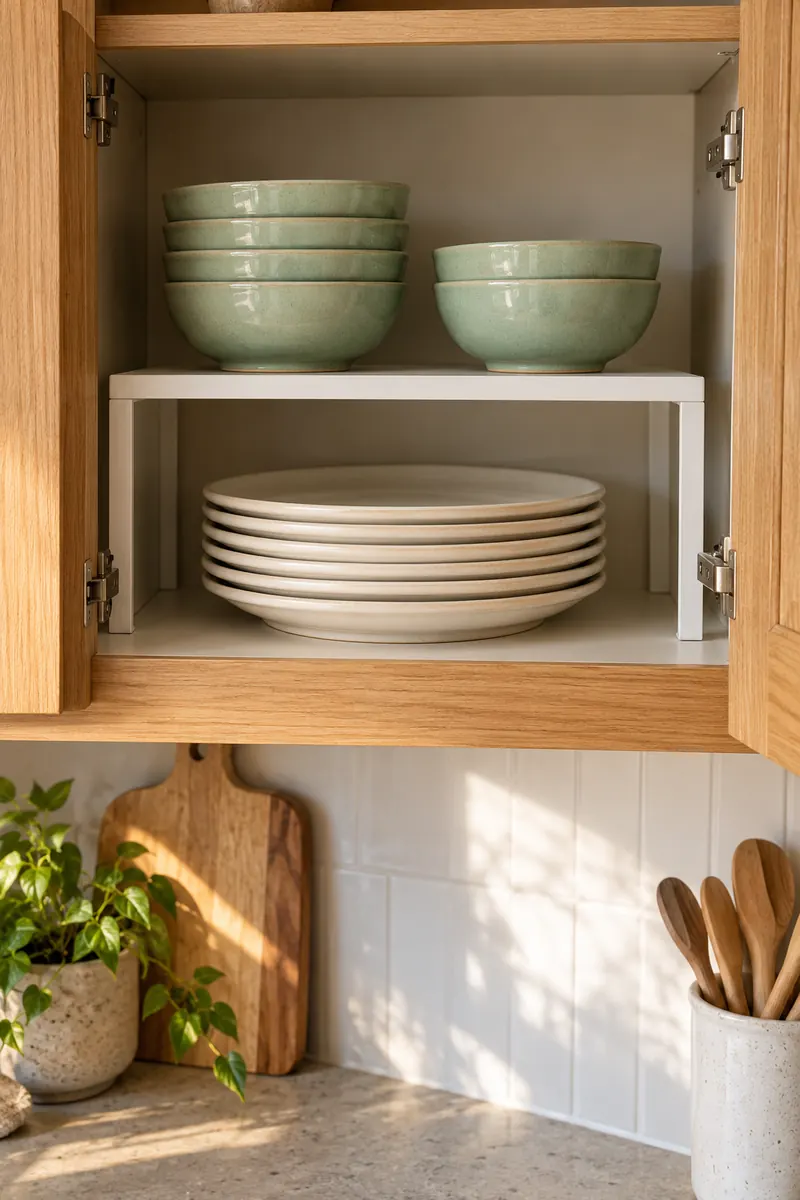
A tall stack of plates makes the smallest bowl surprisingly difficult to reach. Set a freestanding shelf riser inside one cupboard, with everyday plates underneath and breakfast bowls above. Choose a riser that leaves room for your hand, rather than fitting tightly against every neighboring surface.
Measure the usable shelf depth with the cabinet door closed, including any hinge that projects inward. Put the riser on a level shelf and follow its load limit. Keeping two useful dish groups visible makes this cupboard easier to reset after washing up, without changing the cabinetry itself.
2. Cabinet-Side Rail
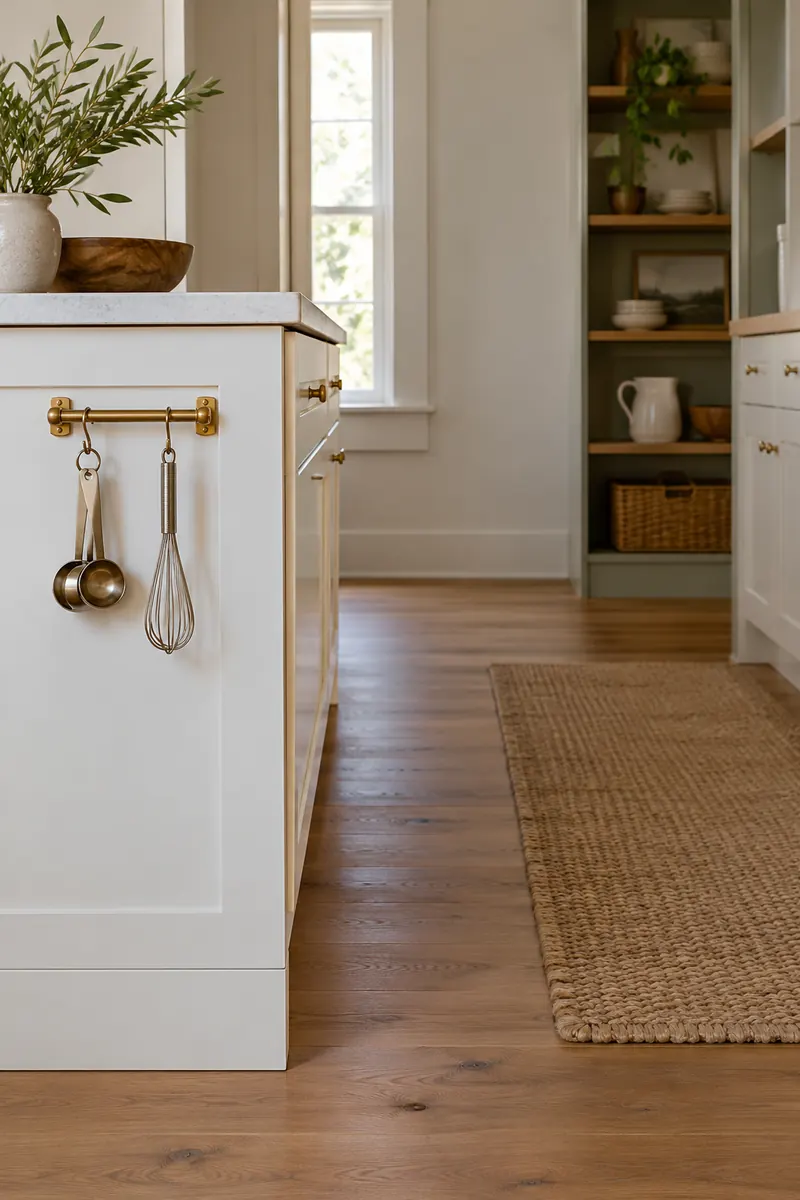
- Give the exposed cabinet end one clear job, such as holding your measuring spoons.
- Choose a short rail and hooks that stay within the cabinet profile.
- Check mounting compatibility, load limits, and permission before attaching any hardware.
- Place the rail on the cool end of the kitchen, well away from cooking heat.
That overlooked side panel can be more useful than another container on the counter. Keep the collection small enough that nothing clatters against a passing hip or catches on clothing. A matching metal finish helps the rail look intentional, while the freed counter becomes a genuinely usable preparation spot.
3. Nesting Prep Kit
Quick Tip:
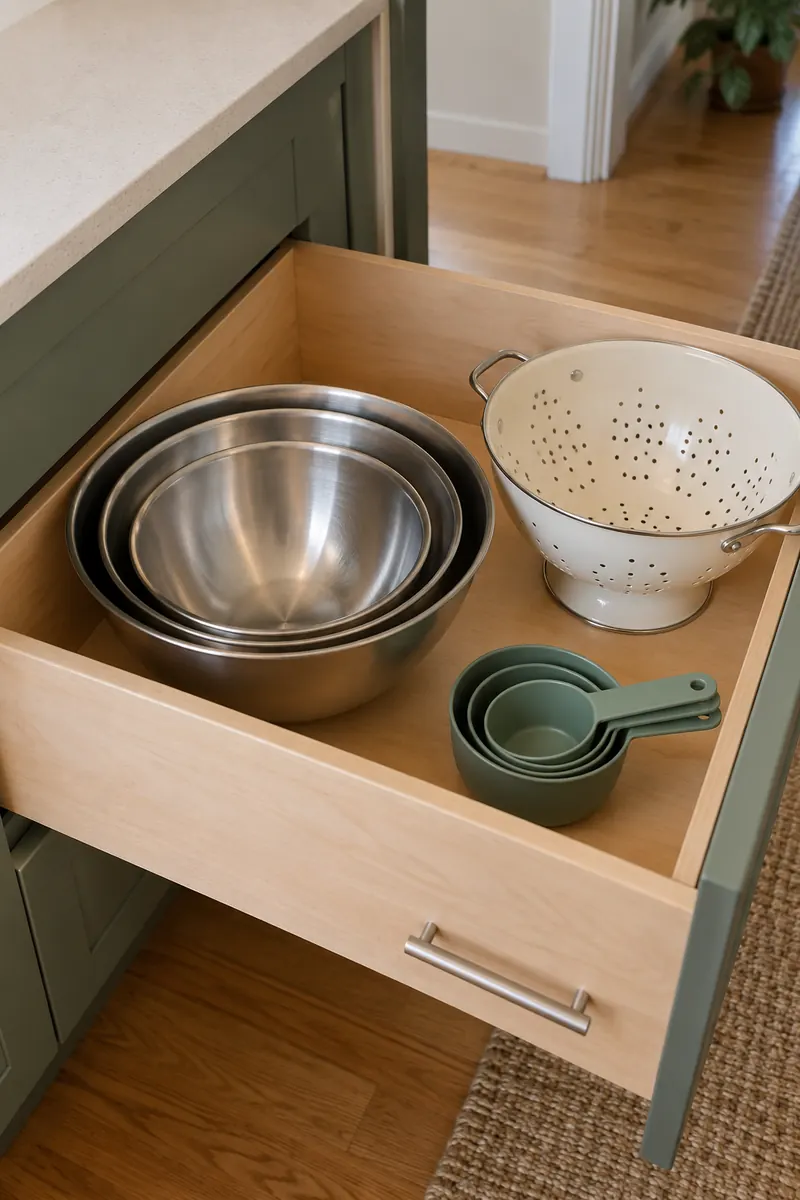
Put your everyday mixing bowl, colander, and measuring cups into one nesting group. Test whether you can lift out the middle piece without tipping the entire stack.
A small collection beats a tower of awkward duplicates. Keep the pieces you use together in the easiest cupboard to reach, with heavy bowls at a comfortable lifting height. Before buying a coordinated set, compare its largest piece with your actual shelf opening and the size of your sink.
4. Lid Slot Drawer
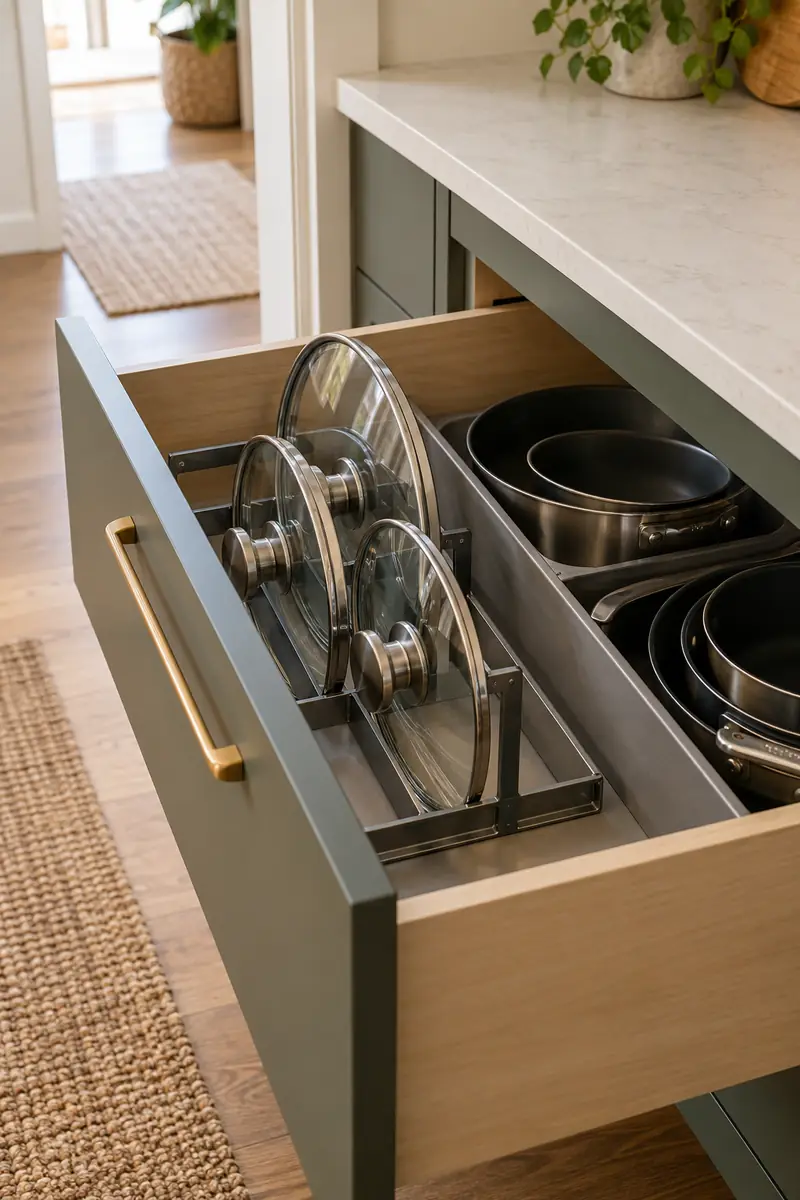
BEFORE:
Pan lids lean against pots and fall sideways whenever the drawer moves. Finding a matching lid means lifting several unrelated pieces.
AFTER:
A low divider gives each dry lid a separate upright slot. The matching pans sit in the next compartment, ready to pair up.
Measure each lid including its knob before choosing a rack, because the tallest handle can stop a drawer closing. Keep heavy glass lids low and secure within the organizer. Separating lids from pans makes their sizes easier to compare, especially when your collection includes pieces from several different cookware sets.
5. Door-Back Pantry
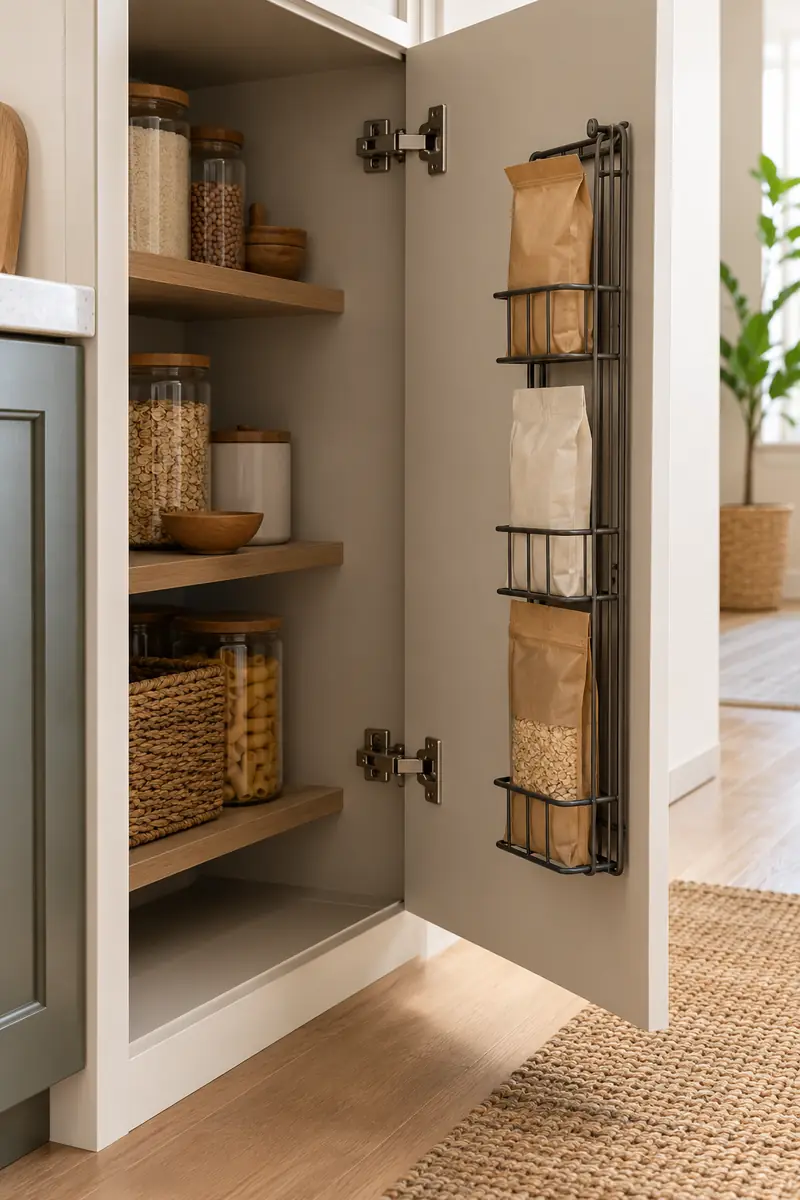
- Measure the closed-door gap between the cabinet door and the shelves.
- Choose a shallow organizer compatible with that door and its finish.
- Follow the mounting instructions and obtain permission for any fixed attachment.
- Fill it lightly with small packets, then check the door closes without pressure.
The back of a pantry door can gather little items that disappear behind larger containers. Keep heavy jars on the cabinet shelves instead, and avoid placing anything where hinges or shelf edges can crush it. A short row of visible packets also makes shopping duplicates easier to spot before checkout.
6. Clear Drawer Grid
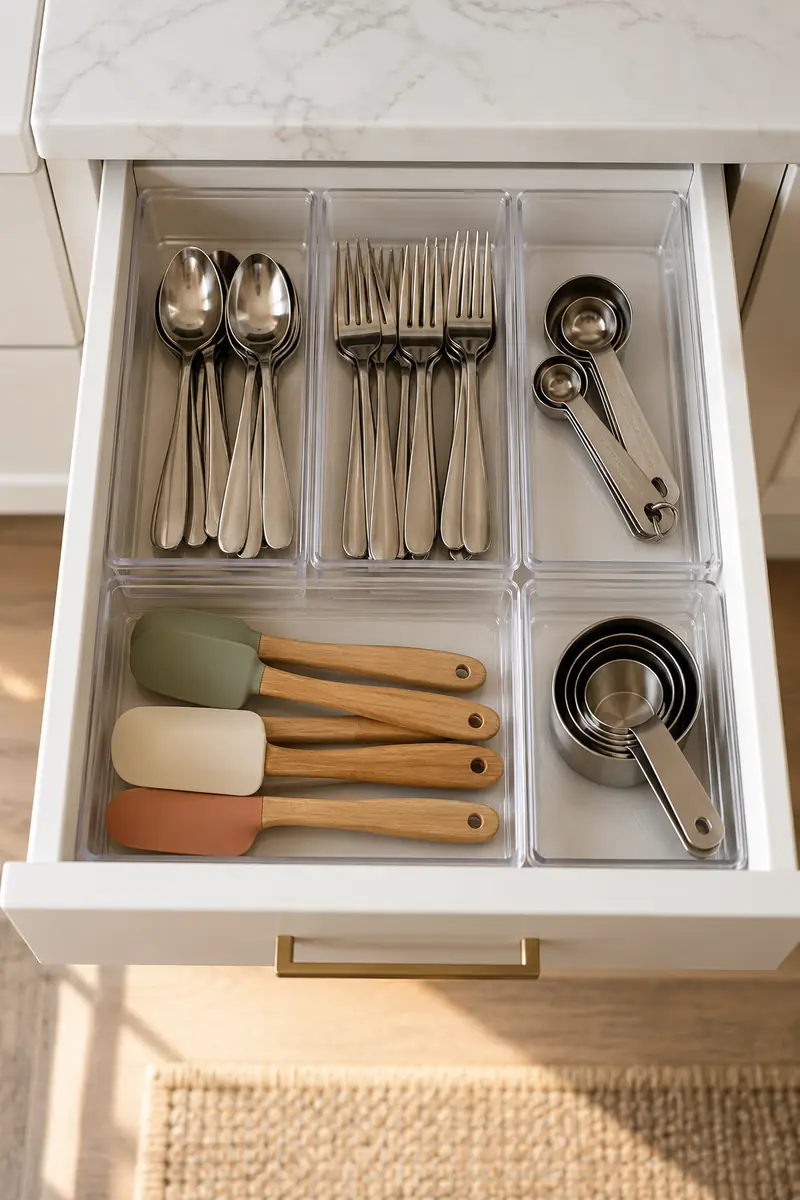
| Detail | Separate Trays | Adjustable Dividers |
|---|---|---|
| Best contents | Small mixed utensils | Longer tools |
| Layout | Move trays individually | Resize compartments |
| Cleaning | Lift each tray out | Remove dividers first |
A drawer feels larger when every utensil has a visible landing place. Empty it first and rebuild around the tools you actually reach for, rather than buying a grid with more compartments than you need. Leave one section roomy enough for your longest utensil and keep sharp blades safely protected.
7. Cupboard Mug Hooks
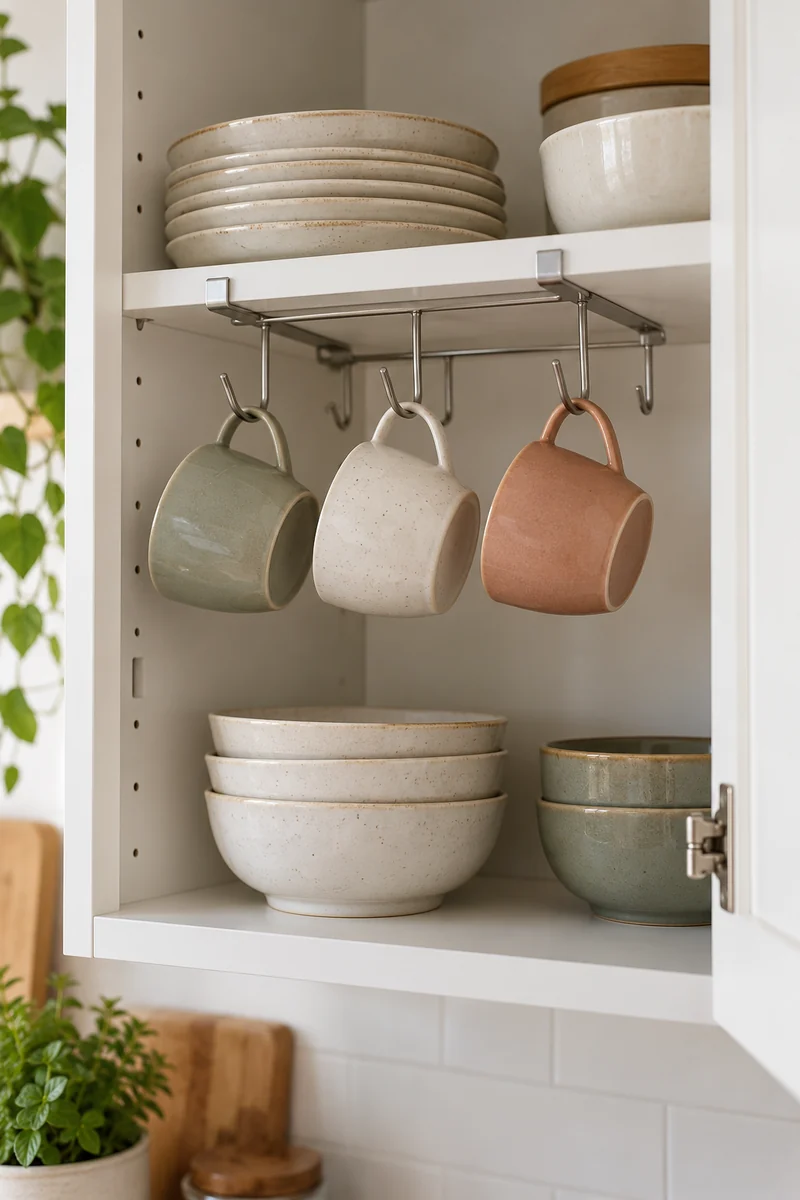
DO
- Use hooks designed for the particular shelf and its thickness.
- Check clearance for mug handles and the closed cabinet door.
- Keep only a few lightweight everyday mugs on the hooks.
DON’T
- Do not exceed the support or hook load limits.
- Do not attach a rack to an unstable shelf.
- Do not hang mugs above fragile glasses or busy work areas.
Small cups can occupy the top of a cupboard while their handles take up surprisingly little room underneath. Test the arrangement with one mug before filling the rack. A simple row frees the shelf below for bowls, while keeping the mugs protected behind a door instead of exposed to dust.
8. Slim Fridge Shelf
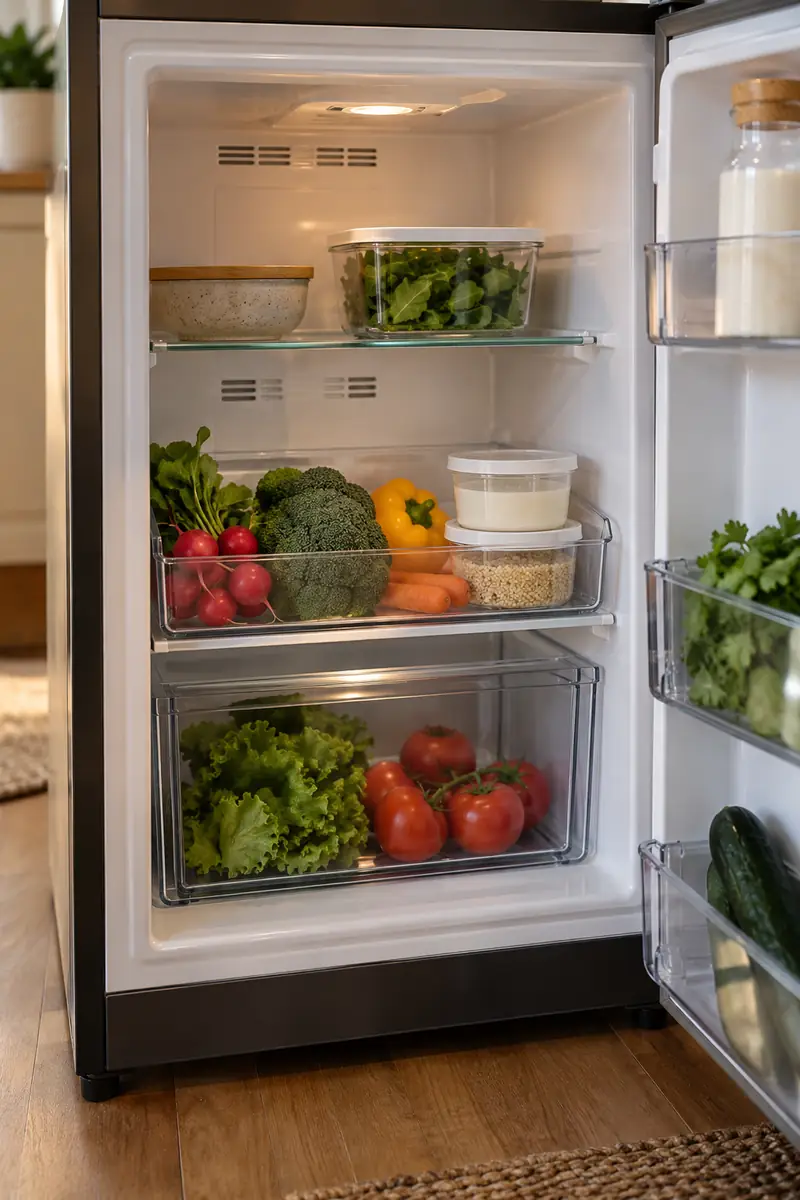
Measure: Check the shelf depth and the refrigerator door bins before adding an organizer.
Group: Keep one transparent bin for similar refrigerated ingredients.
Leave room: Do not block vents or pack containers tightly against them.
Reset: Wipe the bin when spills happen and check the foods inside regularly.
A shallow bin can make a small refrigerator shelf easier to scan without reorganizing the whole appliance. Choose a container designed for the environment and follow your refrigerator manual on loading and airflow. Keep original food labels available, and use the bin to collect items rather than hide forgotten leftovers.
9. Under-Shelf Basket
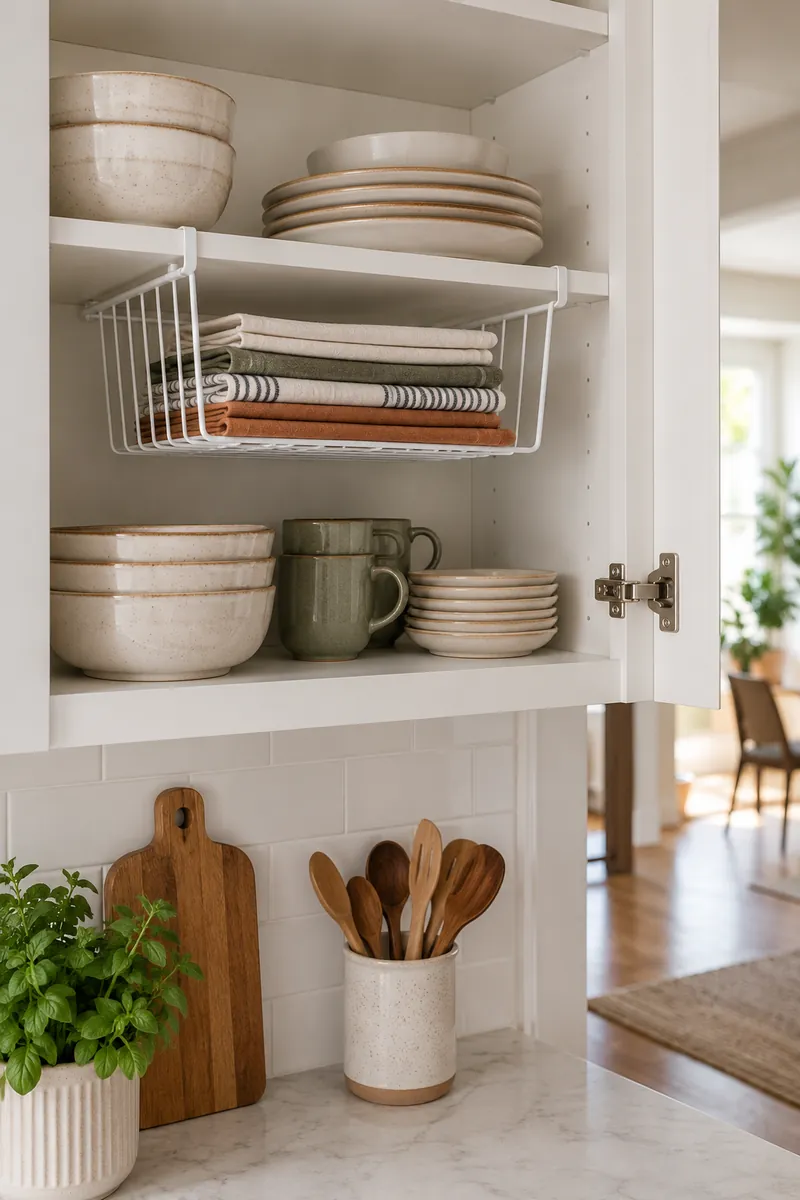
The unused space beneath a high cupboard shelf can hold something lighter than another dish stack. A slide-on basket works well for cloth napkins, sandwich wraps, or small empty food containers. Check that its support arms sit securely on a shelf compatible with the product before loading it.
Close the cupboard door slowly to check for contact with the basket or its contents. Keep the load within the manufacturer’s limit and avoid fragile or heavy items overhead. A shallow basket is easier to use than a deep one when the cupboard already sits above comfortable eye level.
10. Breakfast Drawer Pair
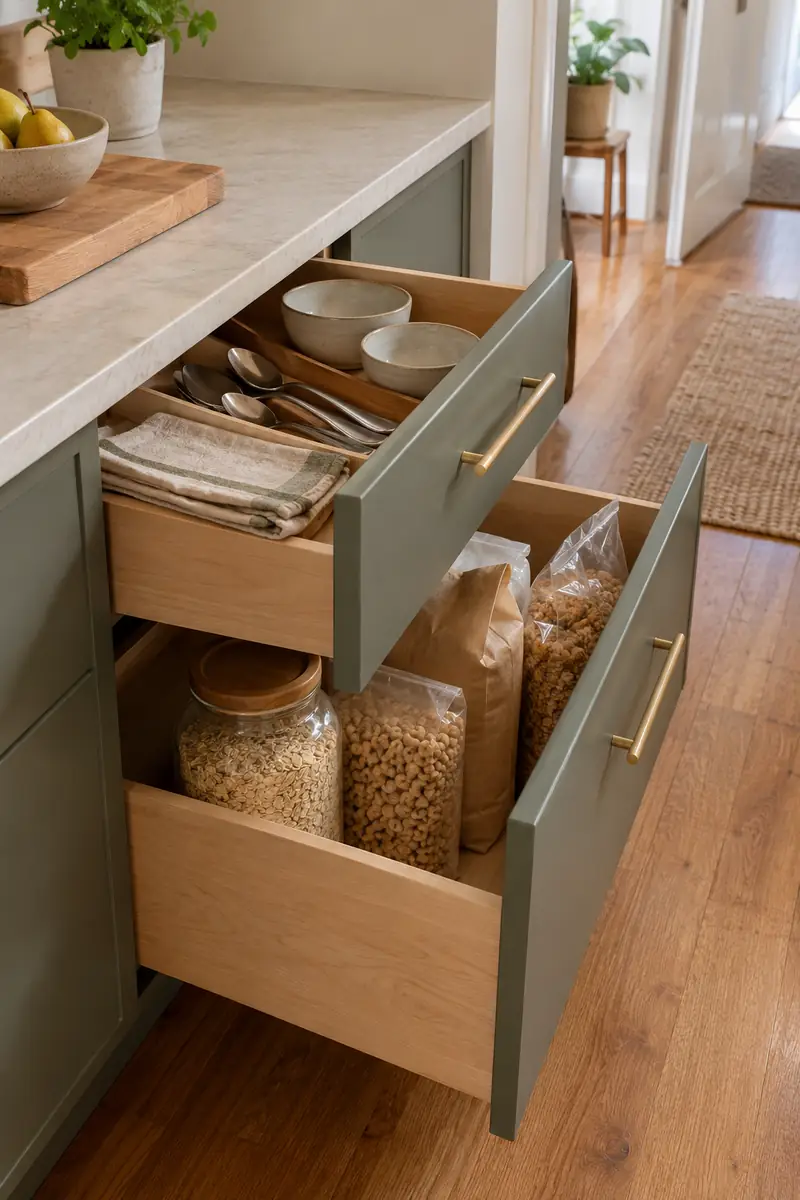
- Give one shallow drawer to spoons, napkins, and the small bowls you use each morning.
- Use a neighboring deeper drawer for sealed breakfast supplies.
- Keep food packaging instructions and dates visible or attached to decanted items.
- Arrange both drawers so nothing catches when they close.
Two neighboring drawers can behave like one compact breakfast station without adding a cart. Put the things you reach for first nearest the front, then move occasional extras behind them. Before buying dividers, try the arrangement with your existing containers to see whether the morning routine actually becomes simpler.
11. Open-Shelf Color Rhythm
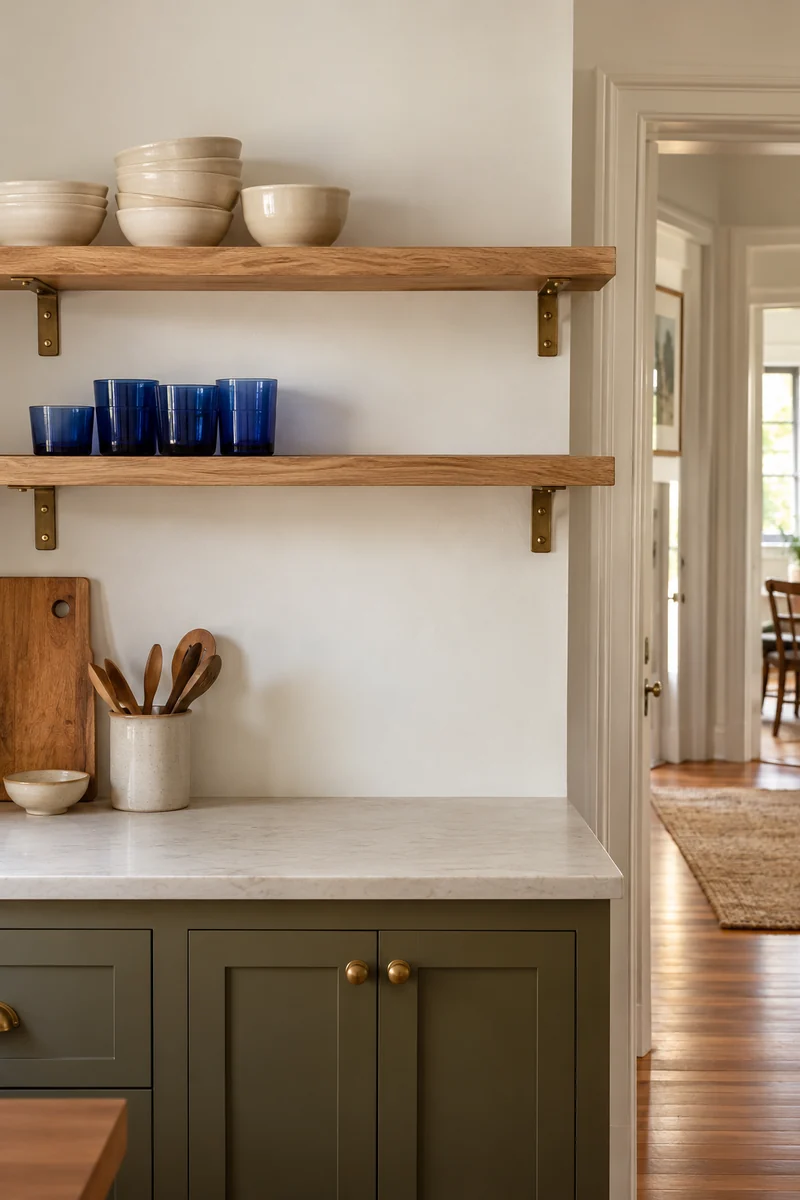
Quick Tip:
Choose two colors already present in your room and repeat them across useful dishes. Leave an empty stretch between groups so the shelf is easy to read.
Open storage feels calmer when its contents have a simple visual rhythm. Arrange everyday bowls together, then place taller drinking glasses beside them instead of mixing every shape across the shelf. Keep frequently used items within easy reach and reserve the highest position for lightweight pieces you need less often.
12. Reusable Wrap File
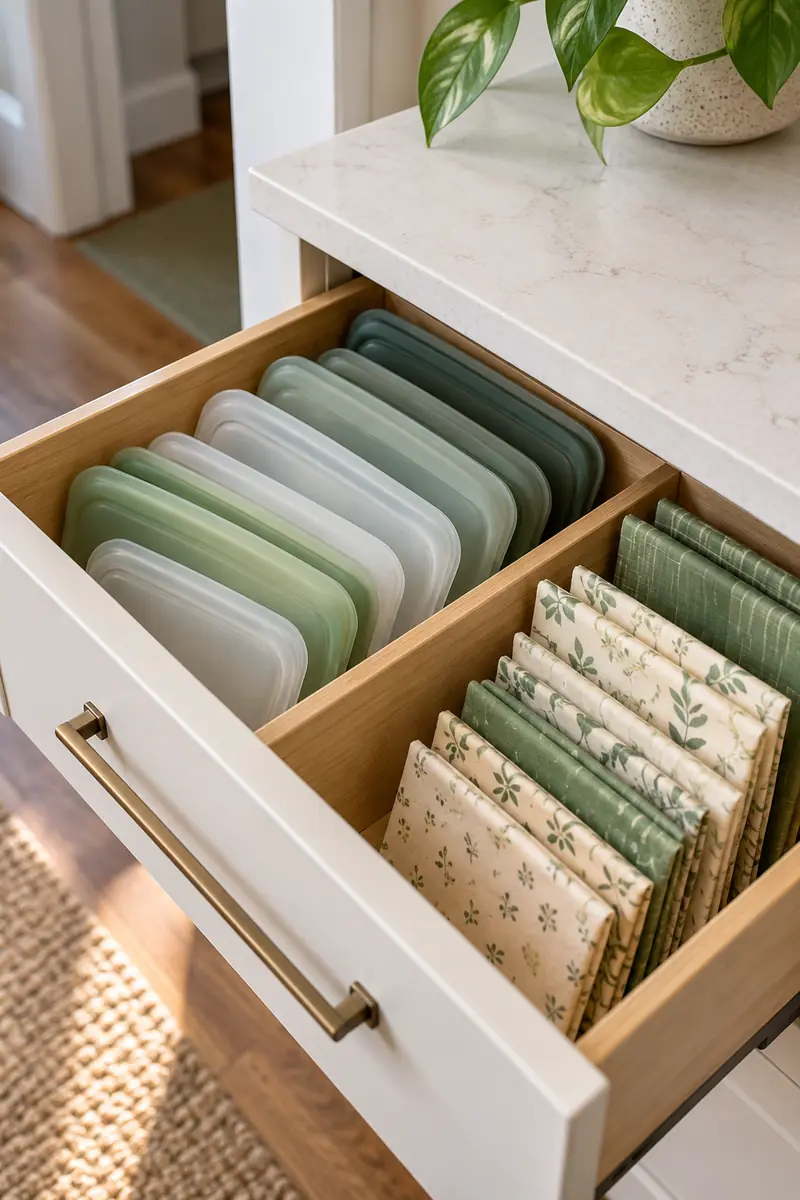
BEFORE:
Reusable food wraps and storage bags lie crumpled behind the utensils. The clean pieces get mixed with items waiting to be washed.
AFTER:
A shallow divider holds clean, dry wraps upright by size. Reusable bags have a separate compartment so their openings stay easy to find.
Treat this drawer like a small filing system for the containers you use most. Follow each product’s washing, drying, and food-contact instructions, especially when choosing what to wrap. Keep the collection small enough that pieces sit loosely, and remove worn items rather than letting them crowd the useful ones.
13. Sink Caddy Compartment
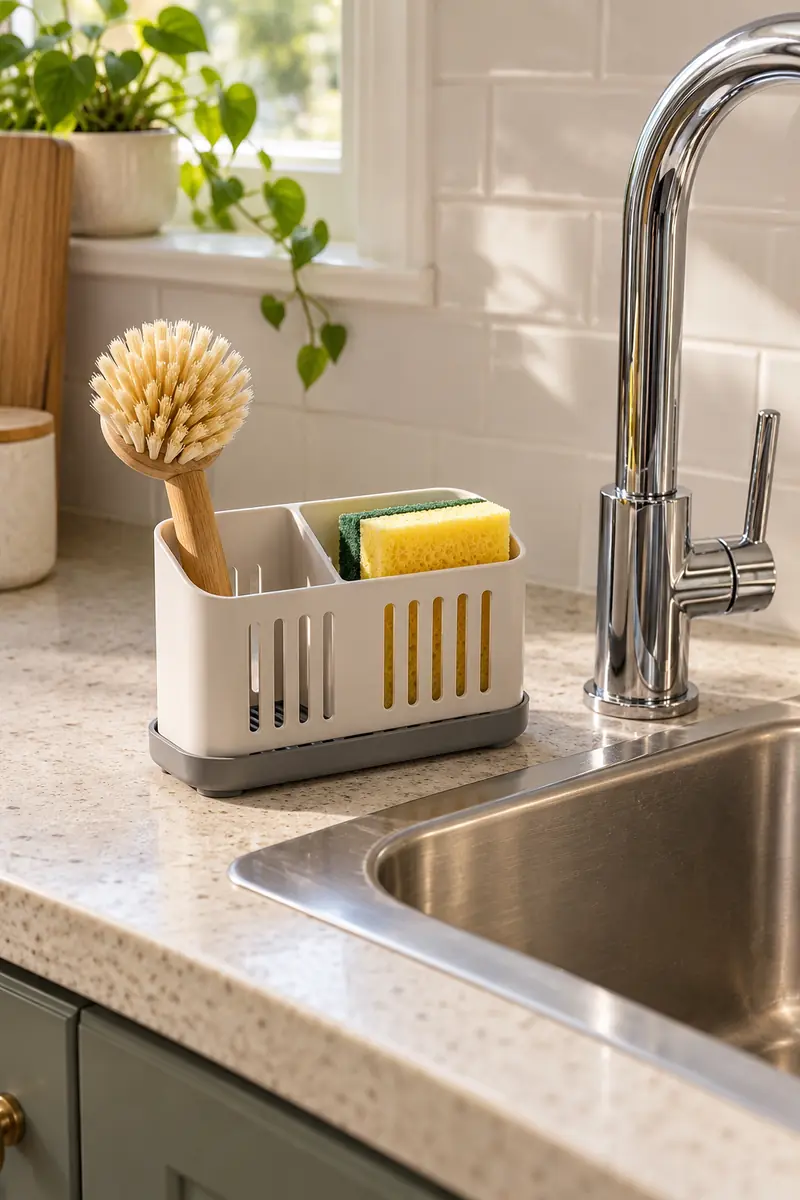
- Choose a removable caddy that fits beside the sink without blocking the faucet.
- Give the sponge and brush separate spaces so neither rests in pooled water.
- Empty any collecting tray and clean the pieces according to their instructions.
- Return only the washing tools you actually need beside the sink.
A little structure beside the sink stops washing tools from migrating across the counter. Keep the caddy easy to lift for cleaning, and choose drainage that suits the actual sink edge. Store spare sponges elsewhere, leaving this small spot for the tools currently in use rather than an entire backup supply.
14. Low Pantry Crates
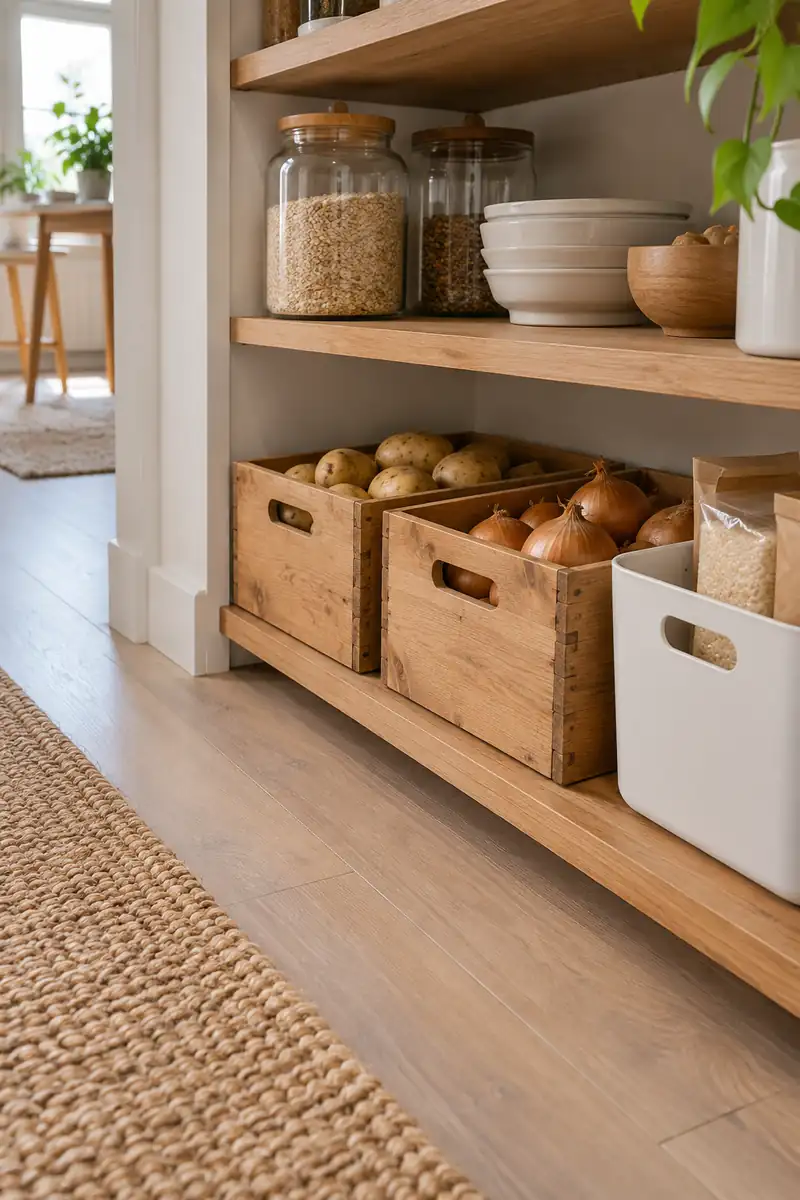
| Detail | Open Crate | Handled Bin |
|---|---|---|
| Visibility | See taller packages | Lift out to inspect |
| Good grouping | Produce suited to storage | Sealed pantry supplies |
| Access | Reach from the front | Pull out by the handle |
Low shelves become easier to use when a few related items move together. Choose lightweight containers that slide out without scraping the floor or catching a cabinet hinge. Follow food storage instructions rather than mixing everything into one crate, and avoid packing so tightly that the contents are difficult to inspect.
15. Matching Dry-Goods Row
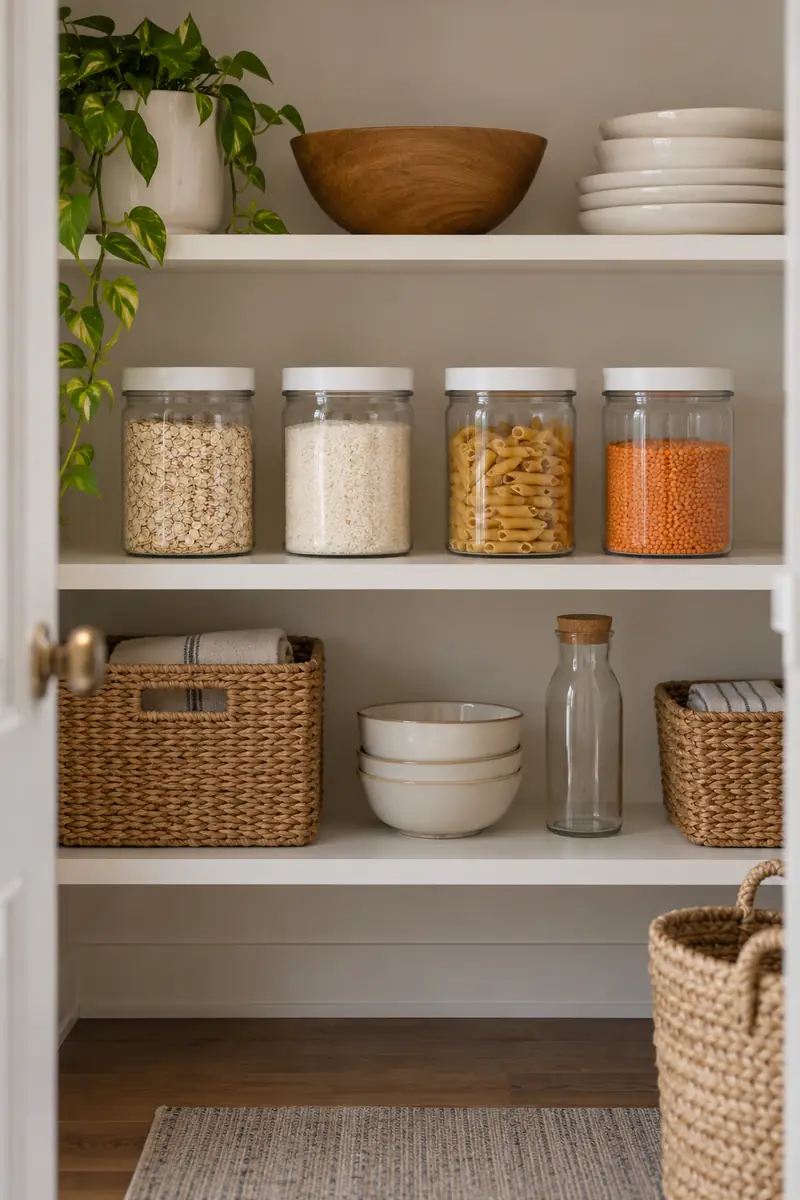
DO
- Choose container sizes that match the foods you buy.
- Keep ingredient, allergen, and date information with each refill.
- Wash and fully dry containers before filling them.
DON’T
- Do not discard useful preparation instructions.
- Do not buy oversized jars just to fill a shelf.
- Do not store glass jars where they could fall into a cooking area.
A short row of containers can look restful while keeping food visible. Match the lid finish for consistency, then let the different ingredients provide texture. Keep the row on a stable pantry shelf away from heat, and avoid topping up old food indefinitely without emptying and cleaning the container first.
16. Pegboard Coffee Corner
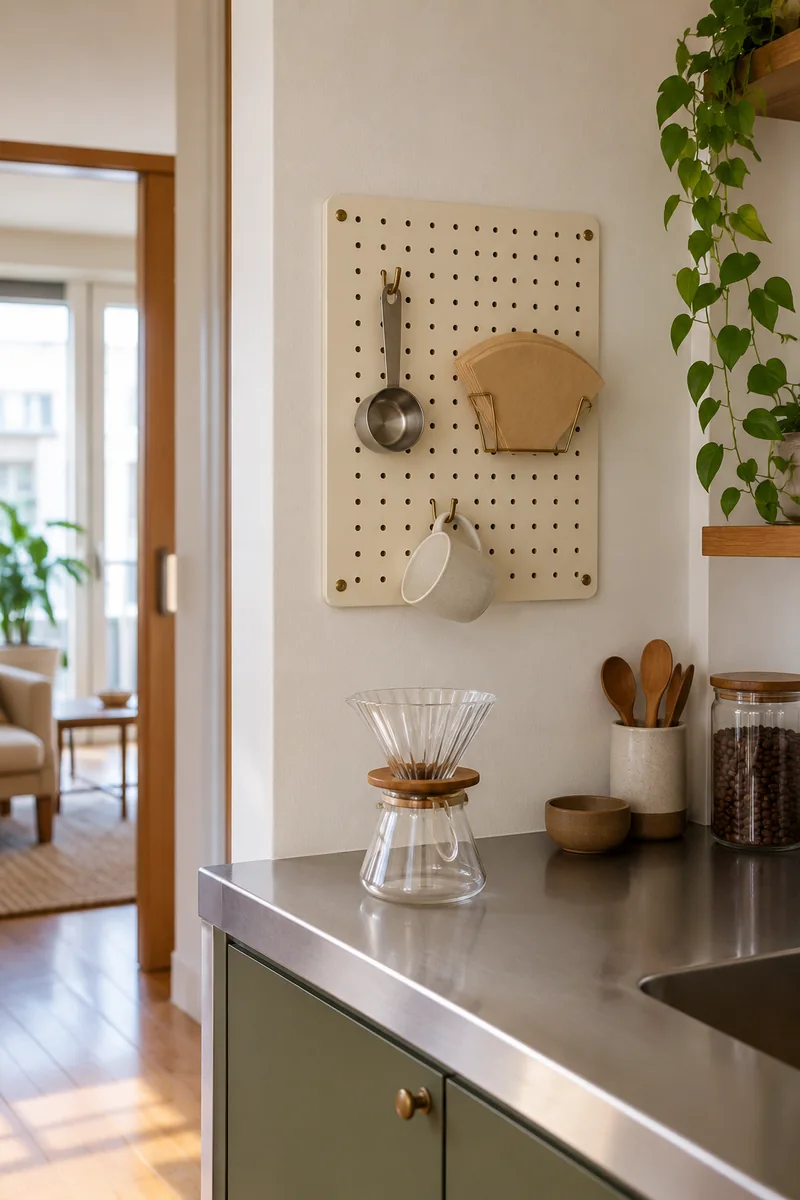
Location: Use a cool serving wall away from cooking heat and splash zones.
Contents: Hang lightweight coffee scoops and small filters in a holder.
Support: Match fixings to the wall and the pegboard load instructions.
Surface: Keep the counter beneath available for preparing your drink.
A small pegboard gives coffee accessories a home without turning the entire wall into storage. Keep the arrangement sparse enough to remove each item directly, and check that hooks lock into place as intended. Ask permission before drilling, and treat the display as accessory storage rather than support for an appliance.
17. Takeout Supply Drawer
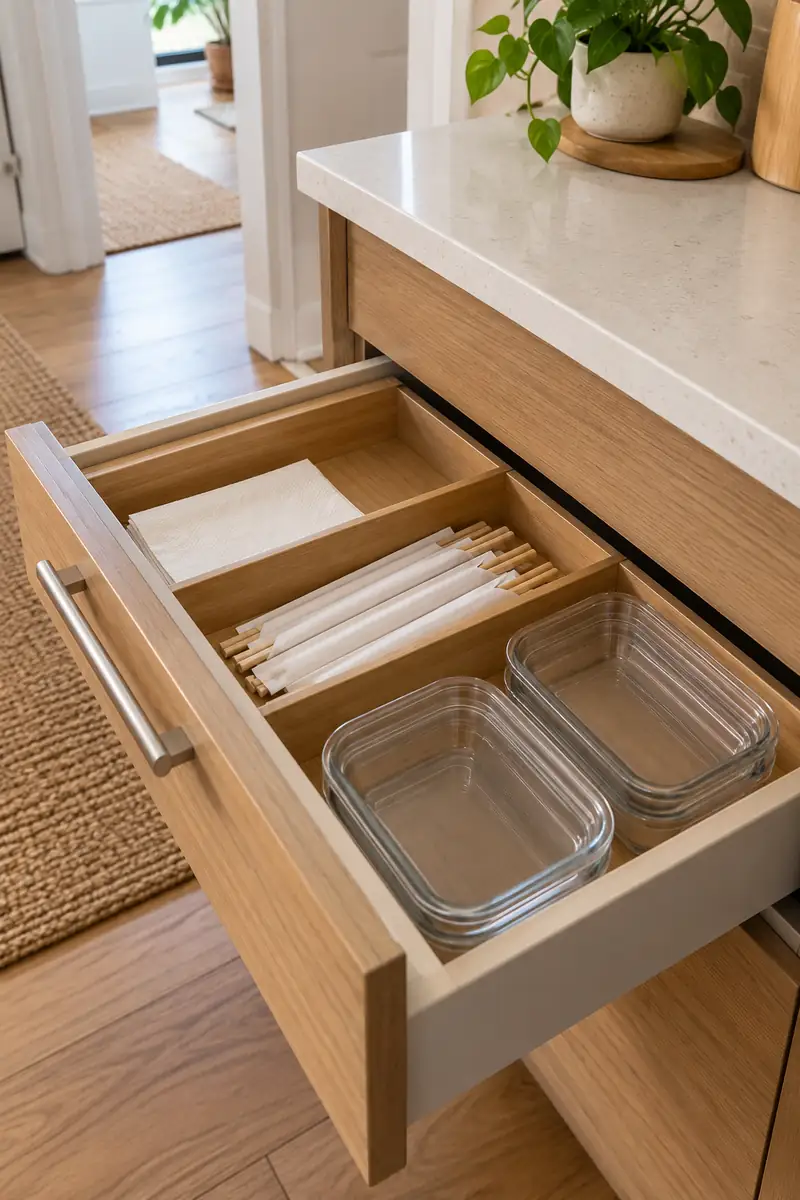
A tiny kitchen drawer can keep the useful leftovers from takeout organized before they scatter through your cupboards. Gather unopened napkins, chopsticks, and reusable containers into separate sections. Keep only the quantity you will realistically use, rather than treating every free packet as something that deserves permanent storage space.
Check sauces for their storage directions and dates instead of assuming all packets belong in this drawer. Set a modest limit for each category, then recycle or discard unsuitable extras appropriately. A shallow tray keeps small pieces visible, making the drawer useful for packed lunches as well as occasional takeout.
18. Window-End Display
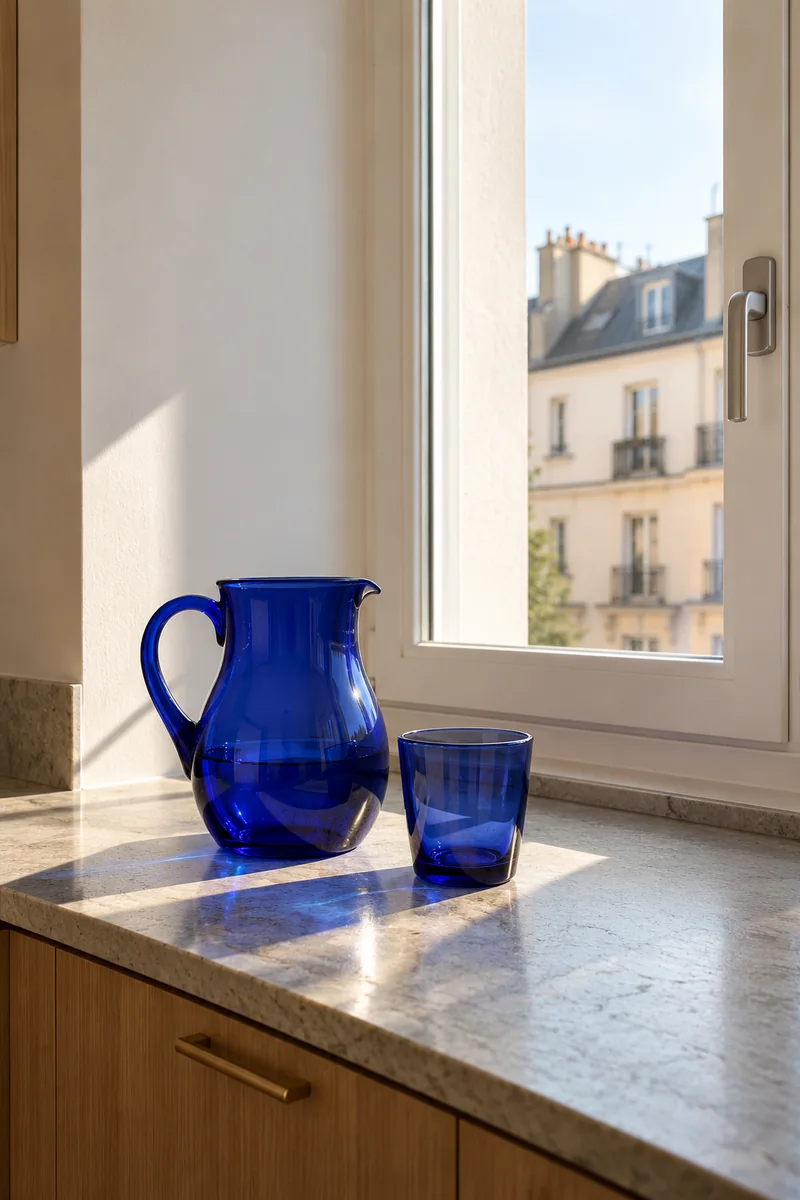
- Use the stationary counter end beside a window for a small decorative grouping.
- Choose one useful pitcher or bowl rather than a row of tiny ornaments.
- Keep window handles, opening movement, and any escape route unobstructed.
- Place the display away from the stove and any heat-producing appliance.
A little daylight can make an ordinary water pitcher feel like decoration. Let the object stand on its own, with room to lift and use it, instead of surrounding it with filler. If the window area already serves as your only preparation surface, give practical use priority and display elsewhere.
19. Cleaning Kit Bin
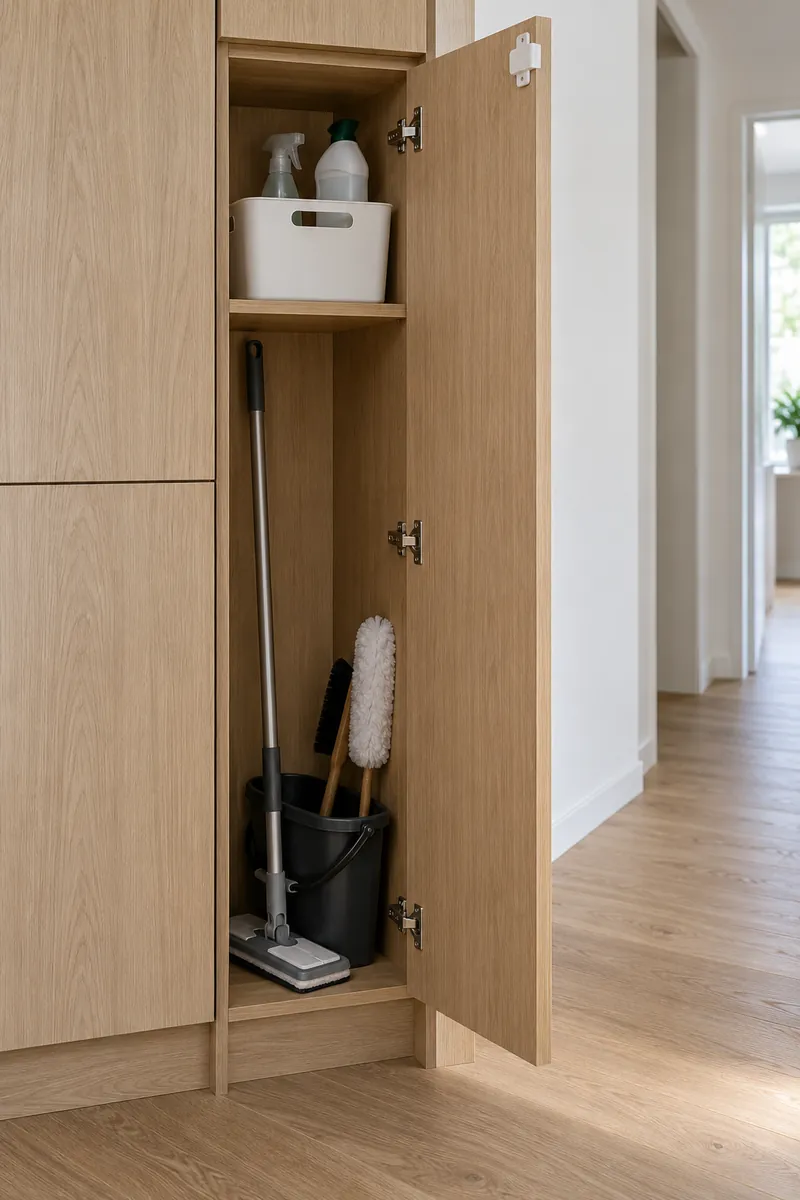
Quick Tip:
Keep a small washable bin for your kitchen cleaning supplies in a suitable cupboard. Follow the products’ storage directions and keep cleaners separate from food and out of children’s reach.
A handled bin lets you reach the supplies at the back without knocking over individual bottles. Measure shelf height and door clearance before choosing its size, and leave room to lift it out comfortably. Keep products in their original containers, never combine them, and avoid letting backup supplies overfill the cupboard.
Conclusion
A useful studio apartment kitchenette does not need a matching organizer in every corner. Begin with the one change that makes your usual meal easier, then see whether anything else still needs attention. Perhaps your plates need a second level, your breakfast supplies need one basket, or your prettiest mugs deserve their own little ledge. Leave breathing room around each setup and keep cooking surfaces available for cooking. Save your favorite idea to Pinterest so you can check it against your own cabinets later. Try one small adjustment this week, and share the idea with someone making a compact home work harder.

Community
Join the conversation
Add a useful idea, ask a specific question, or share what worked in your space. Every comment is reviewed before it appears.