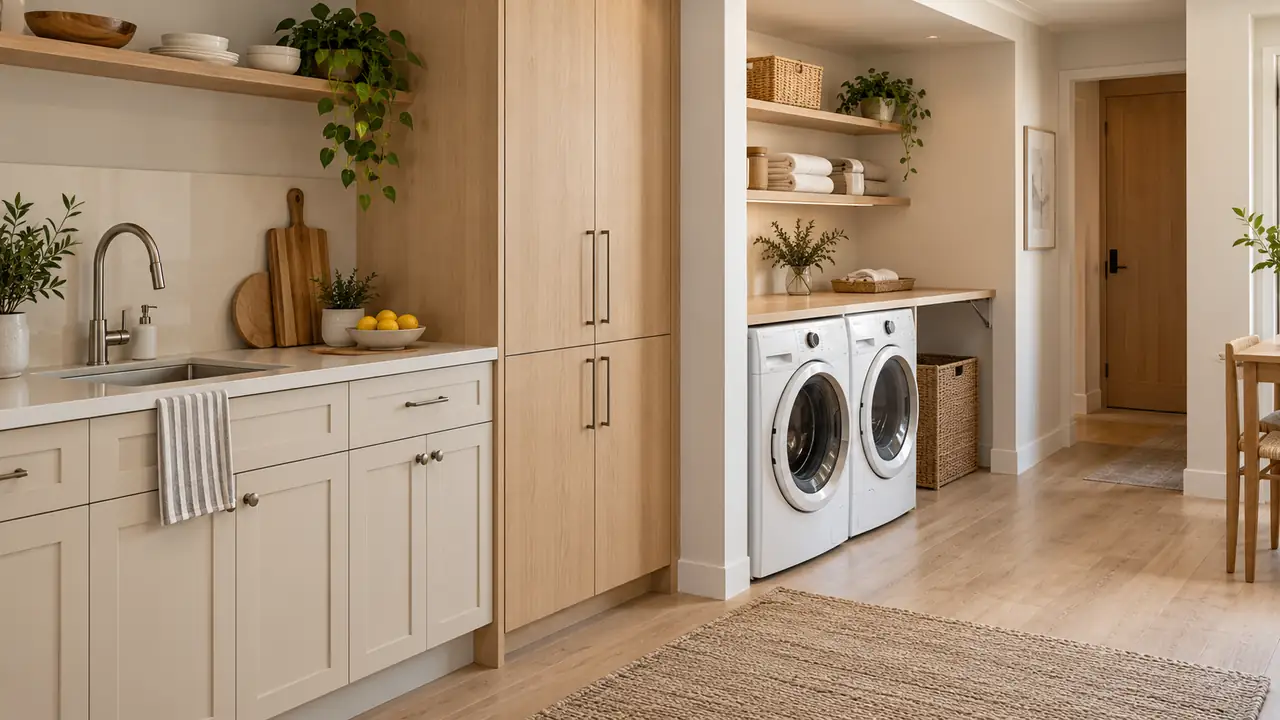
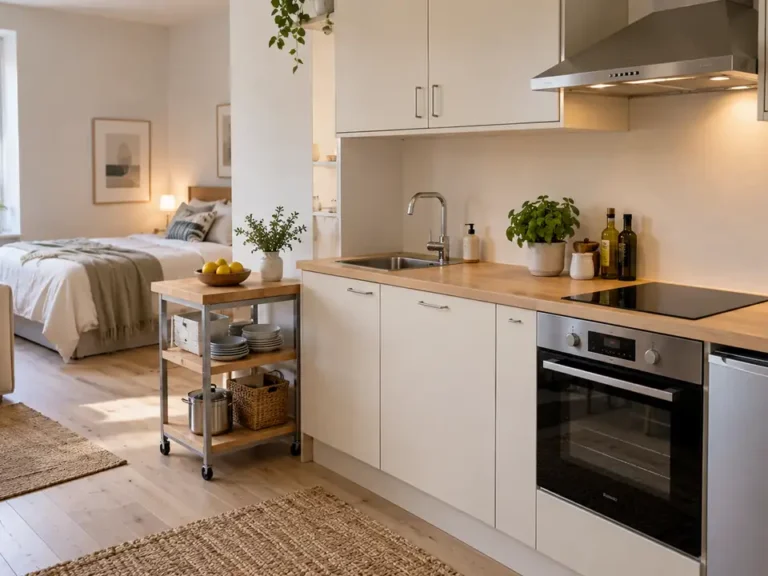
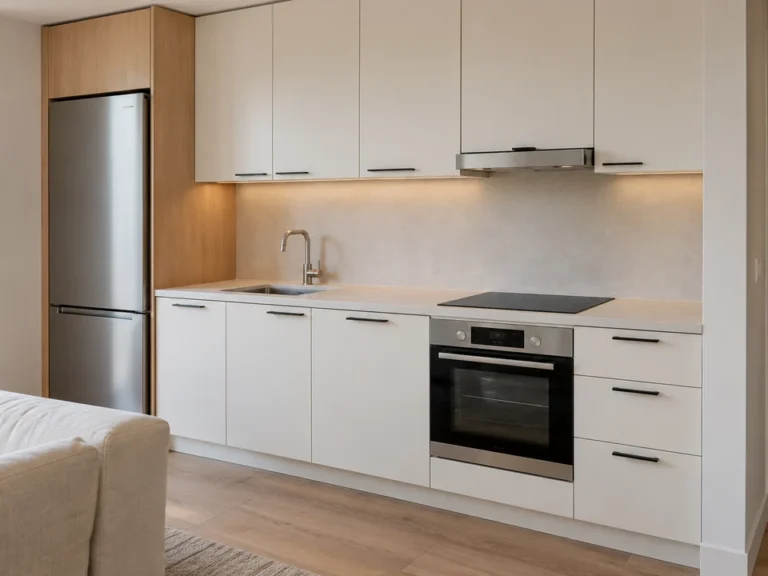
A studio apartment kitchen laundry setup asks one small room to handle very different jobs. Dinner ingredients need clean preparation space, while clothes, accessories, and cleaning products need homes of their own.
The most useful changes create clear places for each task without crowding the walking route or hiding the parts of a machine you need to reach. Start with an existing approved laundry installation, and ask a qualified installer about any new appliance, cabinet enclosure, plumbing, electrical supply, or ventilation change.
Manufacturer instructions control the required services, clearances, and operating conditions; these photos are decorating concepts rather than measured installation plans. With that foundation in place, thoughtful storage and a simple laundry routine can help the kitchen feel calm again between loads.
1. Closed Laundry Cupboard
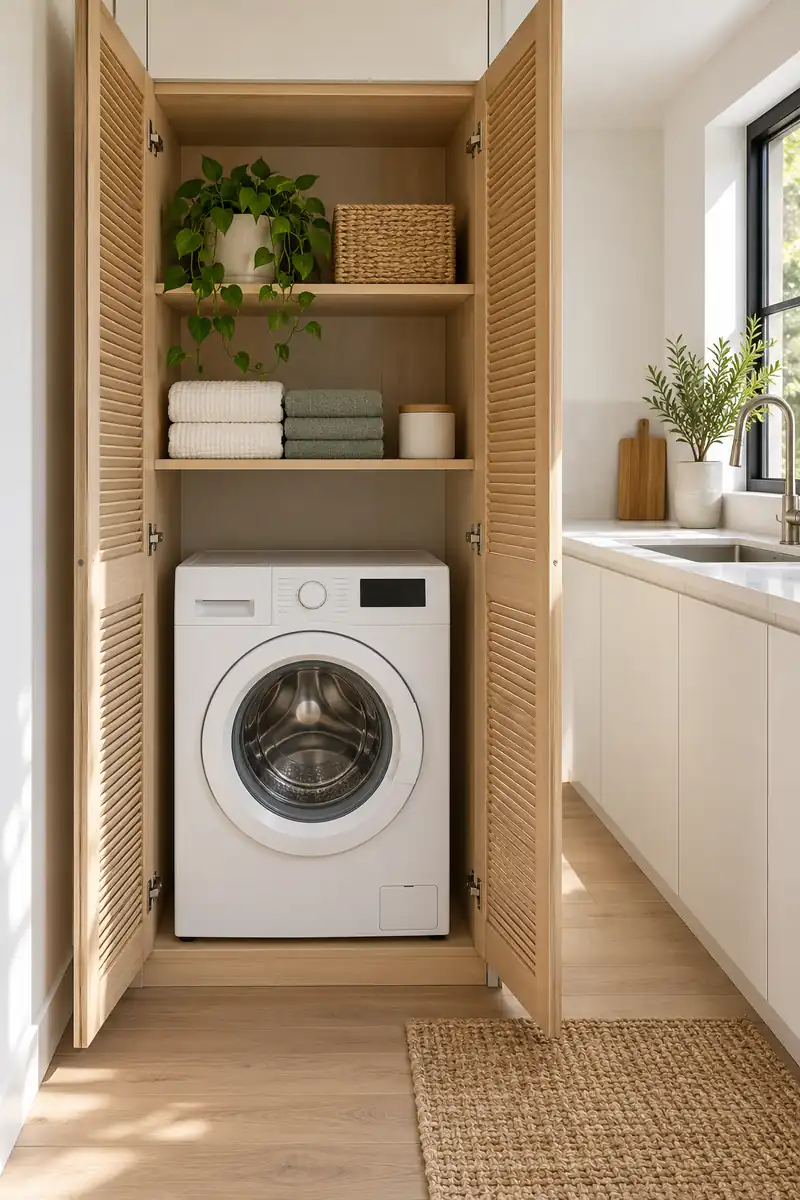
A laundry cupboard helps the kitchen settle back into living space when chores are finished. Match its doors to nearby cabinetry so the machines sit within one quiet composition. The enclosure must suit the actual appliances, with manufacturer-required openings, clearances, and access planned before anyone orders the cabinet fronts.
Ask a qualified installer whether the chosen machines can operate with the cupboard doors closed. Decorative panels are never a substitute for the specified ventilation. Keep controls reachable, allow the appliance doors to open fully, and leave enough space for maintenance without dismantling the surrounding kitchen each time.
2. Side By Side Station
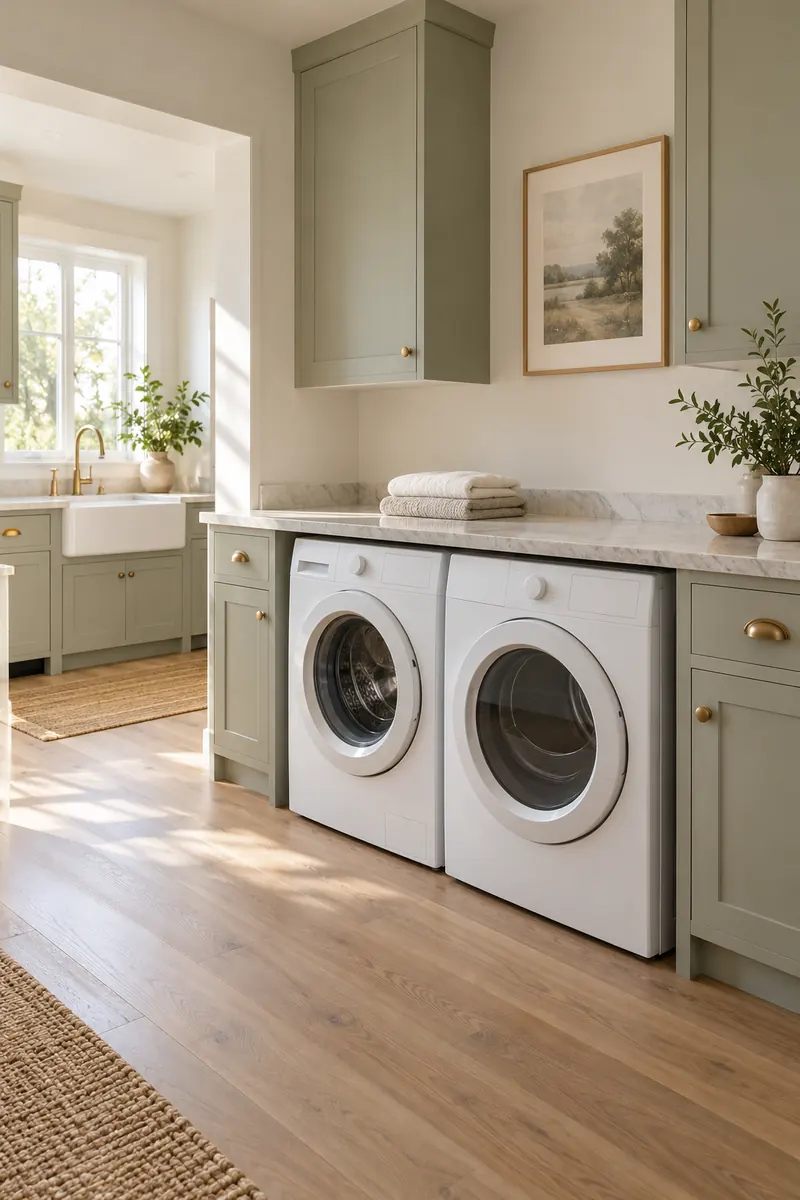
- Compare the combined machine widths with the available utility bay before choosing cabinetry.
- Allow the specified side, rear, top, and operating clearances for each model.
- Support any counter independently rather than resting it directly on the machines.
- Keep shutoff valves, plugs, filters, and other required service points accessible.
A side-by-side arrangement gives laundry a clear horizontal zone, which can sit comfortably at one end of a kitchen. The useful extra is a folding surface above, provided it has its own suitable support. Check the selected machines’ installation instructions before deciding the counter height, depth, or surrounding cabinet dimensions.
3. Stacked Laundry Alcove
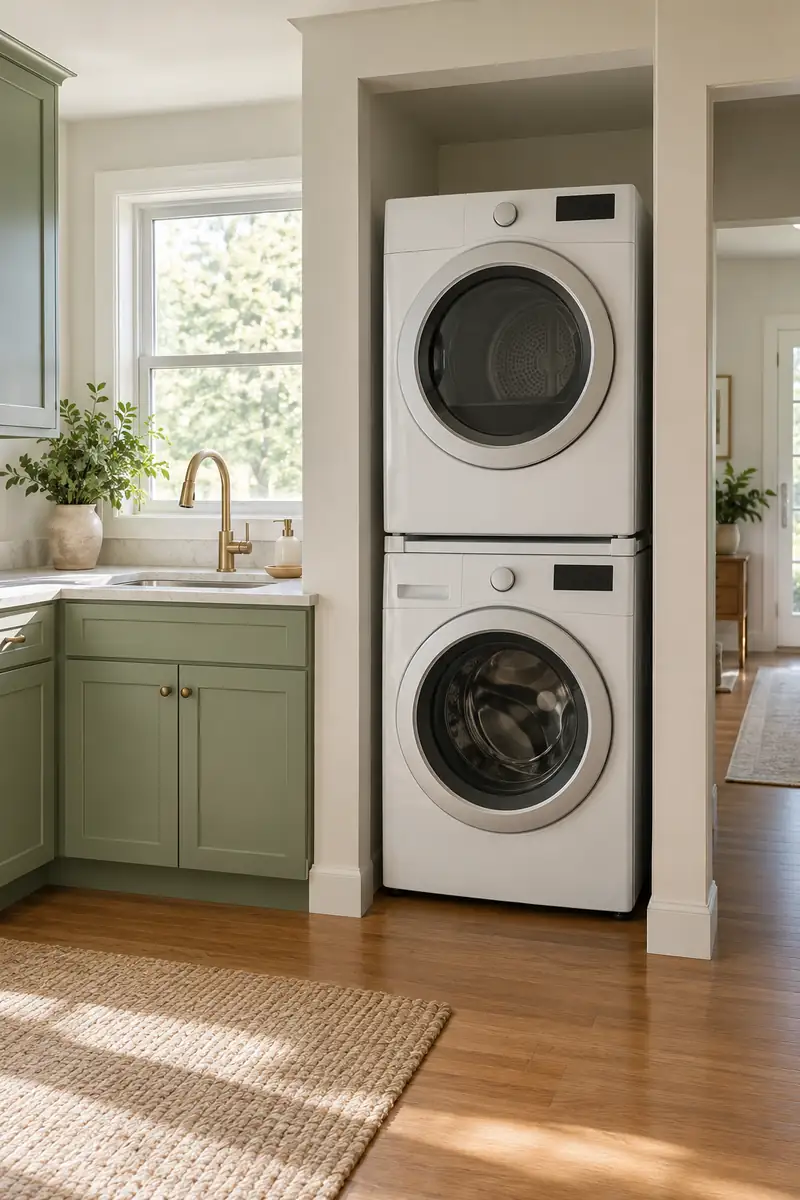
Quick Tip:
Choose a washer and dryer approved for stacking together. Use the correct manufacturer-approved stacking kit, with the dryer above the washer. Have a qualified installer assemble the combination instead of relying on a shelf or improvised fasteners.
Stacking can free floor area for a separate hamper or narrow folding spot. The saving only helps when you can comfortably reach both sets of controls and open both doors. Have the installer check the complete arrangement, including floor support, services, model compatibility, and the manufacturer’s required space around it.
4. Folding Counter Zone
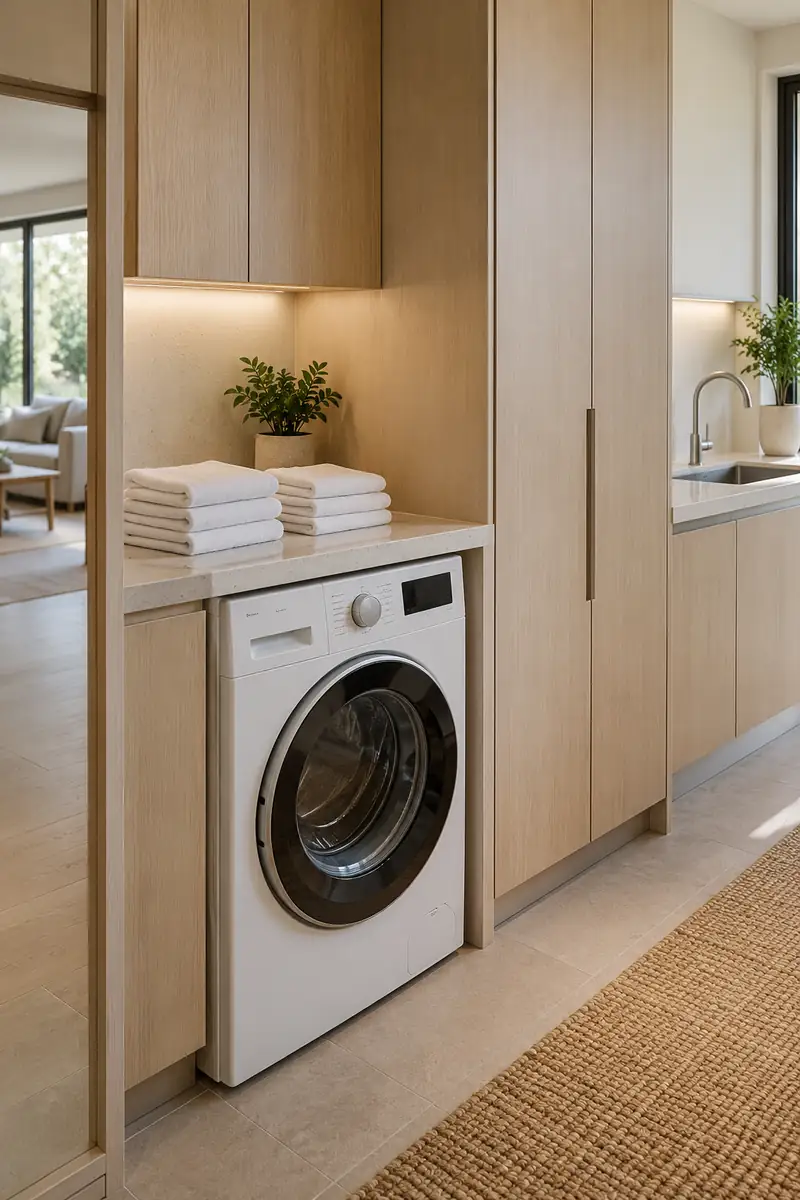
BEFORE
Clean shirts land on the kitchen table beside groceries and a laptop. Moving them repeatedly turns a short laundry task into background clutter.
AFTER
A clear utility counter holds one finished load while you fold. A nearby basket carries everything back to the wardrobe in a single trip.
A dedicated folding patch prevents clean clothes from competing with chopping boards and dinner ingredients. It can be small if you fold and put things away immediately. Keep laundry products elsewhere, and clean the surface before sorting fresh clothes so the station stays useful rather than becoming another household dumping spot.
5. Detergent Safety Cabinet
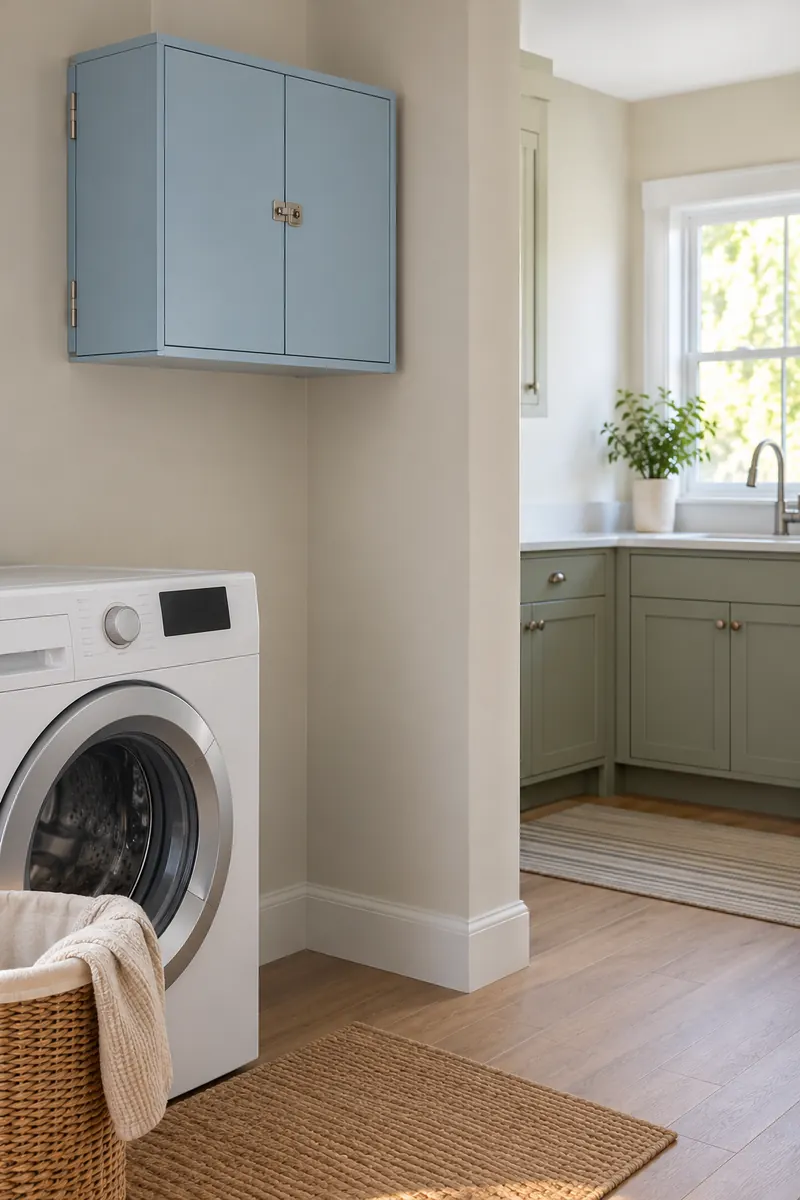
- Choose a secure utility cabinet away from food storage, food preparation, and cooking heat.
- Keep the original product containers rather than transferring contents into decorative jars.
- Use a suitable lock and keep supplies out of children’s and pets’ reach.
- Follow product labels and clean any spills promptly before using the area again.
Detergent needs a safe home more than it needs attractive display containers. A high, locked cabinet keeps laundry products separate from food and everyday dishes. Keep products in their original packaging with labels intact and lids closed, and return each one immediately after use rather than leaving it beside the machine.
6. Divided Utility Drawer
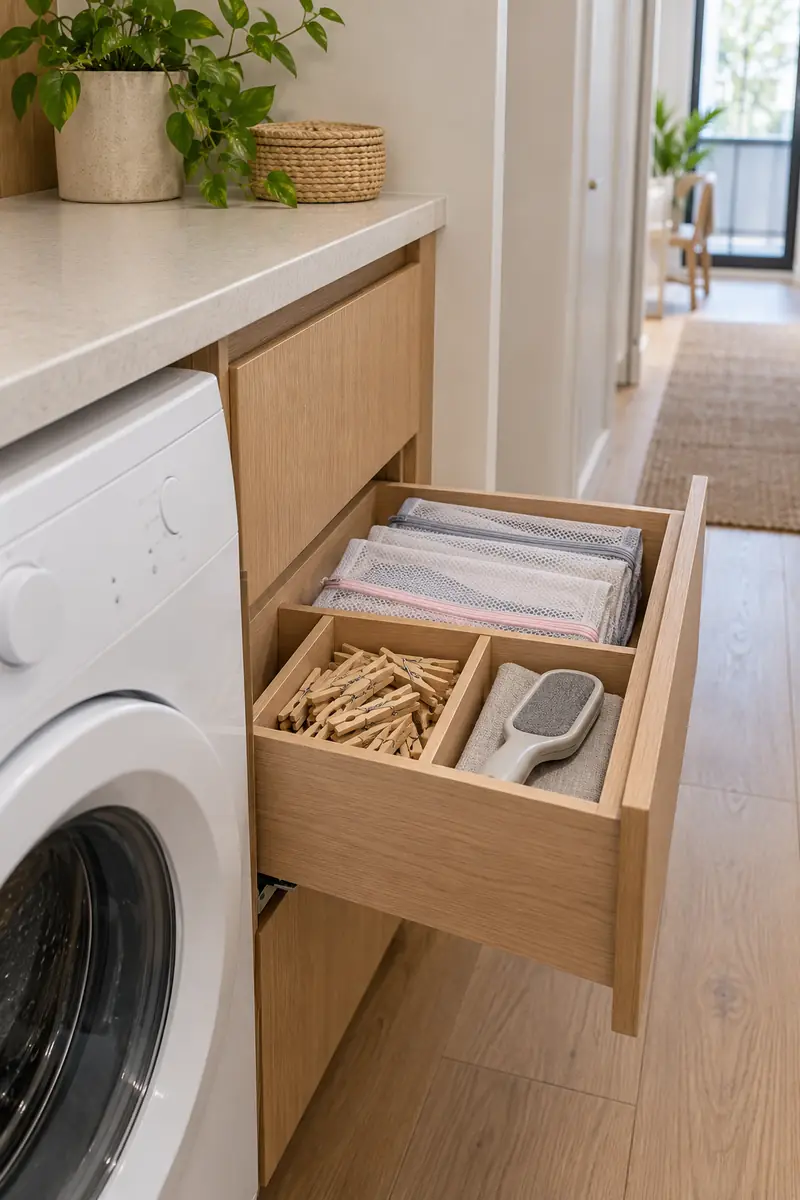
| Detail | Fixed Dividers | Removable Trays |
|---|---|---|
| Best use | A stable set of small accessories | Supplies that change over time |
| Cleaning | Wipe inside each compartment | Lift trays out to clean beneath |
| Sizing | Measure before fitting | Check tray edges clear the drawer runners |
A little drawer organization can remove several small irritations from laundry day. Give mesh bags, spare clothespins, and the lint brush distinct places so they do not migrate into utensil storage. Keep this drawer for accessories only, with detergent and other cleaning products stored separately in their secure original-container storage area.
7. Pullout Sorting Hampers
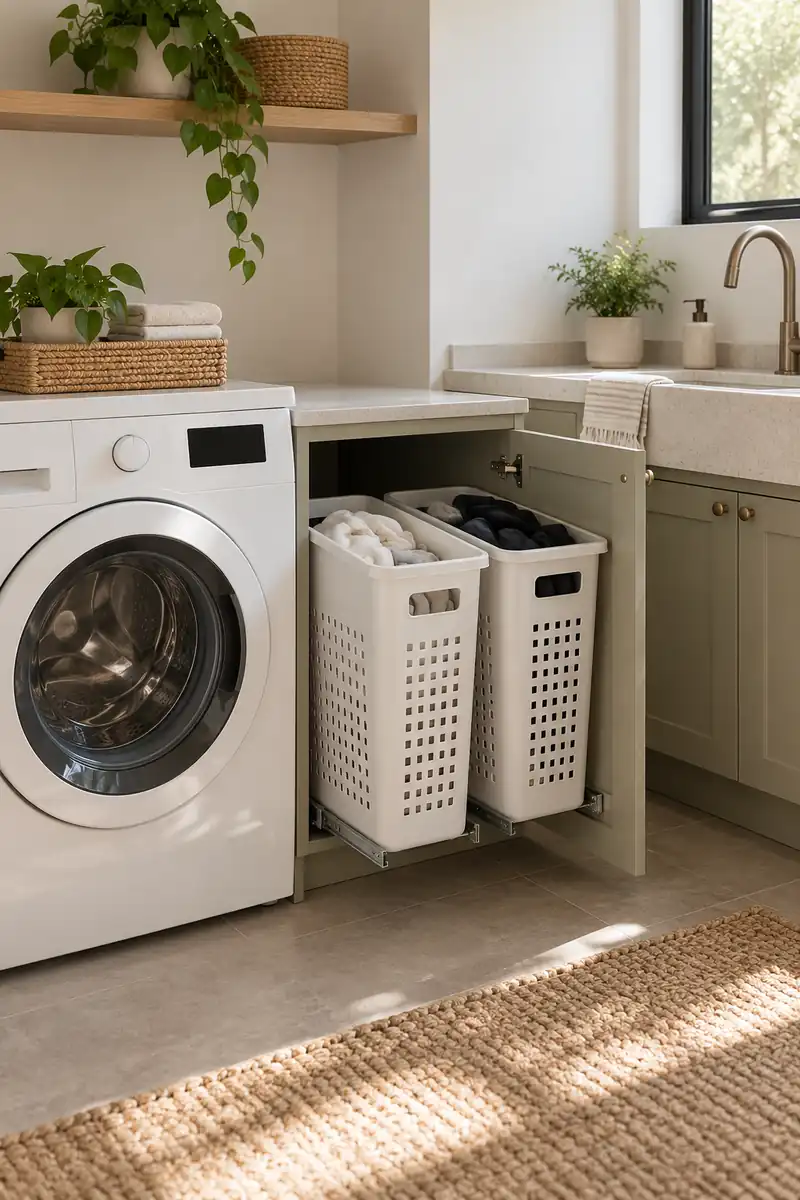
DO
- Use ventilated baskets sized for the available cabinet.
- Keep dirty clothes separate from food and clean kitchen textiles.
- Leave the hamper mechanism clear of machine doors and service points.
DON’T
- Do not push a loaded hamper against an appliance ventilation opening.
- Do not store detergent packets loose among clothes.
- Do not overload a pullout until it becomes difficult to close.
Two compact hampers can make sorting feel almost automatic in a small home. Keep the categories simple and useful for the way you actually wash, such as lights and darks. Choose baskets that lift out comfortably, then check the pullout hardware and cabinet can support the intended load of clothing.
8. Retractable Drying Rack
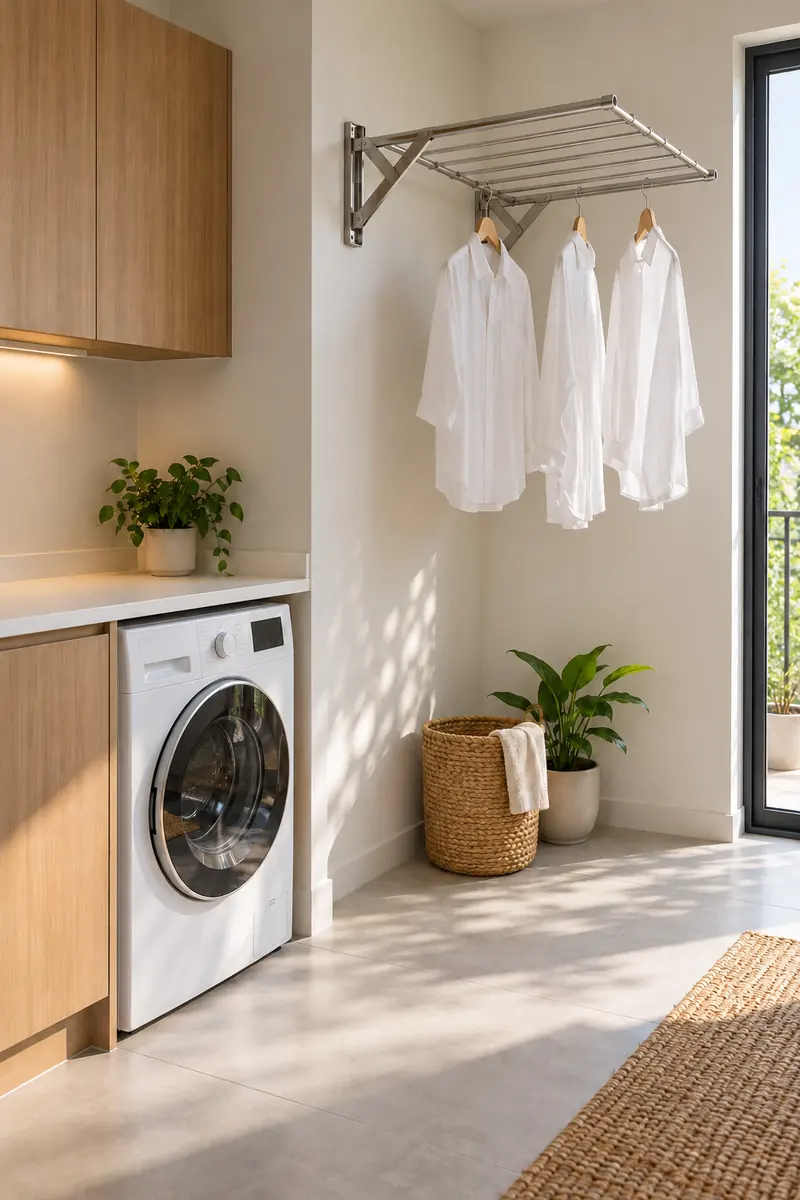
Location: A separate utility corner away from food and heat.
Opening: Enough room for the fully extended rack and hanging clothes.
Storage: A folded profile that stays clear of doors and controls.
Routine: Dry and put away items before the next small load arrives.
A small drying rack works best when its open position is planned as carefully as its closed one. Give damp clothes room between them and use a suitably ventilated location. Ask permission before wall mounting, follow the rack’s fixing and load instructions, and never suspend laundry above cooking or food preparation.
9. Airy Cabinet Doors
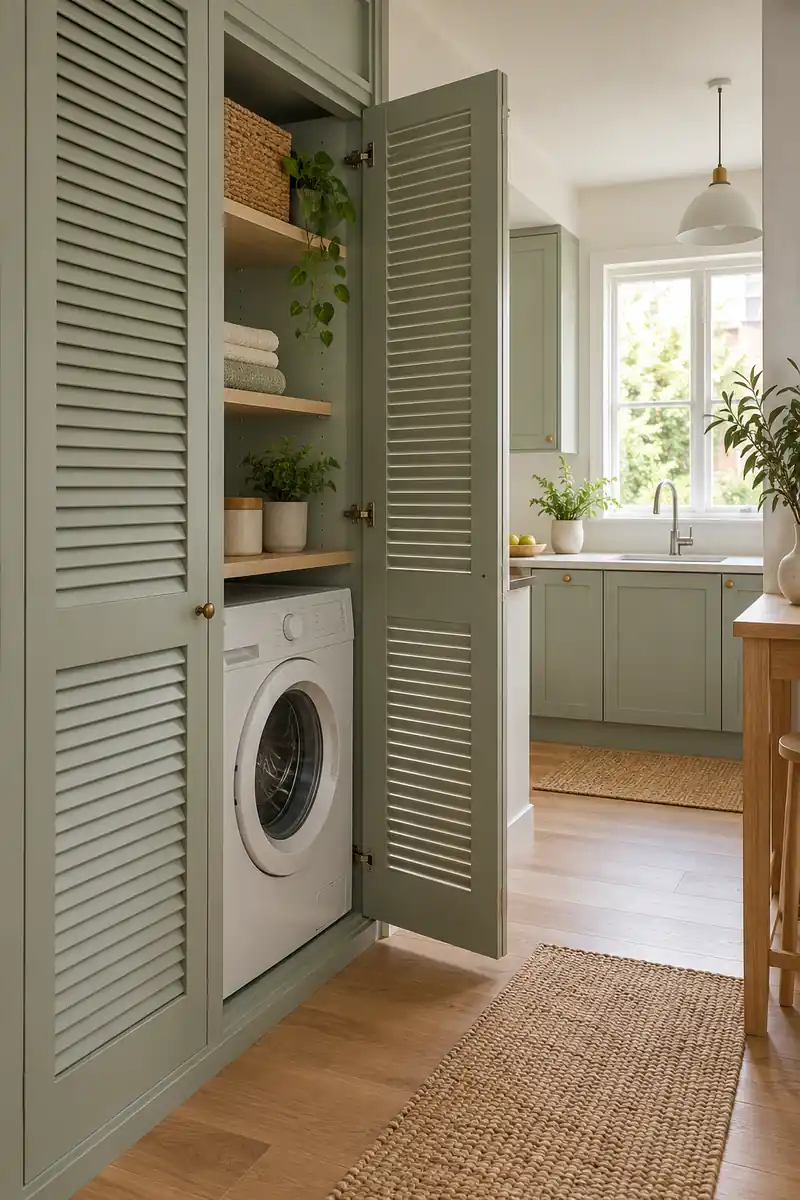
Louvered doors can give a laundry enclosure a lighter furniture-like appearance. Their practical value depends on the open area and the specific appliance requirements, so appearance alone cannot tell you whether they provide enough airflow. Ask the installer to check the entire enclosure before choosing a decorative door style.
Keep every required opening clear after installation, including gaps that can disappear behind baskets or rugs. A soft green or cream finish can relate the doors to the kitchen without making them identical. Check how the doors fold or swing so the arrangement still works when you load clothes.
10. Drip Tray Access
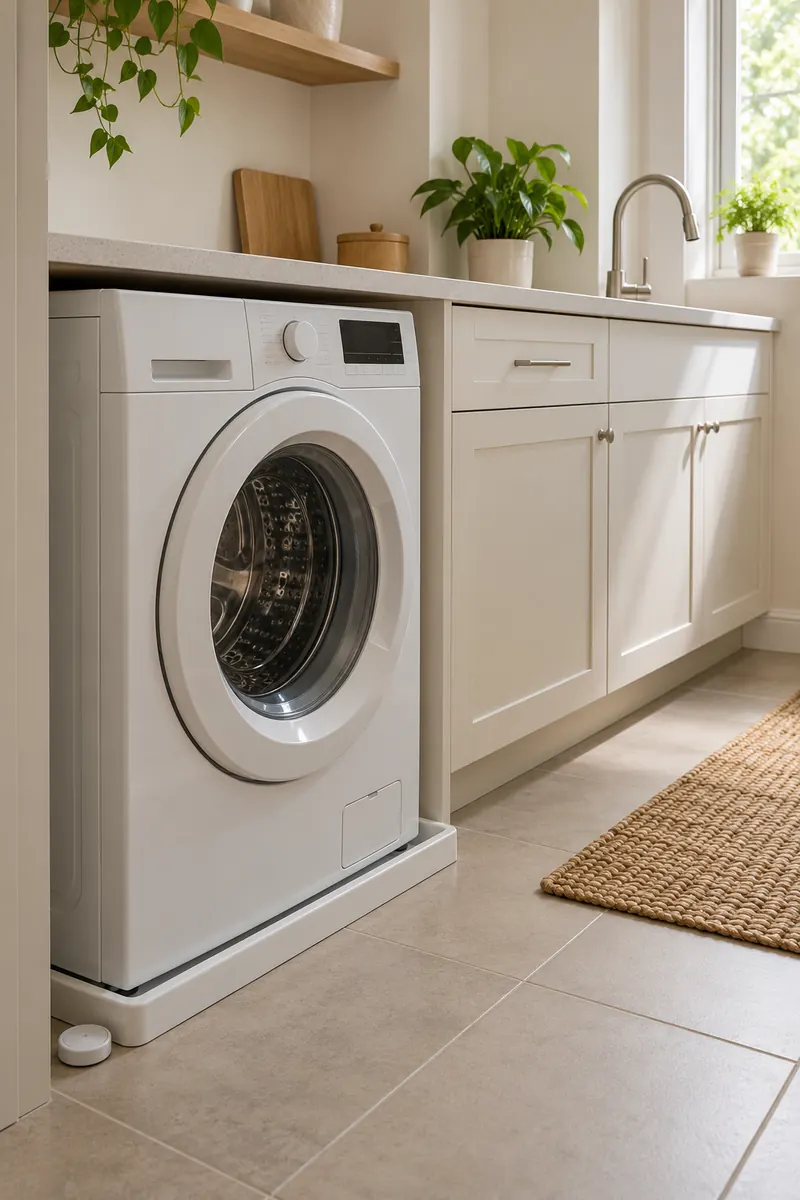
- Choose a pan only after checking the appliance and installation requirements.
- Keep the front service flap usable instead of hiding it behind a tall trim piece.
- Position an appropriate leak sensor where it can detect water without creating a trip hazard.
- Keep the agreed shutoff location clear and know how to reach it quickly.
Leak protection deserves attention before a machine becomes difficult to reach. Ask your installer whether an appropriate drain pan and a compatible leak sensor suit the location and appliance. These measures do not replace correct connections, routine checks, or prompt action when you notice water where it should not be.
11. Compact Combo Corner
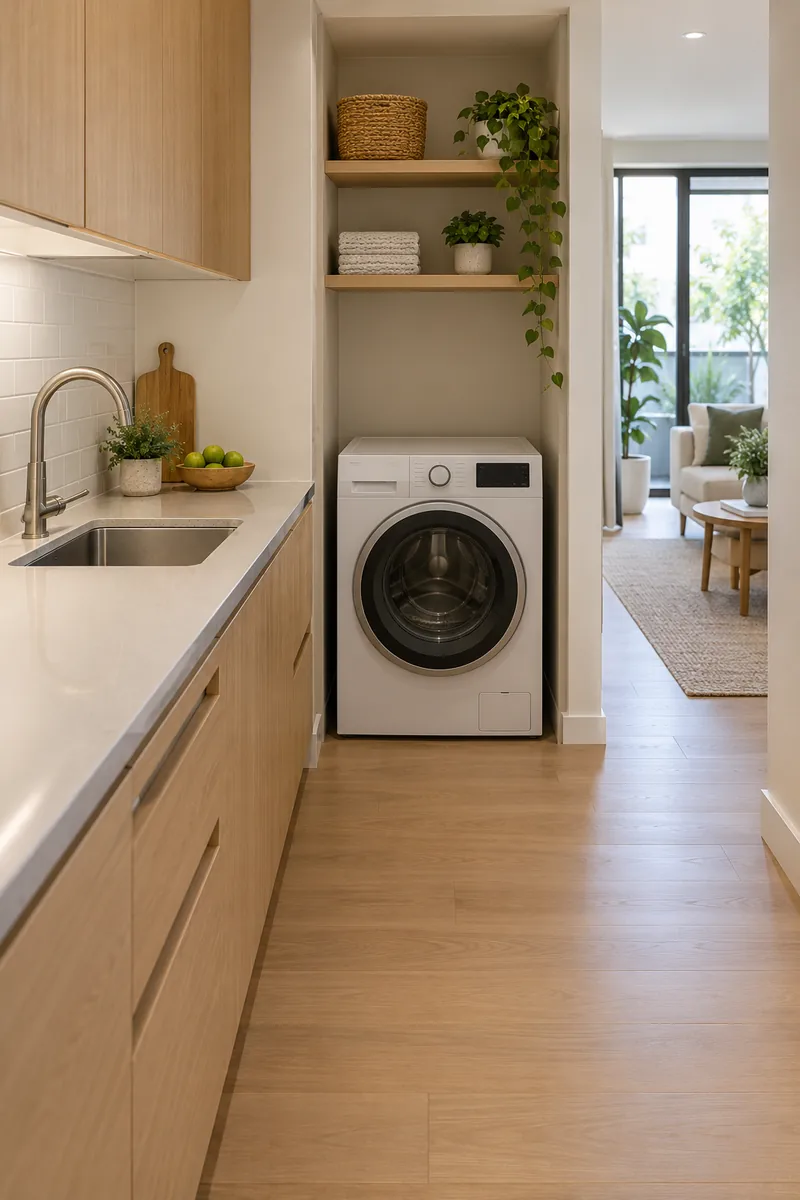
Quick Tip:
Read the full installation manual before designing a corner around a washer-dryer combination. Some models use different drying systems and installation requirements. A compact footprint does not make a machine suitable for every kitchen cupboard.
A combination machine may suit someone who prefers one appliance and smaller, regular loads. Compare the model’s wash capacity, drying capacity, and cycle information against your habits before choosing it. Have the required water, drainage, electrical supply, ventilation, and service access checked for that specific unit and its intended location.
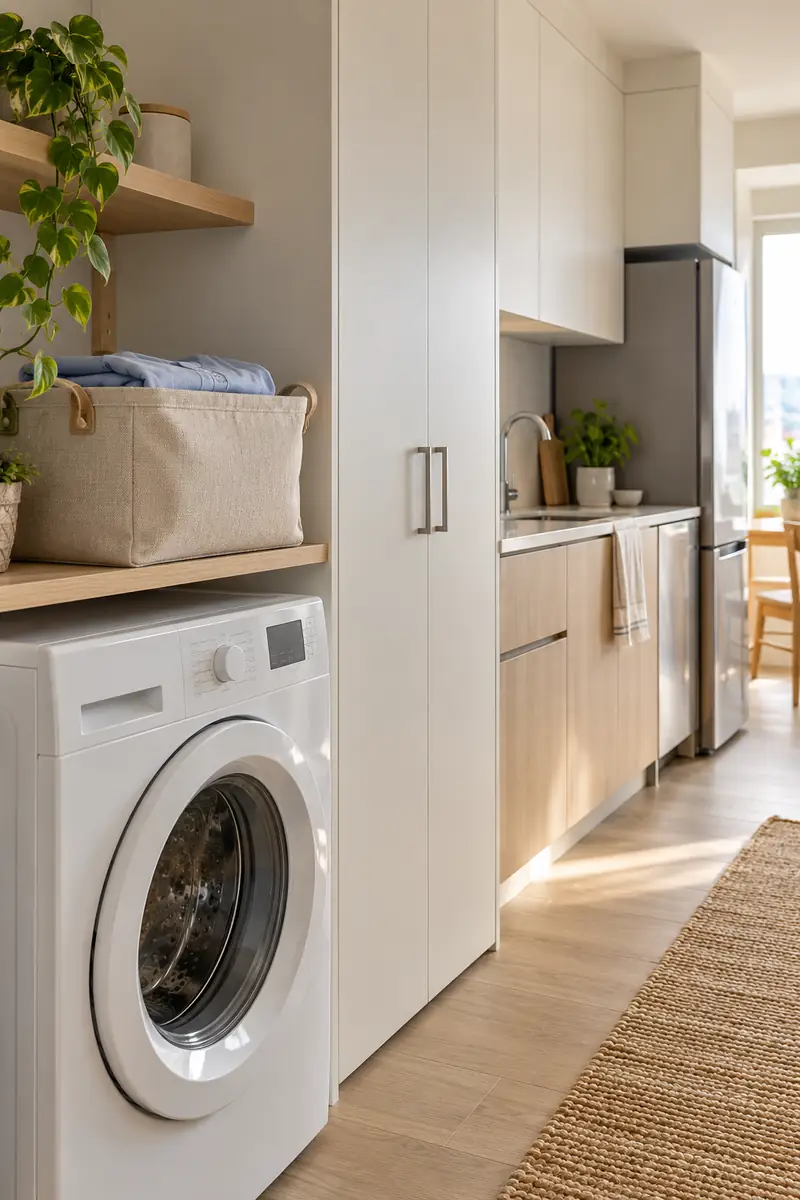
12. Laundry Schedule Basket
BEFORE
A large pile waits until there is no room left to sort it. Several half-filled bags then occupy the kitchen floor throughout the day.
AFTER
One handled basket holds the next planned load. After washing, drying, and putting everything away, the basket returns to its own shelf.
A smaller basket can help laundry stay a manageable task instead of an all-day project. Choose a size that suits your real wash routine and the machine’s instructions. Give it a fixed home near the utility area, then empty it after folding so the next load starts with a clear place.
13. Two Tone Cabinet Run
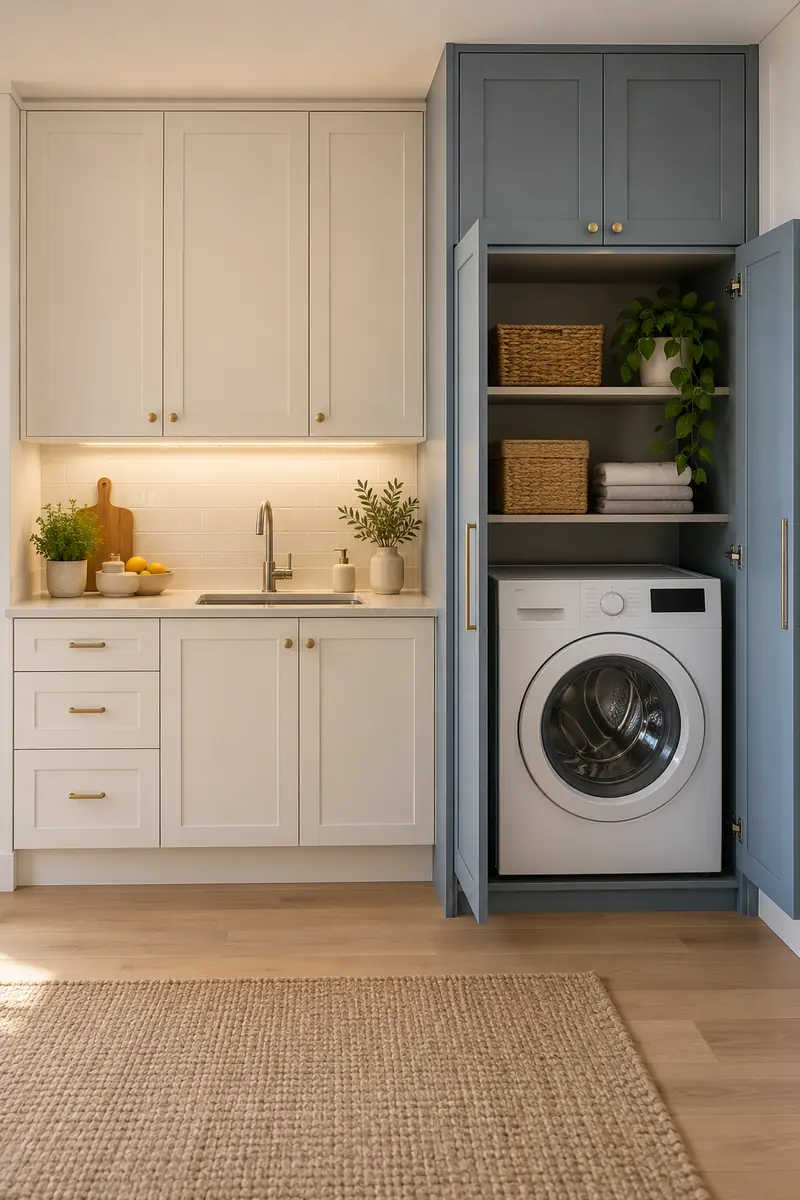
- Choose the existing kitchen finish as the starting point for your palette.
- Test one quieter contrasting color on the utility side of the cabinet run.
- Repeat the handle finish so the two areas still belong together.
- Get permission before painting or changing fronts, and preserve all appliance ventilation openings.
Color can distinguish the laundry end of a kitchen without adding another partition. Keep the contrast gentle, such as warm white beside dusty blue, and repeat the same hardware throughout. Clear interior divisions still matter: store laundry accessories and products in their designated utility space, separate from food and kitchen equipment.
14. Pocket Door Utility
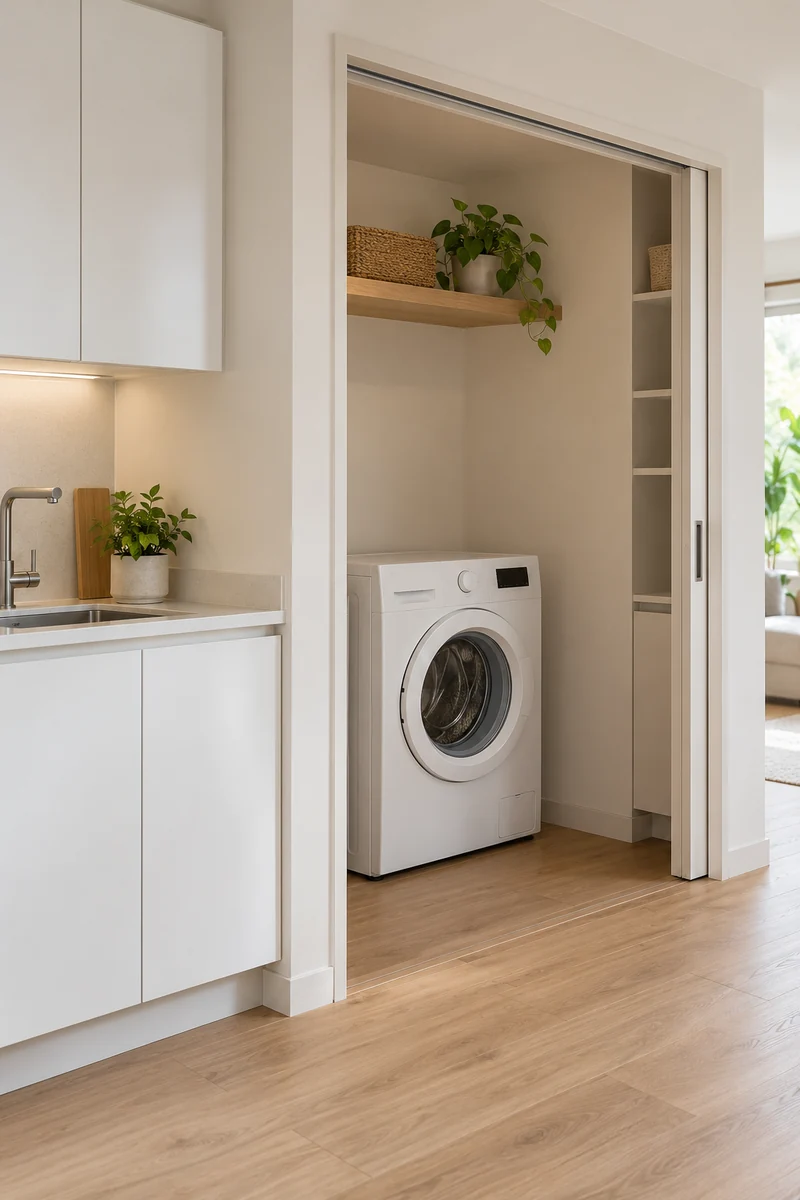
| Detail | Pocket Door | Hinged Door |
|---|---|---|
| Open position | Slides into a suitable wall pocket | Swings into adjacent floor space |
| Planning check | Wall structure and hidden services | Door swing and appliance access |
| Airflow check | Model-specific enclosure requirements | Model-specific enclosure requirements |
A sliding door can reduce the amount of floor occupied by an open utility enclosure. It still needs an appropriate wall and a layout that supports the appliances behind it. Treat a new pocket door as professional building work, with landlord approval where needed, rather than an easy furniture swap.
15. Elevated Supply Shelf
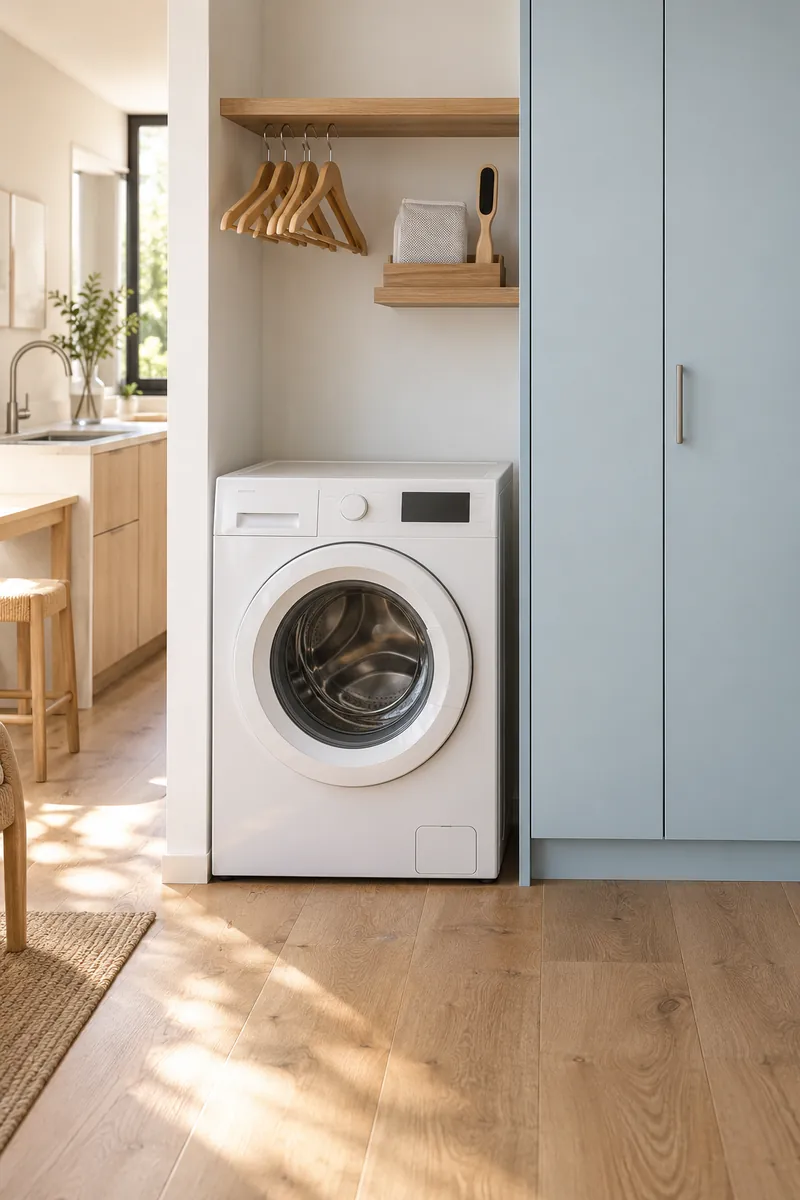
DO
- Choose suitable fixings and observe the shelf’s stated load limit.
- Leave plenty of space around appliance controls and ventilation openings.
- Use a small tray for clothespins or a lint brush.
DON’T
- Do not display detergent packets in open jars or bowls.
- Do not install the shelf above a cooktop or food preparation surface.
- Do not store heavy supplies where you need to stretch awkwardly to lift them.
A modest utility shelf can gather the harmless little tools that otherwise wander across the counter. Keep only lightweight accessories there, such as empty hangers and wash bags. Laundry chemicals belong in secure storage instead. Position the shelf where reaching it does not require leaning across a machine or wet surface.
16. Reachable Laundry Connections
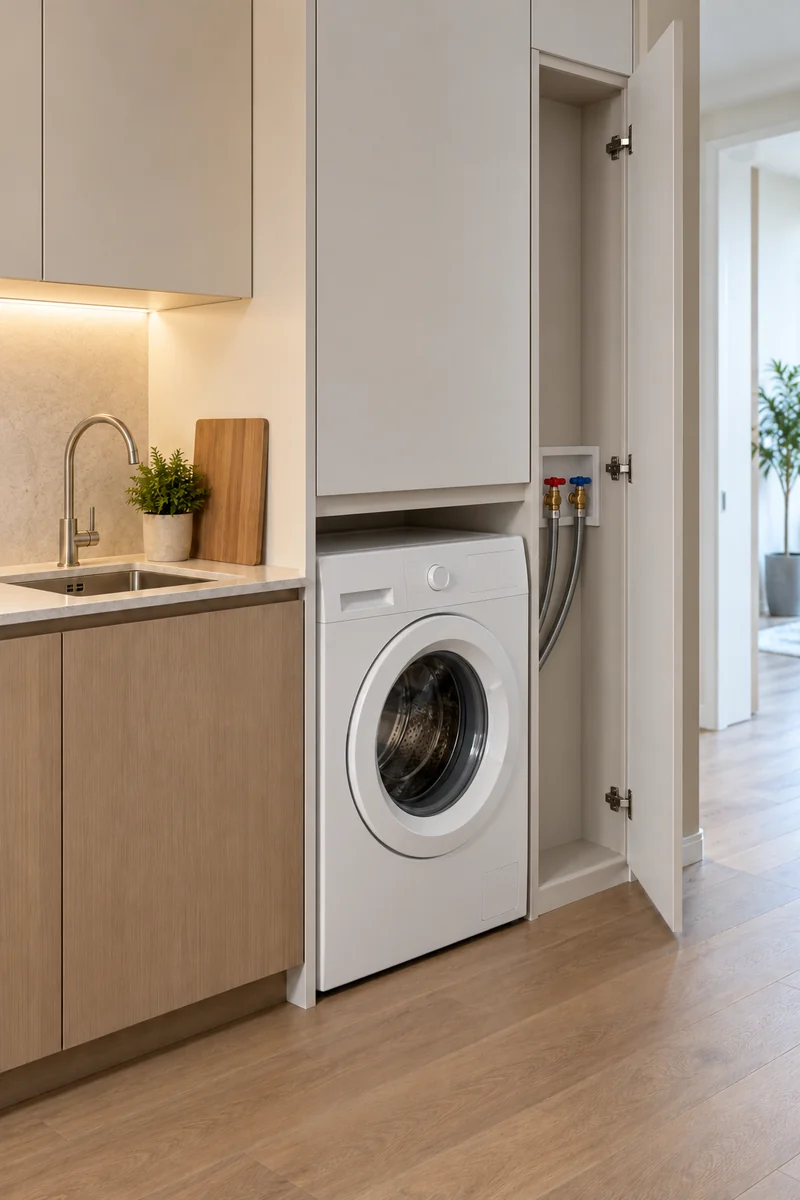
Shutoffs: Accessible in the position approved for the installation.
Hoses: Routed by the installer without being trapped by cabinetry.
Electrical access: Appropriate for the selected model and local requirements.
Service route: Enough space for a qualified technician to inspect or remove the machine.
A tidy installation should still be easy to inspect and maintain. Ask the installer to show you the shutoffs, electrical isolation point, filter access, and any routine maintenance areas before the job is finished. Keep their instructions with the appliance manual, and avoid filling the service space with spare household supplies.
17. Clean Clothes Cart
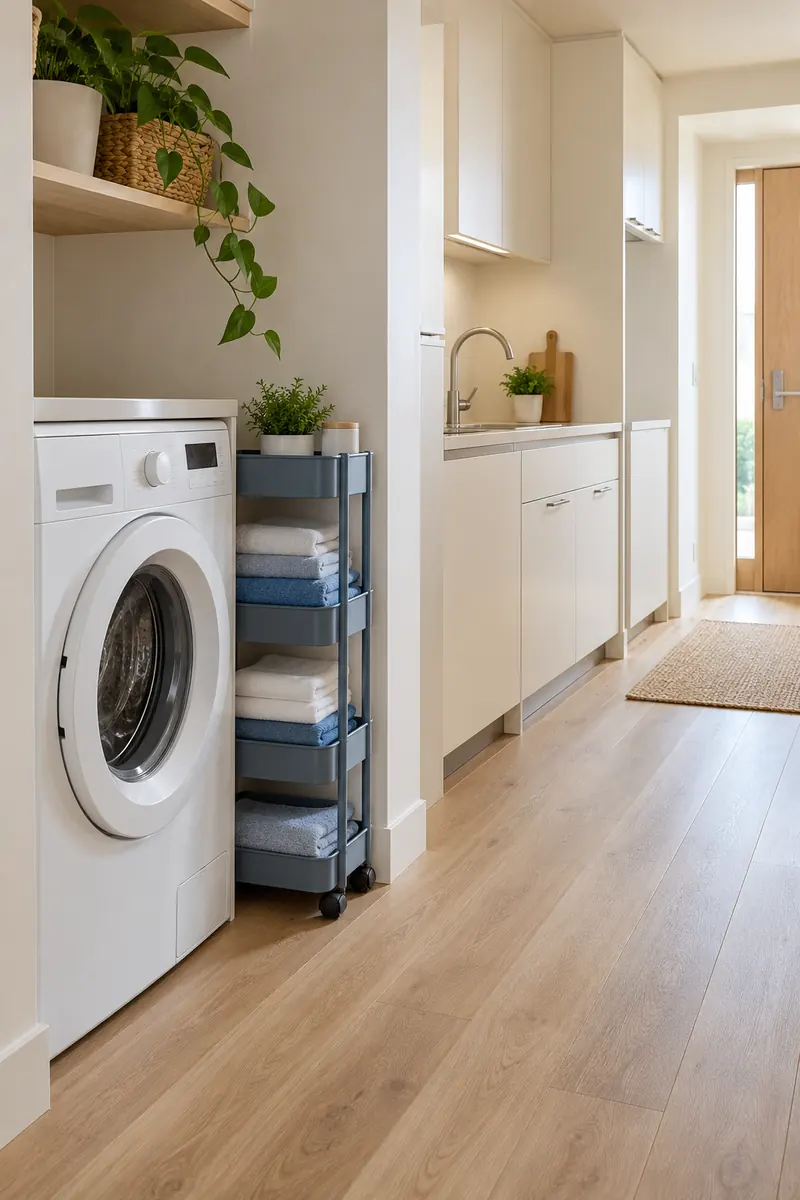
A narrow cart gives freshly folded laundry a destination while you clear the counter. Park it in a dedicated recess so it does not narrow the kitchen route. Use separate shelves for clothes and clean towels, then move the finished stacks straight to their permanent storage when you can.
Choose a stable cart with suitable locking wheels and handles that are comfortable to grip. Keep it away from cooking heat, appliance vents, and opening doors. This works best as a short stop in your routine, rather than a new place for several loads to accumulate over the week.
18. Sink Side Sorting
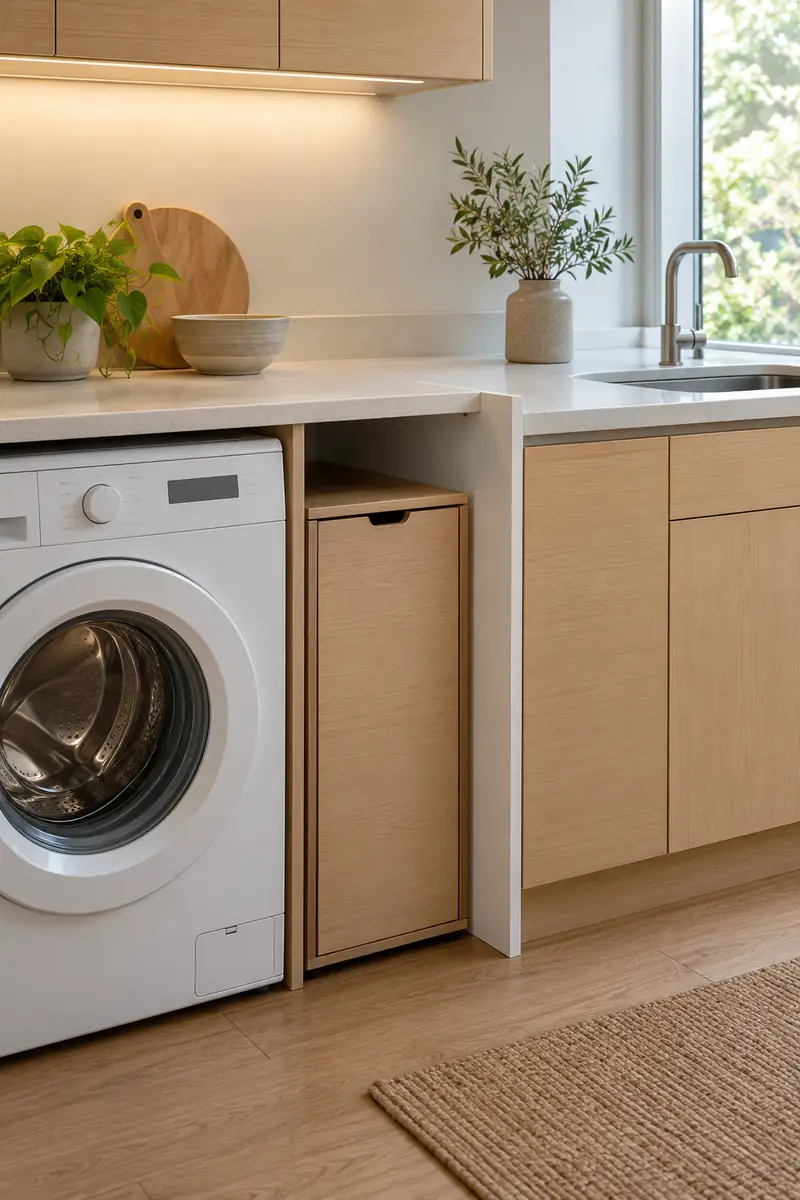
- Keep the sorting hamper in a dedicated utility cabinet rather than beneath food supplies.
- Use a divider or separate cabinet to make the change in purpose obvious.
- Leave plumbing access and the appliance’s required openings completely clear.
- Choose a removable basket that can be cleaned according to its care instructions.
The sink end of a kitchen may be the logical utility side, but proximity does not make every surface interchangeable. Give dirty laundry its own enclosed or clearly divided storage place. Keep food preparation counters clear, and put laundry products away before returning to cooking so the two routines remain distinct.
19. Quiet Evening Reset
Quick Tip:
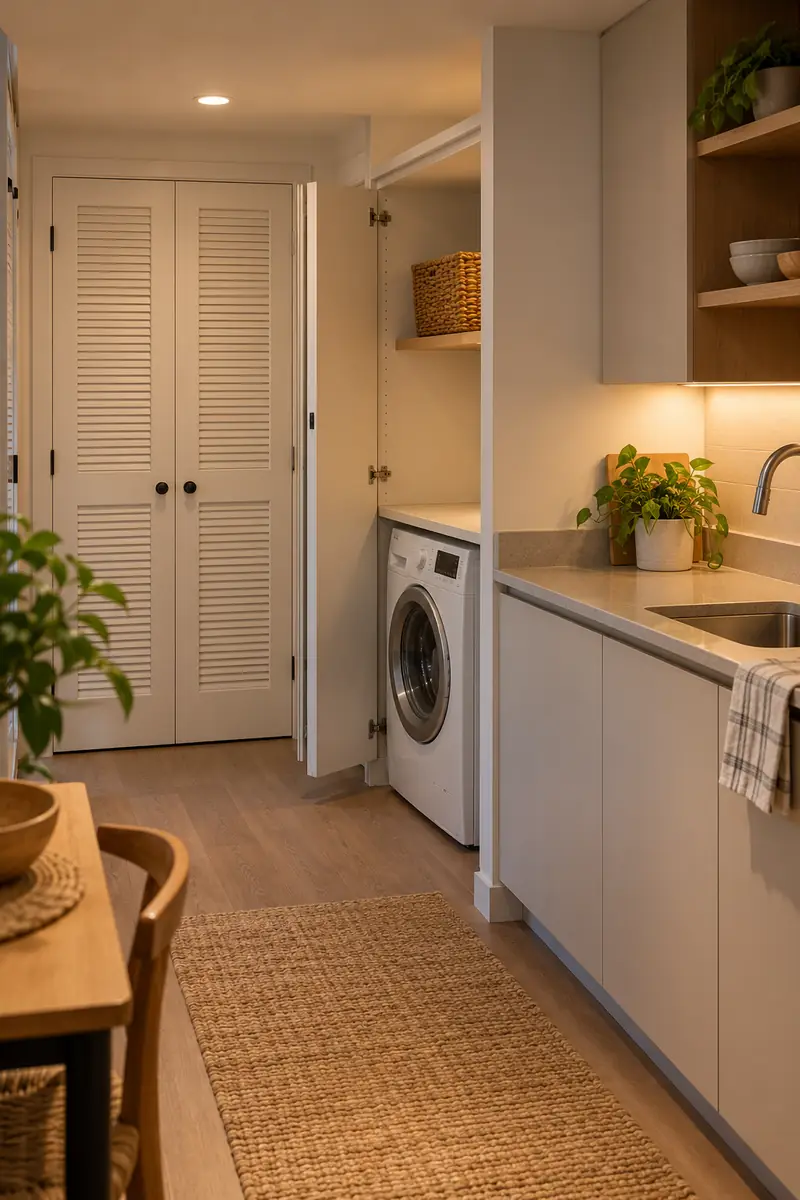
Finish the last small laundry task before the room becomes your evening living space. Return accessories to their drawer and secure the detergent cabinet. Check the appliance manual before deciding whether a machine door or enclosure should remain open after use.
A short reset makes a combined kitchen and laundry feel ready for the next morning. Put clean clothes away, clear the folding surface, and close storage doors only as the appliance instructions allow. Follow the manual’s cleaning and drying guidance, then leave the walking route open before you settle in.
Conclusion
A practical studio apartment kitchen laundry arrangement gives every part of the routine a clear place. Choose one improvement that solves a real annoyance, such as a dedicated folding surface, accessible service space, or a secure cabinet for detergent in its original packaging.
Keep food and laundry supplies separate, follow the appliance manufacturer’s installation and operating instructions, and ask a qualified installer before changing services or enclosing machines. You can build an organized setup gradually as you learn what works.
Save these ideas to Pinterest, try one useful change this week, and share the article with a friend managing a small home.

Community
Join the conversation
Add a useful idea, ask a specific question, or share what worked in your space. Every comment is reviewed before it appears.