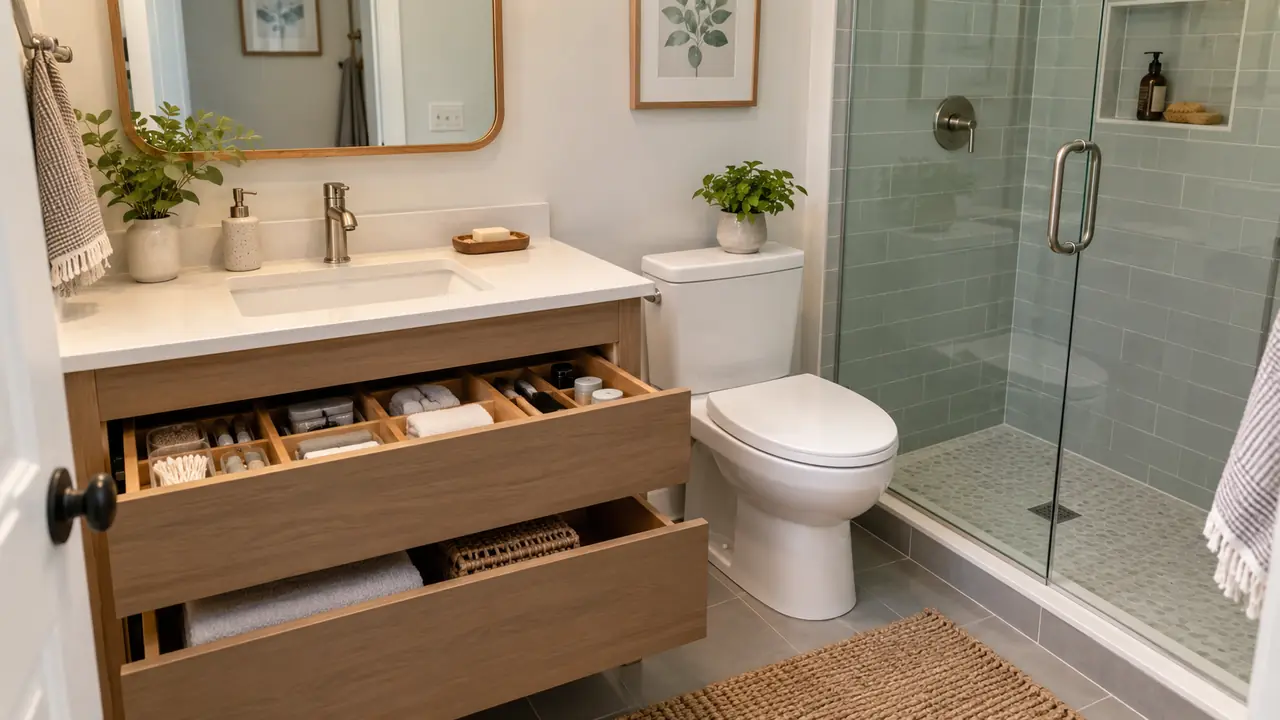
How do you organize a small bathroom when the same few inches serve several people and several routines? Start with the order in which you use things. The toothbrush you reach for twice a day needs a different home from an unopened refill or an occasional grooming tool. Before buying another organizer, sort what you already own and notice where the daily pileups happen. These nineteen ideas focus on useful placement, simple categories, and easy returns. The aim is a bathroom you can use half awake, with fewer things to move before washing your face and less searching when you are trying to leave.
1. Start With Daily Use
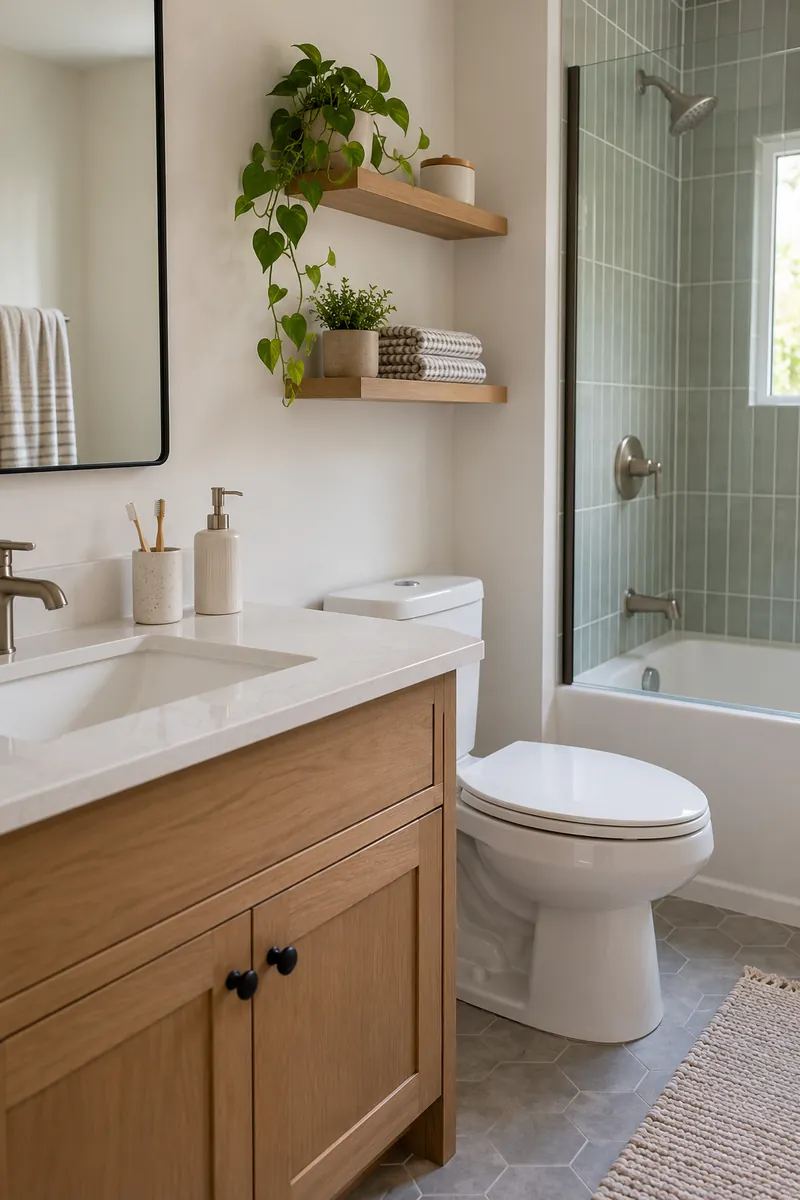
Pull out the products you genuinely use during an ordinary day. These deserve the easiest positions, while occasional supplies can sit farther back. A clear counter does not have to mean hiding everything. It means leaving out a small, useful group rather than the entire contents of your cupboard.
Watch your next morning routine before rearranging the room. Notice which objects you reach for, which ones you move aside, and which never leave their spot. That short observation gives you a practical starting list. Organize around real habits rather than a display you will struggle to maintain.
2. Sort By Routine
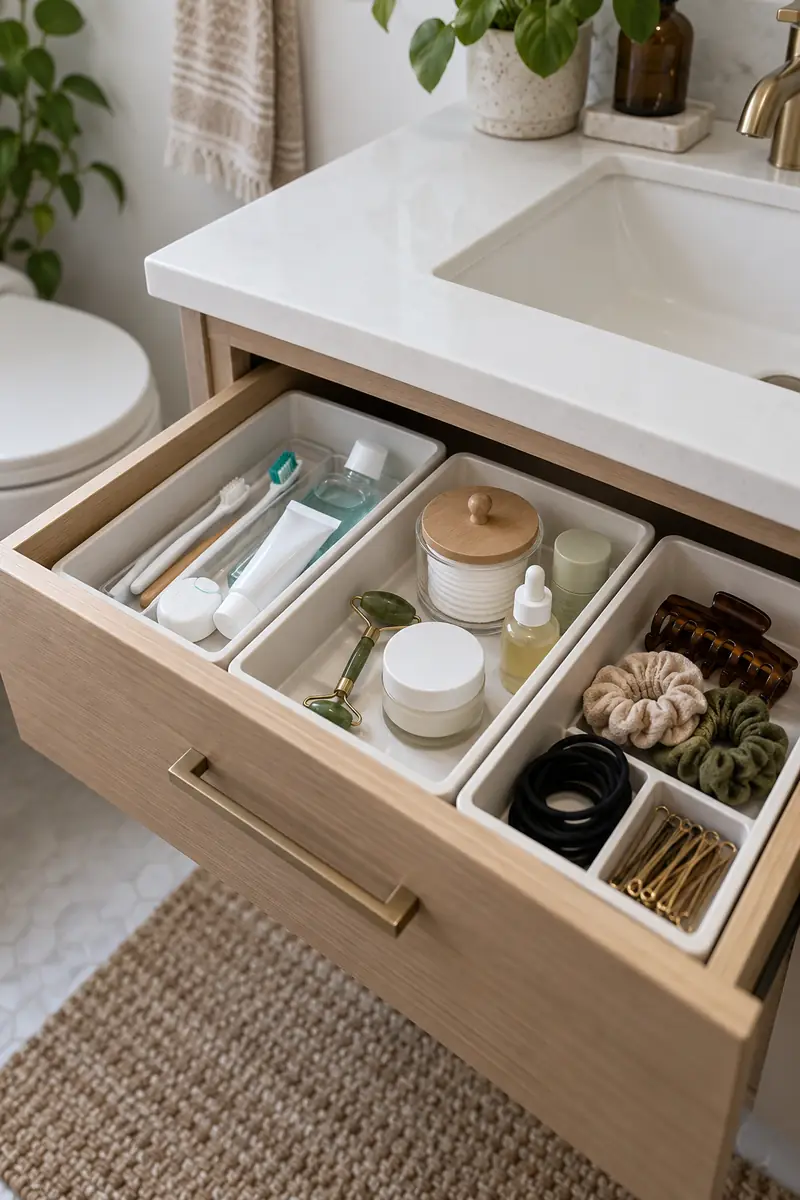
- Put dental supplies together.
- Separate hair tools from skin products.
- Gather occasional grooming items.
- Keep unopened extras out of the daily group.
Sort by the task you are doing rather than by the shape of the bottle. Dental supplies, facial care, and hair tools each make sense as a group. Once the categories are clear, give each one a defined area so putting things away takes less thought.
3. Keep A Morning Tray
Quick tip: Test the idea with a container you already own.
If you keep reaching outside it, adjust the contents before buying something new.
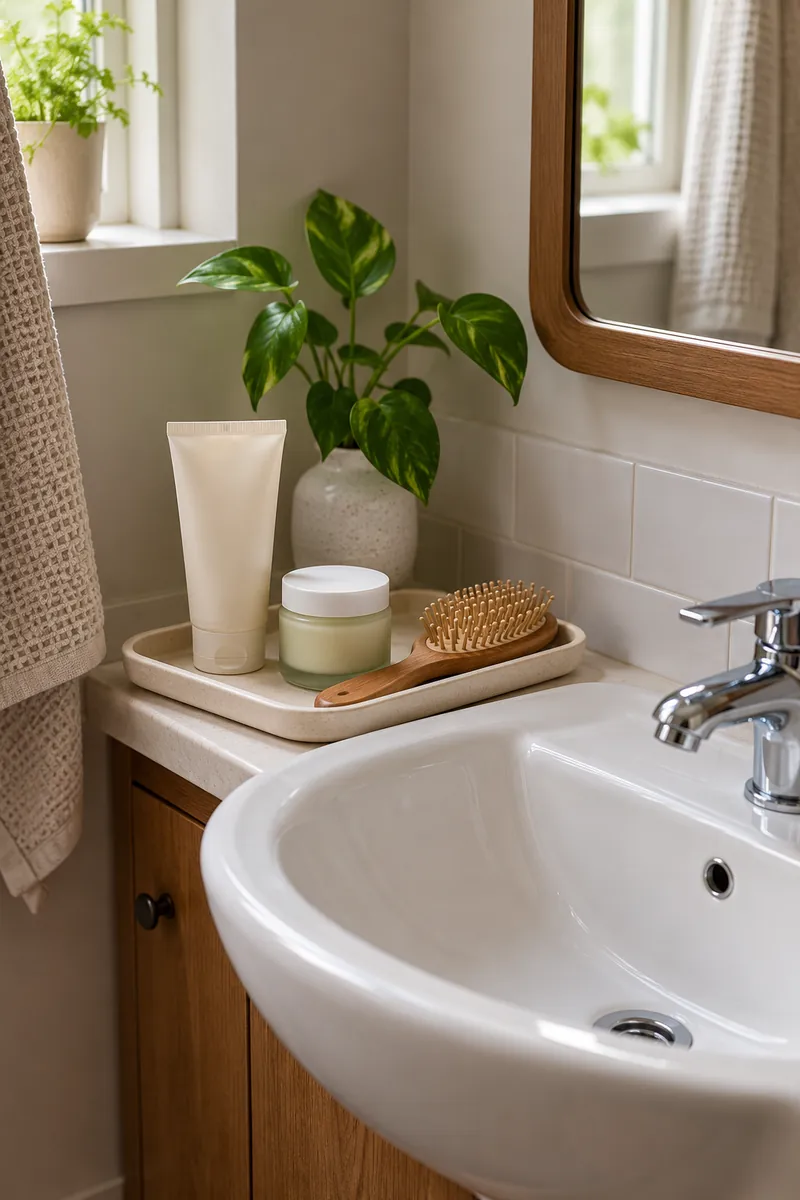
A small morning tray lets you move a whole routine in one motion. Keep only the products you actually use together, and choose a washable tray that leaves room beside the basin. Return the items after use rather than letting the tray become a landing place for unrelated supplies.
4. Separate Shared Supplies
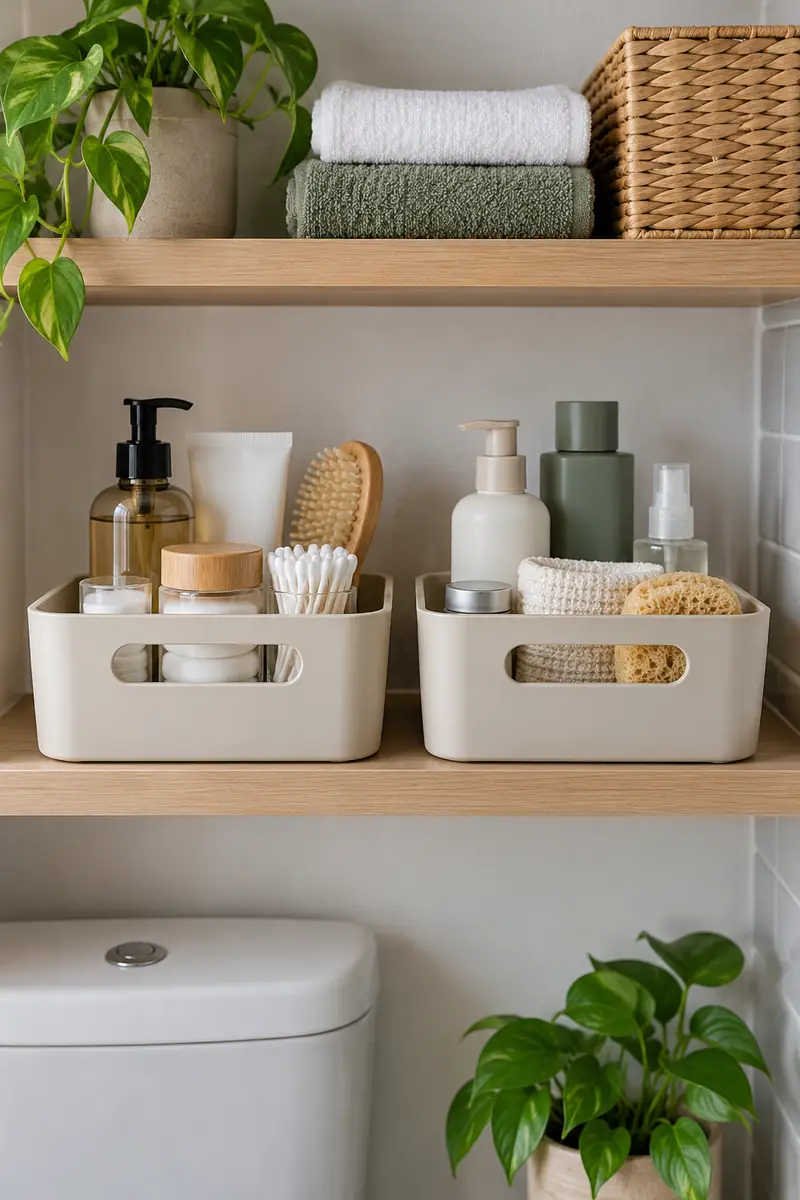
Before: Two people’s products mix together around the sink. Nobody knows where the other person’s items should go.
After: Each person has a simple container. Shared soap and toothpaste have a separate agreed place.
Shared bathrooms work more smoothly when personal items have separate homes. Give each person a small caddy or a clearly defined drawer section, then keep genuinely shared products together. Choose positions everyone can comfortably reach instead of assigning one person the awkward space behind the plumbing.
5. Give Brushes A Home
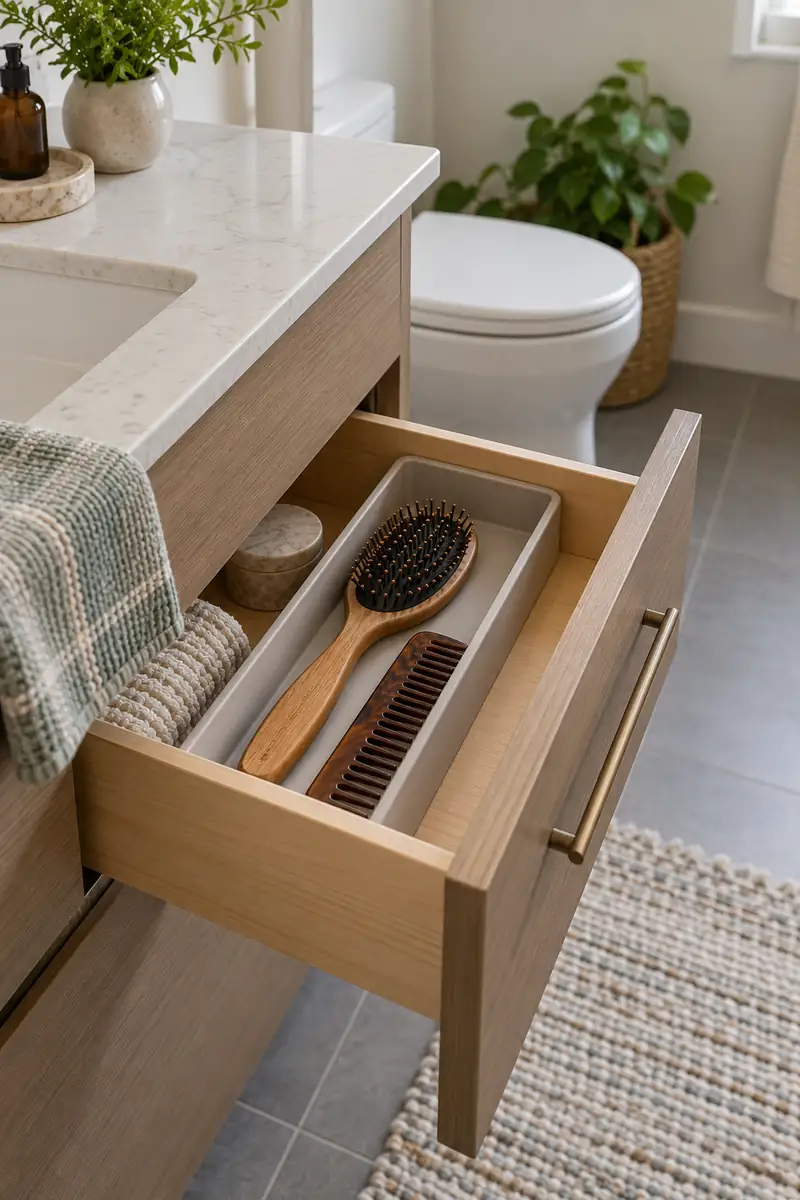
- Measure the longest tool.
- Choose a washable divider.
- Lay the tools in a single layer.
- Keep loose clips in a separate small compartment.
A brush is easier to return when its space matches its shape. A long shallow divider can hold a brush and comb without burying them under smaller objects. Check that the drawer closes comfortably, and leave enough room to lift the brush without first moving a neighboring bottle.
6. Group Small Essentials
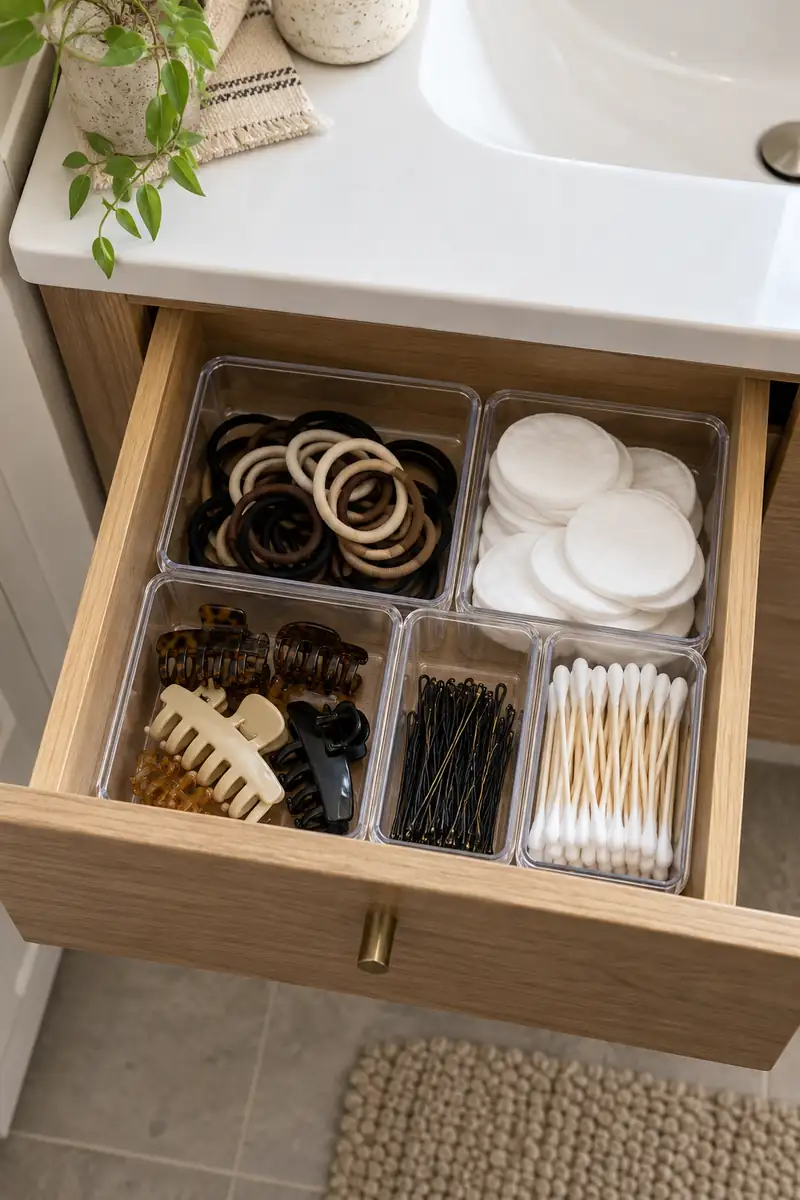
Open compartments
Access: immediate
Visibility: contents visible
Placement: protected drawer
Small lidded boxes
Access: remove a lid
Visibility: choose clear sides
Placement: occasional or travel supplies
Tiny objects disappear when they share a deep container with larger supplies. Use smaller compartments for ties, clips, or reusable pads, and keep the categories broad enough to maintain. You should be able to see what is there without emptying the whole drawer onto the counter first.
7. Dry Before Storing
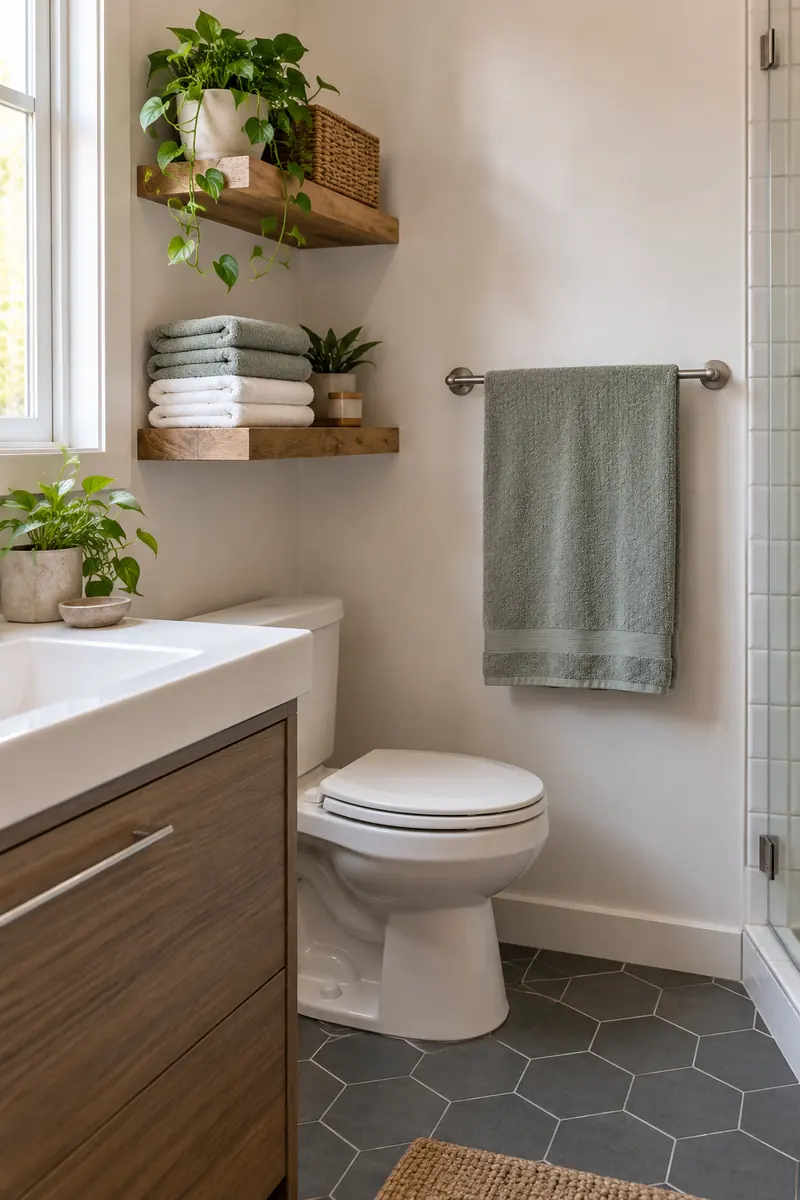
Do:
- Give used towels a hanging place.
- Keep clean spares separate.
- Follow each item’s care guidance.
Don’t:
- pack damp cloths into closed bins.
- fold a wet towel into the clean stack.
- let towels obstruct doors.
Decide where damp items go before deciding where dry ones belong. A towel needs a suitable place to hang between uses, while clean spare towels can stay together in a dry spot. Avoid turning a tidy-looking basket into a mixture of freshly laundered and recently used fabric.
8. Put Refills Behind
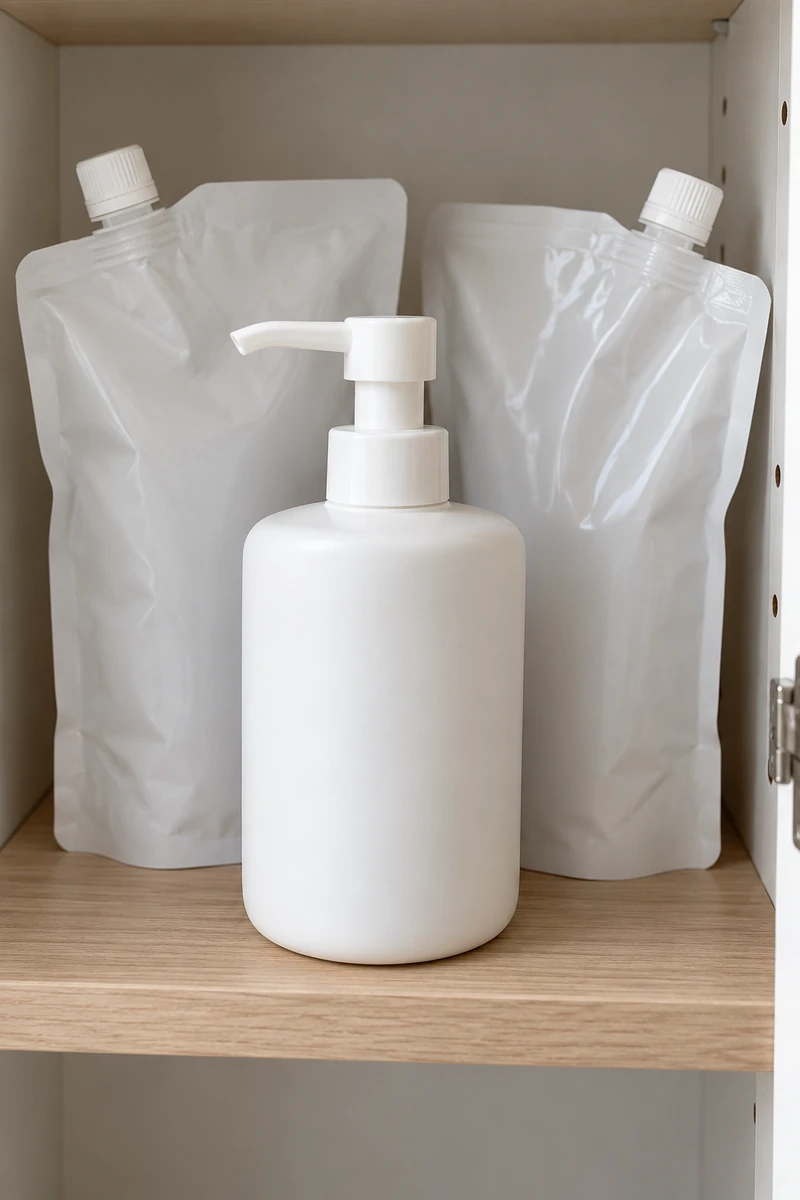
- Front: The product currently in use.
- Behind: Its unopened replacement.
- Limit: Only what fits comfortably.
- Check: Look before adding it to a shopping list.
Put the bottle in use at the front and its replacement behind it. That small arrangement makes it obvious which one to finish first and reduces the chance of opening another unnecessarily. Keep the reserve group modest so the daily container remains easy to remove and replace.
9. Keep Packaging Information
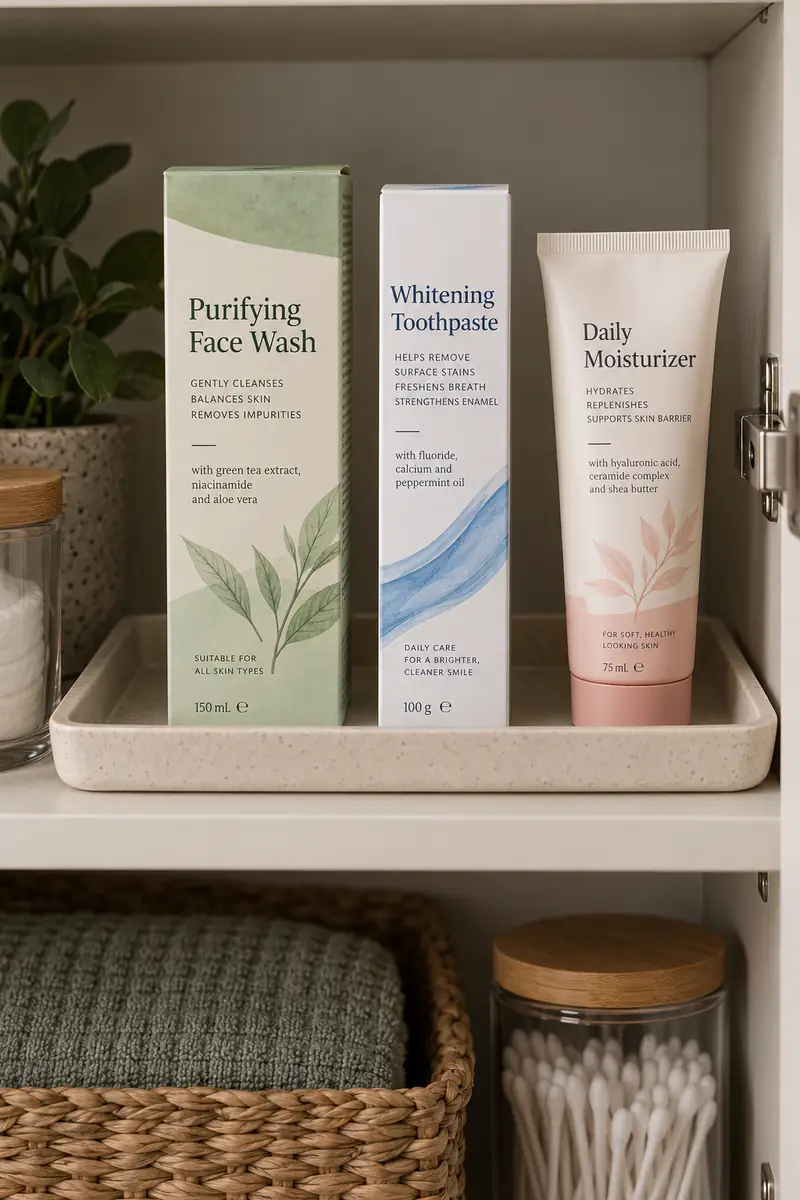
Attractive matching containers are optional; knowing what a product is matters more. Keep original instructions, ingredient information, and any relevant dates with the item. You can make original packaging look orderly by placing related products in one tray instead of transferring everything into anonymous jars or bottles.
Arrange the fronts where you can read them, and keep small items from falling behind larger ones. A simple row may work better than a crowded collection of matching containers. If a package needs special storage, follow its instructions rather than assuming the bathroom is the right place.
10. Build An Evening Kit
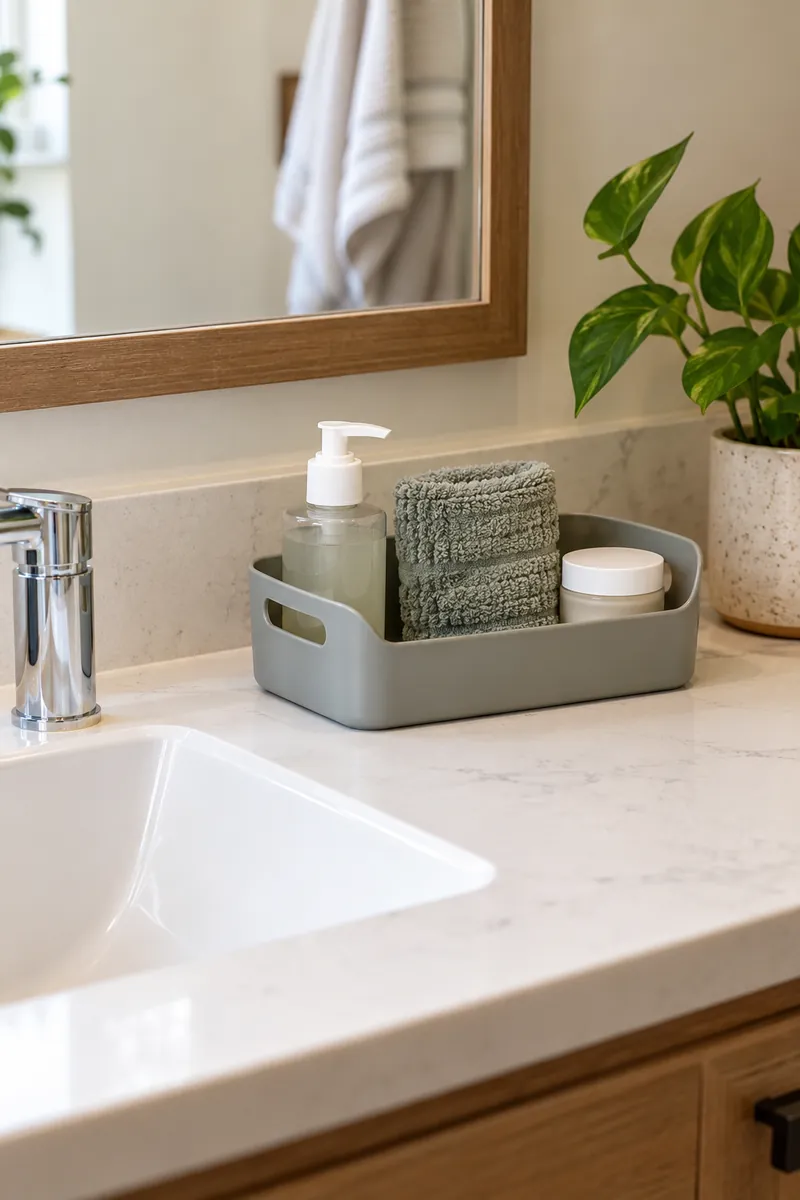
- Include the cleanser you actually use.
- Add the next product in your routine.
- Keep a clean washcloth nearby.
- Return used cloths to their separate laundry spot.
An evening routine may use a different set of products from your morning routine. Gather those items into a small washable caddy so they are easy to bring forward when needed. Keep the group limited to that task, and return the container to a dry location afterward.
11. Set A Guest Spot
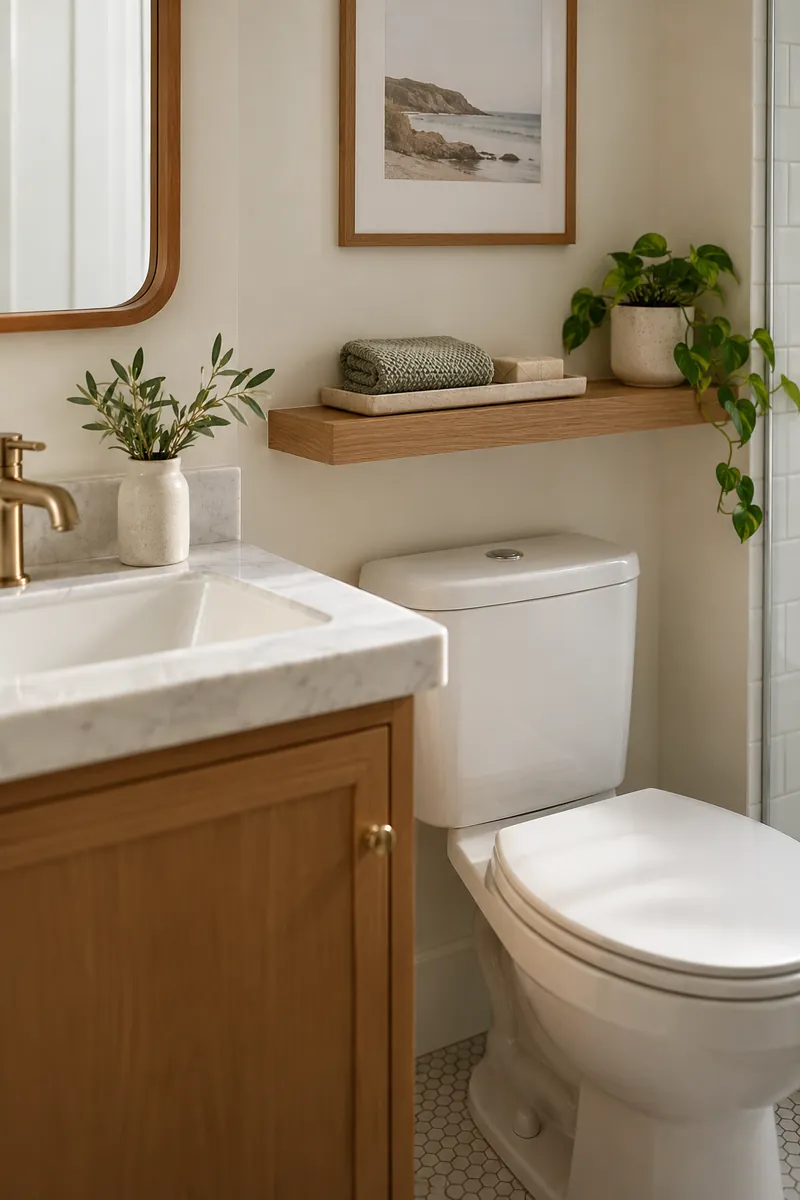
Quick tip: Keep the guest spot visually separate from your everyday products.
A neatly folded towel can be enough to make the purpose clear.
Give guests one obvious place for a clean hand towel and any basic supplies you want them to use. It can be a shelf corner rather than a dedicated basket. The arrangement should be easy to understand without requiring guests to open personal drawers or guess which towel is clean.
12. Create A Laundry Landing
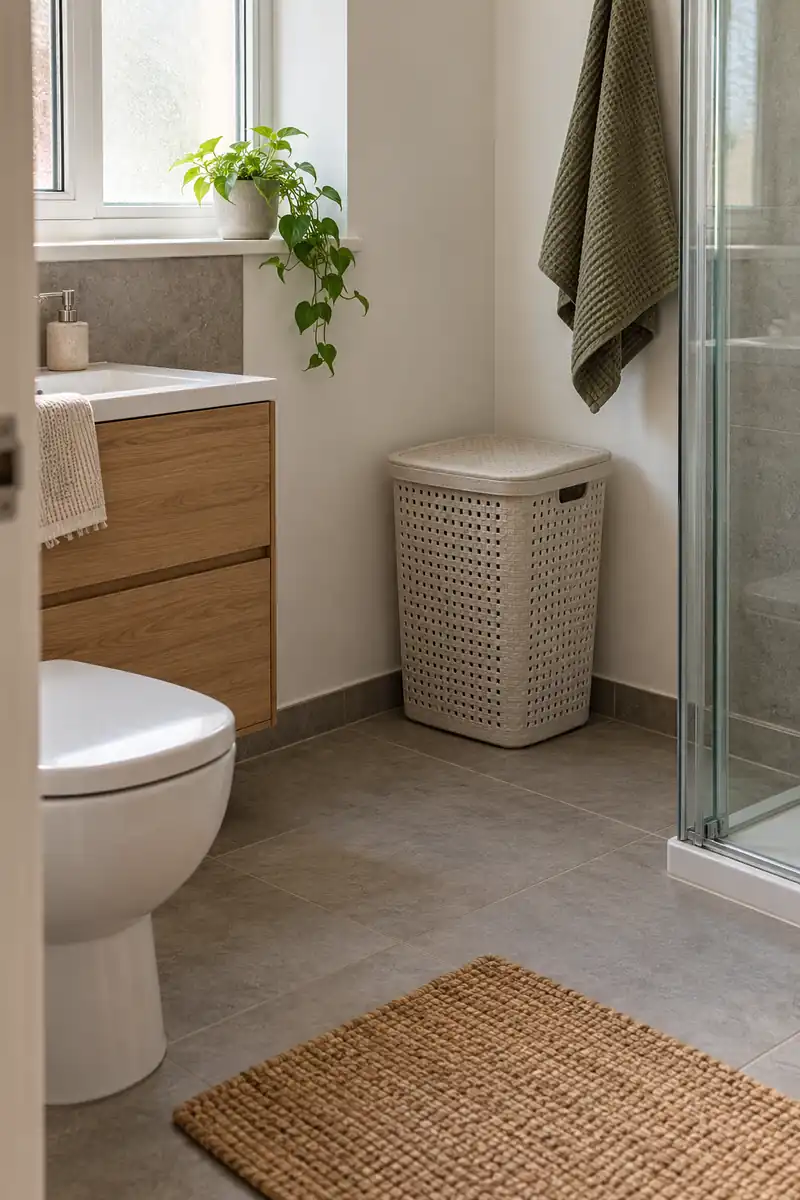
Before: Used towels land on the floor because the hamper is awkward to reach. Clean and used items become hard to distinguish.
After: The laundry destination is obvious. Towels have a suitable drying place before they join the wash.
A laundry landing point helps stop used towels from collecting on the floor. Choose a dry, accessible position that does not interfere with the door or walking route. Keep damp items out of closed storage, and use a laundry routine that prevents the bathroom from becoming the overflow hamper.
13. Use Front To Back
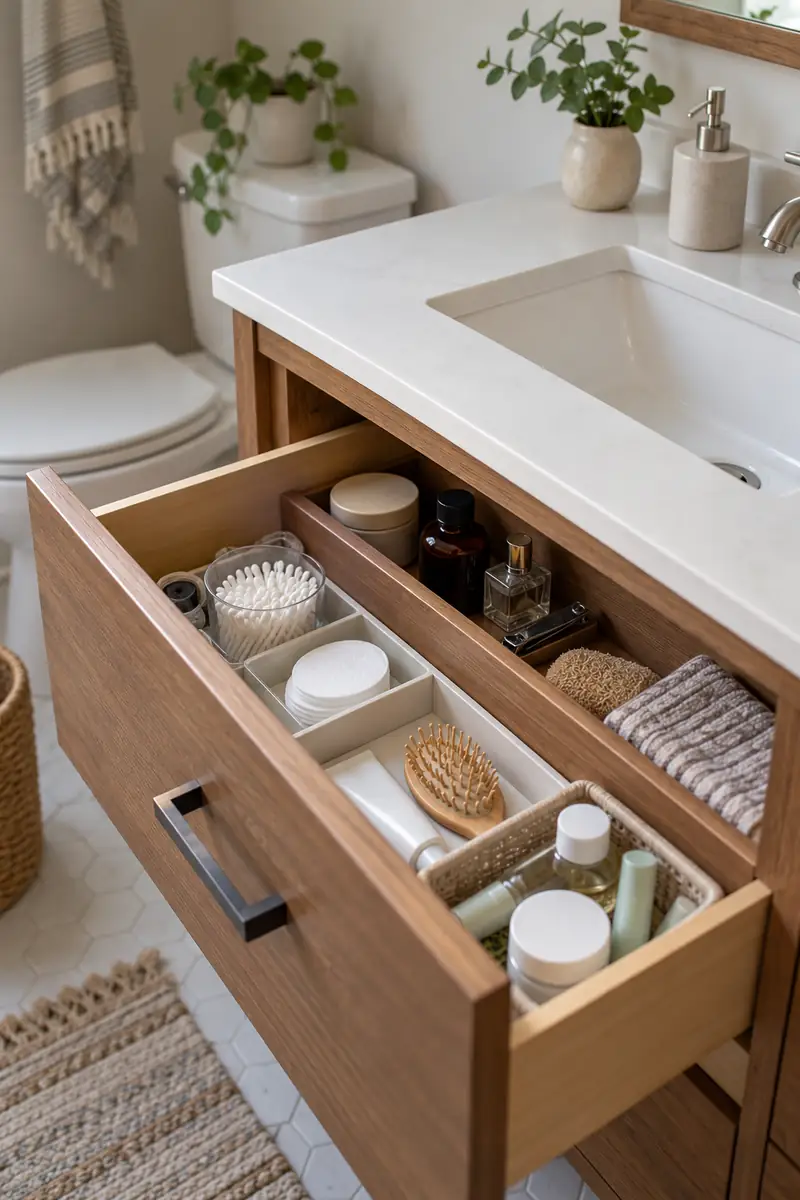
- Open the drawer as far as you normally do.
- Place daily supplies within that reach.
- Move occasional items behind them.
- Check that nothing catches when the drawer closes.
Use the front of a drawer for the items you reach for most often. Place less frequent supplies toward the back, but keep them visible enough to remember. A single layer is often easier to use than a deep stack, even if the stack looks neater at first.
14. Contain Shower Bottles
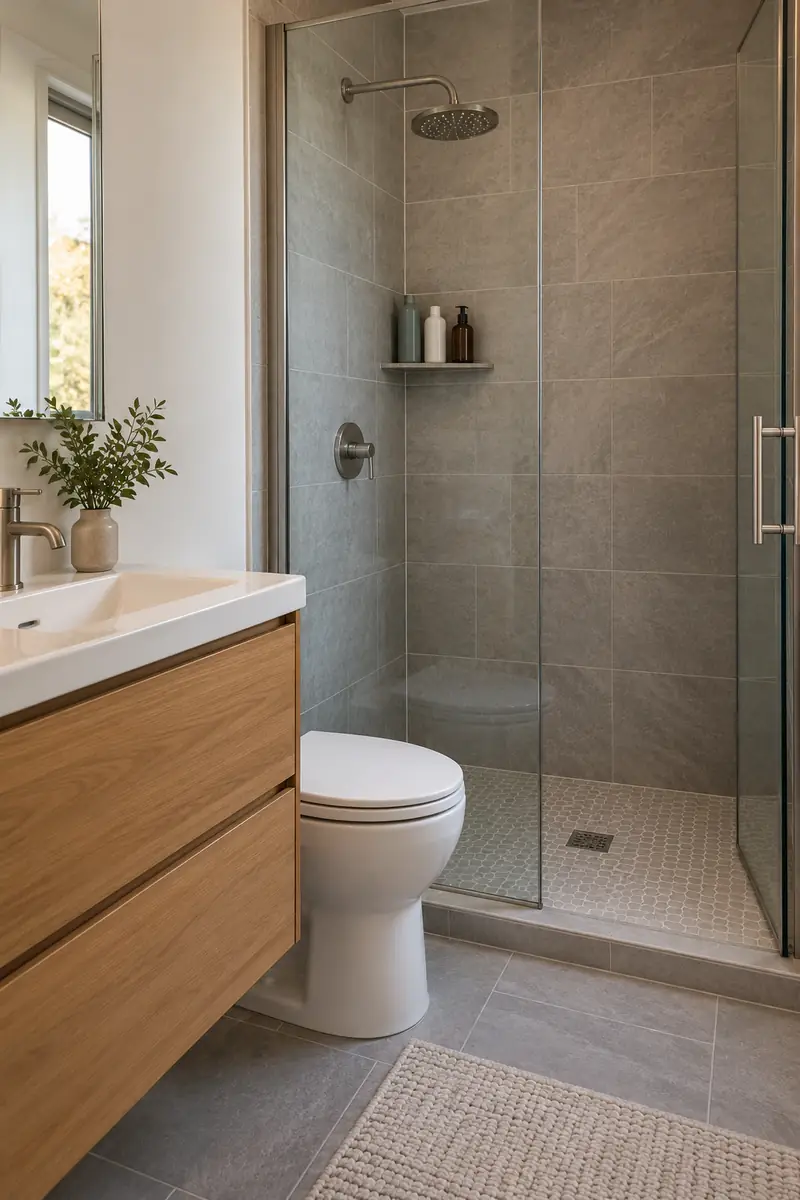
Shared set
Quantity: fewer bottles
Placement: one agreed location
Best for: matching product preferences
Personal sets
Quantity: separate small groups
Placement: a defined area per person
Best for: different product preferences
Keep the shower collection tied to the people and routines that use it. Finish an open bottle before adding another version of the same product when practical. Choose a suitable shower holder and keep its contents within the maker’s limits instead of balancing extras on taps or fittings.
15. Keep Cleaning Separate
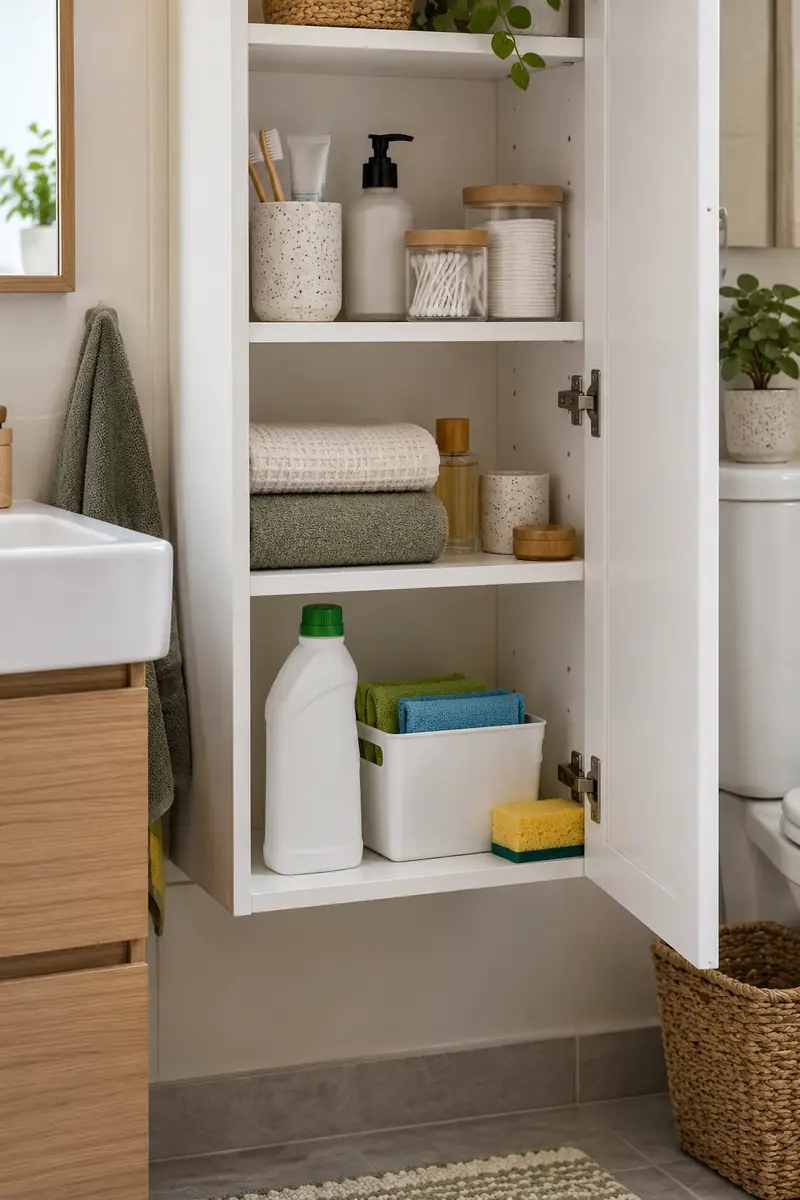
Do:
- Follow product storage instructions.
- Separate cleaning cloths from face cloths.
- Keep original packaging.
Don’t:
- mix different cleaners.
- transfer products into food containers.
- treat an open shelf as secure storage.
Give cleaning supplies their own location rather than mixing them with personal-care products. Follow label guidance for storage and access, especially in homes with children or pets. A separate container can keep cloths and a suitable cleaner together, but it does not replace any required secure storage.
16. Mark Shared Categories
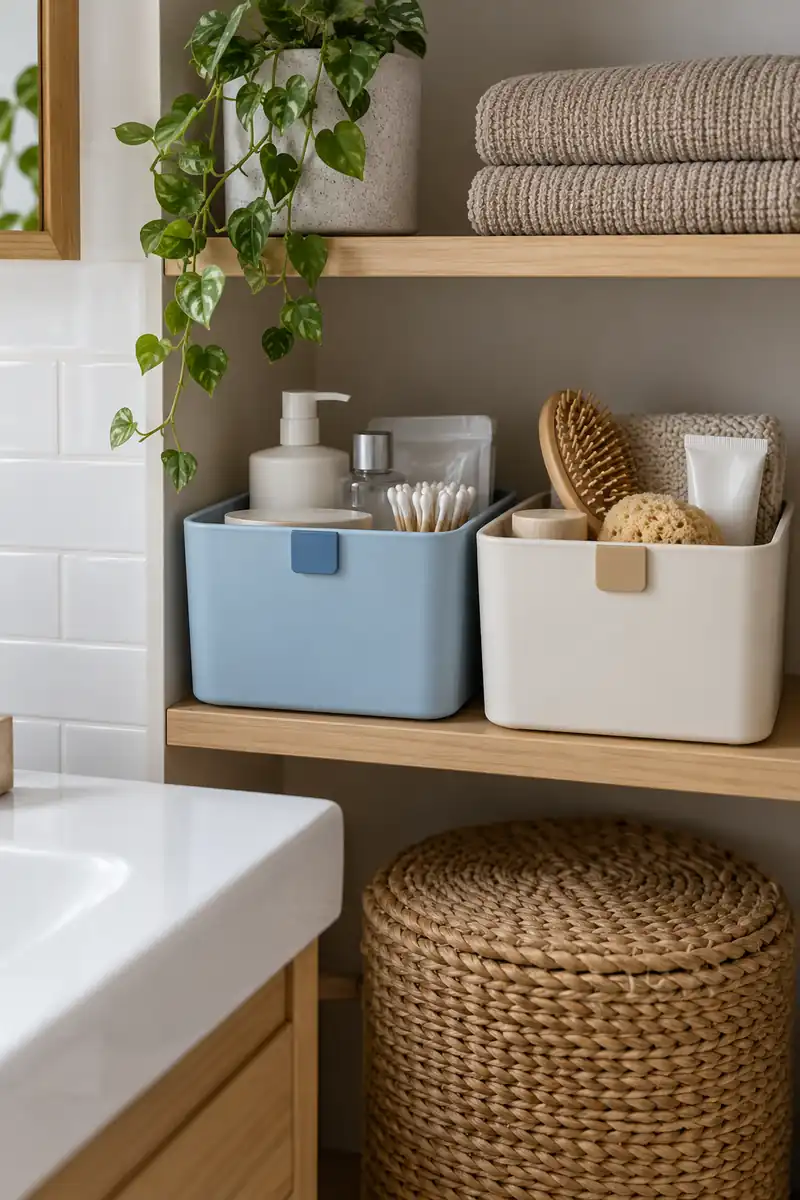
- Category: Use everyday words.
- Marker: Keep it easy to recognize.
- Position: Put it where you see it first.
- Revision: Change it when the routine changes.
Simple category markers can help a shared arrangement stay useful. A colored tab, a clear container, or a plain label can show where things belong. Use only as much labeling as the household needs; a complicated system creates extra work if nobody wants to maintain it.
17. Make Return Spots Obvious
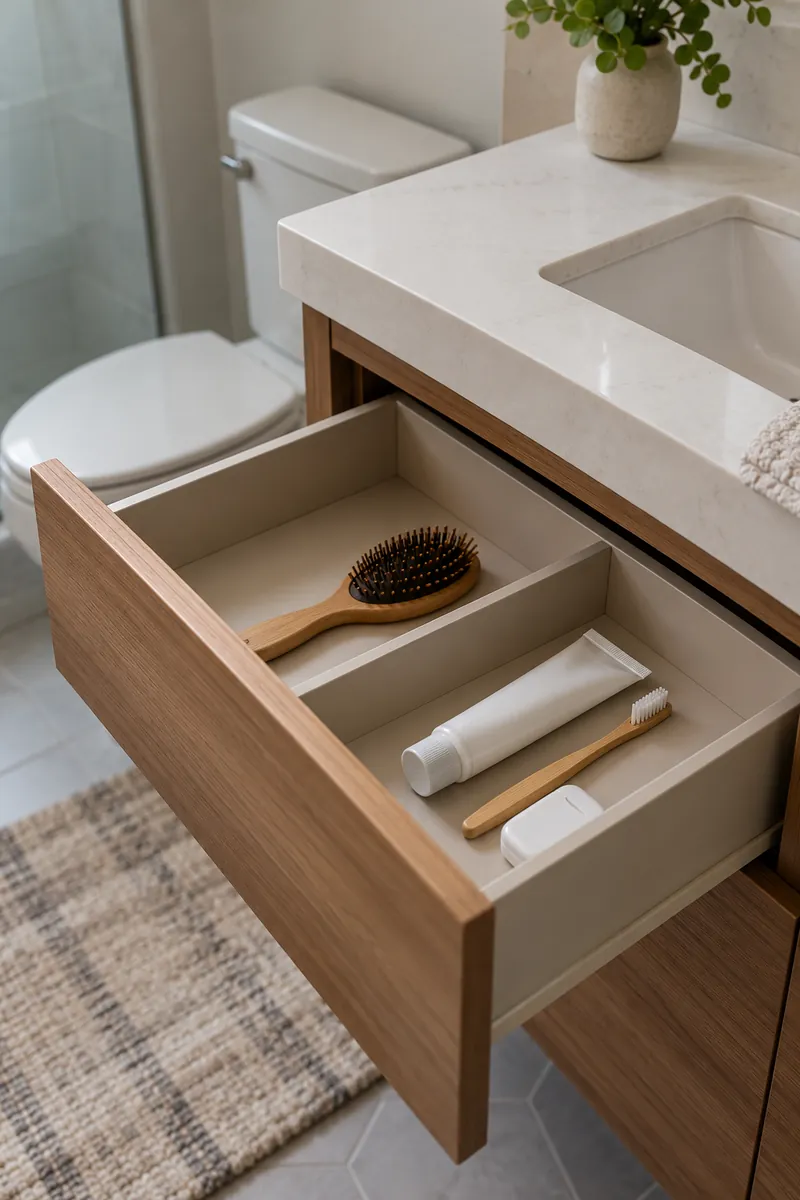
A return spot should be easier to use than the nearest empty counter. Give each everyday item enough room to drop back into place without rearranging its neighbors. If you repeatedly leave something out, check whether its assigned home is too deep, crowded, or inconvenient for the actual routine.
Try the arrangement for several ordinary days. Notice where objects collect, then move their homes closer to the action where practical. The goal is not to train yourself into an awkward layout. It is to build a simple layout that supports the habits you already need to perform.
18. Rotate The Overflow
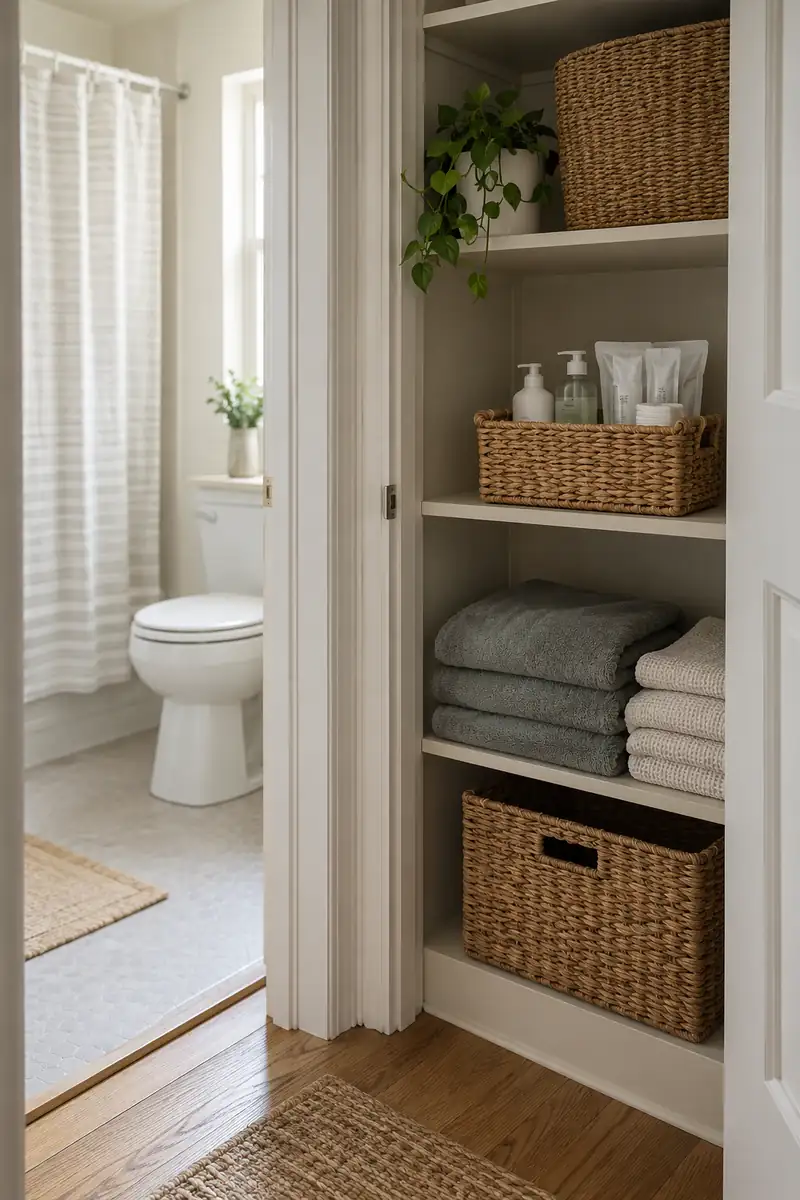
- Choose an accessible dry location.
- Group extras by product type.
- Keep storage instructions with each item.
- Check the reserve before buying another.
If the bathroom is full, unopened extras can live in another suitable dry cupboard. Keep a small inventory so you know what is there before shopping. For ideas on giving nearby areas clear purposes, these small studio layout ideas offer a useful wider-room perspective without requiring more bathroom furniture.
19. Leave A Reset Gap
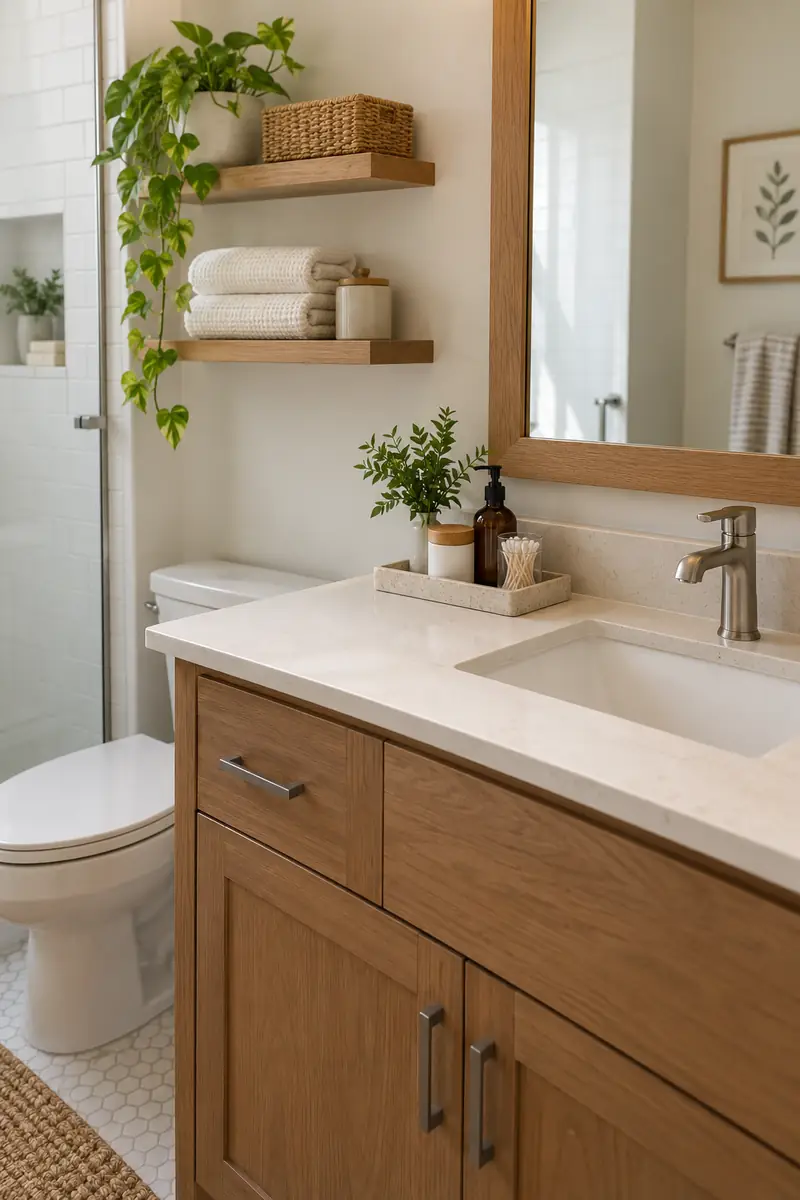
Quick tip: Reset the room after the routine that creates the most clutter.
A useful endpoint is a clear basin and everything back in its own place.
Leave enough clear surface to set something down and clean comfortably. A routine that requires moving ten objects before wiping the basin is harder to keep up. Keep one manageable group nearby, then use a brief reset to return stray items and deal with used towels.
Frequently Asked Questions
What is the first step in organizing a small bathroom?
Take out one area’s contents and sort them by use. Remove empty packaging and identify products you no longer need. Then place daily items where they are easiest to reach, before choosing any new containers.
Should every bathroom product be decanted?
No. Original packaging often carries important instructions and identification. Organize those packages in trays or compartments instead. Follow each product’s storage guidance, and do not assume a matching container is suitable for its contents.
How do two people share a tiny bathroom?
Give each person a defined space for personal products and agree on a home for shared items. Keep the arrangement simple enough that either person can return something without asking. Revisit it when routines or products change.
How can I keep the bathroom organized?
Make returns easy, keep reserve supplies separate, and check the room regularly for products that no longer earn their space. A short reset after use is more manageable when the containers are not packed to the edges.
Conclusion
If you have been wondering how to organize a small bathroom, start with the routines rather than the containers. Put daily items where your hands naturally reach, keep personal groups separate, and move occasional supplies out of the busiest spots. Give wet towels, clean towels, cleaning products, and refills distinct homes. Then live with the arrangement long enough to see where it helps and where it creates extra steps. Adjust those awkward places instead of adding more rules. The most useful system is one you can understand at a glance and restore without turning an ordinary evening into a separate organizing project.


Community
Join the conversation
Add a useful idea, ask a specific question, or share what worked in your space. Every comment is reviewed before it appears.