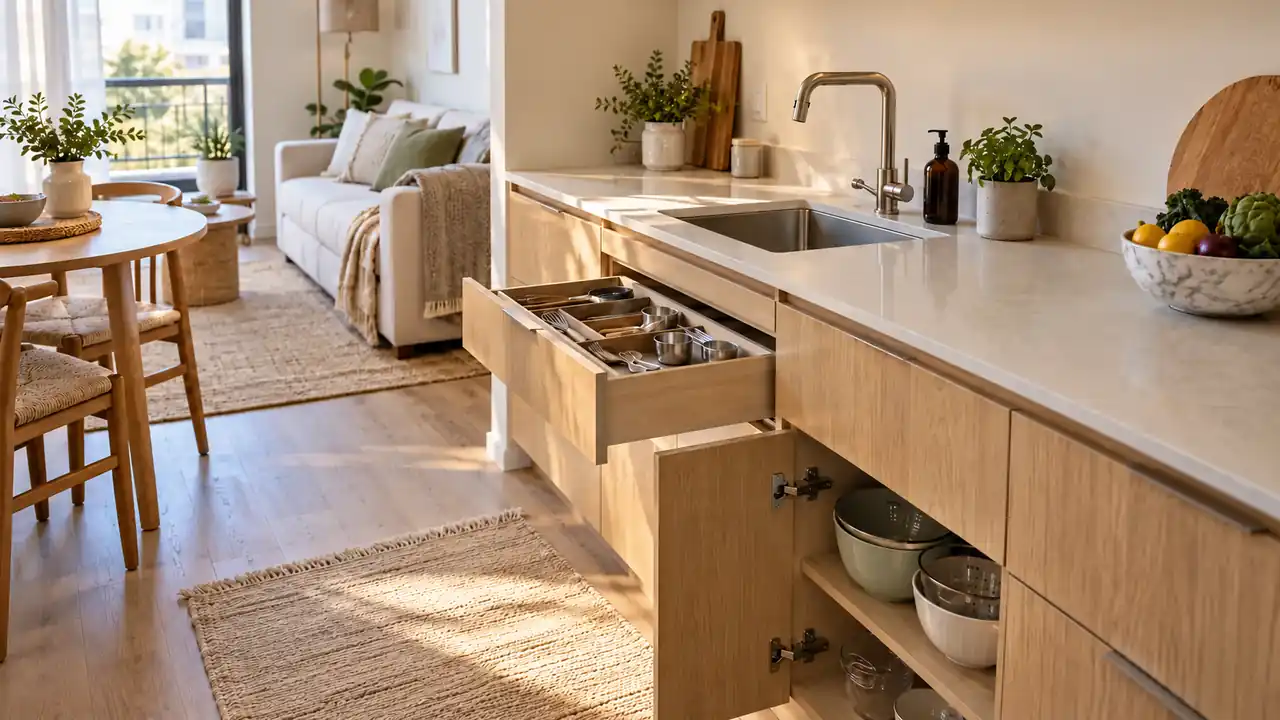
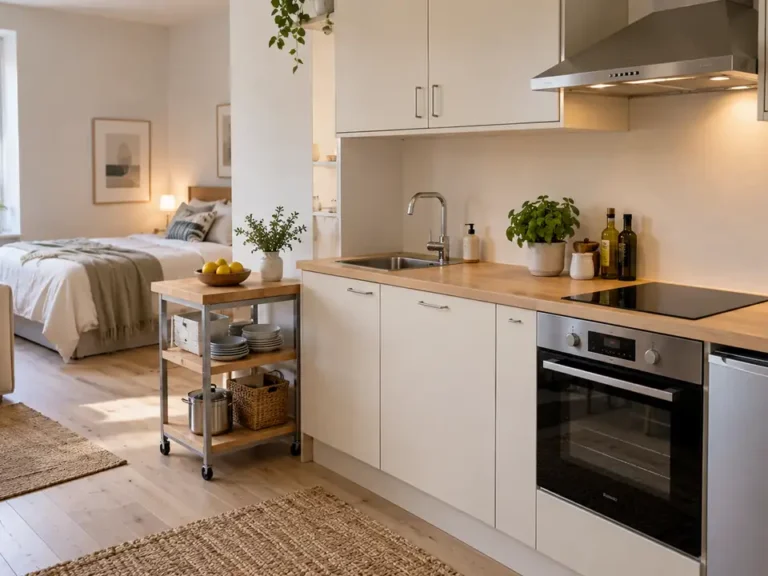
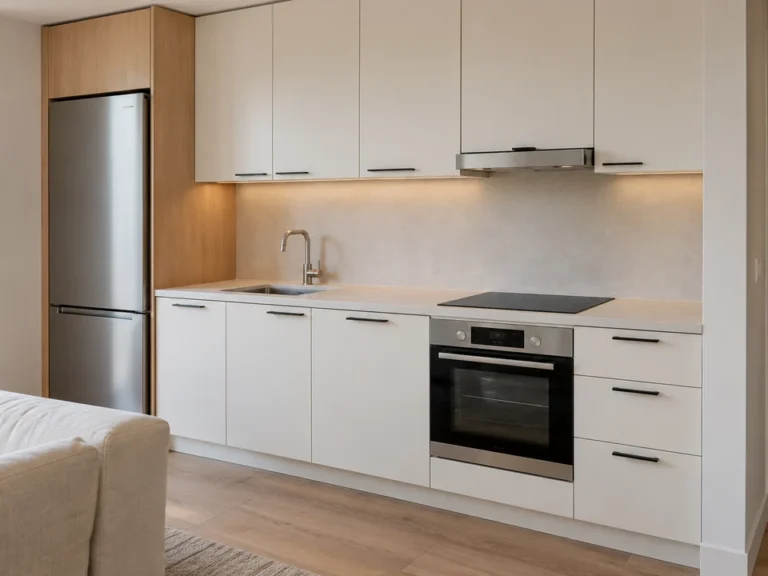
Small kitchens ask you to make dozens of little decisions before dinner even starts. These studio apartment with kitchen ideas focus on the practical details that shorten the hunt for a lid, organize sandwich ingredients, and give clean dishes somewhere sensible to land. You do not need matching containers everywhere or an expensive cabinet overhaul. Begin with one meal you make often, then arrange the tools and supplies for that job together. The following ideas suit compact counters, shallow drawers, and cabinets that must work hard. Keep cooking surfaces and their immediate surroundings clear, follow appliance instructions, and treat every arrangement as something to test in your own room rather than a measured installation plan.
1. Salad Washing Corner
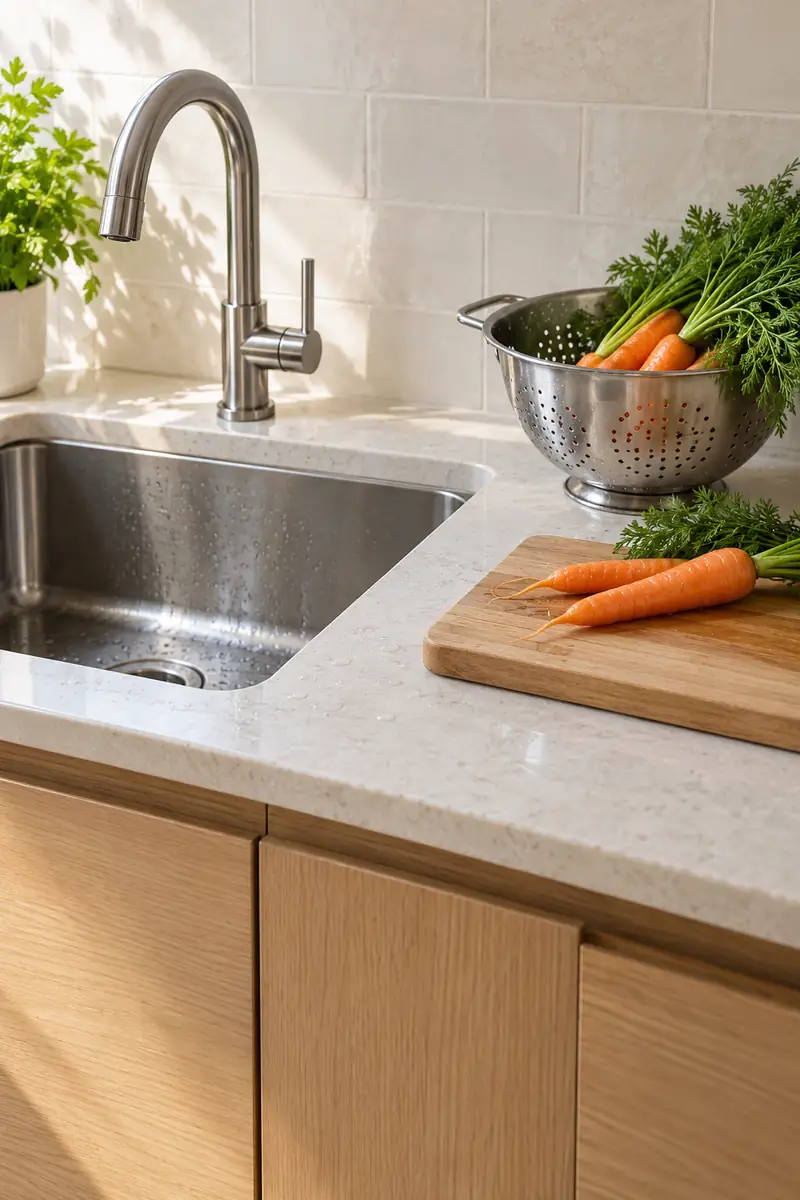
A bowl of salad becomes less of a counter takeover when washing supplies live together. Keep your colander and salad spinner nested in the cabinet nearest the sink. Pull them out with a clean chopping board, leaving enough counter space to set washed produce down without dripping across the room.
Rinse fresh produce under running water, then use the spinner for leafy greens according to its instructions. Put the dry leaves into a clean bowl before clearing the washing equipment. Choose a spinner that fits your sink area and cabinet, rather than the largest version available on the shelf.
2. Sandwich Assembly Kit
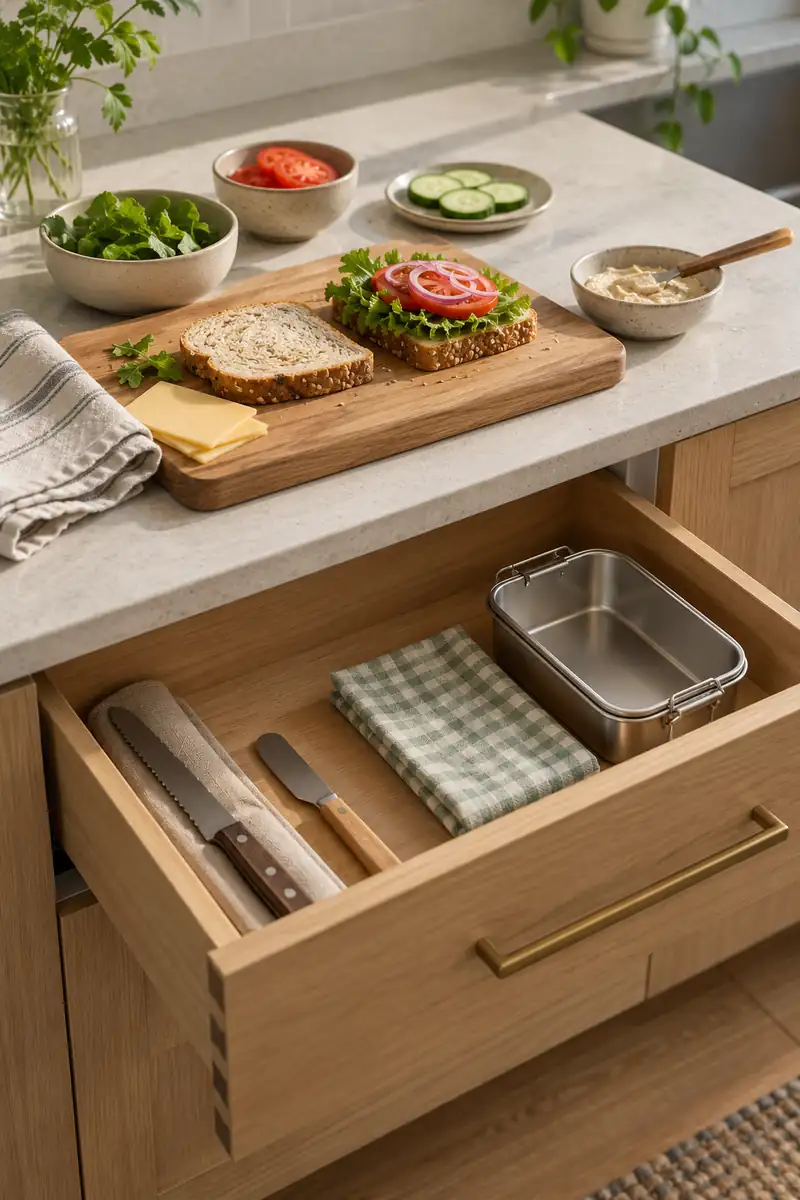
- Gather a bread knife, small spreader, reusable wrap, and lunch container in one shallow drawer tray.
- Keep refrigerated fillings together in an easy-to-lift refrigerator bin.
- Use a clean counter board for assembly, with the lunch container beside it.
- Return chilled ingredients promptly when the sandwich is finished.
Lunch should not require opening every cupboard in the apartment. A dedicated sandwich kit keeps the dry tools together while refrigerated ingredients stay where they belong. Pick a tray that lifts out easily, and resist filling it with occasional gadgets that make the everyday items harder to reach.
3. Portioned Grain Jars
Quick Tip:
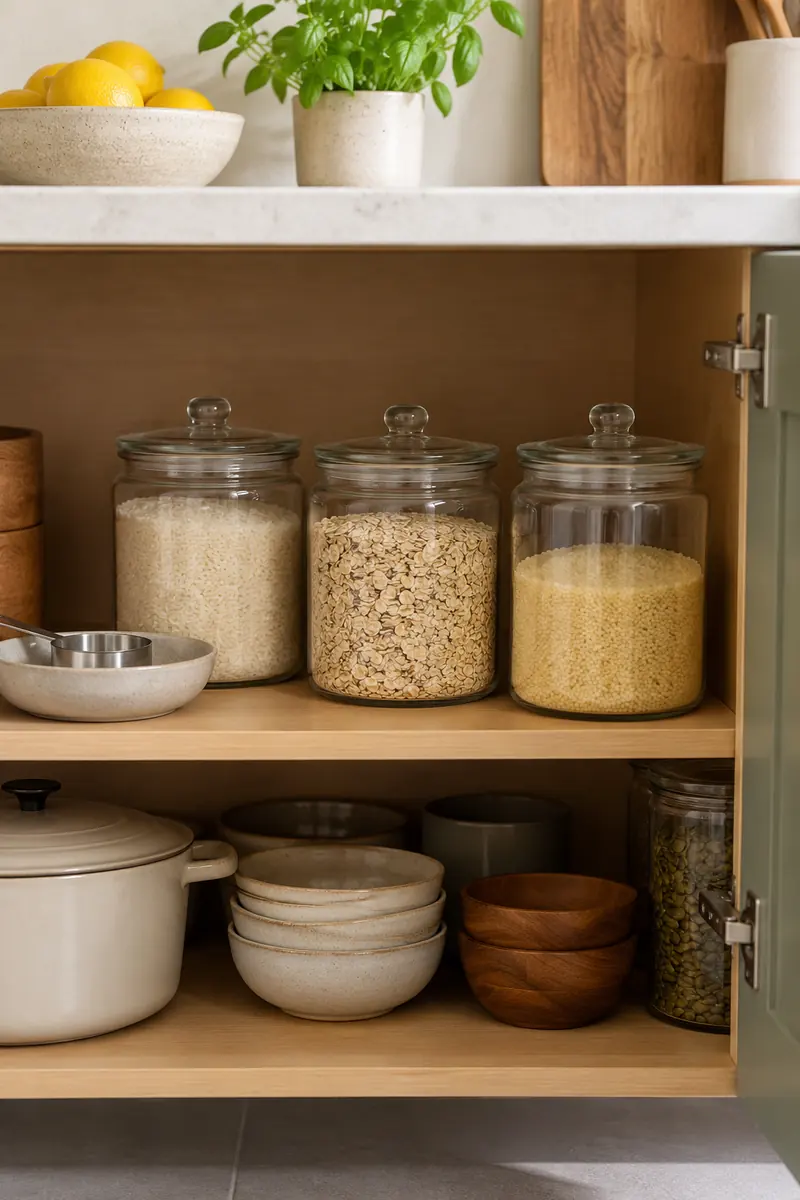
Give your regular rice or oats a ready-to-measure home. Store a clean scoop beside the jar, then measure the amount your usual recipe needs. Keep package cooking instructions and allergen information available.
Clear dry-food containers are useful when their shape suits the shelf and their contents get used. Choose sizes you can lift comfortably, keep lids easy to open, and avoid mixing fresh supplies into an old batch. A small group of regularly used grains earns more space than decorative duplicates.
4. Vegetable Prep Containers
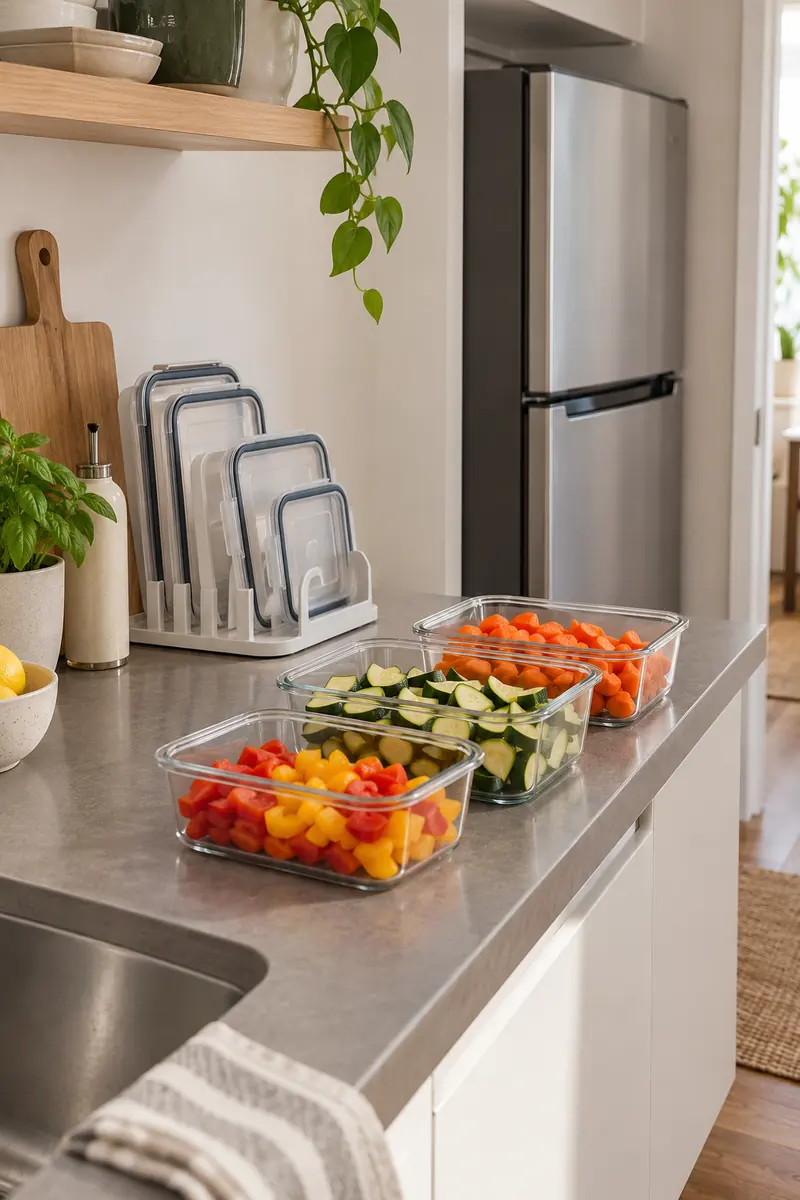
BEFORE:
Chopped vegetables spread across several plates while you look for their matching lids. The preparation counter fills before the recipe is ready.
AFTER:
A few matching food containers hold ingredients for the current meal. Their lids sit upright together until the containers need to close.
A consistent container footprint makes preparation easier to stage and put away. Pick containers that fit your refrigerator shelves as well as your counter. Separate foods appropriately, refrigerate perishable ingredients promptly, and wash food-contact surfaces between tasks. The goal is a small working set you can actually keep matched.
5. Reachable Mixing Bowls
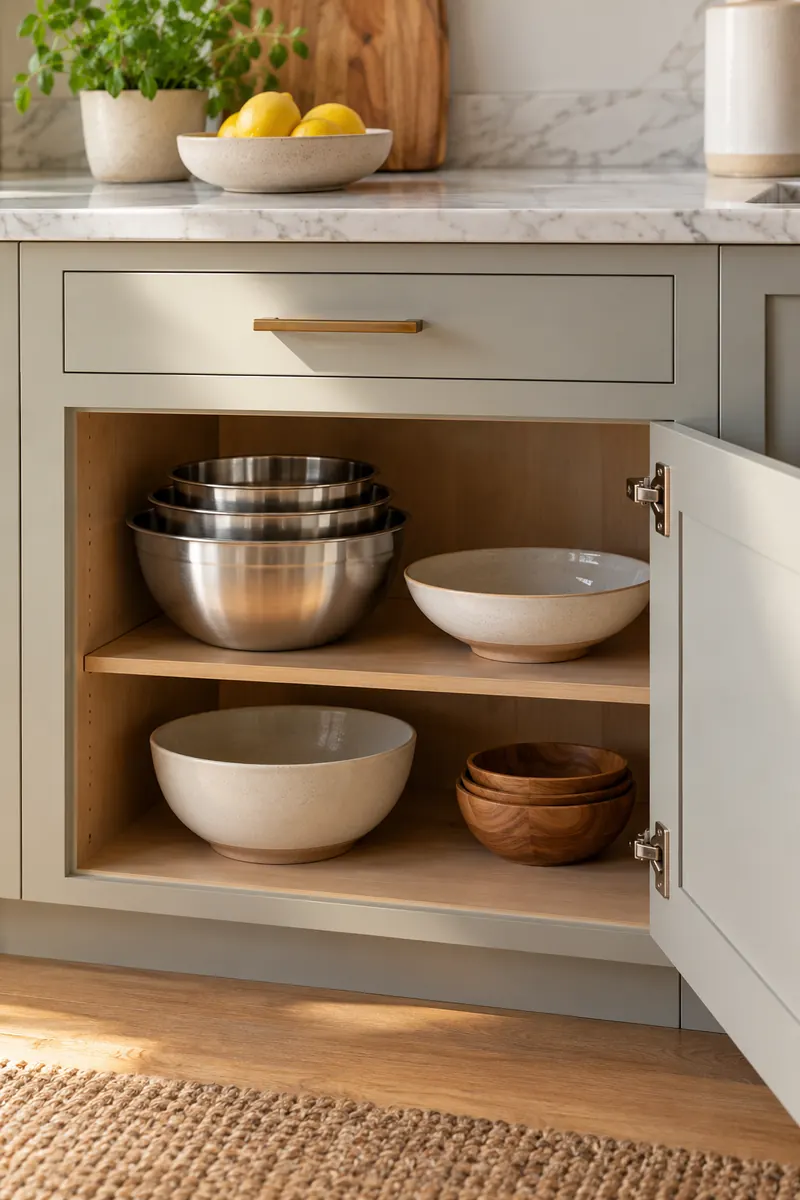
- Identify the bowl you use most often for mixing, tossing, or serving.
- Give it a reachable shelf position without heavy items stacked above it.
- Nest smaller bowls only if you can remove them comfortably.
- Move rarely used oversized bowls to a less convenient storage spot.
The most useful bowl should not require dismantling a tower. A reachable arrangement saves fiddly lifting and makes quick meals feel simpler. Check that the shelf supports the stored load, and keep stacks stable. If nesting becomes awkward, separate the two bowls you reach for most often instead.
6. Measuring Drawer Map
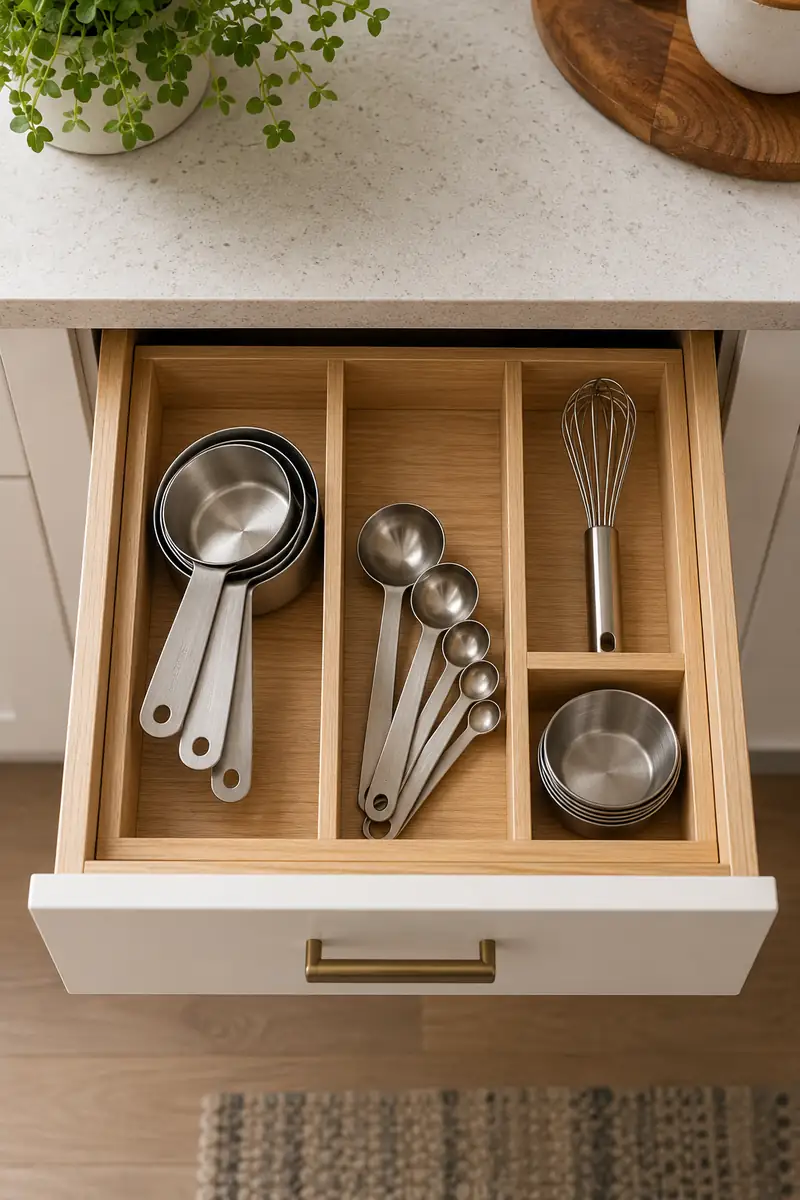
| Detail | Divided Tray | Open Shallow Box |
|---|---|---|
| Best fit | Several small utensils | One matching measuring set |
| Visibility | Each tool has a space | Tools stay together |
| Reset | Return pieces separately | Lift out the whole kit |
Tiny tools cause large delays when they disappear beneath spatulas. Give measuring cups and spoons a shallow drawer section where their shapes remain visible. Test the drawer fully closed before adding an organizer. Keep frequently used sizes nearest the front, with occasional baking tools stored farther back for calmer access.
7. Vertical Lid File
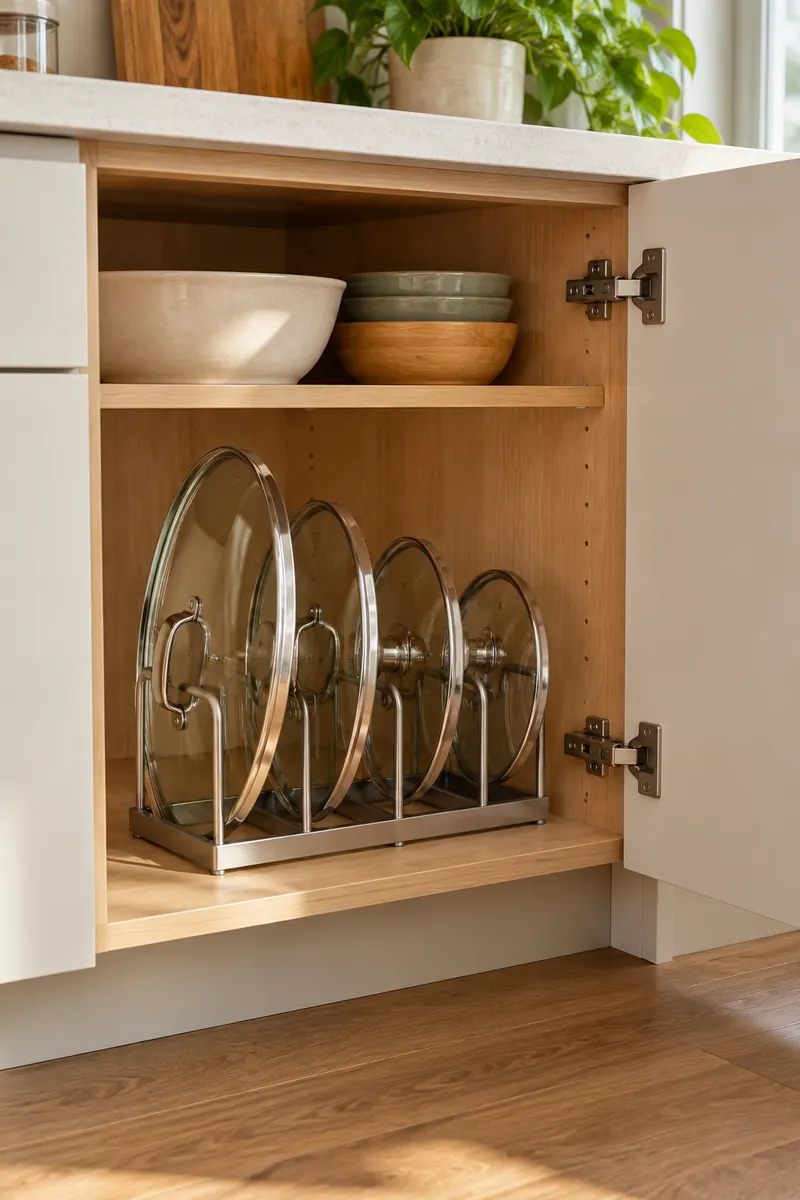
DO:
- Measure the cabinet opening before choosing a freestanding lid divider.
- Keep each lid within the rack width without leaning into hinges.
- Put the most-used lid in the easiest slot.
DON’T:
- Do not wedge lids where the cabinet door presses against them.
- Do not overload a light rack until it tips.
- Do not store greasy or damp lids against clean cookware.
A vertical file makes the right lid visible before the pot leaves its shelf. Try a small freestanding rack inside an existing cabinet before considering mounted hardware. Leave enough room to lift each lid without scraping its neighbors, and check that knobs do not prevent the cabinet door from closing.
8. Sheet-Pan Ingredient Box
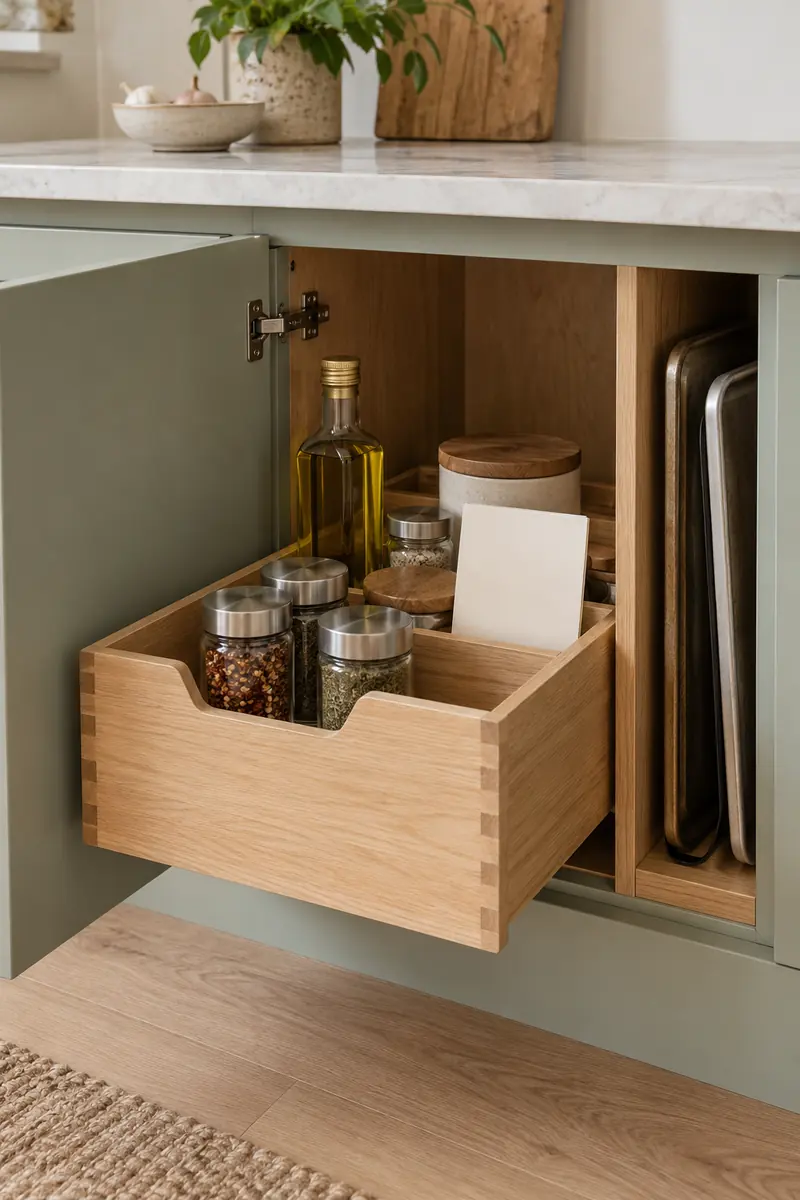
Purpose: Gather shelf-stable ingredients for a familiar sheet-pan meal.
Contents: A small bottle of oil, sealed seasonings, and the recipe card.
Storage: A cool cupboard away from the oven and cooktop.
Fresh Items: Keep them refrigerated until preparation begins.
A dinner box can hold the dry ingredients you repeatedly reach for without turning the counter into a pantry. Build it around a meal you genuinely cook, and check supplies before shopping. Keep the box in storage during cooking, with combustible packaging well away from the stove and other heat.
9. Herb Trimming Kit
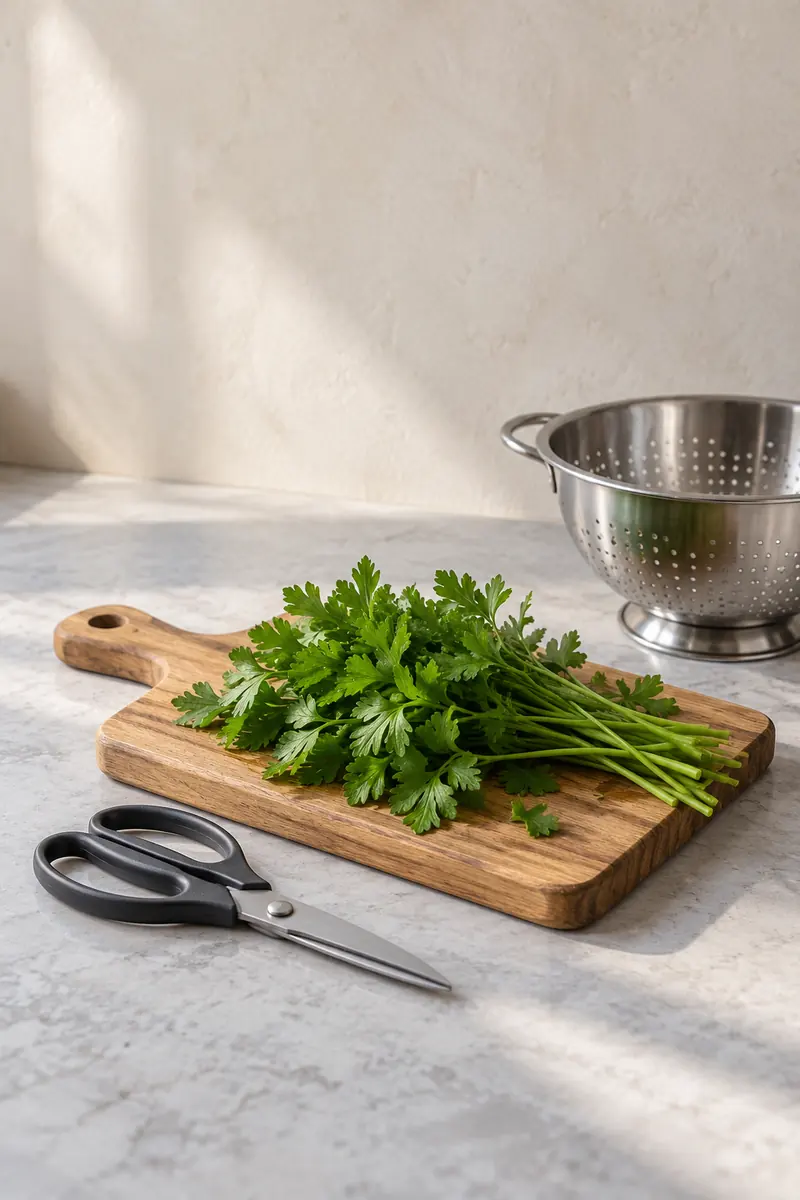
Fresh herbs are easier to use when their little tools do not vanish into a crowded drawer. Put clean kitchen scissors, a small colander, and a compact board near the preparation area. Bring out only the herbs needed for the meal, keeping the rest stored appropriately for their type.
Trim stems over a small bowl and transfer prepared herbs into a clean dish before cooking. Wash the tools after use and let them dry before returning them to storage. A compact kit makes parsley or cilantro a practical dinner addition without dedicating permanent counter space to another elaborate station.
10. Bread Slicing Setup
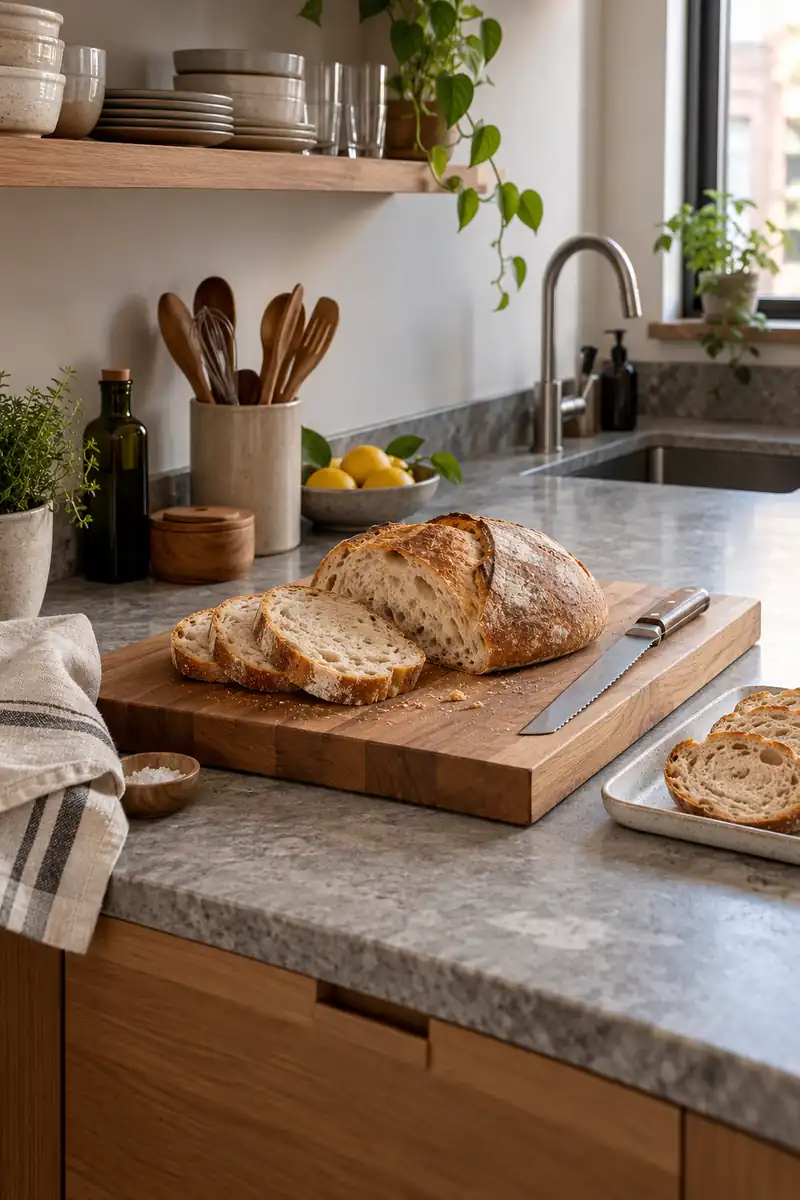
- Choose a stable board that fits fully on the counter.
- Use a suitable bread knife and keep its blade protected in storage.
- Place a crumb-catching tray nearby for the sliced loaf.
- Brush crumbs into the bin and clean the board after use.
A loaf can scatter crumbs across an entire studio if slicing happens wherever there is a gap. Give bread a repeatable preparation spot with enough room for your hands and the finished slices. Store the board upright only after it is dry, and keep the knife out of casual reach.
11. Coffee Filter Drawer
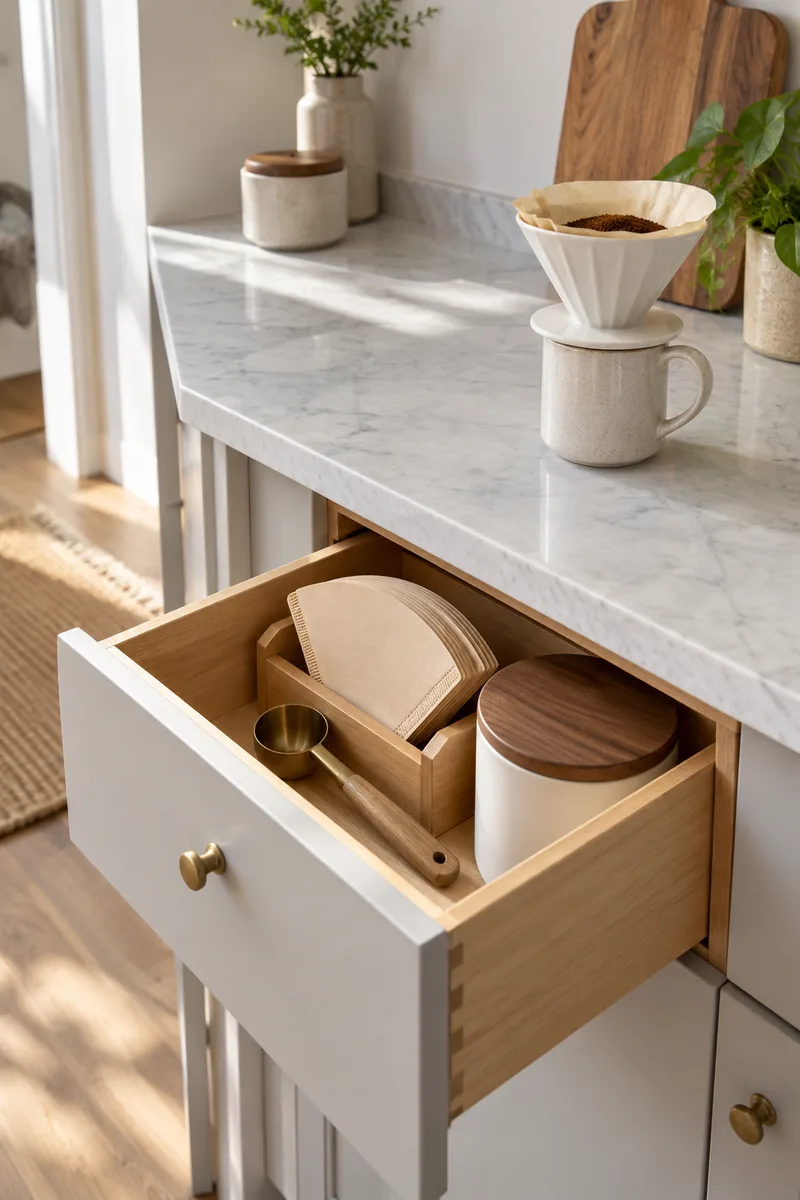
Quick Tip:
Move coffee supplies into the drawer below your usual coffee spot. Keep paper filters, a scoop, and sealed beans in separate small compartments. Leave appliance ventilation and the surrounding working area clear.
The morning routine becomes tidier when spare supplies disappear after brewing. Use a drawer for the dry items and follow your coffee maker instructions for placement, filling, and cleaning. Do not trap a working appliance inside a cabinet. A small tray can catch the scoop without gathering unrelated countertop clutter.
12. Lunch Packing Shelf
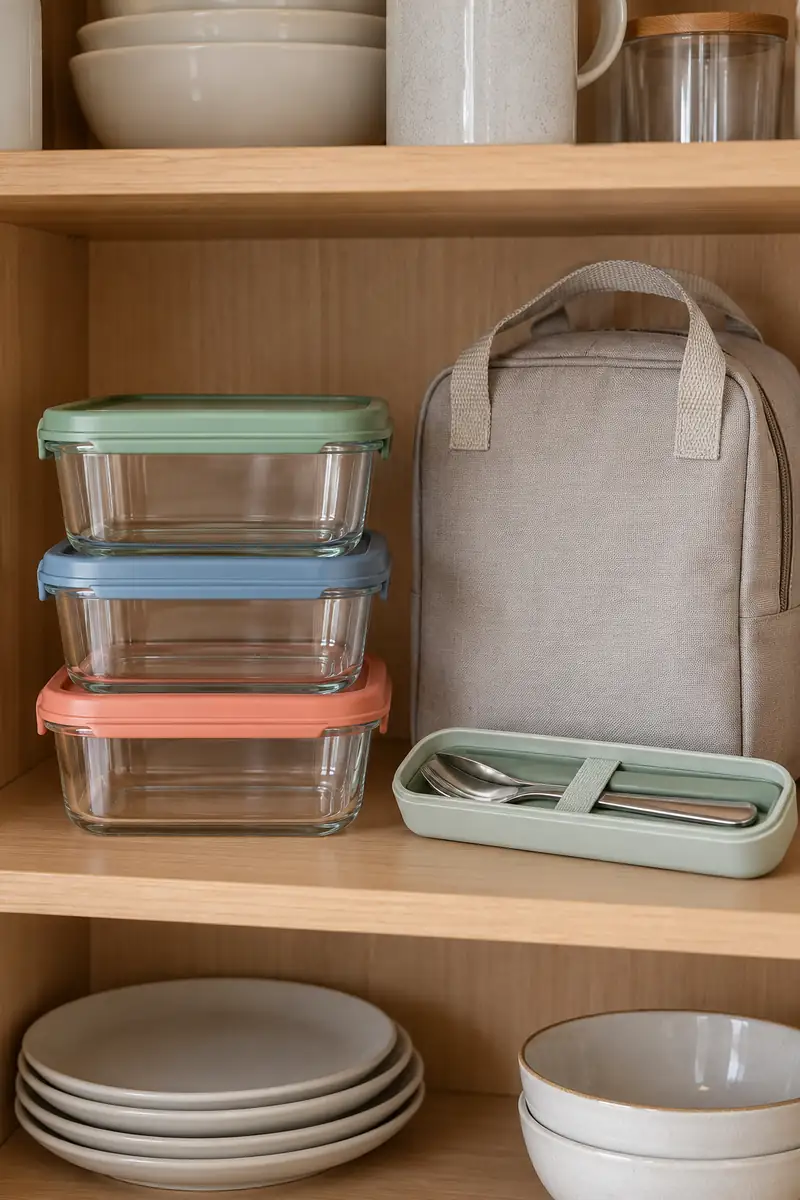
BEFORE:
Lunch boxes and their lids live in different cupboards. A quick morning meal turns into a noisy search.
AFTER:
One reachable shelf holds complete containers, reusable cutlery, and an empty lunch bag. Each container is ready to leave its shelf as a set.
Packing is quicker when the storage arrangement follows what goes into your bag. Keep a modest number of complete containers and retire mismatched extras from this prime shelf. Store perishables at safe temperatures and pack them with appropriate cooling for the trip. The shelf organizes equipment rather than unrefrigerated meals.
13. Taco Topping Caddy
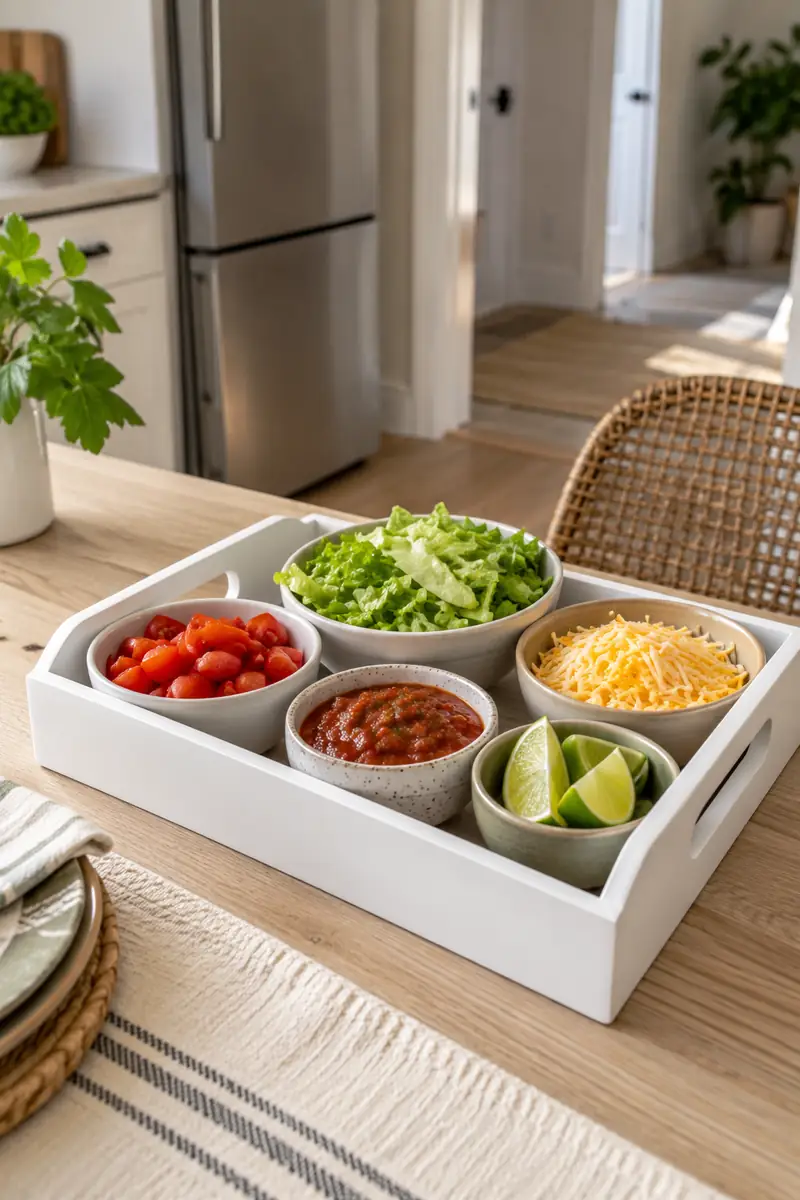
- Select a shallow tray that fits on your dining surface.
- Place small washable bowls on it before preparing toppings.
- Fill only the bowls needed for the meal and keep perishables chilled until serving.
- Carry the tray to the table, then return leftovers to appropriate storage promptly.
A tray of small bowls keeps taco night from occupying every corner of the kitchen. Choose dishes that double as everyday snack bowls so the kit does not require special storage. Check the loaded tray feels comfortable to carry, and use a clear route between the counter and table.
14. Baking Rack Slot
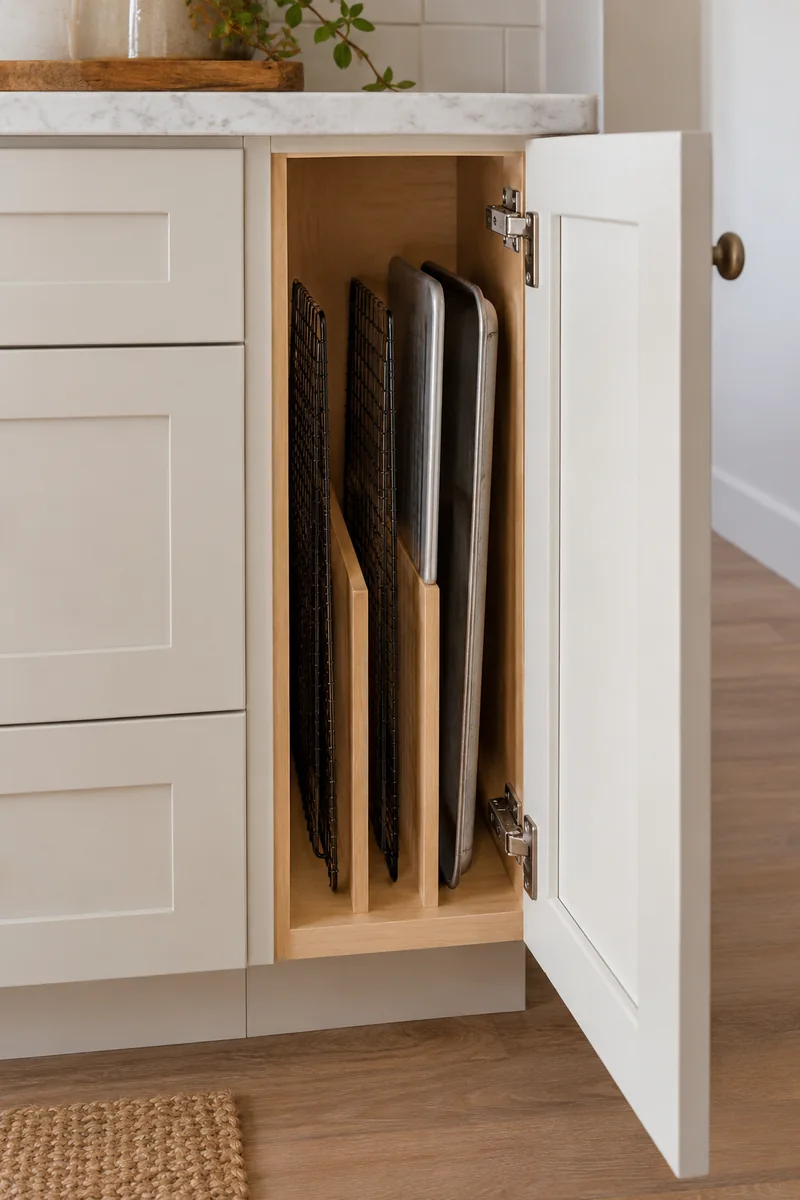
| Detail | Vertical Cabinet Slot | Flat Shelf Stack |
|---|---|---|
| Access | Lift one rack separately | Lift the stack above it |
| Best fit | Tall narrow opening | Wide shallow shelf |
| Storage check | Enough room above | Stable stack without snagging |
Cooling racks are awkward when their feet catch on every tray in the cupboard. Give them a dedicated storage slot or a short, orderly stack after they are clean and dry. Keep the racks fully inside the cabinet, and use them only on a suitable stable surface during baking.
15. Dish Brush Dock
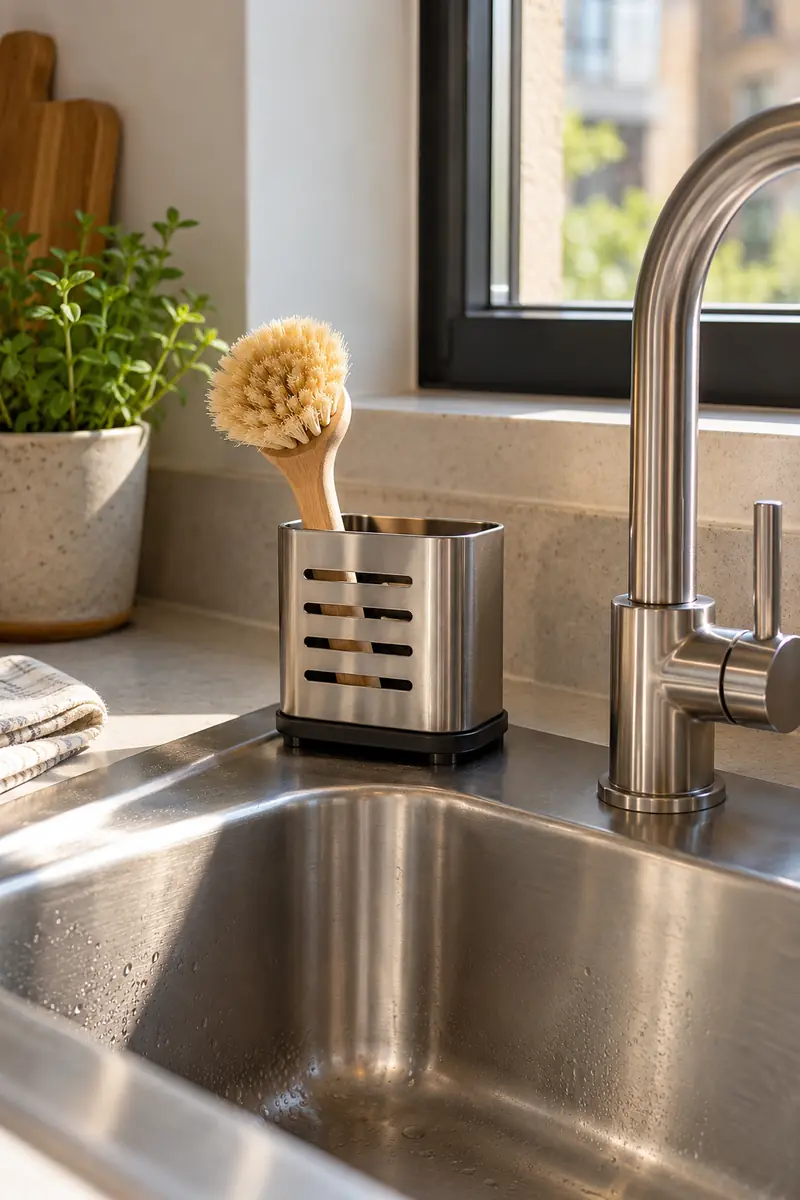
DO:
- Choose a washable holder that catches drips without spilling across the counter.
- Position it where the sink remains easy to use.
- Clean and dry the holder regularly.
DON’T:
- Do not let brush handles obstruct the faucet controls.
- Do not pack wet cleaning tools tightly together.
- Do not keep food-preparation utensils in the cleaning holder.
A defined brush spot makes the sink edge easier to wipe. Start with one dish brush and the cleaning tool you genuinely use, rather than a crowded collection. Choose a holder that separates wet items from the counter, and follow the cleaning instructions for both the holder and its contents.
16. Compact Drying Rack
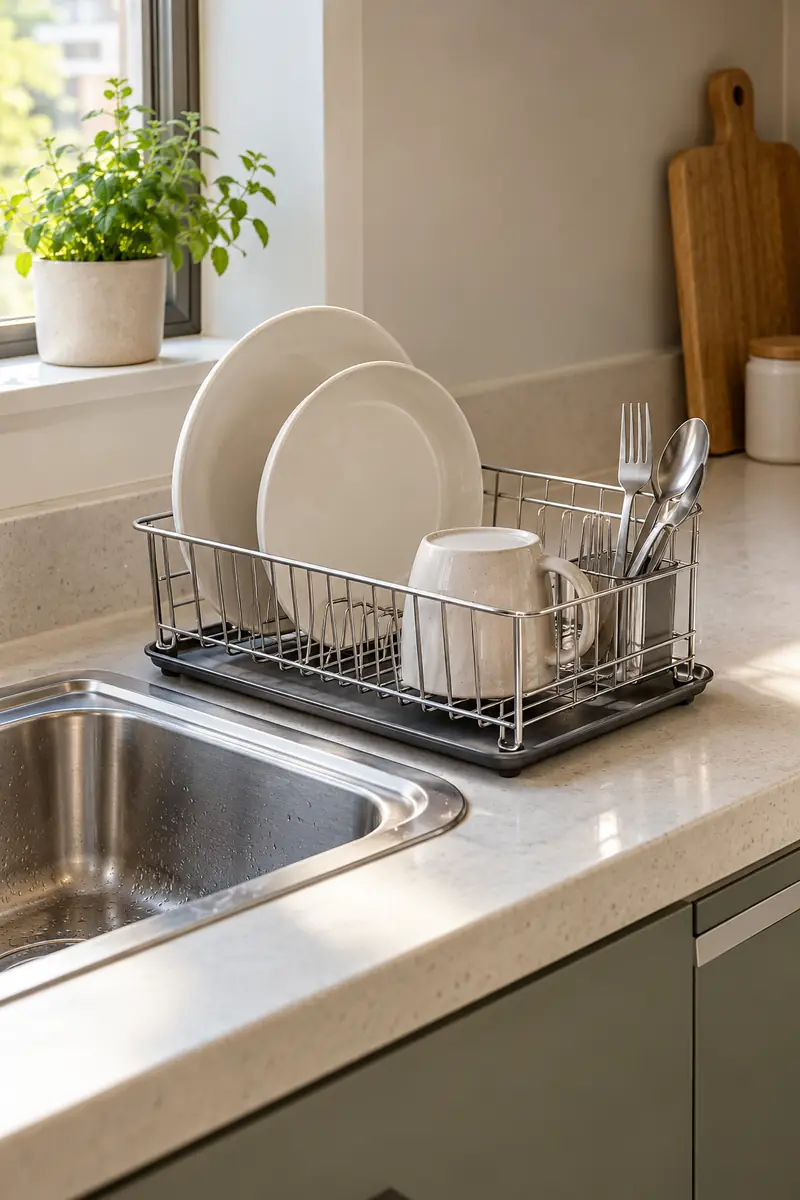
Location: Beside the sink on a suitable draining surface.
Capacity: Sized for your usual meal cleanup.
Clearance: Leave the faucet and walking route usable.
Storage: Put away only once the rack is clean and dry.
A drying rack should fit the dishes you wash without consuming the whole preparation area. Compare its footprint with the counter before buying, including the drainage direction. Return dry dishes to their cupboard rather than treating the rack as storage. A smaller rack works best with a consistent unloading habit.
17. Leftover Label Kit
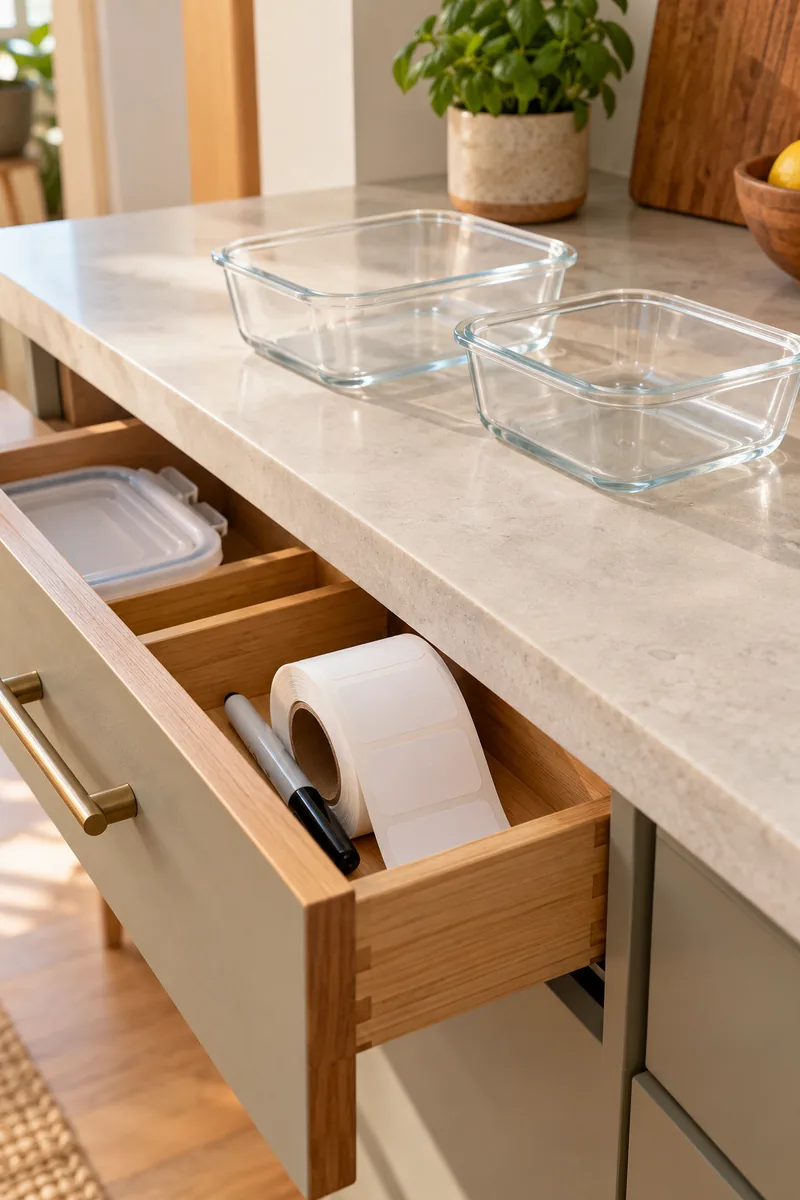
The question of what is inside a container becomes harder once several similar meals reach the refrigerator. Keep a marker and food-storage labels in a small dry drawer compartment. Add the food name and date before the container leaves your counter, using labels compatible with the container and storage conditions.
Labels support a routine; they do not replace safe food handling. Refrigerate perishable leftovers within two hours, or one hour above ninety degrees Fahrenheit, and use shallow containers for quicker cooling. Keep your labeling supplies separate from wet cleaning tools so the next meal can be packed without hunting.
18. Freezer Portion Station
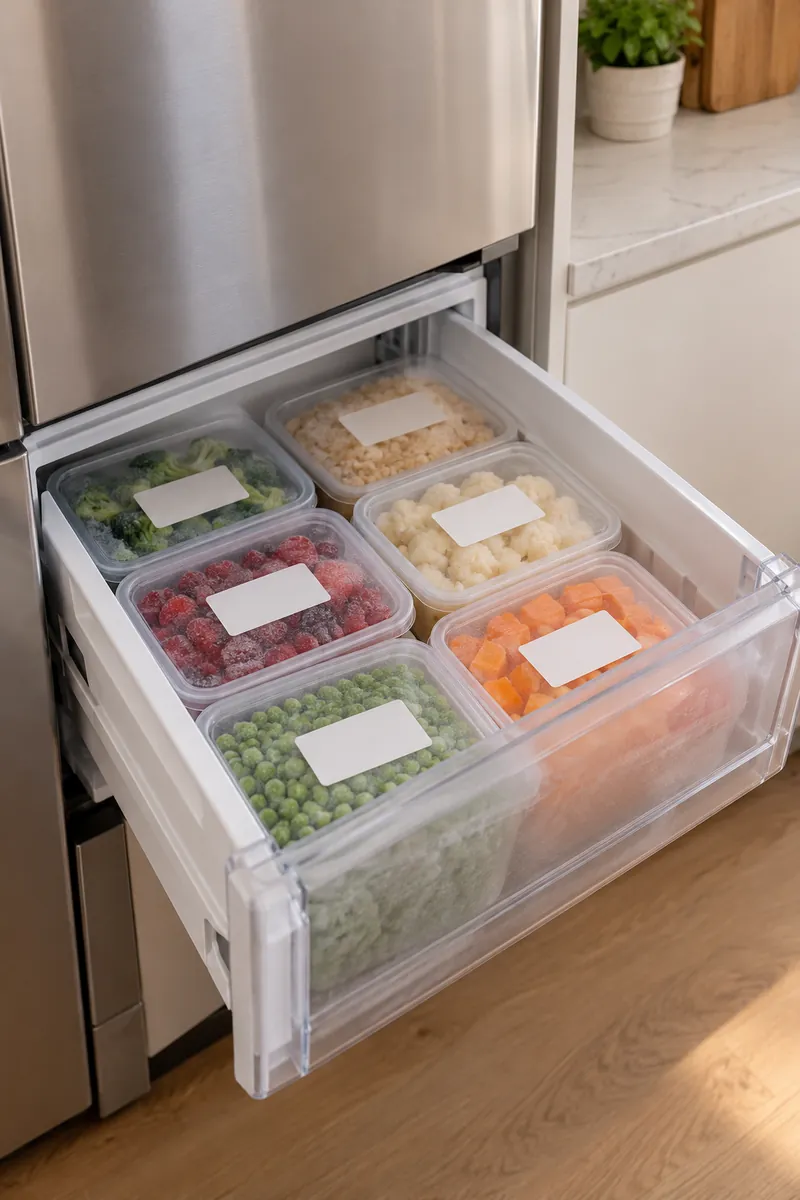
- Choose freezer-suitable containers in portions you expect to use.
- Leave any expansion space required by the container and food guidance.
- Label the contents and date before putting portions away.
- Keep the freezer organized so older food is visible and easy to reach.
A small freezer is easier to navigate when portions match your routine. Store containers in short stable rows instead of a mound that falls out with the door. Check packaging instructions for freezing and reheating, and cool and refrigerate perishables promptly. Portioning should reduce waste without delaying safe food storage.
19. Weekly Produce Basket
Quick Tip:
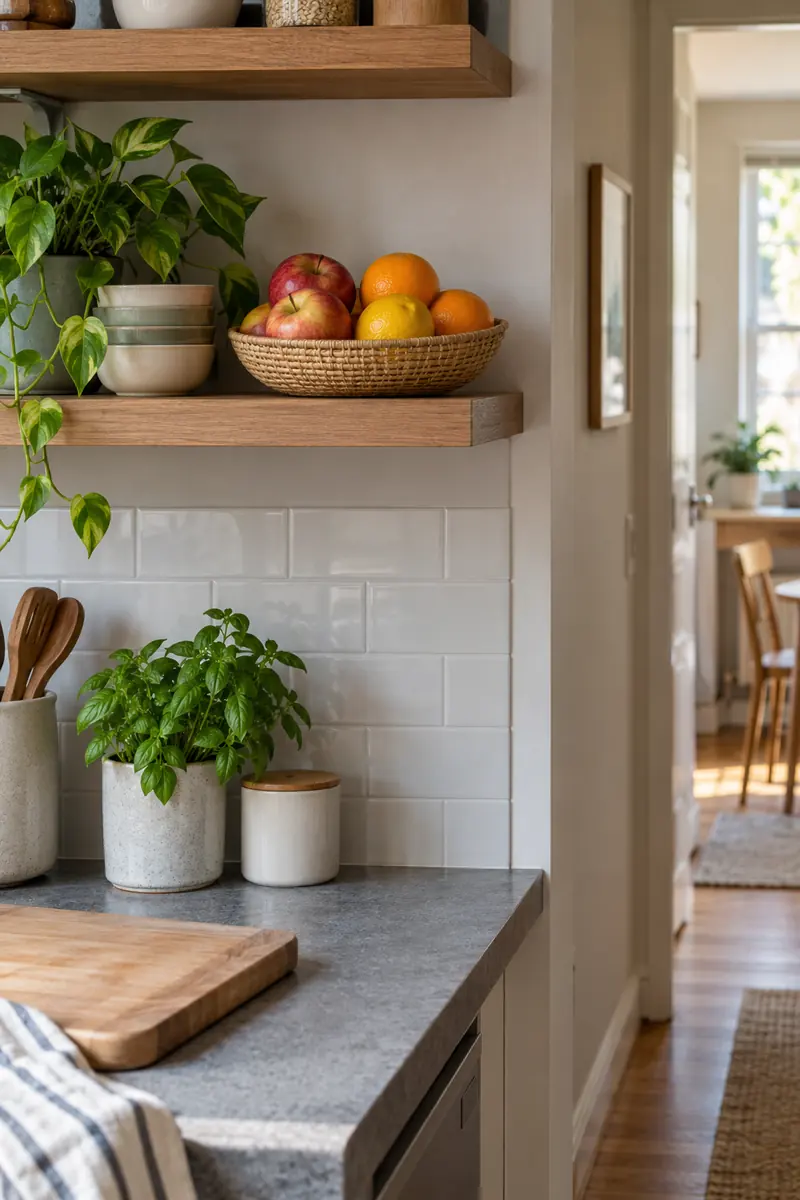
Reserve one small basket for produce that is suitable for room-temperature storage. Keep it away from heat and direct sun. Refrigerate items that require chilling, including produce sold pre-cut.
A modest basket makes the next snack or meal ingredient visible without becoming a forgotten heap. Buy quantities you can use and check the basket regularly for spoilage. Different produce needs different storage conditions, so let the food guide the location instead of arranging every fruit and vegetable together.
20. Baking Supply Box
BEFORE:
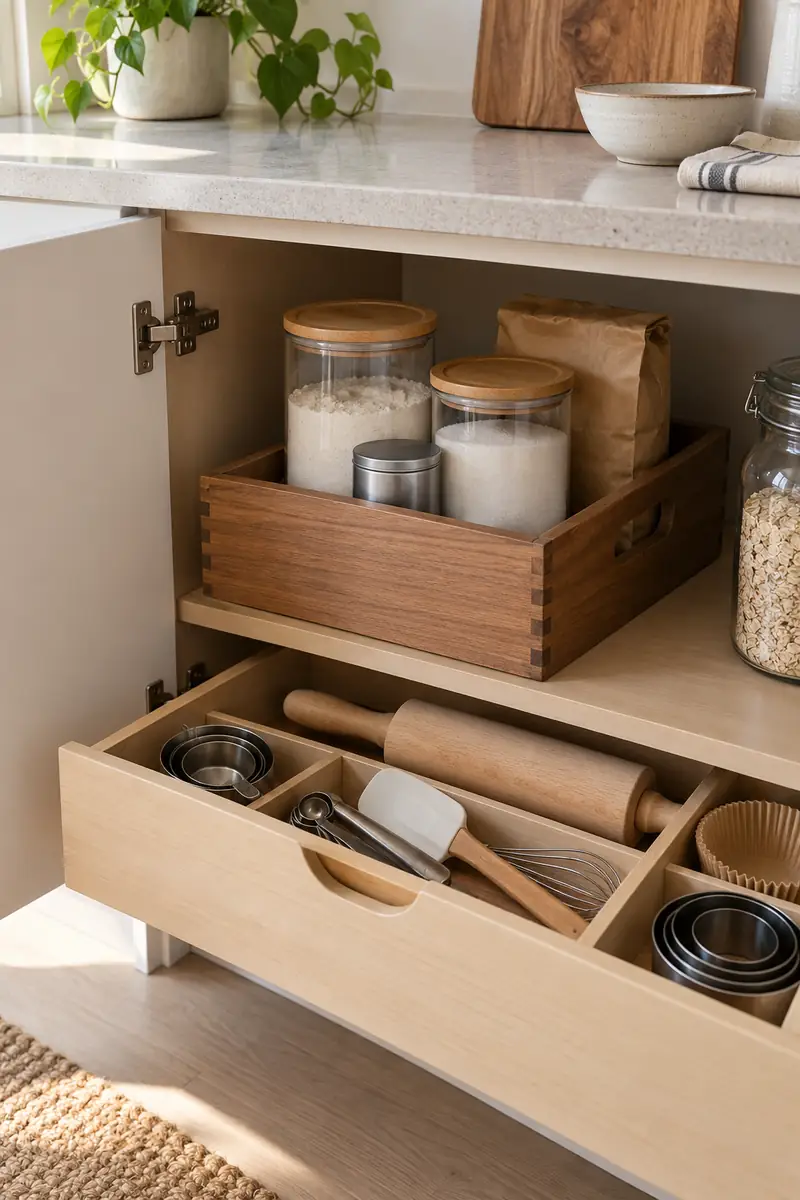
A baking session begins with flour in one cupboard and small tools scattered across three drawers. Measuring becomes an exercise in clearing space.
AFTER:
A reachable pantry box holds the sealed dry ingredients used together. A neighboring drawer keeps the matching measuring tools visible.
Group ingredients for the baking you actually do, whether that is weekend pancakes or an occasional cake. Keep original information available when decanting food, check dates, and choose a box you can lift comfortably. Leave bulky mixers stored separately rather than turning one useful kit into a heavy obstacle.
21. Soup Tool Bundle
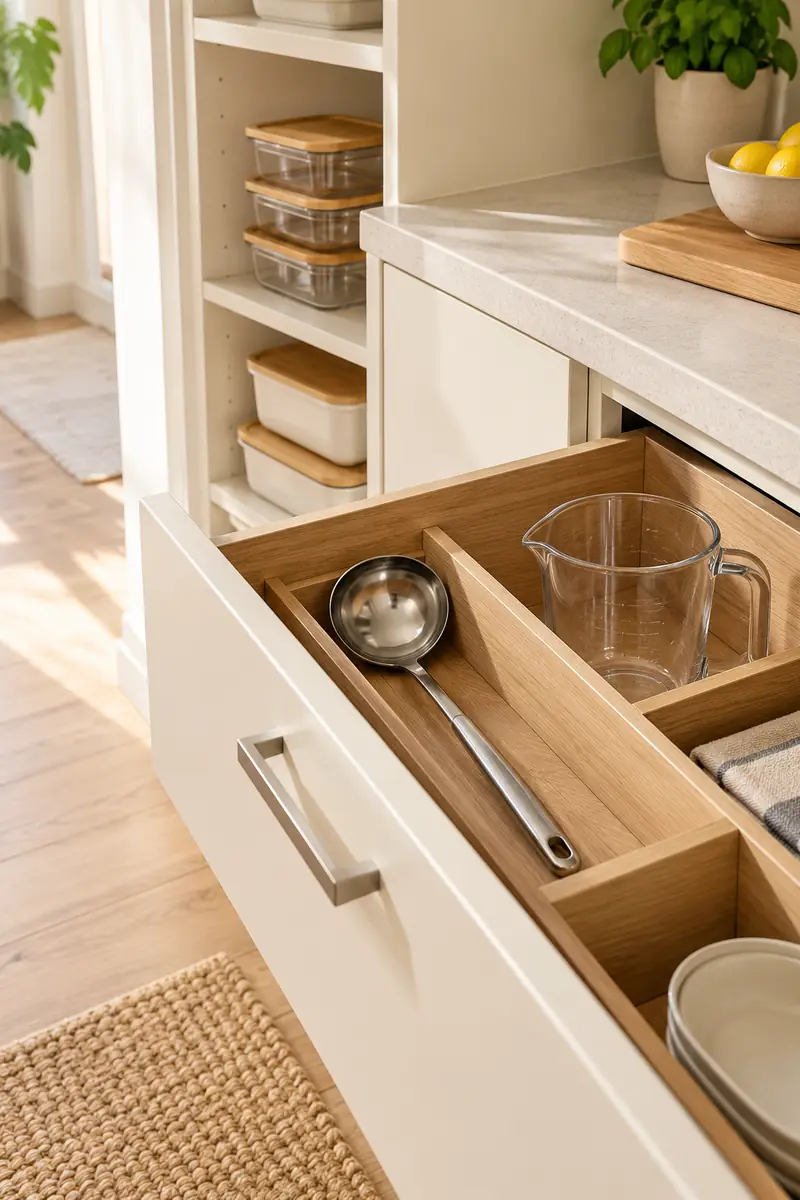
- Gather the ladle, measuring jug, and storage containers used for your usual soup.
- Keep the ladle in a reachable drawer with its bowl facing upward.
- Store containers together with their lids so packing leftovers is straightforward.
- Return clean, dry tools after the meal so the kit stays ready.
Soup nights need surprisingly few specialized tools. Organize the pieces you already own before buying another gadget, and keep the ladle away from the stove when it is not in use. Portion leftovers into shallow containers and refrigerate promptly, rather than leaving a large pot sitting out to cool.
22. Serving Tray Stack
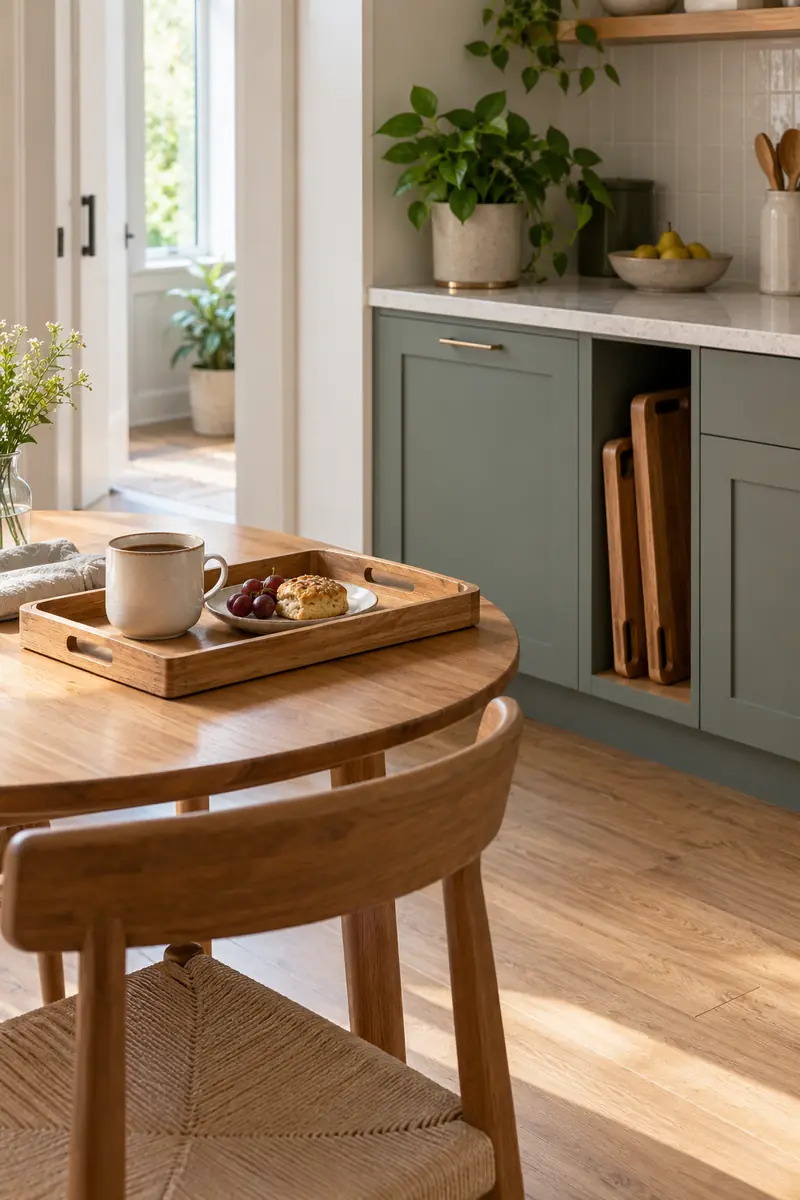
| Detail | One Large Tray | Two Small Trays |
|---|---|---|
| Carrying | One balanced load | Lighter separate trips |
| Storage | Needs wider slot | Fits smaller cupboards |
| Daily use | Shared meal setup | Individual drinks or snacks |
A serving tray makes the trip from kitchen to sofa less piecemeal, but its size must suit your hands and route. Choose comfortable handles and a stable base, then avoid overloading it. Store trays where they can slide out cleanly without pulling plates or chopping boards into your path.
23. Pantry Refill Tray
DO:
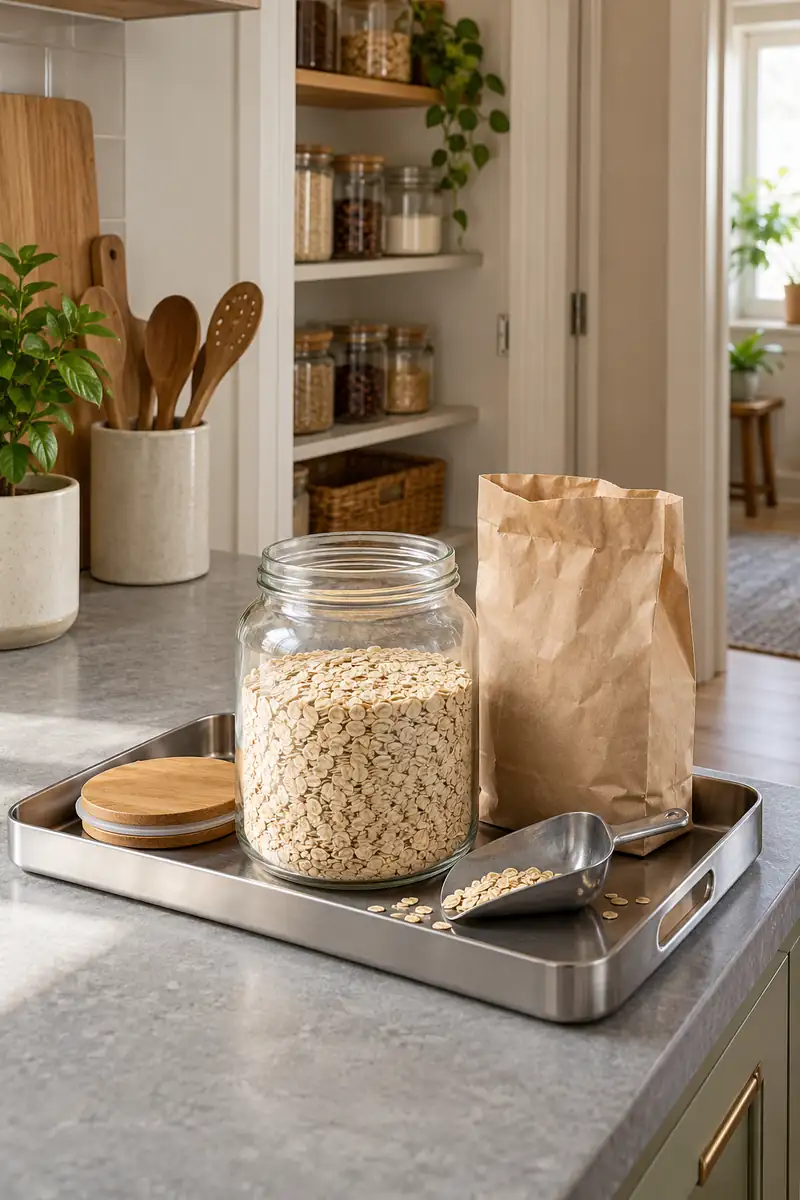
- Use a clean tray to collect crumbs while refilling dry-food containers.
- Check the container is clean and fully dry first.
- Keep package dates and cooking information available.
DON’T:
- Do not mix unknown older food into a new supply.
- Do not refill containers beside a hot cooking surface.
- Do not leave opened food packaging spread across the room.
Refilling jars is easier when the mess has a boundary. Set the tray on a clear preparation counter, work with one ingredient at a time, then wipe everything before returning it to the cupboard. Keep a modest container system that fits your shopping habits instead of creating a second chore.
Conclusion
A useful small kitchen supports the meals you actually make. Start with one drawer, one lunch shelf, or one practical kit, and see whether it removes an annoying step from your routine. These studio apartment with kitchen ideas work best when every addition earns its space through regular use. Keep perishable food properly refrigerated, leave cooking areas clear, and return tools to the place where you reach for them. Save this post on Pinterest for your next kitchen reset, try your favorite idea during the coming week, and share it with someone making dinner in a compact home.

Community
Join the conversation
Add a useful idea, ask a specific question, or share what worked in your space. Every comment is reviewed before it appears.