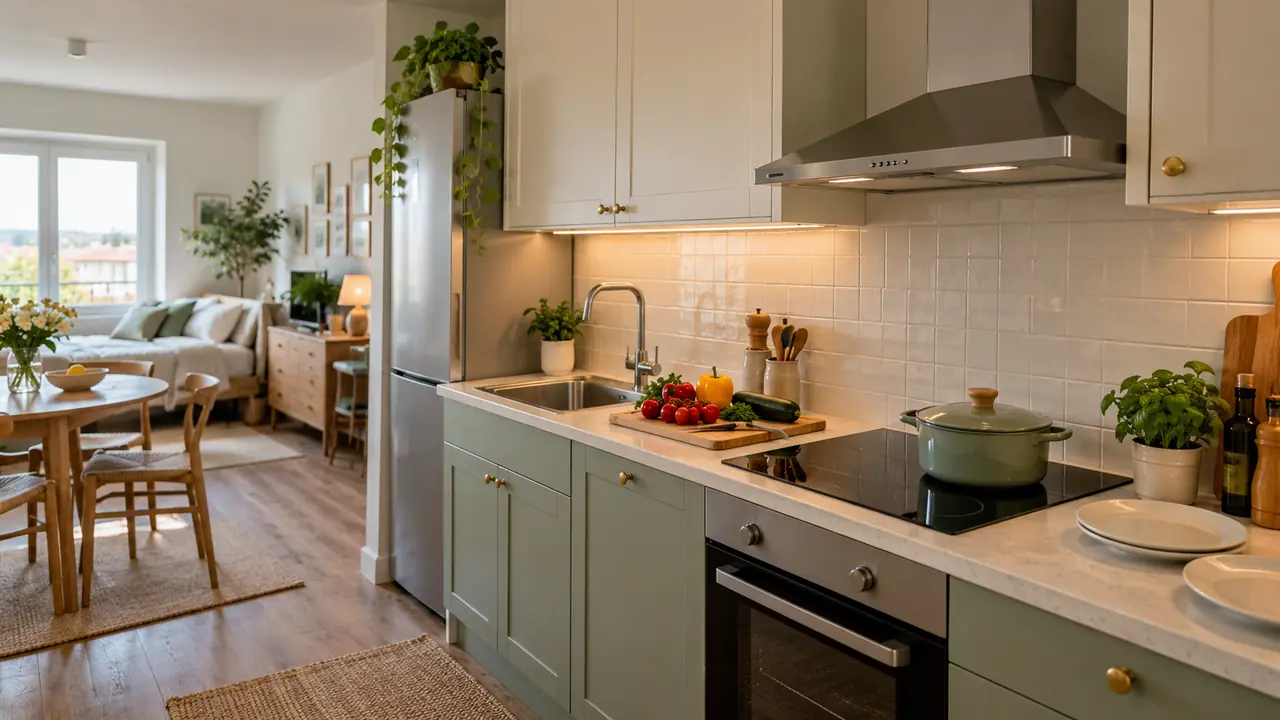
Good studio kitchen ideas make dinner easier from the first ingredient to the last washed plate. Style matters, but a beautiful corner can still be frustrating if the board blocks the sink, the recipe sits beside a hot pan, or finished food has nowhere to land. A few well chosen changes can help a small kitchen support the way you actually cook.
Quick answer: A studio kitchen is the cooking area of a studio apartment, usually a single wall, a galley, or a compact L-shape that shares the room with your living space. The best studio kitchen ideas do three things: keep at least one clear stretch of counter for prep, store as much as possible behind doors or up the wall, and make the kitchen look like part of the living room with matching colors, warm lighting, and fewer things on display.
The seventeen ideas below follow a meal through its different stages, with practical details for preparation, cooking, serving, and cleanup. They work with ordinary equipment and modest apartment layouts rather than assuming a full renovation. Begin with the moment that feels most awkward in your routine, then borrow the ideas that solve it while keeping the kitchen connected to the look of your studio.
1. One Way Meal Route
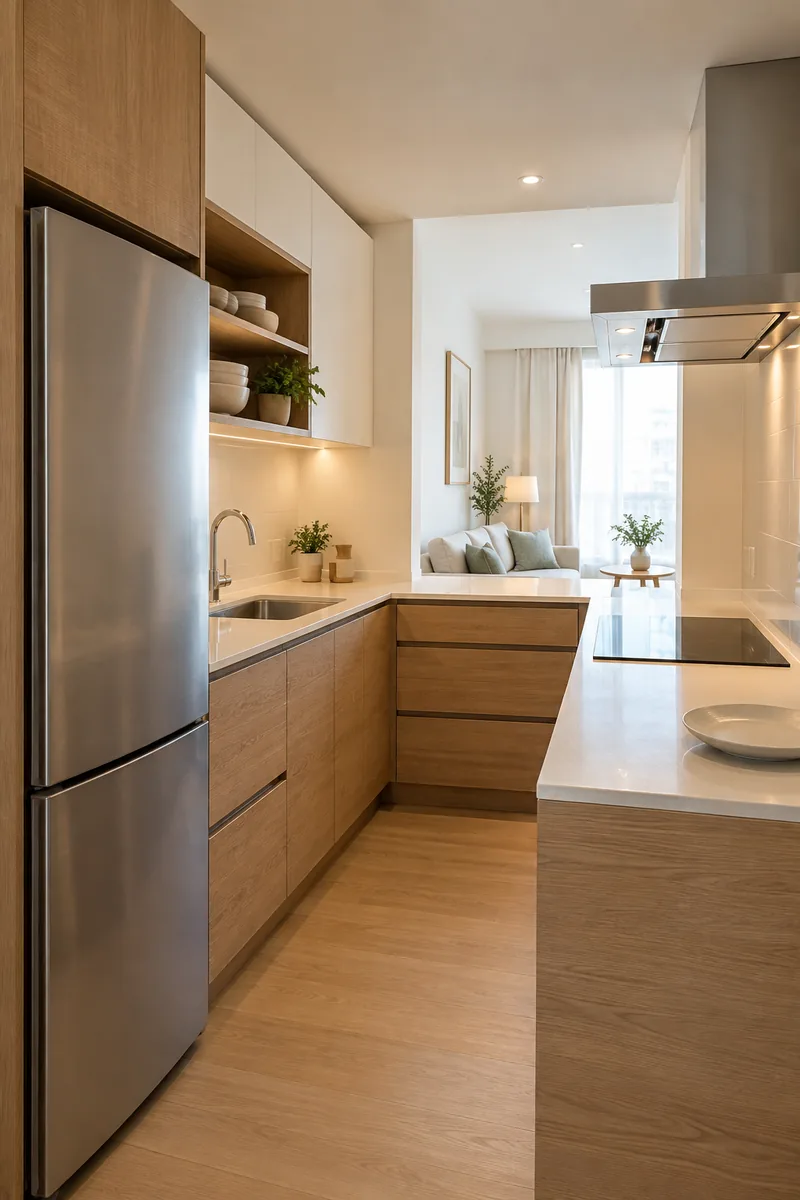
A smooth dinner begins before anything reaches the pan. Look at the route from your refrigerator to the sink, preparation spot, stove, and serving area. Arrange the movable parts of your routine in that order, so ingredients travel forward instead of repeatedly crossing the same crowded patch of kitchen counter.
You do not need to relocate plumbing or appliances to improve the sequence. A bowl moved beside the sink, plates set at the far end, and ingredients gathered before cooking can make the existing layout easier to use. Try the route with a simple meal and adjust whatever causes backtracking.
2. Ingredient Staging Tray
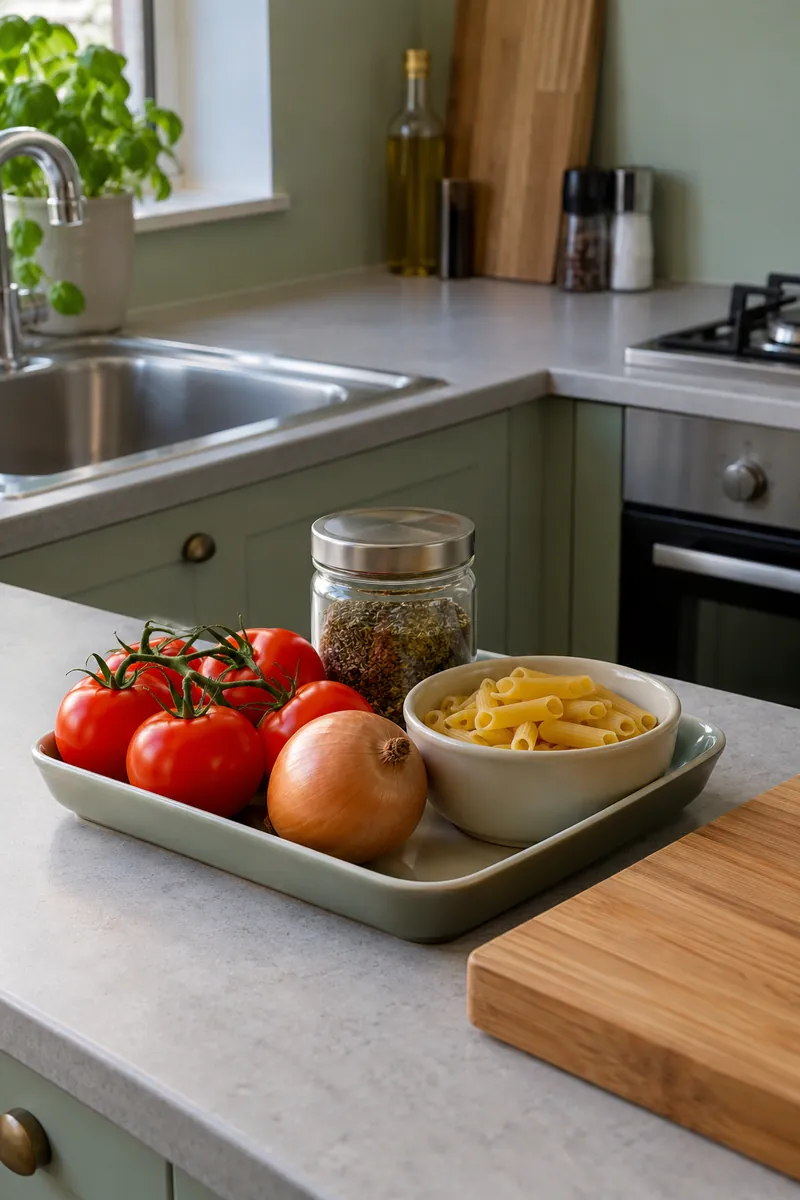
- Gather the shelf stable ingredients for one recipe on a small washable tray.
- Measure spices and prepare vegetables before heating the pan when the recipe allows.
- Keep refrigerated ingredients chilled until you need them rather than including them in an early display.
- Return jars and packages as you finish with them, leaving only the next ingredients nearby.
A staging tray keeps a small meal organized without spreading every packet across the kitchen. Choose one that fits beside your board and can be cleaned easily. Treat it as a temporary helper, then wash and put it away after cooking so tomorrow’s meal starts with an open work surface.
3. Separate Prep Boards
Quick Tip:
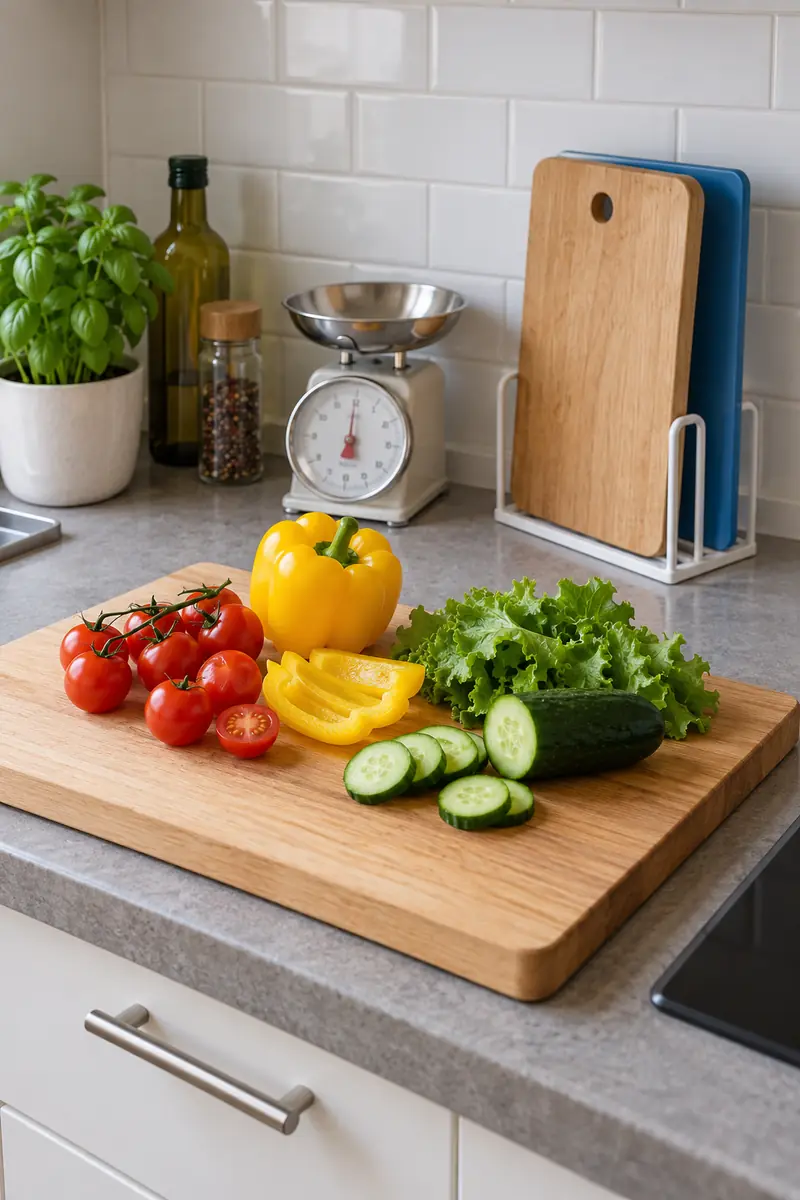
Use separate boards for fresh produce and ready to eat foods versus raw meat, poultry, and seafood. Make the boards easy to distinguish by color or shape. Follow USDA guidance to wash boards with hot, soapy water after use, then rinse and dry them.
A small kitchen makes separation especially important because several tasks share the same surface. Prepare produce on its clean board and keep used tools away from finished food. Store both boards dry, replace ones with deep hard to clean grooves, and choose sizes that fit comfortably inside your actual sink.
4. Sink Side Scrap Bowl
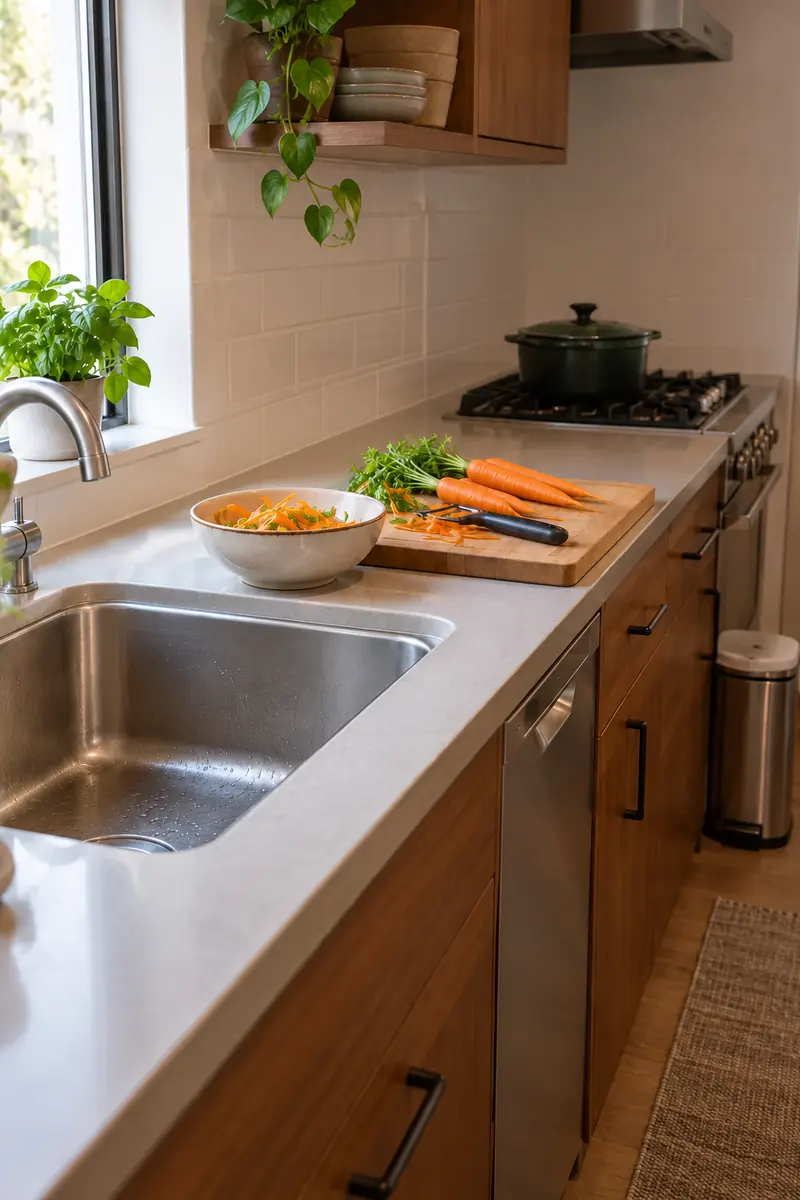
BEFORE: Vegetable peelings collect around the cutting board, and every few cuts mean another trip to the bin. Clean ingredients compete with scraps for space.
AFTER: A small bowl beside the board collects peelings while you work. The sink remains accessible, and the scraps leave in one easy trip.
Use a bowl you already own before buying a dedicated countertop bin. Empty it when preparation finishes, then wash it with the other equipment. Keep scraps separate from ingredients and ready to eat food, and do not let this temporary helper become a permanent container of waste beside the sink.
5. Visible Recipe Perch
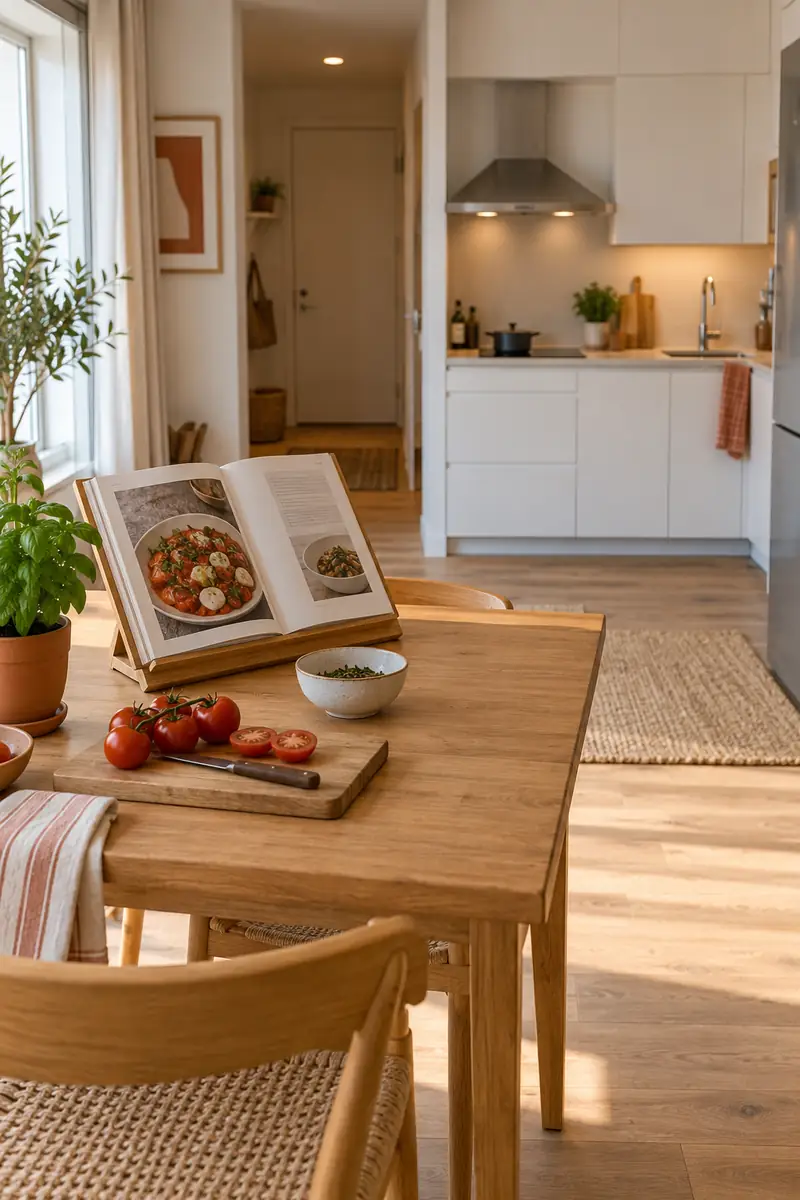
- Choose a dry spot where you can read a recipe without leaning across the stove.
- Set a cookbook on a stable stand, or use a suitable holder for a device.
- Keep paper, devices, and charging cables away from heat and splashes.
- Read the next stage before beginning, then put the stand away when the meal is finished.
A readable recipe reduces the need to shuffle pages with wet or messy hands. Angle the stand toward your preparation position and check it from where you actually cook. If the kitchen cannot offer a protected spot, read from a nearby table and bring only the instructions you remember into action.
6. Cookware Matchup
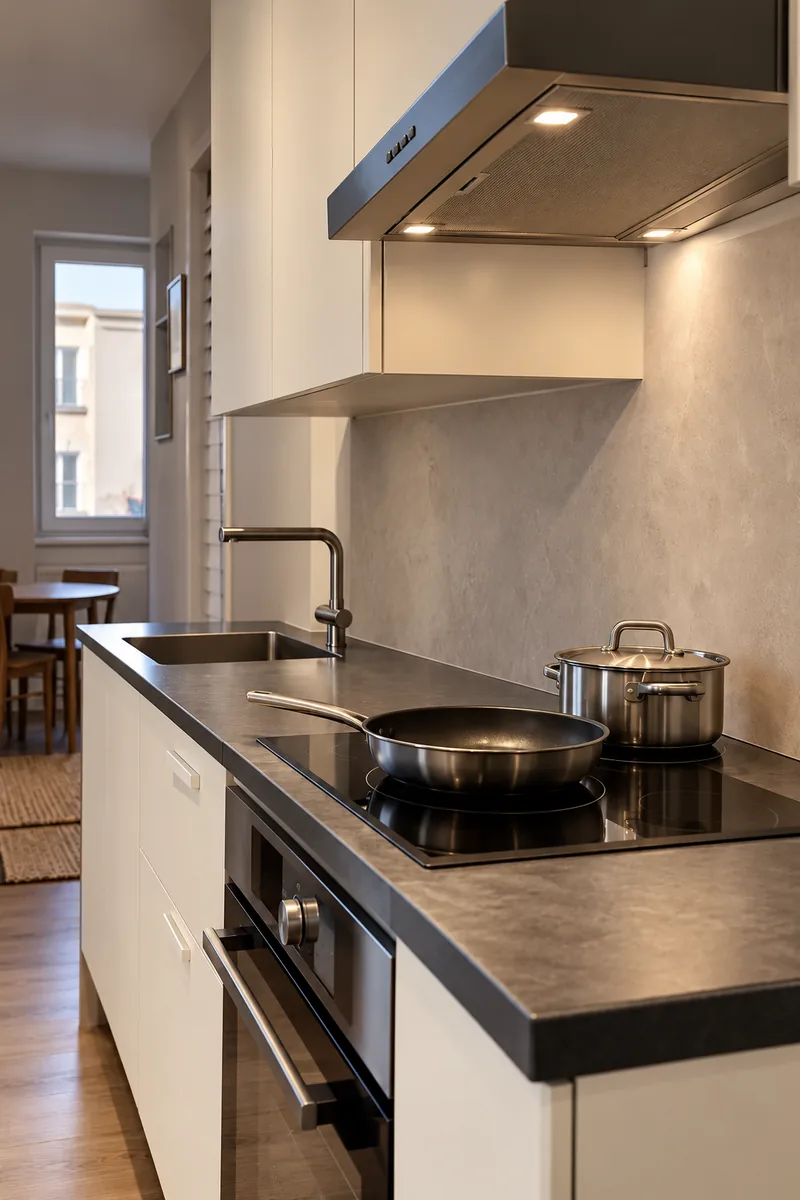
| Detail | One Pan Meal | Pan And Saucepan |
|---|---|---|
| Cooking approach | Ingredients share one vessel | Components cook separately |
| Worktop demand | One main utensil and serving point | Space for two utensils and lids |
| Cleanup | Fewer cooking pieces to wash | More flexibility with separate courses |
Choose equipment around meals you enjoy rather than buying the largest cookware set that fits a cupboard. A suitable pan and a useful saucepan may cover many ordinary dinners. Check compatibility with your cooktop, follow the appliance instructions, and keep handles positioned so they do not project into your walking route.
7. Clear Ventilation Path
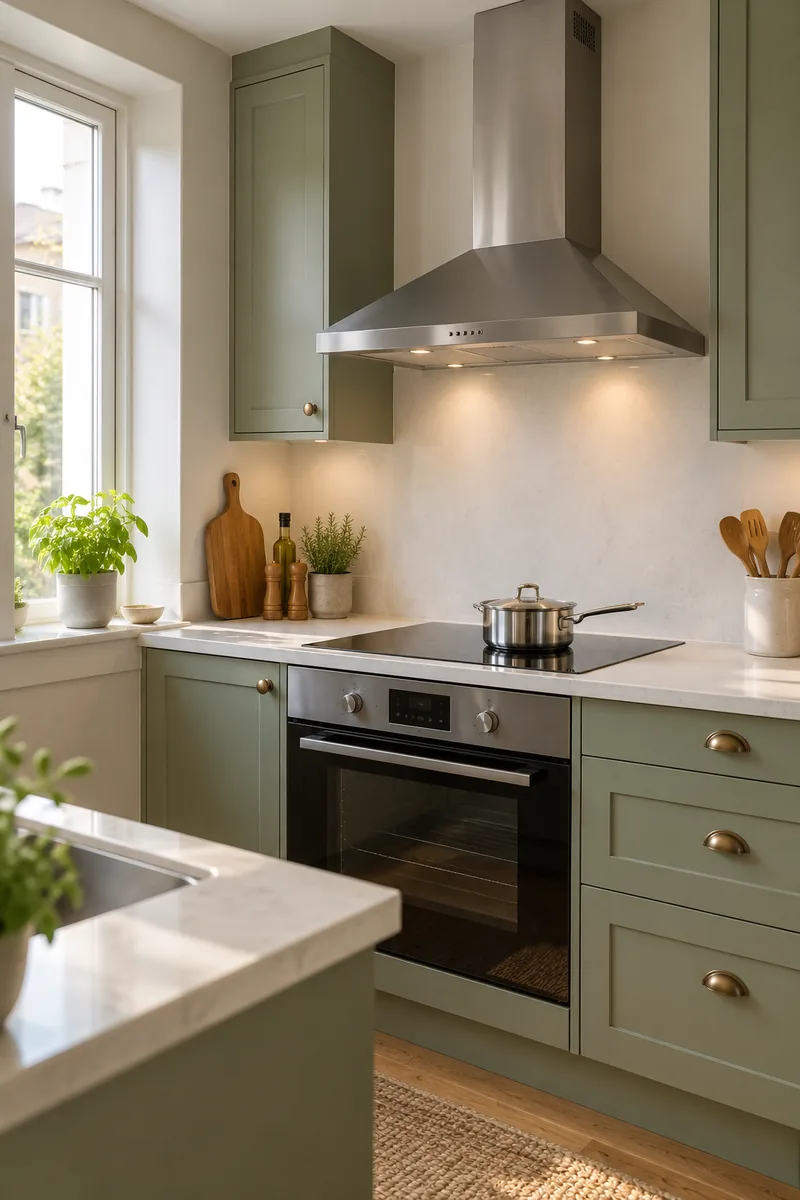
DO
- Use the installed extractor according to its instructions while cooking.
- Keep the hood intake and surrounding area unobstructed.
- Clean or replace filters at the intervals recommended for your system.
DON’T
- Hang decorations across an extractor opening.
- Assume an open window replaces the installed ventilation system.
- Modify ductwork or electrical connections without qualified help and required permission.
Cooking shares air with the rest of a studio, so a clear, maintained ventilation system deserves attention before decorative upgrades. Identify whether your hood exhausts outdoors or recirculates, then follow its care instructions. If extraction seems ineffective, report the problem to your landlord or ask a qualified professional to assess it.
8. Focused Prep Lighting
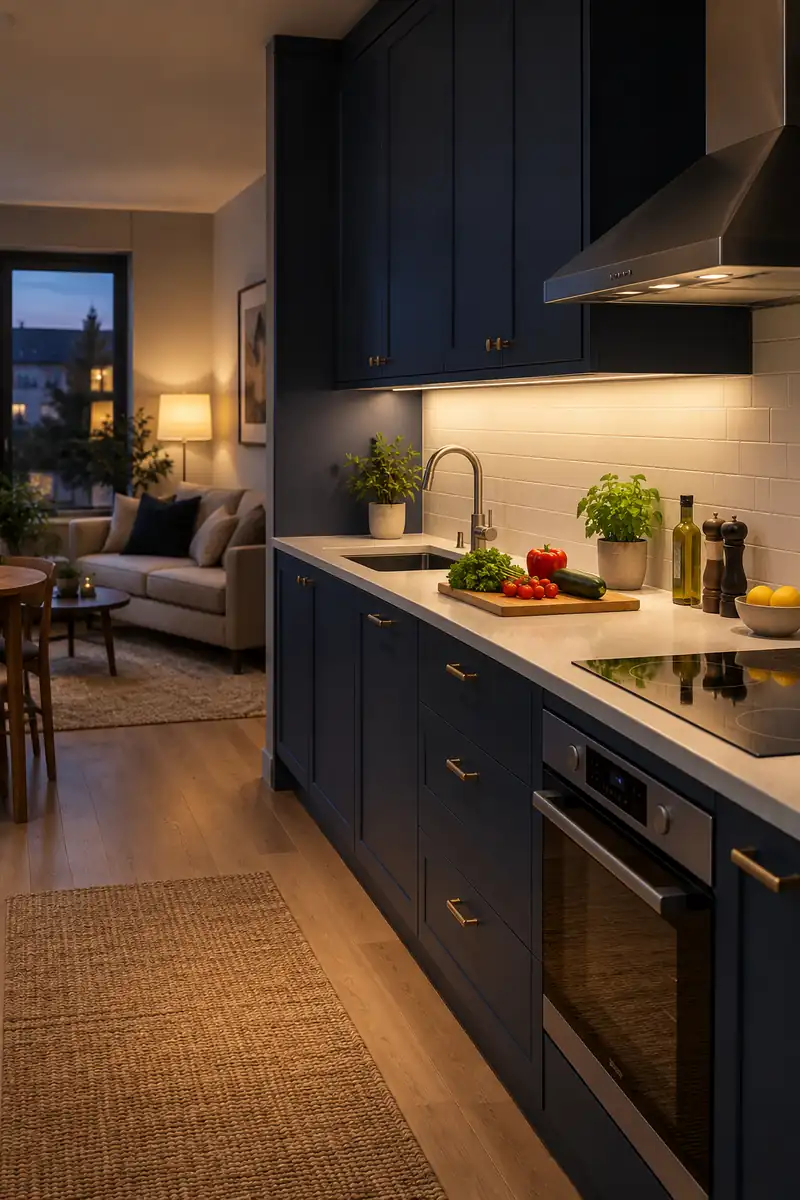
Priority: Even light across the cutting board.
Position: Fixtures that avoid placing your body between light and food.
Comfort: Shielded light without a bright reflection in your eyes.
Installation: Suitable products and approved wiring or mounting.
A cozy studio still needs enough light to prepare dinner comfortably. Check the counter after dark, when daylight no longer fills the shadows. Under cabinet lighting can help if it is suitable for that location and installed correctly. Keep cords out of wet areas and walking routes, with electrical work handled professionally.
9. Heat Safe Landing
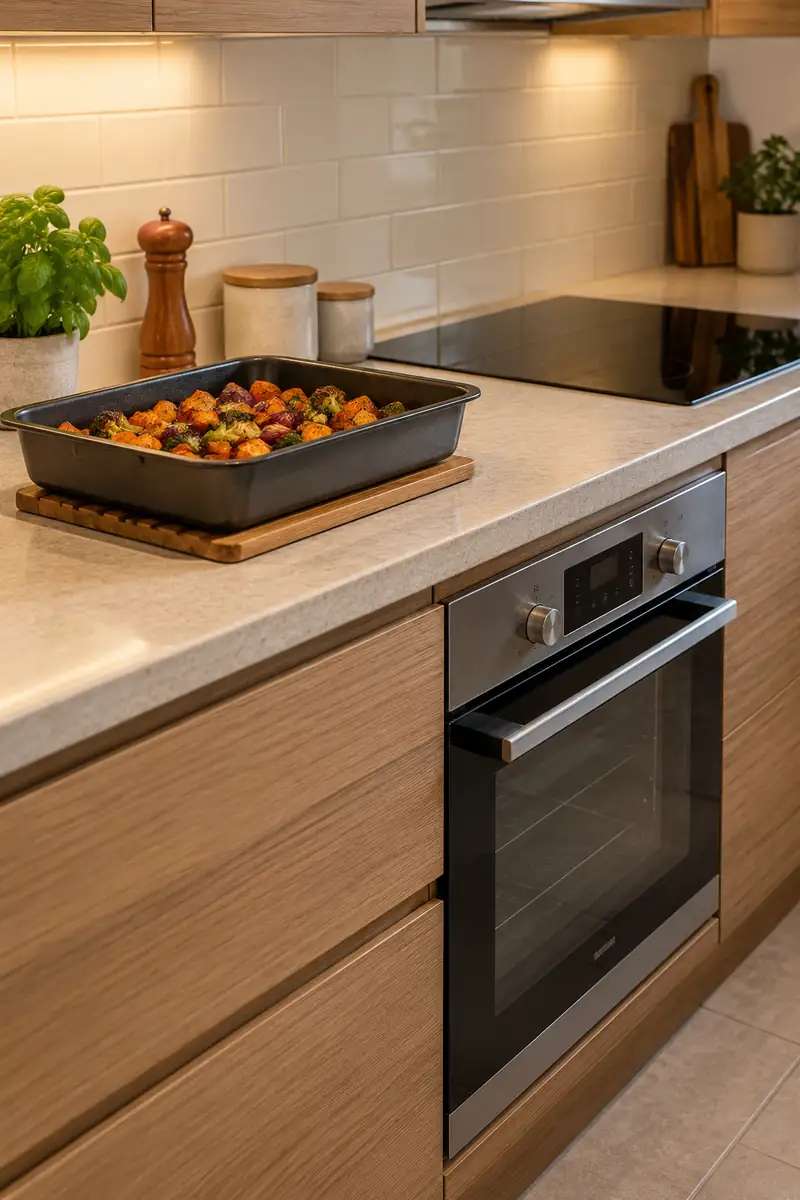
Before the oven timer rings, decide exactly where the hot dish will go. Clear a stable surface beside the cooking area and place an appropriate dry heatproof trivet on it. The landing point should be reachable without carrying a hot tray over the sink, across a chair, or through guests.
Test the movement with a cool empty pan before dinner. Open the oven door and check that you can stand comfortably, lift the dish, and set it down without twisting around obstacles. Keep combustible items away from the stove, and follow the pan and countertop manufacturers’ guidance for heat protection.
10. Ready Plating Shelf
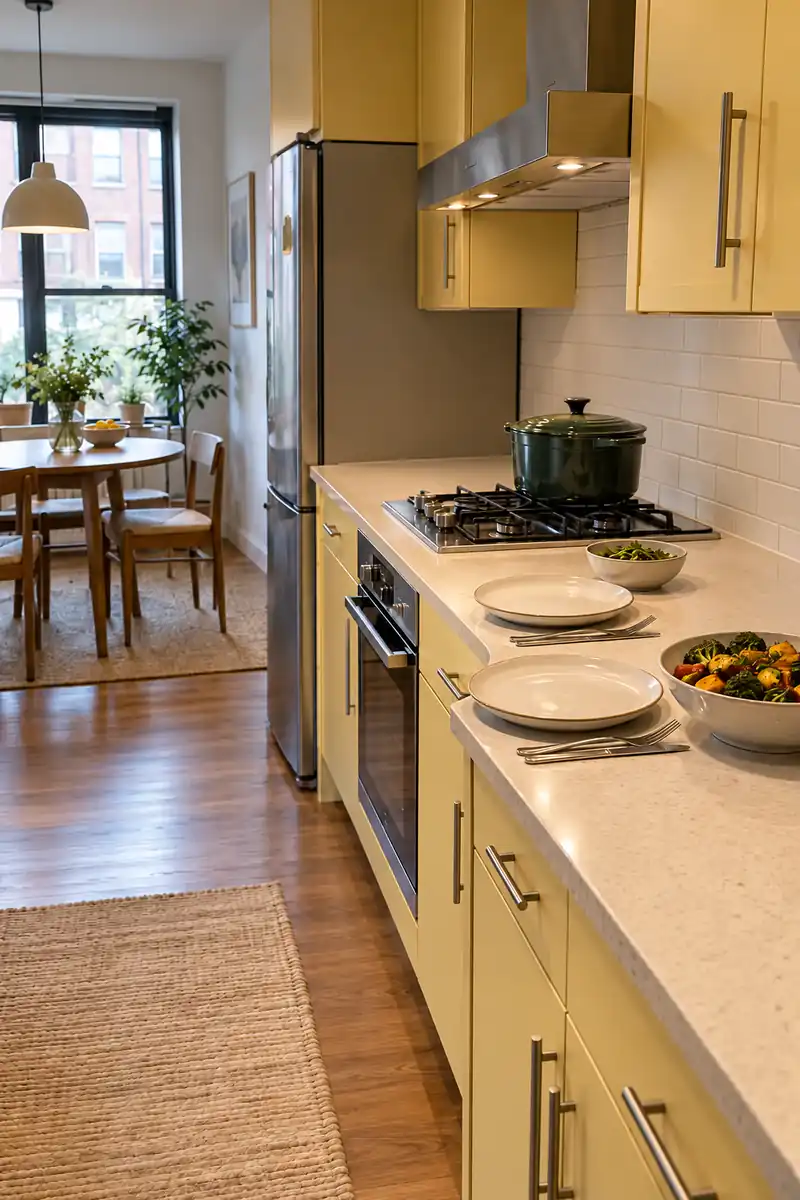
- Set out the number of plates you need before the final cooking stage.
- Use a dry stretch of counter or a nearby stable table for serving.
- Keep the plating area separate from raw food, dirty tools, and the sink’s splash zone.
- Place cutlery at the dining table so it does not compete with hot dishes for landing room.
The last minute of cooking can feel crowded when there is nowhere to put finished food. A planned plating position makes serving calmer and keeps clean plates out of the washing area. In a tiny layout, the dining table can help, provided the route to it stays short and unobstructed.
11. Two Cook Turn Taking
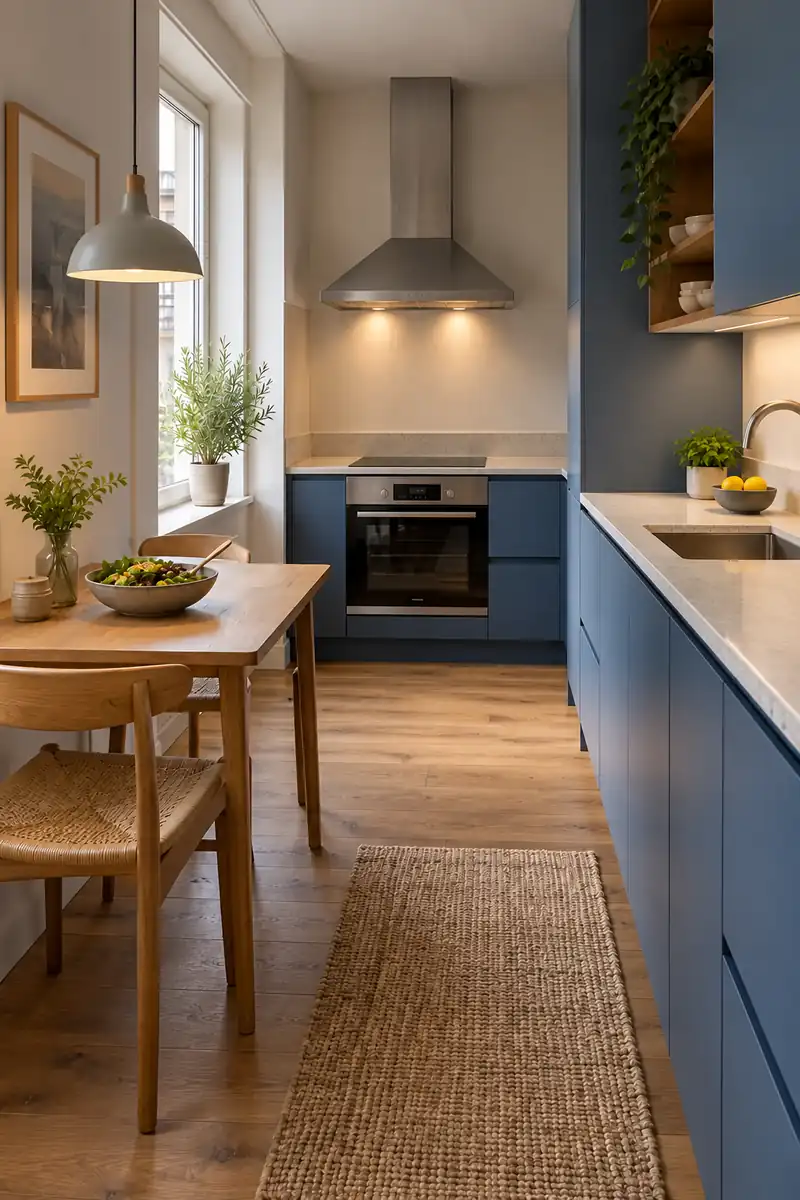
Quick Tip:
Give each person a distinct task and position before starting dinner. One person can manage the stove while the other prepares salad at a nearby suitable table. Pause and communicate when someone needs to cross behind a person handling a hot pan.
Two people do not need to stand shoulder to shoulder at the same counter to cook together. Divide the meal by stages, and exchange positions only when it is safe and useful. Keep any secondary food surface clean, stable, and clear of household items, with handwashing still easy to reach.
12. Wash As You Wait
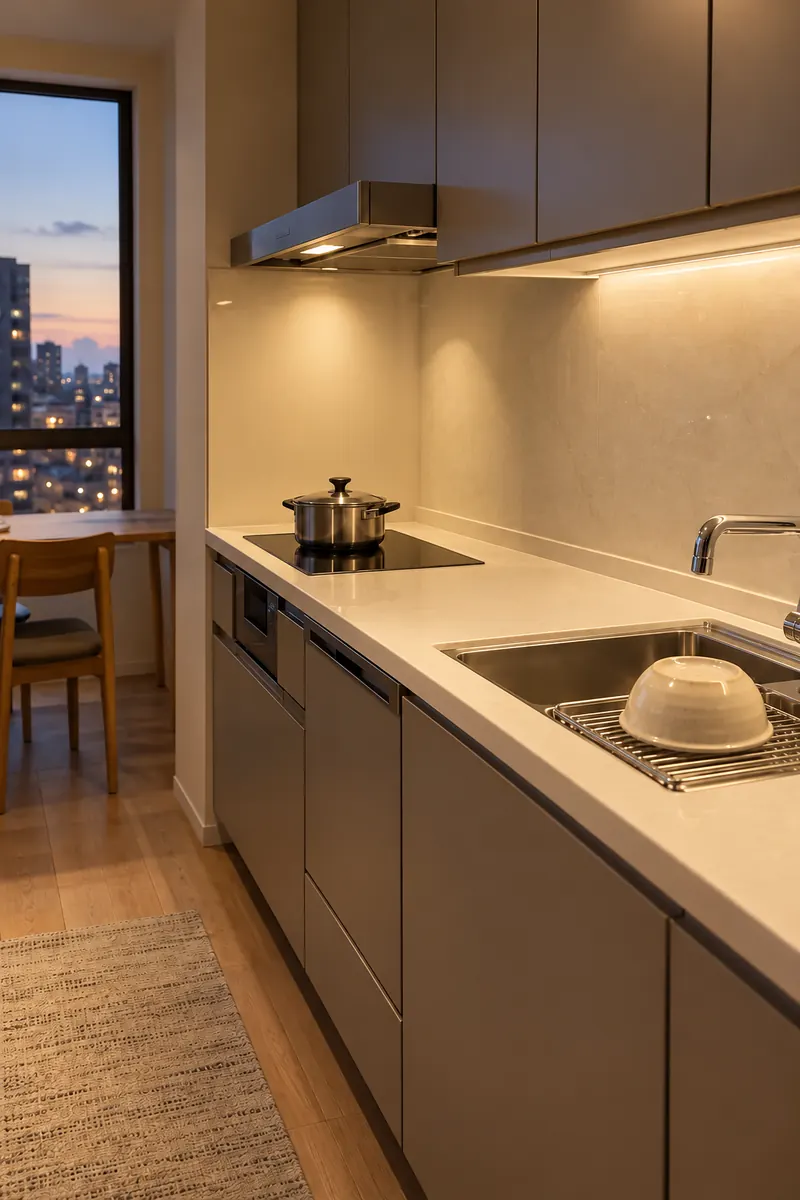
BEFORE: Every used bowl stays on the counter until dinner is served. By the final step, the sink and preparation space are both crowded.
AFTER: During a suitable pause, finished tools are washed and the next work area is cleared. Equipment still needed for cooking stays within reach.
Choose quiet moments in the recipe for a quick rinse or wash, while continuing to supervise cooking as required. Avoid starting a distracting cleanup task when a pan needs attention. Keeping one small washing area functional helps the meal move forward and leaves fewer pieces to deal with after eating.
13. Leftover Cooling Setup
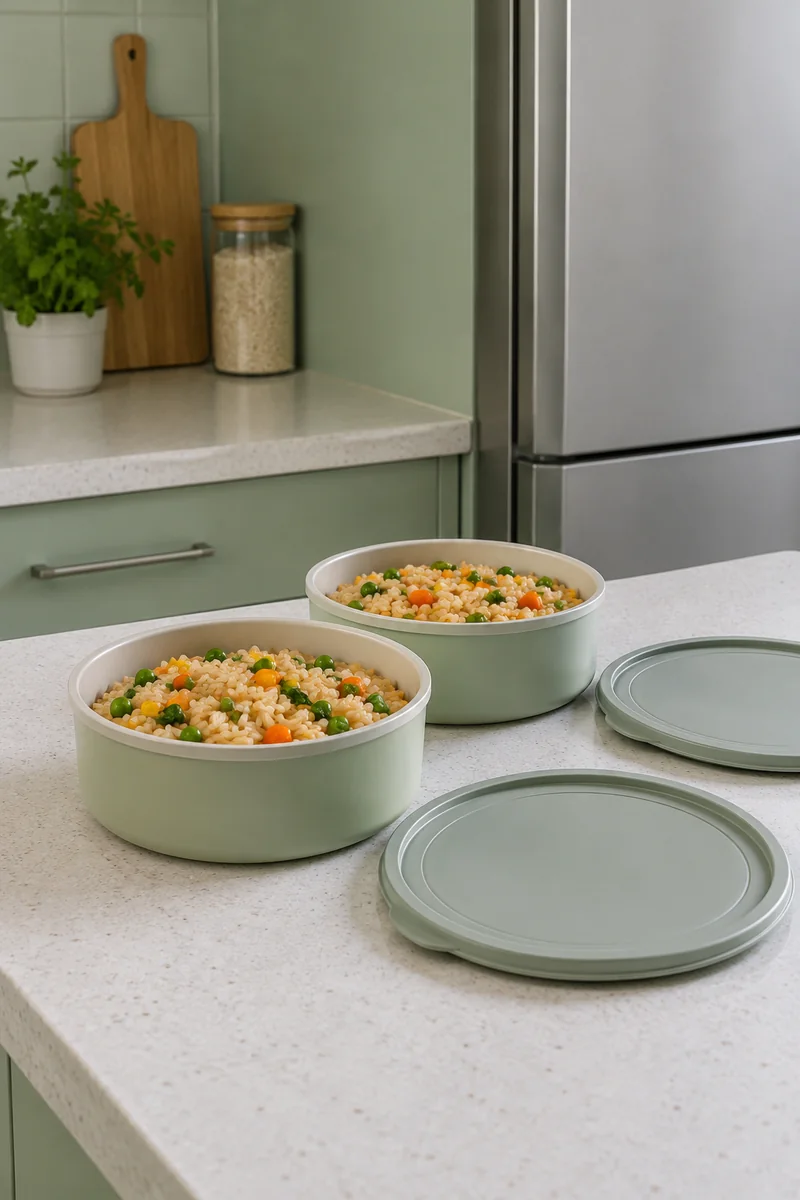
- Bring out clean food containers before serving if the meal will leave extra portions.
- Divide leftovers into smaller shallow containers so they can cool more quickly.
- Refrigerate perishable leftovers promptly, following USDA food safety guidance for time and temperature.
- Label the containers with the food and date, then clean the portioning area.
A storage plan stops leftovers from becoming another crowded countertop problem. Keep suitable containers easy to reach and check that the refrigerator has room before making a large batch. Use clean utensils for portioning, and do not leave food sitting out simply because the containers are waiting to be washed.
14. Breakfast Kit Basket
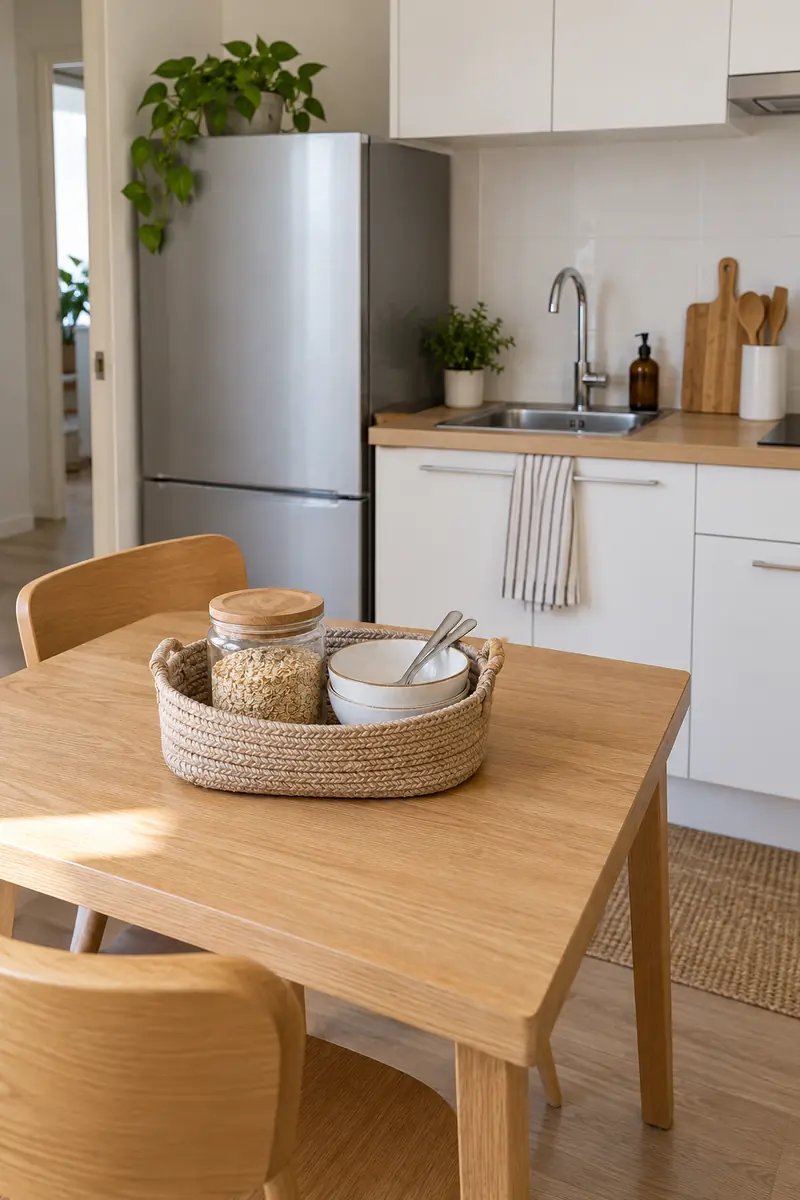
| Detail | Breakfast Kit | Separate Supplies |
|---|---|---|
| Contents | Dry cereal, clean bowls, and spoons | Items kept in their usual locations |
| Morning setup | One washable basket comes out | Several small retrieval trips |
| Best use | A repeated simple breakfast | Varied breakfasts with different equipment |
A small breakfast kit suits a routine you repeat most mornings. Keep only dry, shelf stable items and clean utensils inside, with milk and other perishables remaining refrigerated. Choose a washable container that fits on the table, then return it to storage after breakfast so the kitchen is ready for lunch.
15. Easy Wipe Backsplash
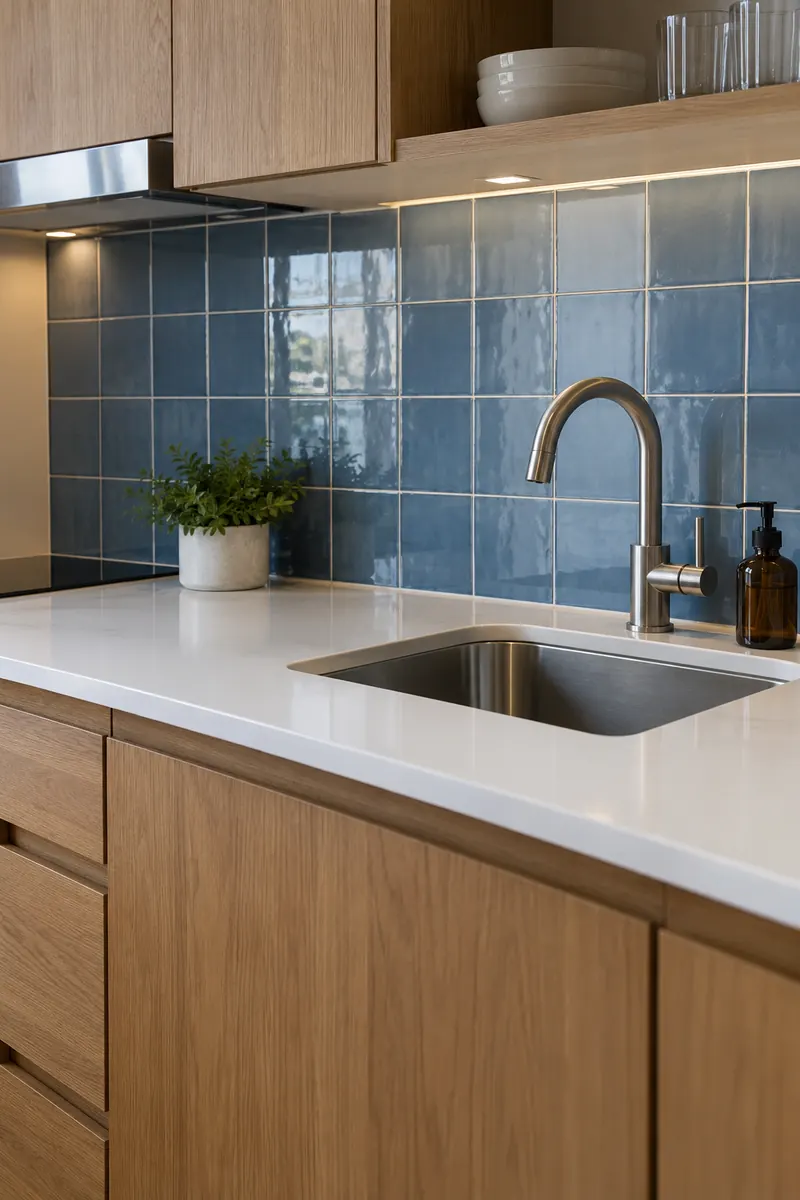
DO
- Choose a surface appropriate for the actual sink or cooking location.
- Follow the manufacturer’s cleaning and installation instructions.
- Check rental permission before changing the existing finish.
DON’T
- Assume every decorative adhesive tile is heat rated.
- Cover vents, outlets, or required appliance clearances.
- Add deep ledges that collect splashes behind the preparation area.
A straightforward backsplash can provide color while keeping cleanup manageable. Smooth tile, a suitable panel, or the existing surface in good repair may all work, depending on the location. Evaluate the practical requirements first, especially near cooking equipment, then choose a finish that complements the studio’s cabinets and living area.
16. Coordinated Everyday Tools
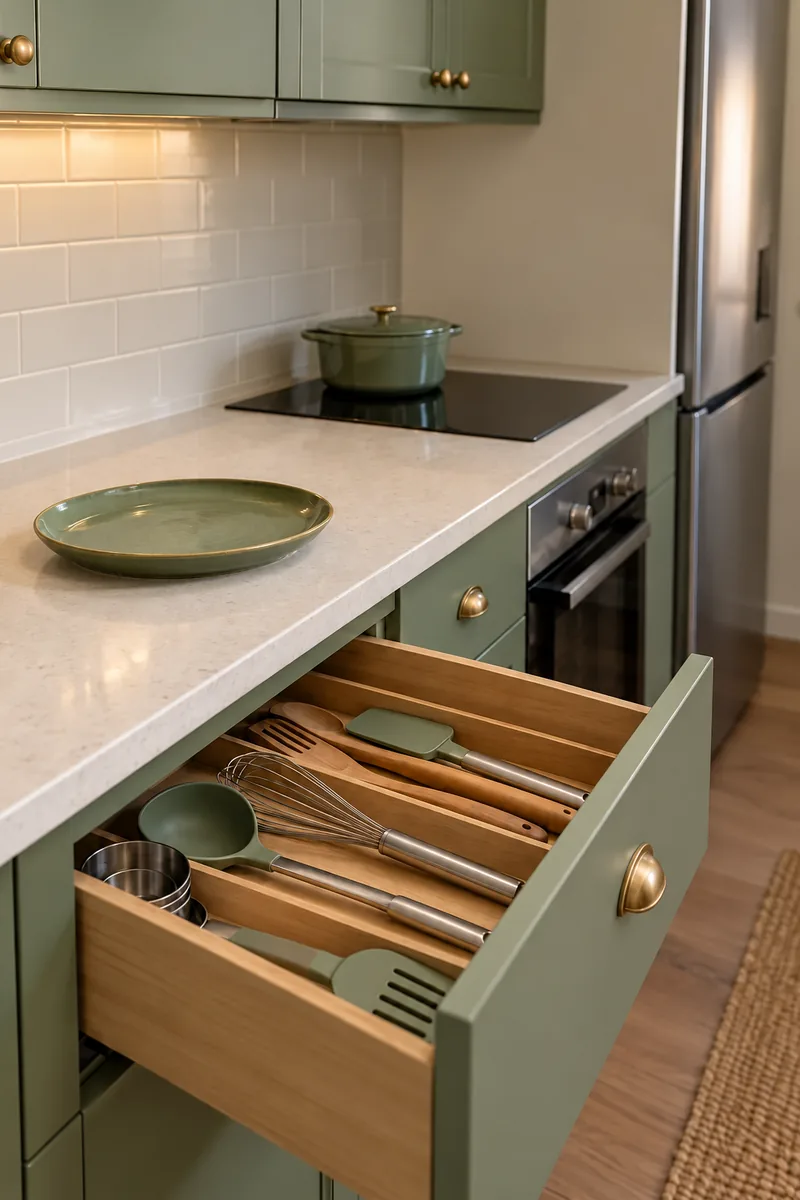
Color Link: Repeat one existing cabinet or dishware accent.
Useful Pieces: Favor tools that suit meals you actually cook.
Care Check: Match materials to the food, cookware, and cleaning method.
Storage: Keep the working set reachable and safely organized.
Style feels natural when it comes from the objects already doing a job. A green spatula, simple ceramic plate, and matching cupboard can connect the kitchen visually without adding ornaments. Keep performance first, replacing worn tools when needed, and avoid buying duplicates simply to make every handle the same color.
17. Finished Meal Reset
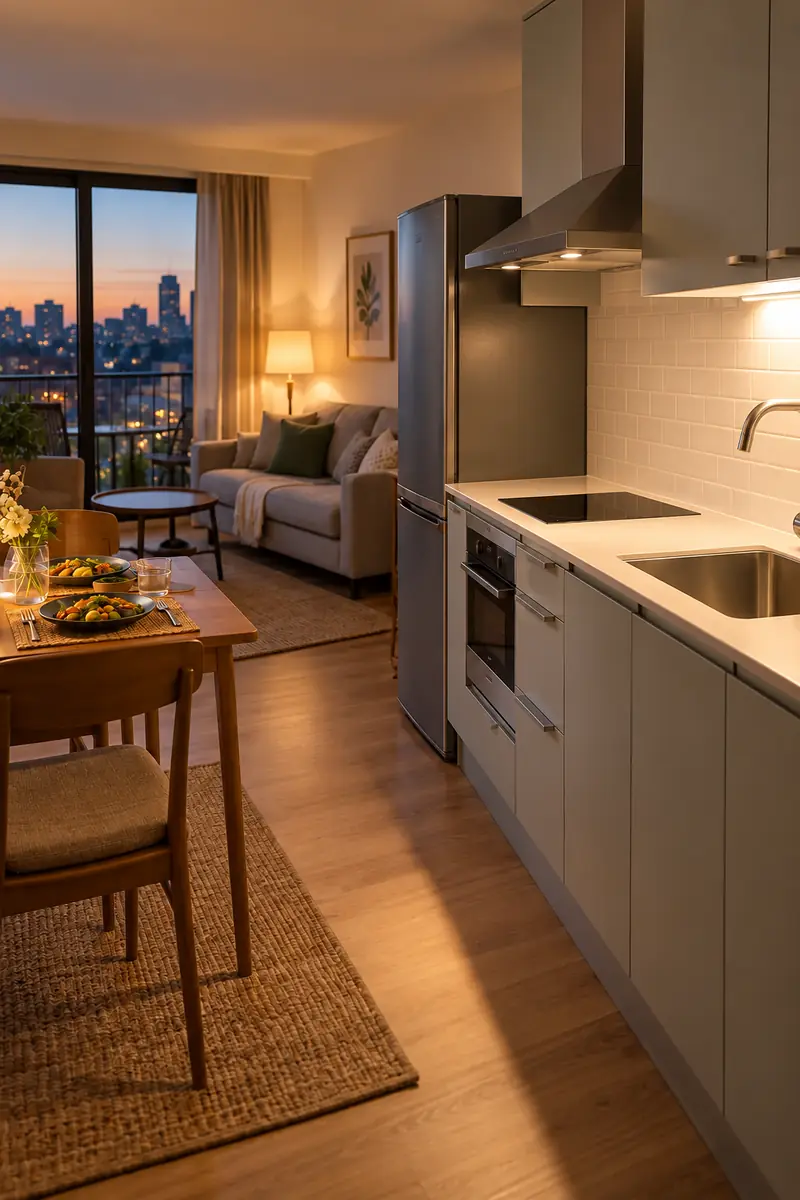
The meal is not quite finished until the kitchen can support the next one. Once equipment is safe to handle, put ingredients away, wash food contact surfaces, and return clean tools to their places. Leave the sink accessible and the main preparation area ready for breakfast instead of tomorrow’s sorting.
Use the reset to notice what keeps slowing you down. A bowl stored too high, a difficult container lid, or a dish rack that never empties may need a better routine. Adjust one detail at a time so the kitchen becomes easier to use without turning every evening into reorganizing.
Studio Kitchen Layouts: Which One Do You Have?
Most studio kitchens fall into one of five layouts. Knowing which one you have makes it easier to pick ideas that fit.
| Layout | What it looks like | Ideas that work best |
|---|---|---|
| One-wall kitchen | Sink, stove, and fridge in a single line | Add a rolling cart or a narrow island for prep space, and take storage up the wall. |
| Galley | Two parallel counters with a walkway between | Keep the aisle clear and use one side for open shelves or a rail for tools. |
| L-shaped | Counters on two walls that meet in a corner | Use the corner for a turntable or appliance storage, and put a small table on the open side. |
| Kitchenette | A short counter with a small sink, two-burner cooktop, and under-counter fridge | Choose compact appliances and store pans vertically. See these kitchenette ideas. |
| Alcove or closet kitchen | A kitchen set into a recess, sometimes behind doors | Hide it with doors or a curtain when you are not cooking. |
If you are still deciding where everything goes, these studio layouts with a kitchen show how to place the bed and sofa around it.
Compact appliance sizes for studio kitchens
| Appliance | Compact size | Standard size |
|---|---|---|
| Range | 20 or 24 inches wide | 30 inches wide |
| Refrigerator | About 24 inches wide | About 30 to 36 inches wide |
| Dishwasher | 18 inches wide (about 8 place settings) | 24 inches wide |
| Cooktop | Two-burner, about 12 inches wide | Four-burner, about 30 inches wide |
Before buying a compact range, check that your usual pans fit on the burners at the same time, and measure the doorway and hallway as well as the space itself.
How to Make a Studio Kitchen Blend Into the Living Space
In a studio, the kitchen is always in view, so it should look like part of the room rather than a separate workspace.
Repeat one or two materials
Echo the wood tone of your shelves or the color of your sofa in a cutting board, a stool, or a cabinet knob. One repeated material is enough to tie the two zones together.
Put small appliances away
A counter with only one or two items reads as calm from the sofa. If you need ideas for where everything can go, these small studio kitchen storage ideas cover cabinets, walls, and the space above the fridge.
Use warm light at night
Under-cabinet strips or a small lamp on the counter make the kitchen feel like part of the living room in the evening, instead of a bright workspace you cannot switch off. These renter-friendly lighting ideas need no wiring.
Studio Kitchen FAQs
What is a studio kitchen?
It is the kitchen in a studio apartment, which shares one room with the sleeping and living areas instead of having its own walls. It is usually a single wall of cabinets, a galley, or a compact kitchenette.
How do you make a studio kitchen look like part of the living room?
Repeat a material or color from the living area, keep small appliances off the counter, and use warm lighting in the evening. Doors or a curtain can hide an alcove kitchen completely when you are not cooking.
How do you add counter space to a small studio kitchen?
Use a rolling cart, a cutting board that fits over the sink, a fold-down wall table, or a narrow island if the floor allows. Clearing appliances off the counter is the fastest way to gain space.
How much space do you need for a kitchen island in a studio?
Kitchen planners usually allow about 42 inches between an island and the counter where you cook, and at least 36 inches on any side you just walk past. In many studios, a rolling cart or a narrow console works better than a fixed island.
What appliances do you need in a studio kitchen?
A fridge, a cooktop, and a sink cover most cooking. A toaster oven or an air fryer can stand in for a full oven if space is tight, and a compact dishwasher is worth it only if you have the plumbing and cabinet space for one.
Conclusion
The most useful studio kitchen ideas make ordinary meals feel more manageable while giving the room a personality you enjoy. Start with one stage of cooking: gathering ingredients, preparing food, handling hot dishes, or washing up. A clear routine and a sensible place for each task can matter as much as new cabinetry. Then test one during your next weeknight dinner. Keep what helps, and adjust what gets in the way.

Community
Join the conversation
Add a useful idea, ask a specific question, or share what worked in your space. Every comment is reviewed before it appears.