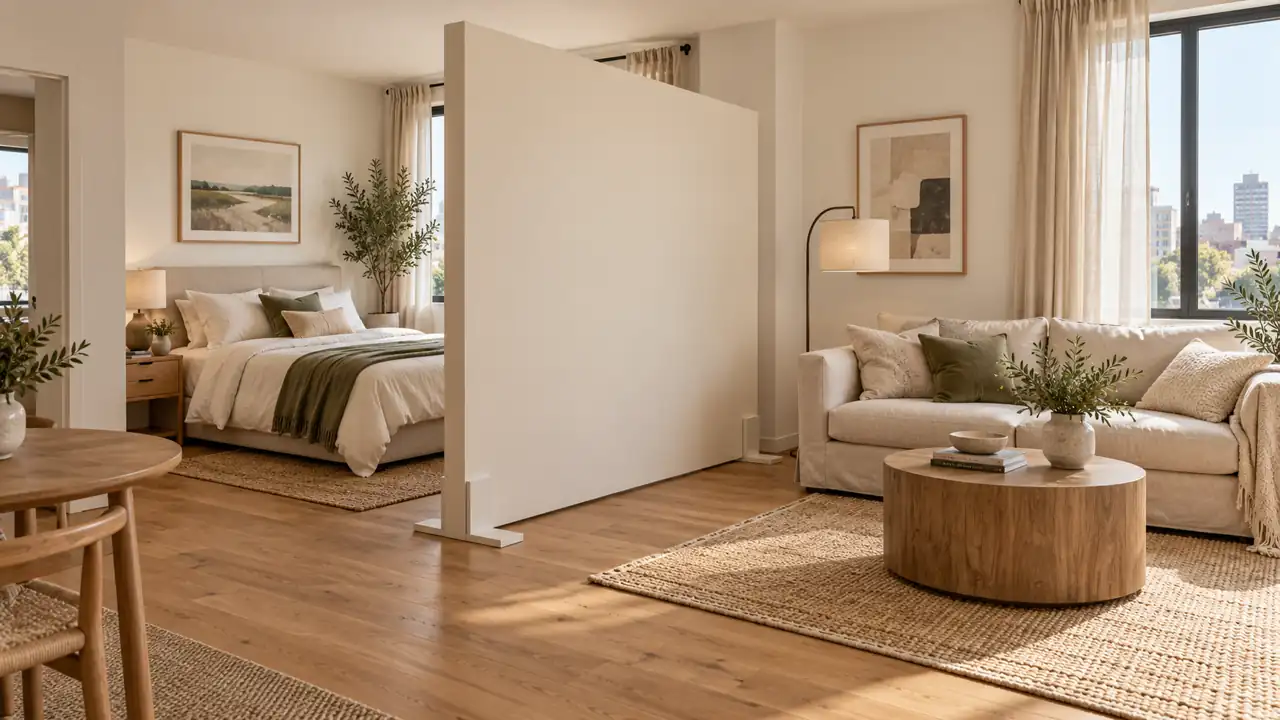
A bed in full view of the front door can make a studio feel less restful. These studio apartment divider temporary wall ideas help you create a quieter-looking sleeping corner while keeping the room usable. The aim is a little separation, a comfortable route through the apartment, and a layout you can change later.
Start by deciding what you actually need to hide: the pillows, a desk, or the whole sleeping area. Then check your lease, measure the divider footprint, and ask about any required installation permission. Temporary partitions still need stable support. Keep exits, ventilation, heaters, and sprinkler coverage clear, and avoid creating an enclosed sleeping space without checking applicable requirements. These fifteen approaches offer different balances of privacy, daylight, and flexibility.
1. Modular Panel Wall
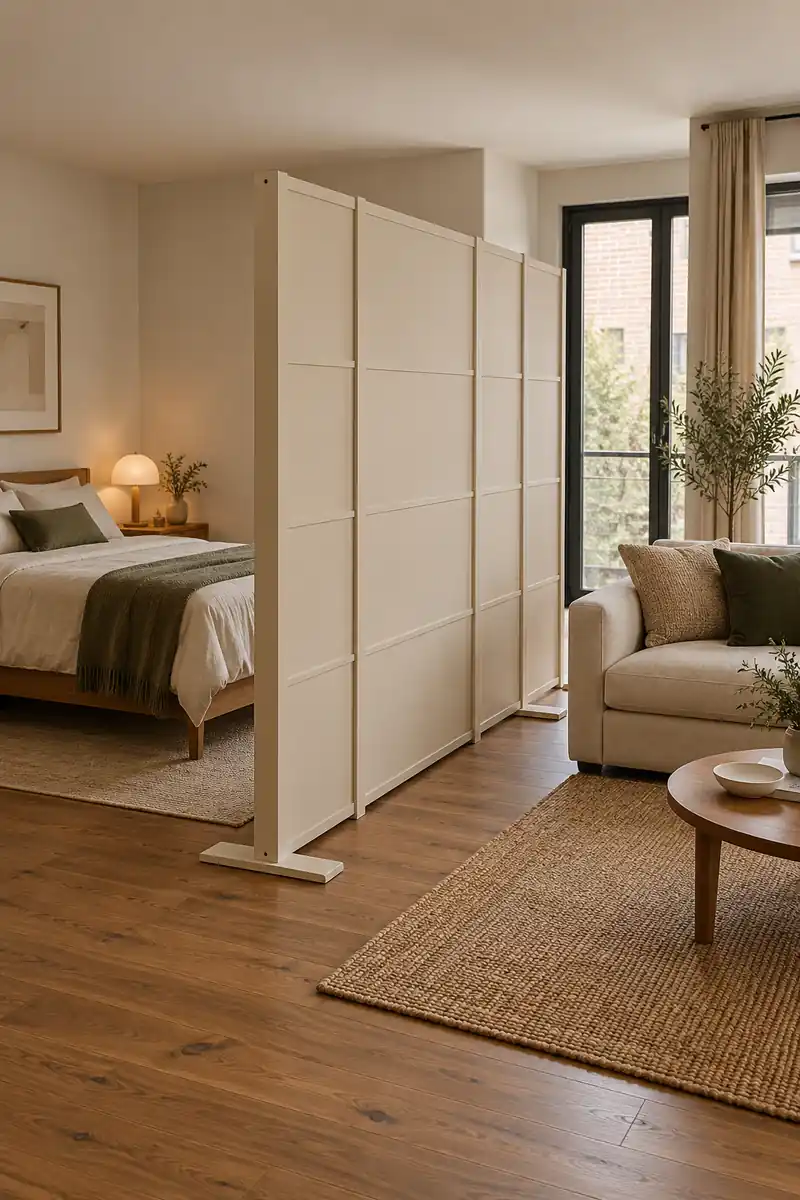
Your bed does not need to be the first thing visitors see. A freestanding modular panel wall creates a simple visual boundary between sleeping and sitting areas. Choose opaque panels when privacy matters most, and check the assembled footprint, including every stabilizing foot, before deciding where the wall should stand.
Place the partition beside the bed rather than directly across the only window. Leave a comfortable passage at one end and enough room to change the bedding. Follow the manufacturer’s support requirements, especially for taller panels. A wall that looks slim in photographs can need surprisingly wide feet underneath.
2. L-Shaped Bed Enclosure
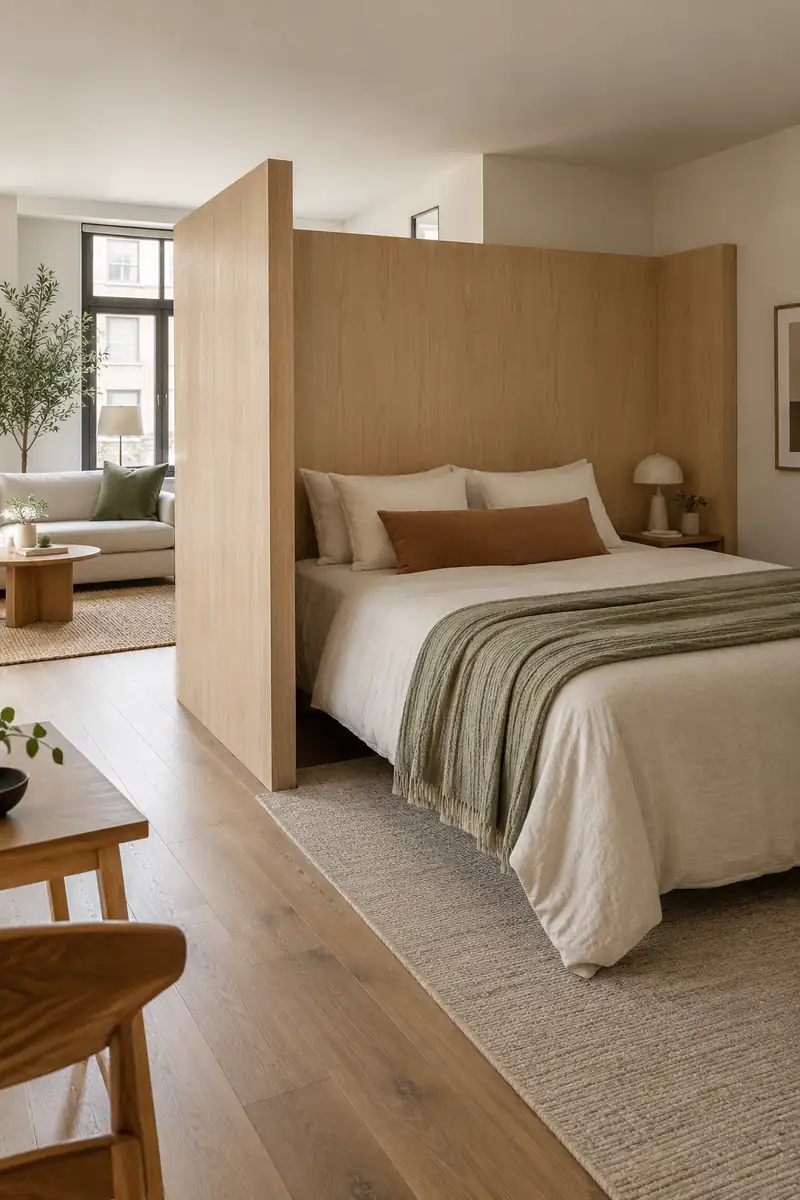
- Give the bed a sheltered corner with two connected partition runs.
- Keep the foot of the bed open so the enclosure feels approachable.
- Measure both runs with their supports included before ordering panels.
- Choose compatible corner connectors rather than balancing unrelated screens together.
An L-shaped arrangement works especially well when the bed sits near an existing wall. It hides the sleeping area from two directions without wrapping it on every side. Test the corner with painter’s tape on the floor first, then walk around it while carrying a laundry basket to check clearance.
3. Three-Sided Sleeping Nook
Quick Tip:
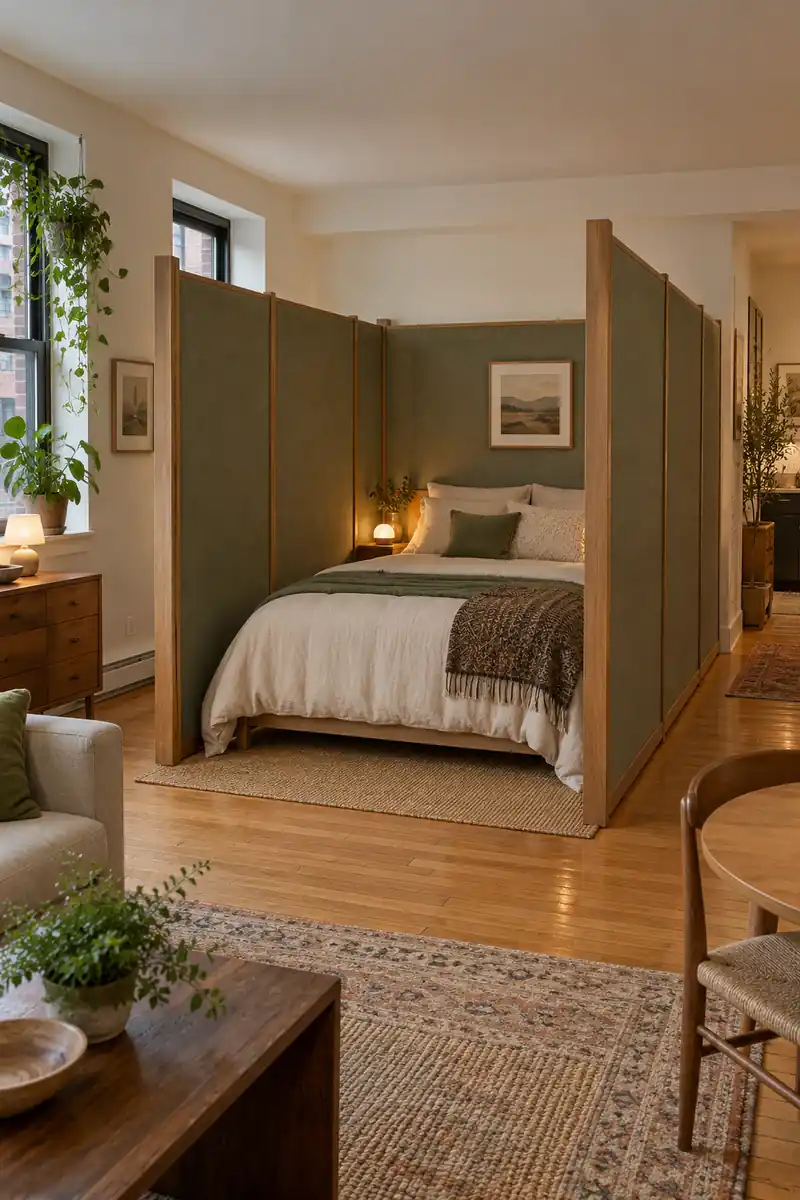
A sheltered bed nook can feel inviting without becoming a sealed room. Keep the entrance generous and the top open. Confirm that the proposed arrangement does not interfere with ventilation, sprinkler coverage, or the required route out.
Use three connected freestanding sections only where the studio has enough floor space for their bases. Position the opening toward the living area, with no furniture narrowing the approach. Opaque panels offer visual privacy, but they do not turn the nook into a legally separate bedroom or soundproof room.
4. Frosted Upper Panels
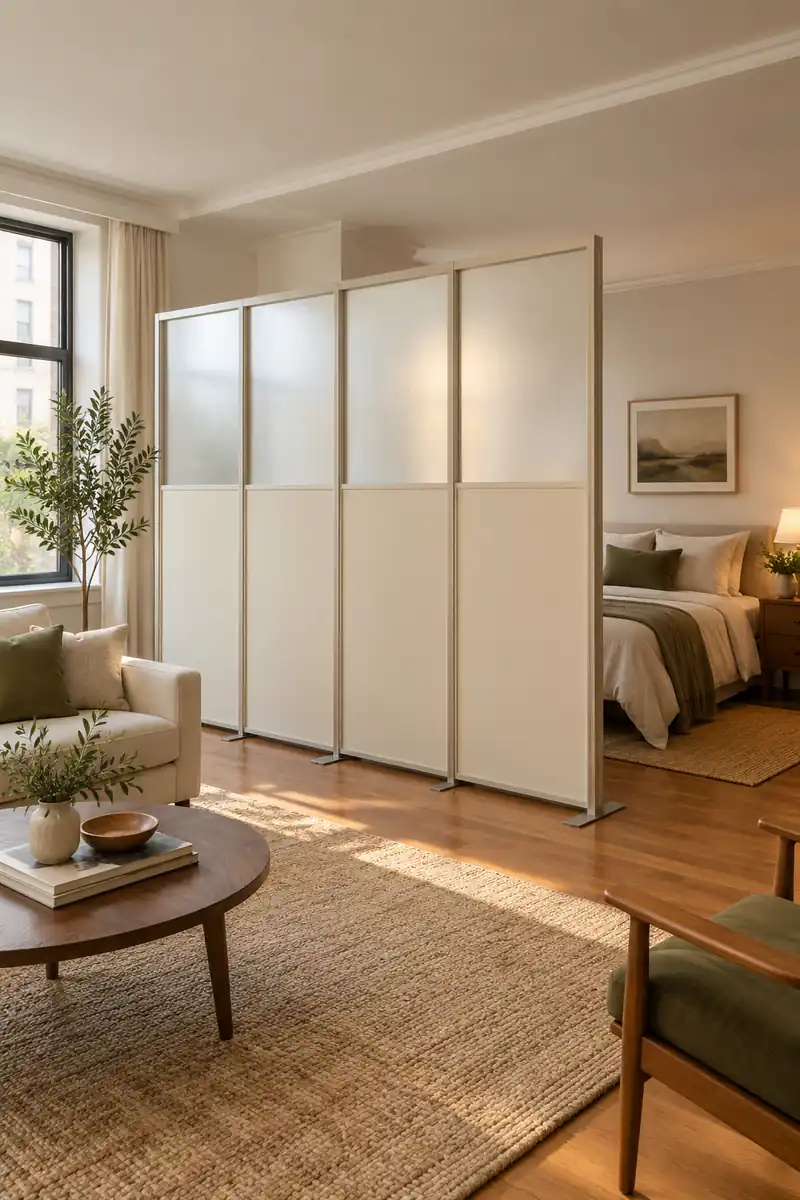
BEFORE:
Privacy can steal the daylight your apartment needs. A completely opaque partition between the window and the bed leaves the inner zone noticeably dimmer.
AFTER:
Frosted upper panels allow some light through while softening direct views. A solid lower section hides bedding and bedside clutter at seated eye level.
Ask to see a material sample before buying, because translucency varies and silhouettes may remain visible at night. Set a lamp behind the sample to test it. This combination is useful when visual softness matters more than total concealment, particularly in studios where one window lights several activity zones.
5. Sofa-Back Half Wall
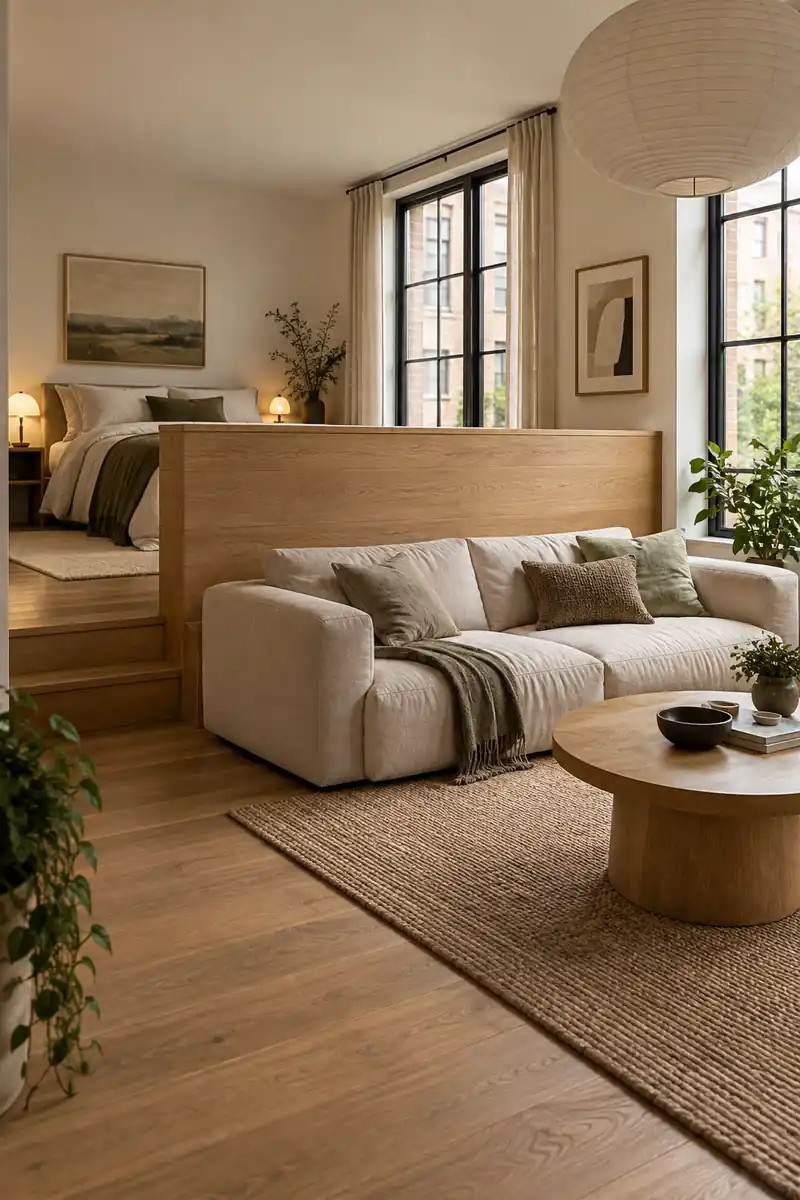
- Keep daylight moving by marking the sofa position first.
- Place a low partition behind it with space for the recommended supports.
- Check the sightline from the entrance and the sitting area.
- Leave both the sofa and partition stable rather than using one to prop up the other.
A half wall defines the living zone without hiding the room above it. Choose the height around the view you want to interrupt, not a photograph’s proportions. It can screen a low bed from seated visitors, although standing guests will still see across it. That tradeoff keeps the studio open.
6. Open Transom Gap
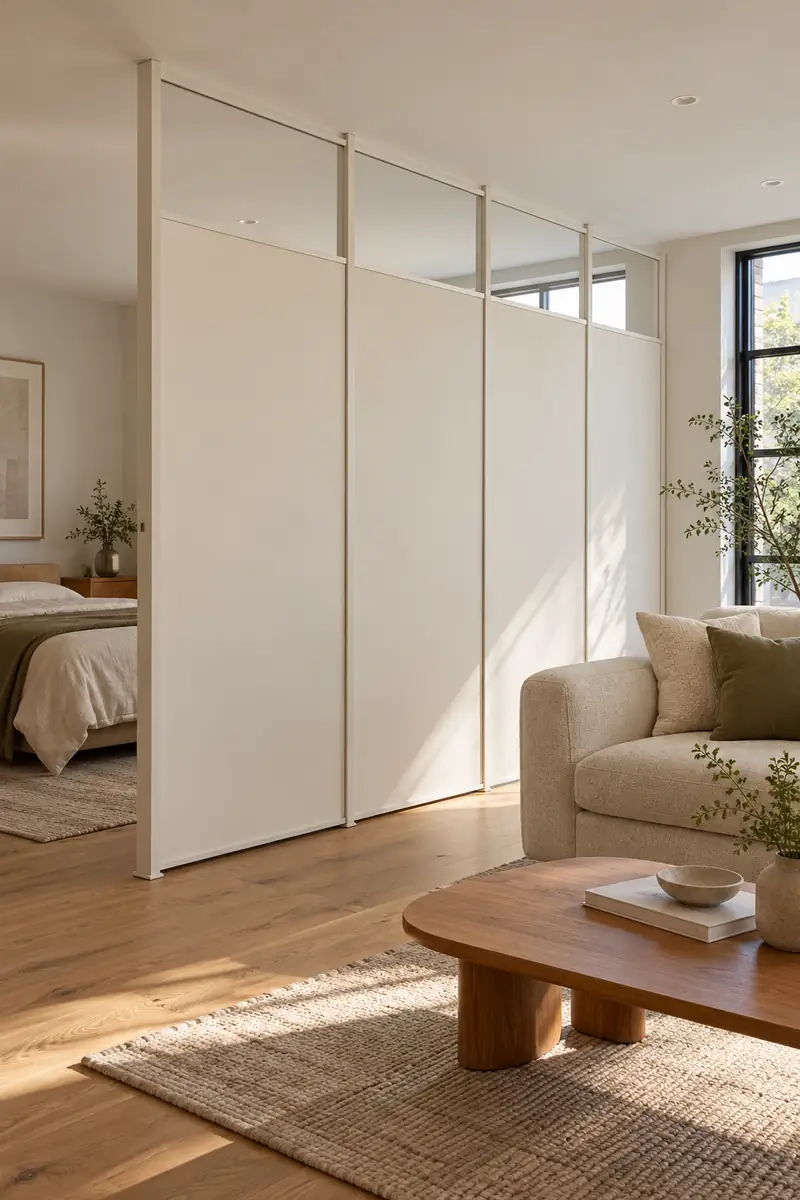
| Detail | Ceiling-height partition | Partition with top gap |
|---|---|---|
| Daylight | May interrupt light transfer | Leaves an upper light path |
| Visual privacy | Greater vertical coverage | Screens lower sightlines |
| Installation | Often more involved | Depends on self-supporting system |
Let the upper part of the room stay connected. A gap above an opaque partition can reduce the boxed-in feeling, especially with a pale ceiling. It does not automatically satisfy ventilation or fire requirements, so check those separately. Choose a stable system designed for the height you need below.
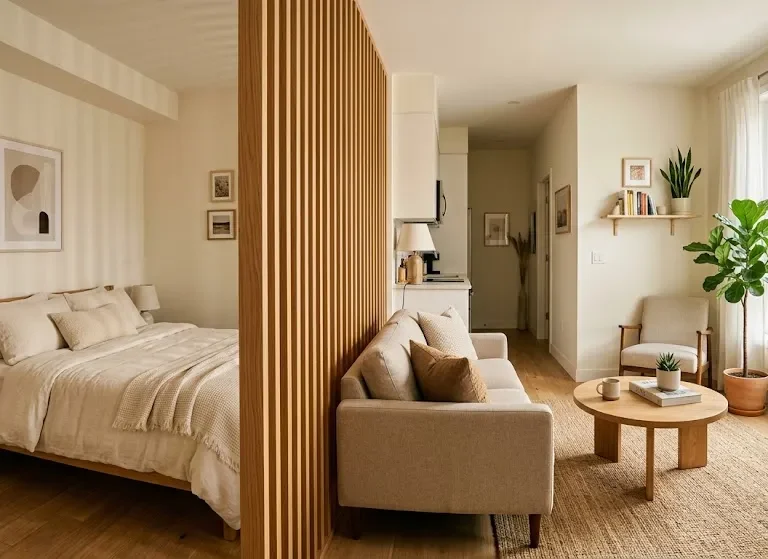
7. Ribbed Wood Panels
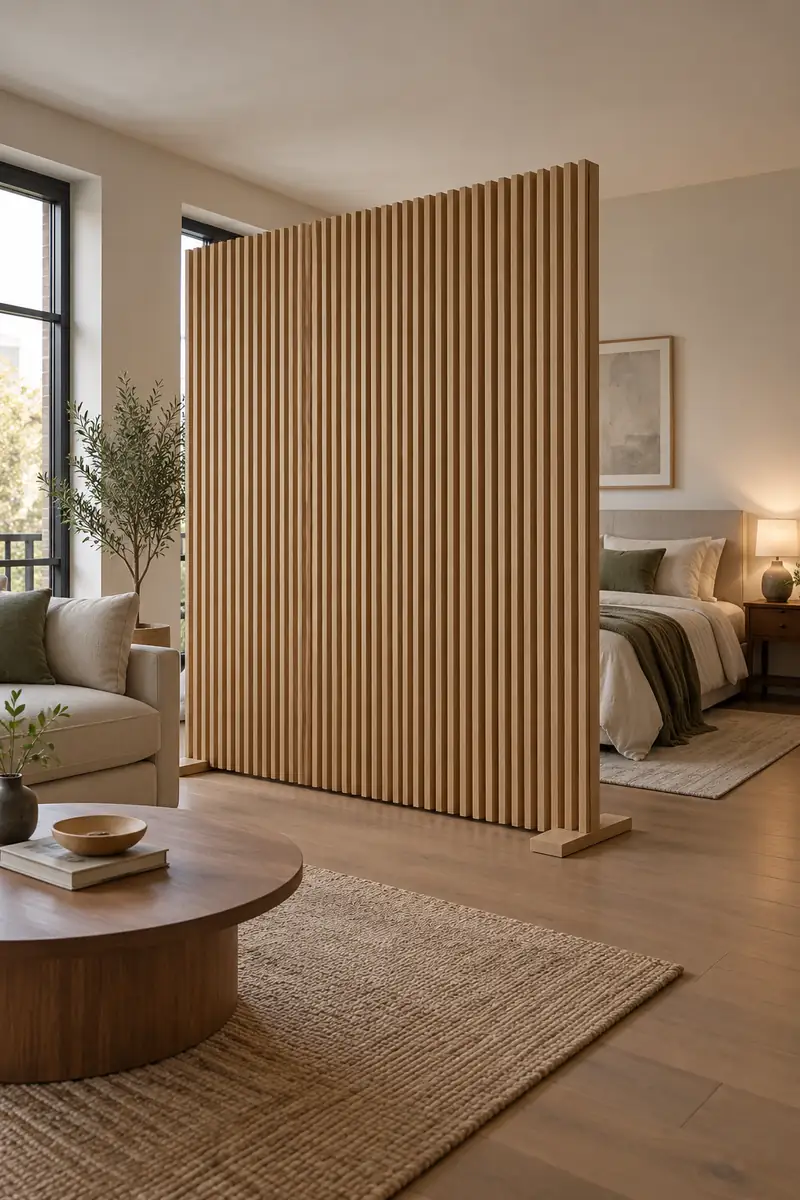
DO
- Give the partition warmth with a ribbed wood finish.
- Choose closed backing if you need real visual screening.
- Repeat one wood tone already present in the apartment.
DON’T
- Do not confuse decorative grooves with open slats.
- Do not exceed the support system’s stated panel weight.
- Do not place a heavy panel on an improvised narrow base.
Ribbed panels bring texture to the living side of a temporary wall while hiding the bed behind a solid surface. Keep nearby furniture simple so the texture has room to show. Check both faces before ordering; some products have an unfinished reverse that needs an appropriate manufacturer-approved finishing treatment.
8. Felt Office Partition
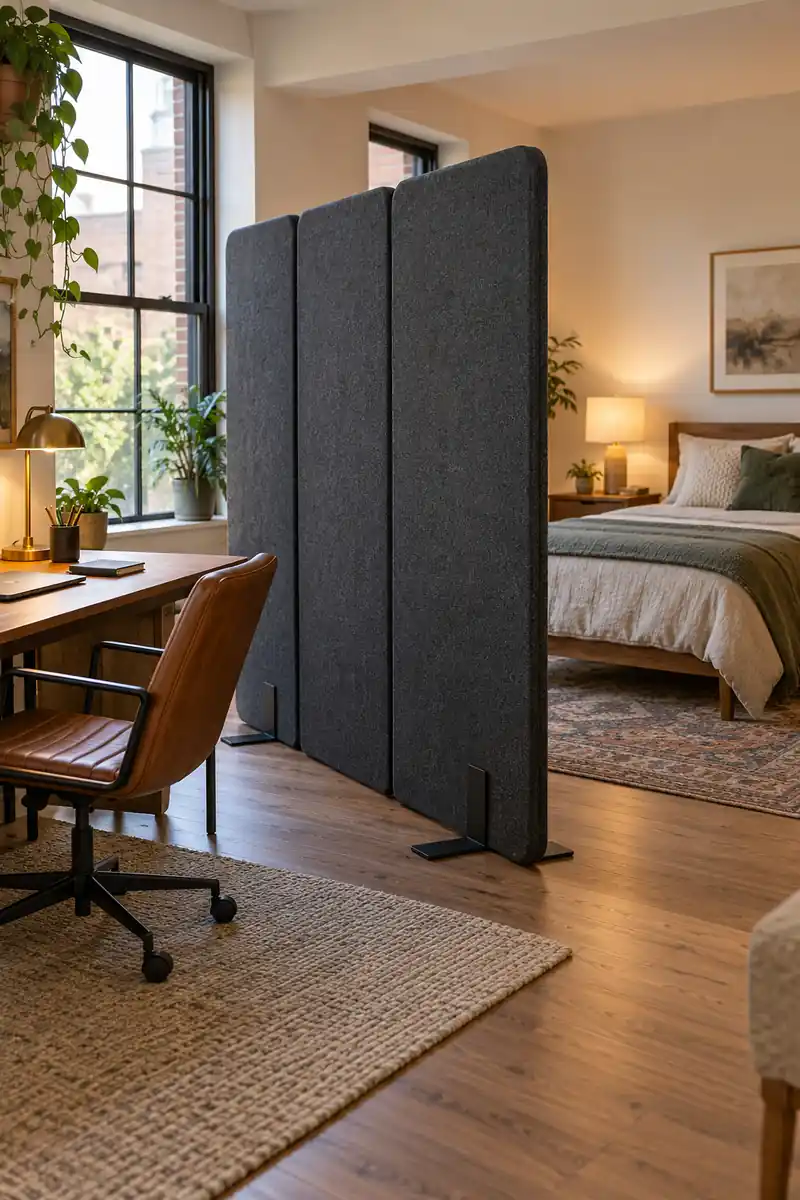
Best for: Visually separating a work desk
Finish: Felt-covered panels
Privacy: Depends on panel height
Sound: Limited reduction, not soundproofing
Work clutter disappears faster behind a solid screen. Felt-covered panels can soften the look of a desk zone and may reduce some reflected sound, depending on the product. Keep cables inside the workspace and leave the chair’s pullback area clear. Check acoustic claims against the actual manufacturer’s test information.
9. Fabric-Covered Wall
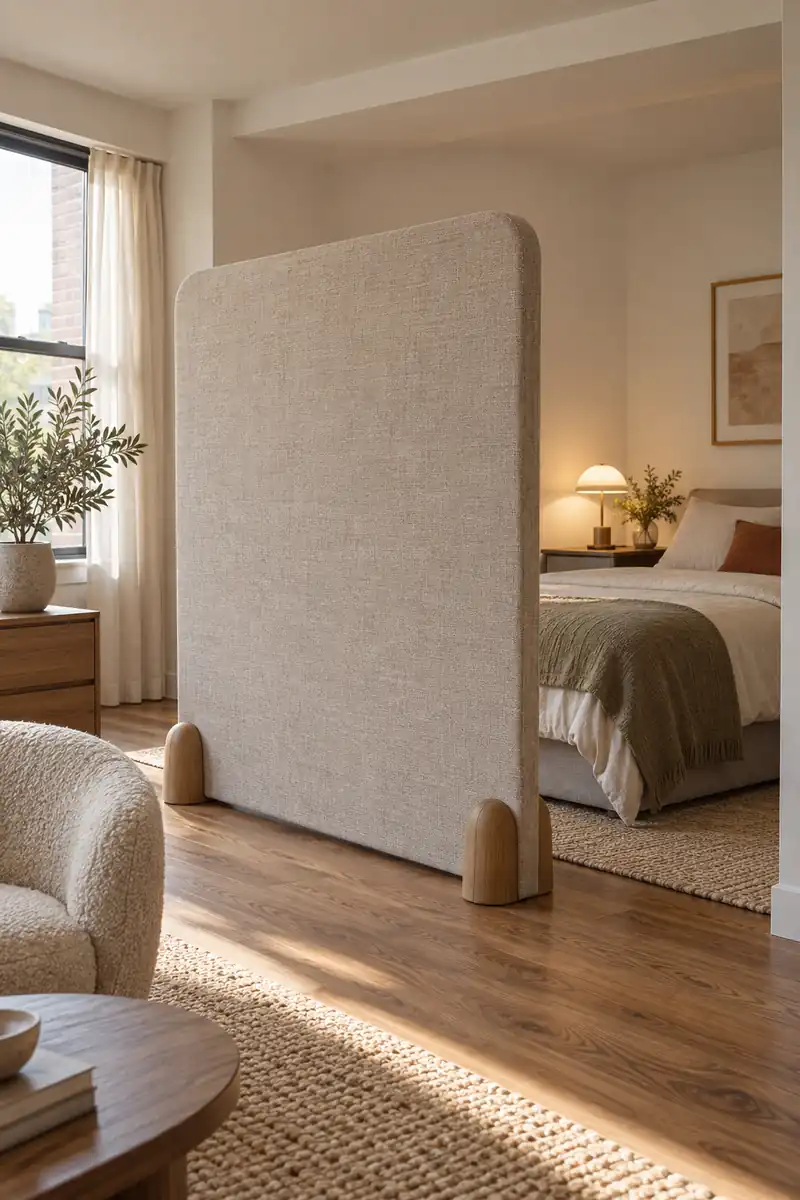
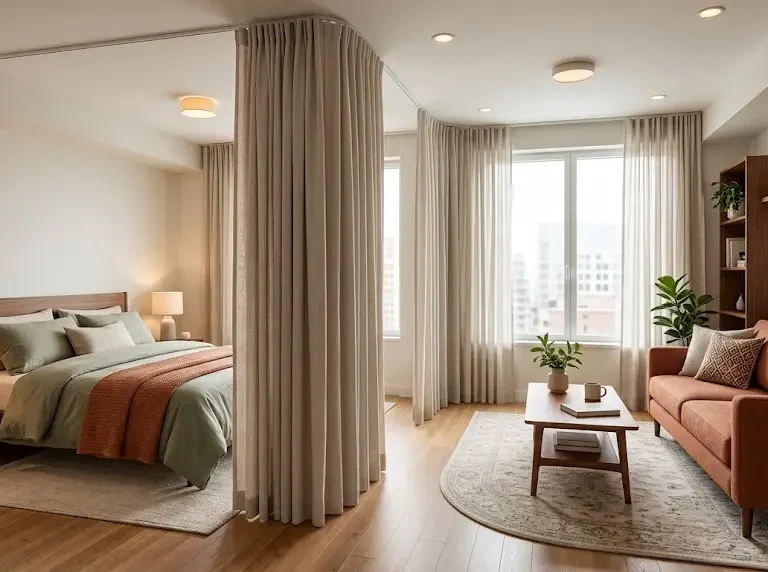
Soft texture can make a practical divider feel like part of the room. A fabric-covered freestanding wall suits a sleeping nook where glossy surfaces would feel too stark. Choose tightly fitted upholstery in a washable or easy-clean finish, then compare the color beside your bedding in daylight before buying.
Keep the fabric clear of heaters, bulbs, and cooking areas, and follow the product’s care and placement instructions. A neutral woven surface can work with several bedding changes over time. For a tidy result, choose a finished reverse face too, since both sides remain visible in an open studio.
10. Folding Panel Wall
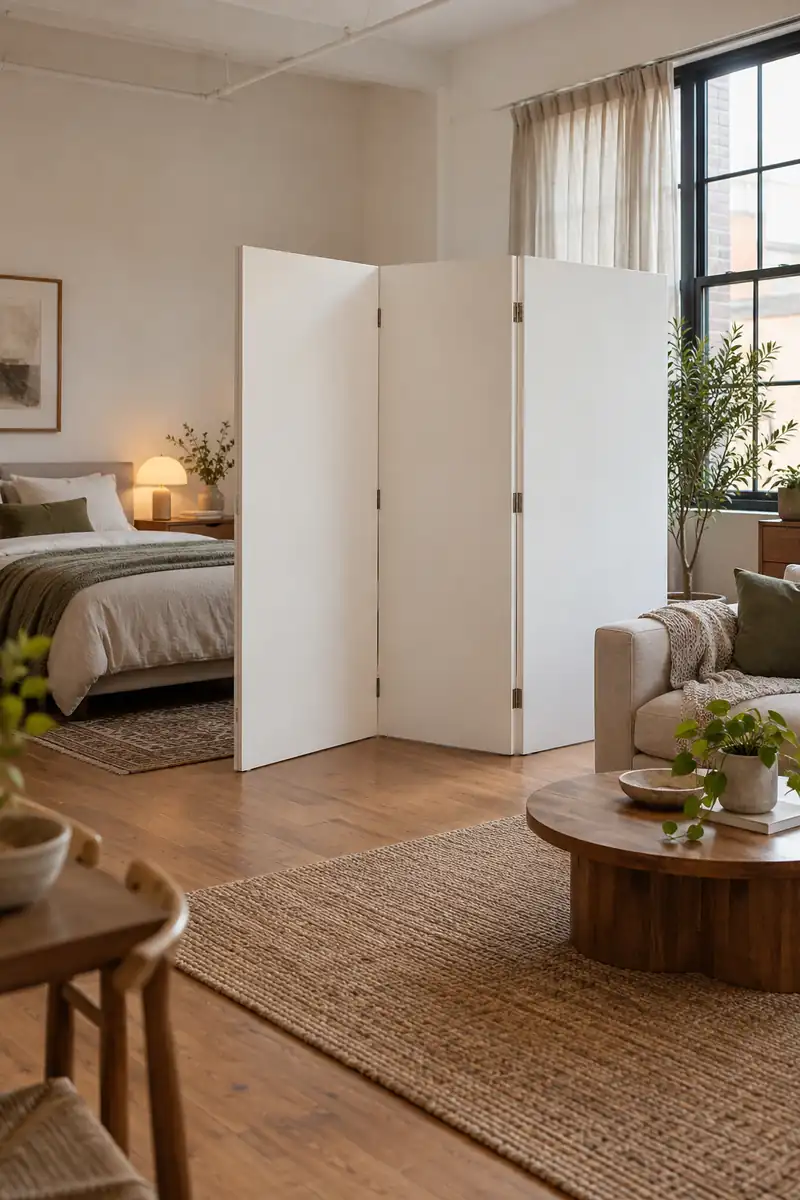
- Flexible privacy starts with a folding wall that stands securely in its recommended configuration.
- Use wide opaque panels to reduce direct views of the bed.
- Check the folded storage dimensions as carefully as the open width.
- Leave hinged sections at the angles required for stability.
This option suits studios that need more open floor space during the day. Fold the wall away before moving large furniture, rather than dragging it across the room while extended. Keep fingers clear of hinges and inspect the floor contact points regularly. The flexibility is useful only when setup stays manageable.
11. Sliding Panel Frame
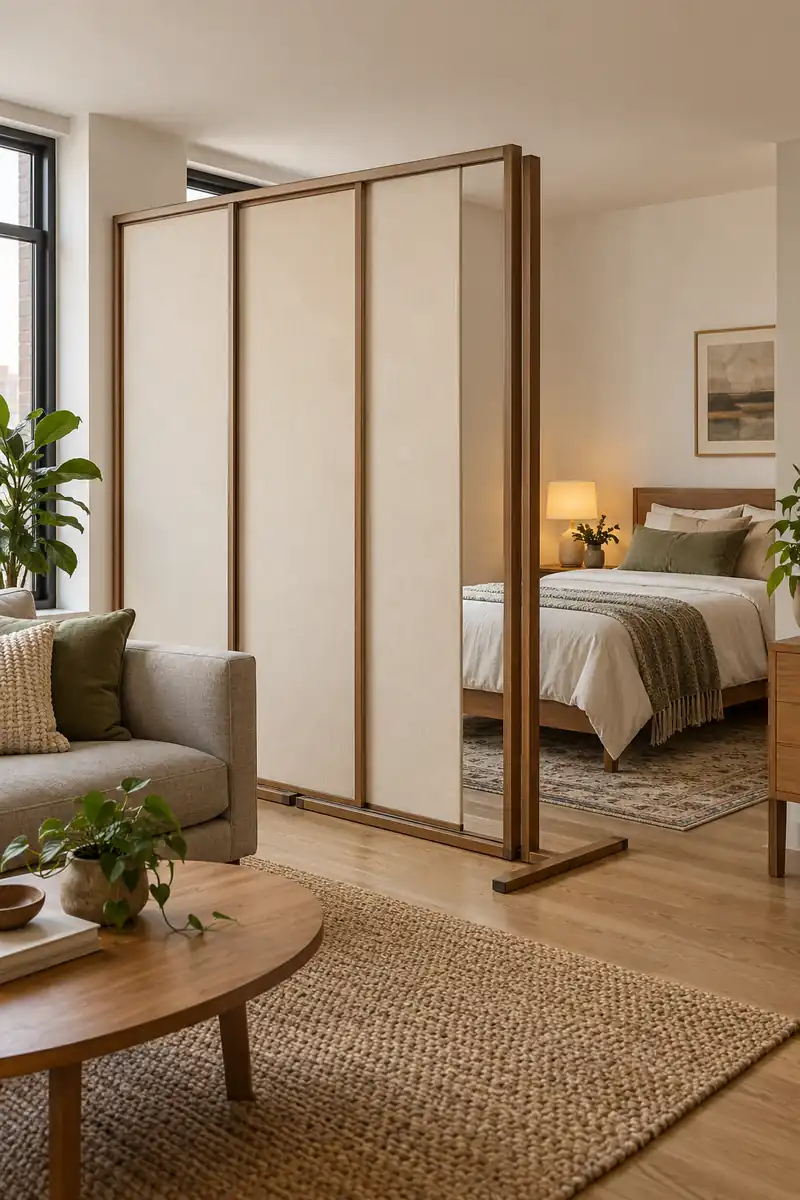
Quick Tip:
A sliding opening saves the swing space a hinged door needs. Choose a complete self-supporting system if drilling is restricted. Confirm its floor footprint, panel weight, and anti-tip requirements before purchase.
Sliding panels work best when one section can park alongside another without covering storage or furniture. Draw the full travel path on your plan and leave it clear. Some systems still require anchoring despite being marketed as temporary, so read the installation guide and obtain permission before ordering any components.
12. Open Doorway Partition
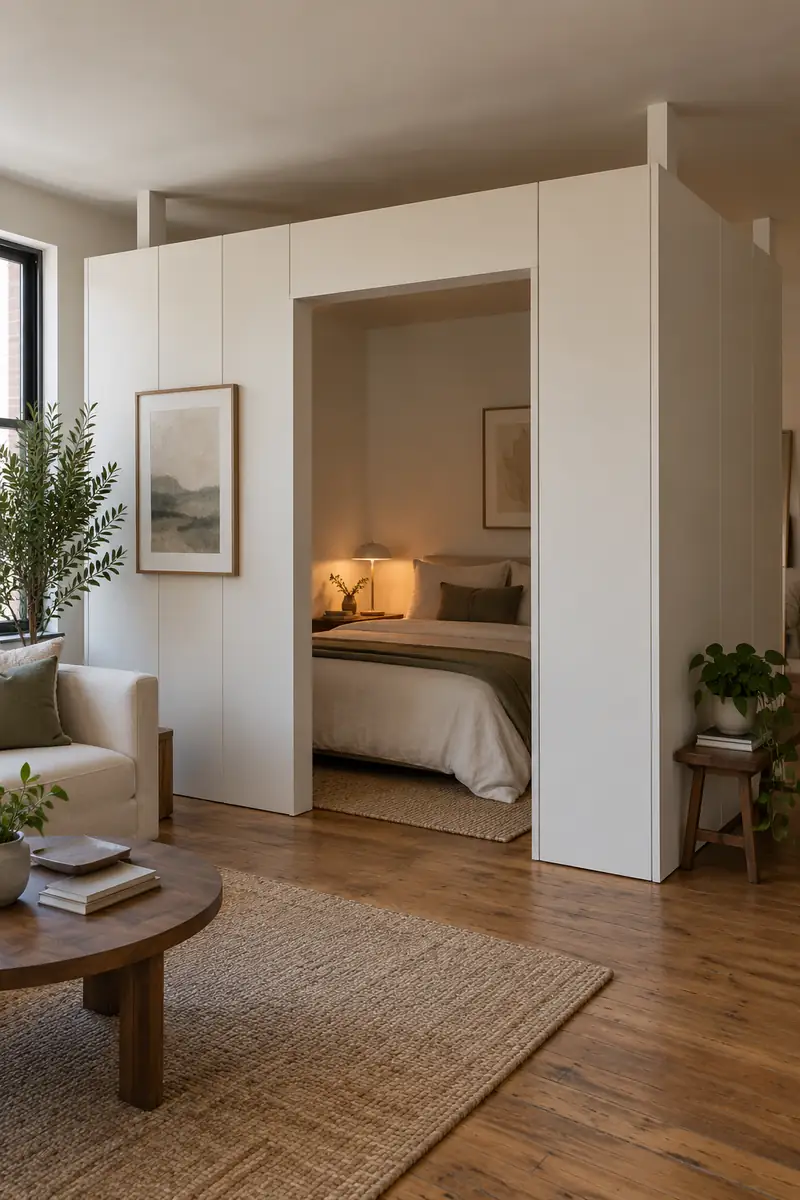
BEFORE:
A narrow gap can make a bed nook awkward to enter. Carrying laundry through it means turning sideways and brushing against the partition.
AFTER:
A broad opening between modular wall sections gives the nook a clear entrance. The sleeping area feels defined while the route remains easy to understand.
Use a matched system with a doorway arrangement approved by its manufacturer. Keep the opening free of trailing fabric, baskets, and projecting feet. An open entrance provides less concealment than a closed panel, but it can make daily access simpler and help the surrounding studio feel visually connected throughout.
13. Entry Sightline Wall
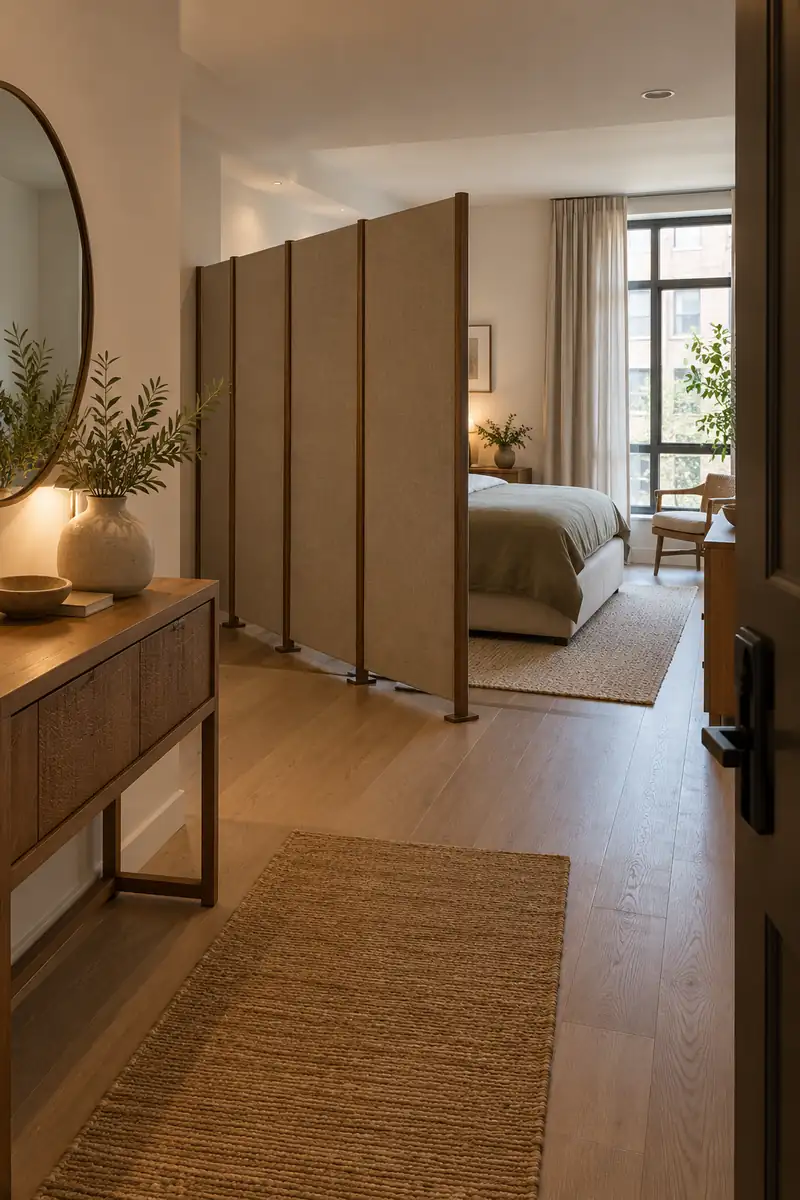
- Hide the bed by standing at the open entrance and checking the view.
- Mark the smallest panel position that interrupts that sightline.
- Allow clearance for the door to open fully.
- Check the route from the bed to the exit before adding furniture.
A short partition near the sleeping zone can offer more useful privacy than a long wall across the room. Keep it away from door hardware and any required circulation space. This targeted approach preserves floor area for living while reducing the feeling that every visitor immediately looks into your bedroom.
14. Dining-Side Partition
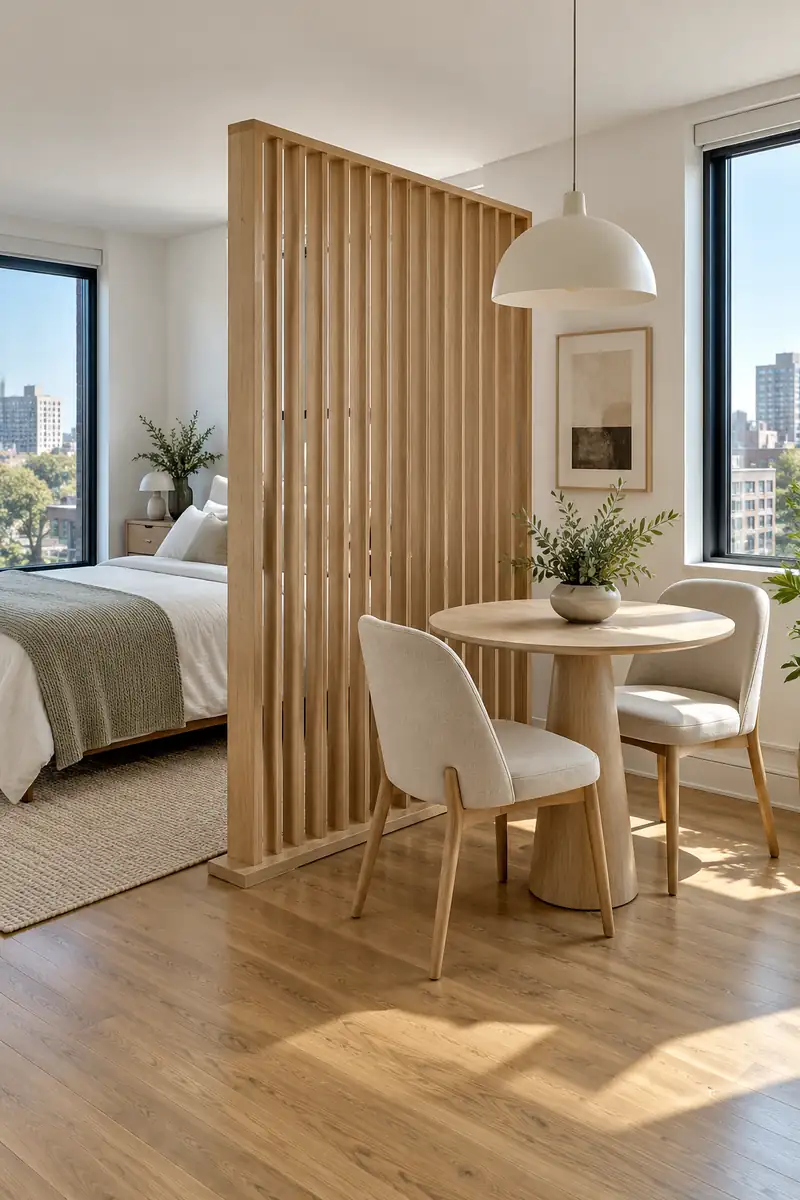
| Consideration | Full-room divider | Dining-side panel |
|---|---|---|
| Coverage | Separates larger zones | Screens one shared boundary |
| Footprint | Usually a longer run | Can use fewer panels |
| Access | Needs planned openings | Keeps other sides open |
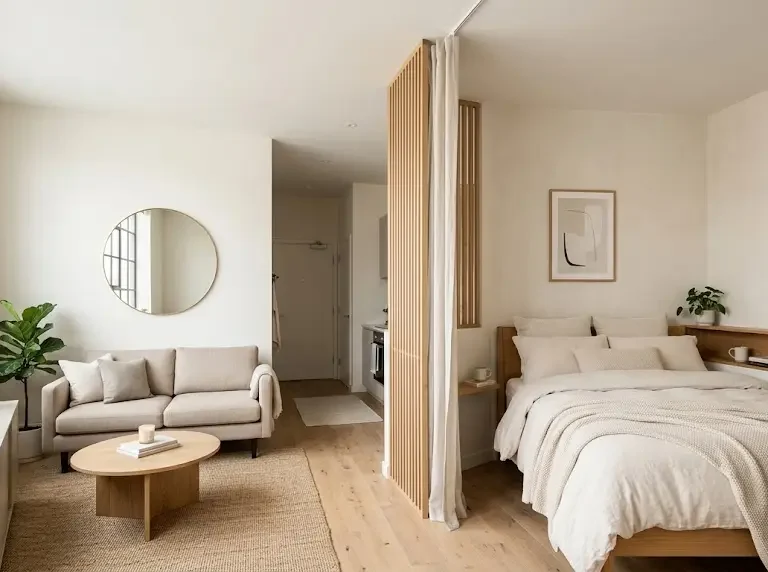
Dinner feels calmer with a boundary beside the bed. Place a slatted panel between the dining nook and sleeping area, allowing chairs to pull out without hitting its feet. Angled views offer partial screening while light passes through. Measure with someone seated, then choose tighter spacing if privacy matters more.
15. Offset Privacy Entrance
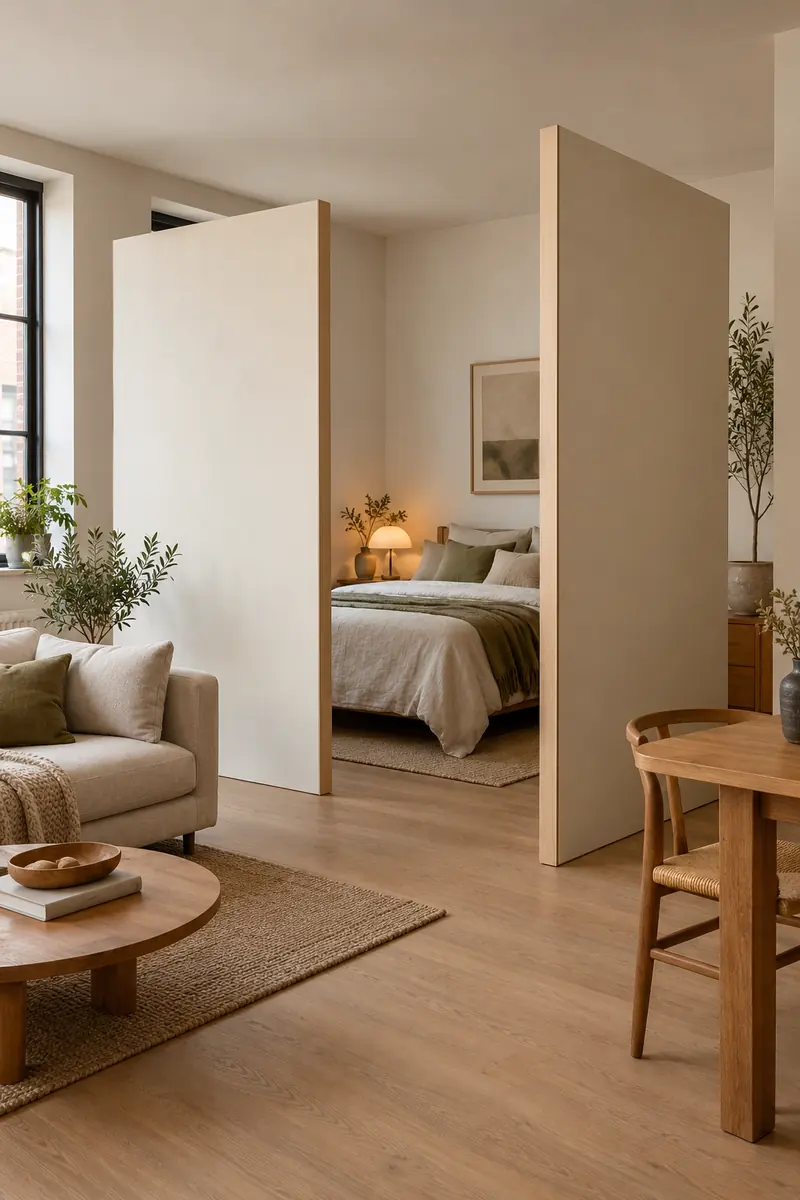
DO
- Create a sheltered approach with two staggered panels.
- Keep the overlapping sightline short enough to preserve a generous passage.
- Check visibility from the sofa and entrance before final placement.
DON’T
- Do not turn the passage into a tight obstacle course.
- Do not cover switches or ventilation grilles.
- Do not rely on friction alone where anchoring is required.
Privacy does not always need a door. Staggered panels interrupt direct views while leaving an open route into the sleeping zone. Test the layout with full-size floor markings, including supports, before purchasing. This approach needs more width than a single screen, so reserve it for studios with a genuinely spacious approach.
Conclusion
A small studio can feel more settled when the sleeping area has a clear boundary. Choose a partition that solves your specific privacy problem, then check its footprint, stability, and effect on daylight before committing. The most useful studio apartment divider temporary wall setup leaves everyday movement easy and keeps essential openings clear. Start with one measured section rather than enclosing everything at once. Save this post on Pinterest so you can compare the layouts later, try the approach that suits your room, and share it with someone planning a similar change. A thoughtful boundary can make one room feel much more comfortable.
Community
Join the conversation
Add a useful idea, ask a specific question, or share what worked in your space. Every comment is reviewed before it appears.