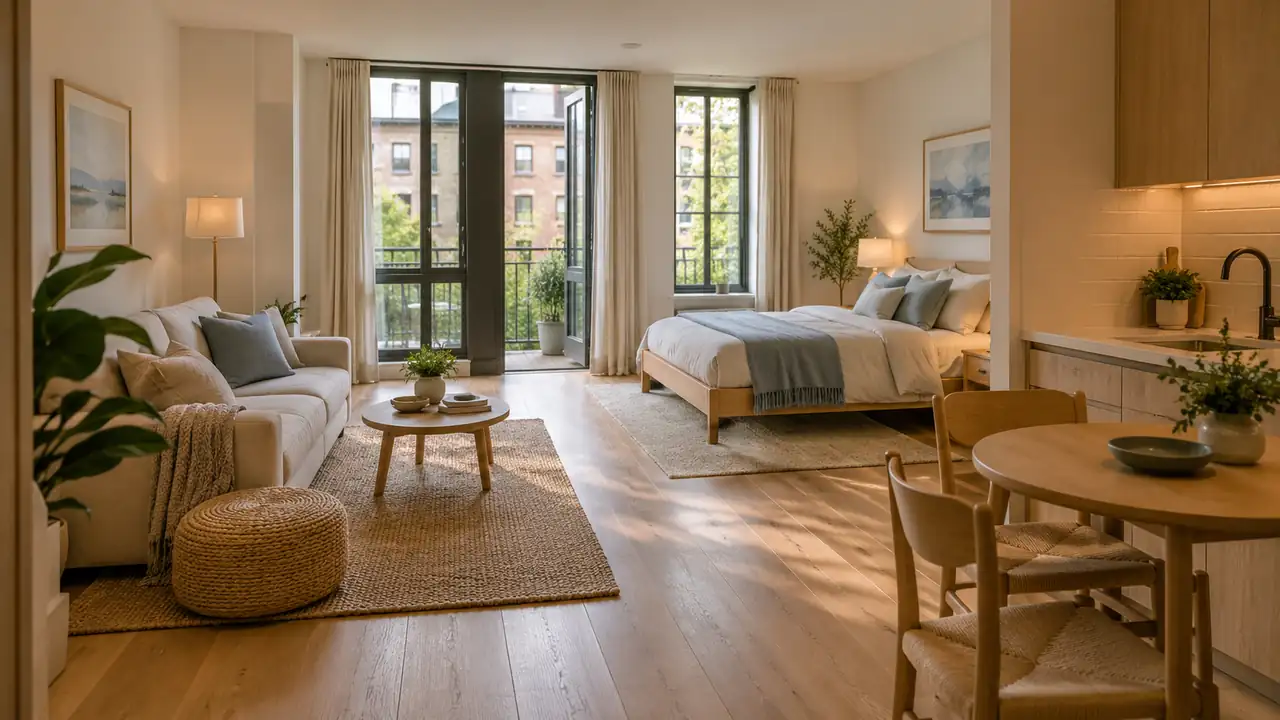
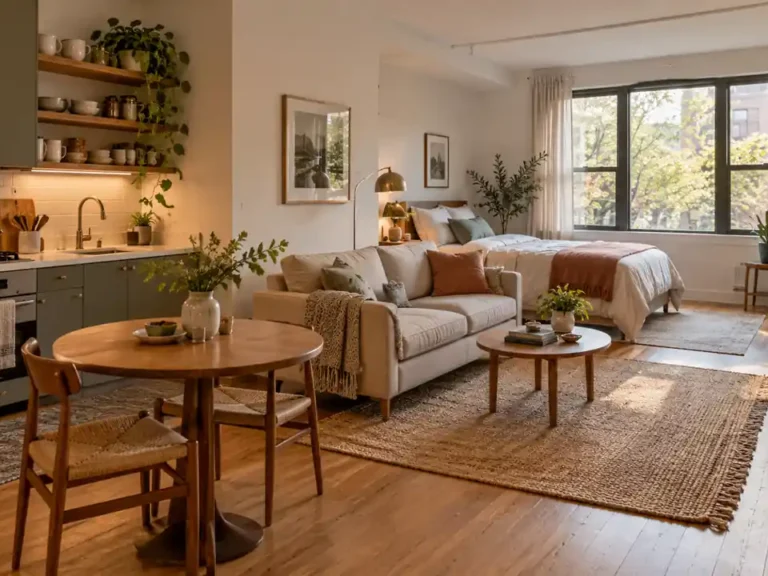
A studio asks one room to do a surprising number of jobs. These studio room interior ideas help you organize sleeping, eating, working, and relaxing without making every corner feel crowded. The most useful starting point is the way you move through the apartment, rather than a list of furniture you think a home should contain.
Look at the shape of the room, the position of its windows, and the routes you cannot interrupt. Then choose a few clear zones and give each one enough space to function. You can build a stylish interior with modest pieces, thoughtful proportions, and room to breathe. The ideas below focus on those practical decisions, whether you are arranging your first rental or reworking a studio you already know well.
1. Clear Central Path
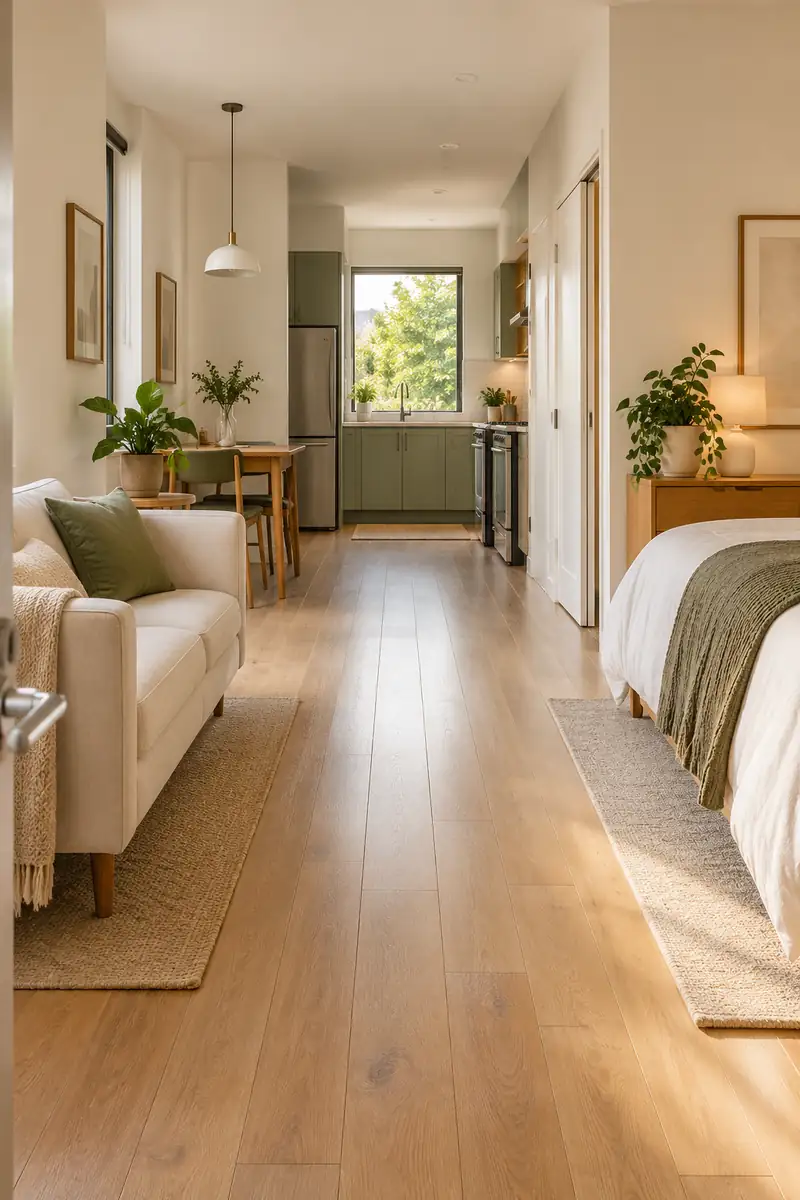
An open route through a studio makes every other choice feel more generous. Start at the entrance and trace the trips you make most often: to the kitchen, bathroom, wardrobe, and bed. Position the largest furniture beside those routes, leaving comfortable space to pass without turning sideways or shifting chairs.
Keep this route consistent from morning to night, including when drawers open and dining chairs pull out. A sofa that looks perfect in a photograph can still interrupt daily movement. Test the arrangement with removable floor markers before moving heavy pieces, and let easy circulation guide the final floor plan.
2. Low Furniture Horizon
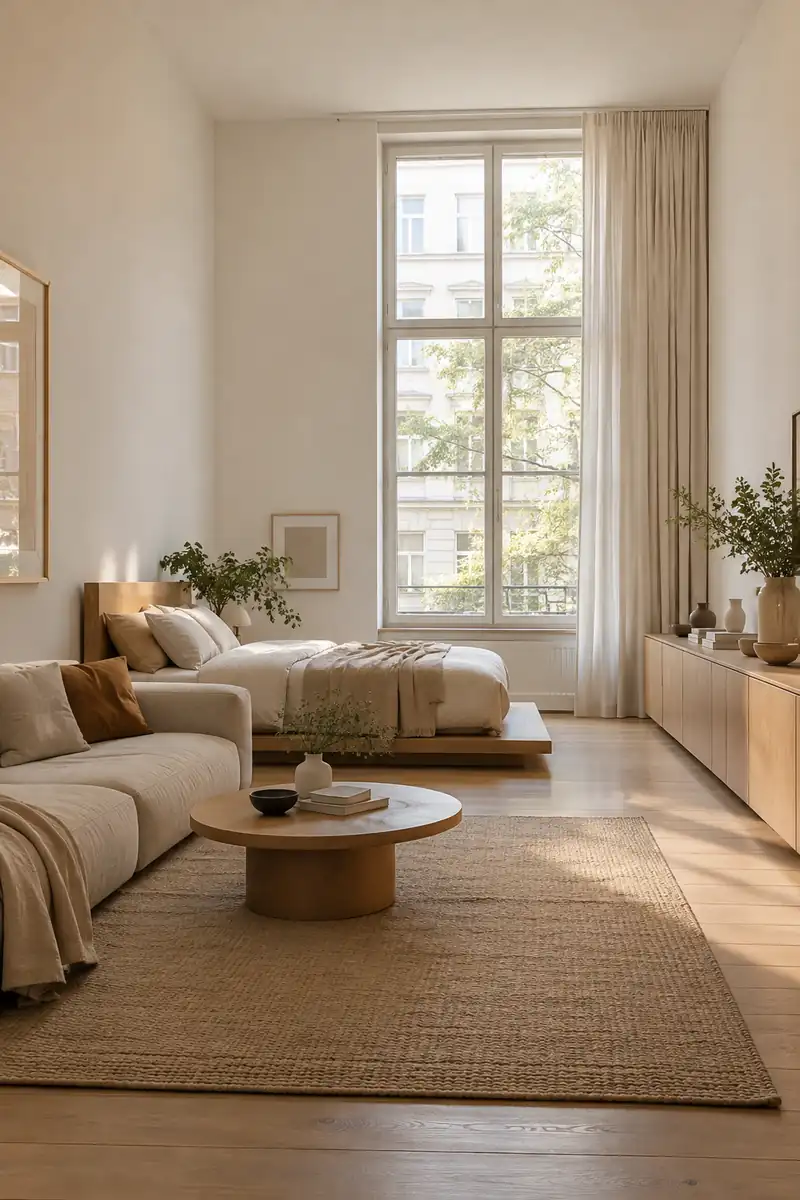
- Choose a low backed sofa when it gives you the support you need.
- Compare the full bed frame height, including your mattress, with nearby furniture.
- Use one low storage cabinet to connect the sitting and sleeping areas visually.
- Leave the upper wall mostly open so windows and artwork have room around them.
A lower furniture line lets your eye travel farther across the room. Keep the pieces useful, though: an extremely low seat can be awkward to stand from, and a low bed may sacrifice storage. Try the height in person where possible, then balance openness with the way you actually live.
3. Rug Defined Living
Quick Tip:
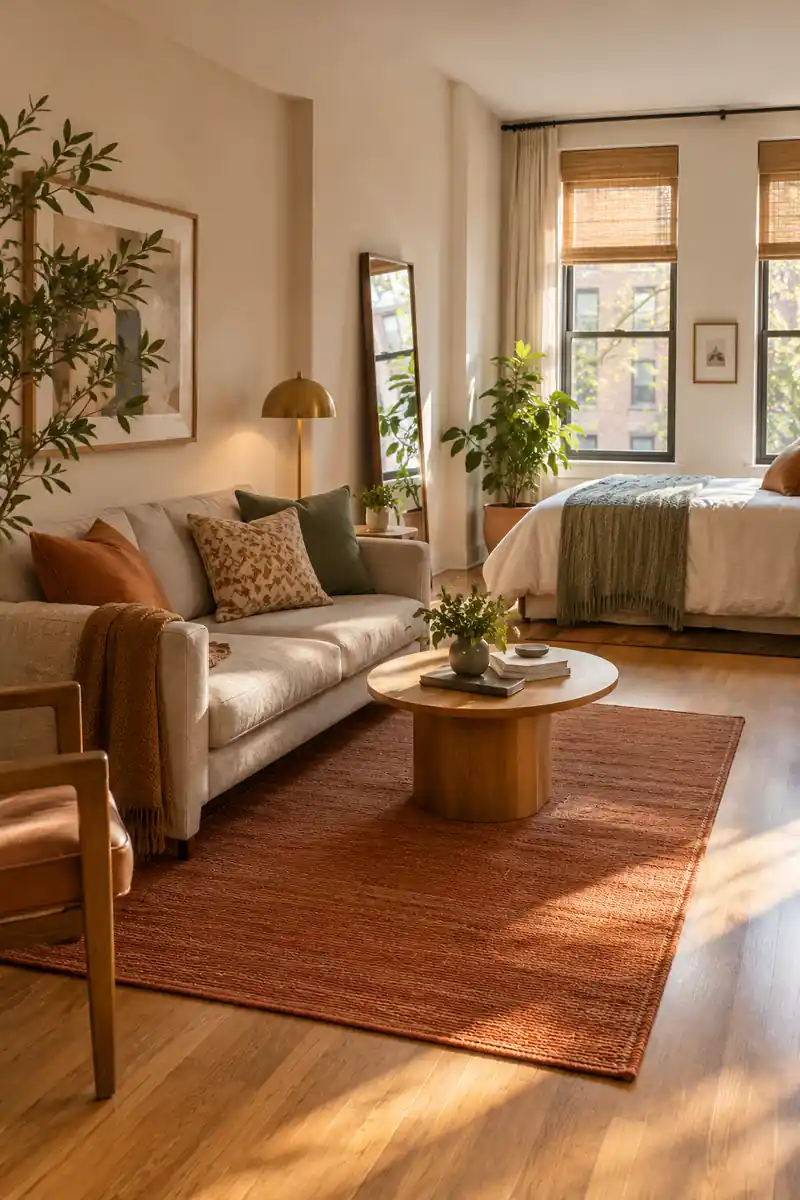
Use a rug to mark the sitting area without adding another vertical barrier. Start with the sofa position, then select a rug that comfortably includes its front feet and the coffee table.
The visible floor around the rug becomes a subtle border between activities. Choose a flat, stable edge that will not interfere with doors or trip you along the main route. In a narrow studio, avoid scattering several tiny rugs across every zone, which can make the floor feel busier.
4. Curtained Sleeping Nook
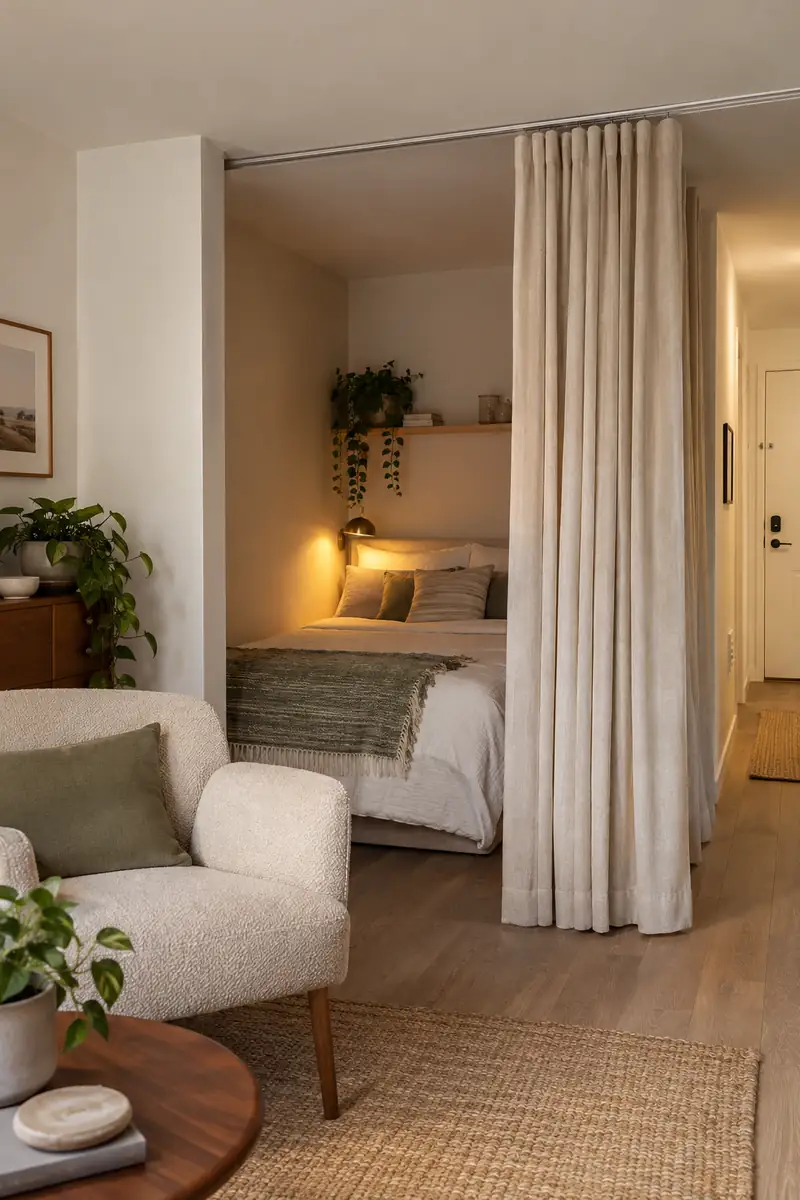
BEFORE: The bed sits in full view of the entry, and the whole room feels like a bedroom. Another solid cabinet would crowd the floor.
AFTER: A ceiling mounted curtain creates a softer boundary around the sleeping area. Open panels tuck neatly to the side during the day.
Treat the curtain as a visual screen rather than a soundproof wall. Confirm installation permission and use suitable hardware for the ceiling. Keep fabric clear of heaters, vents, and light fittings, and preserve an easy route out of the bed area. Choose panels that stack compactly when pulled back.
5. Dining At The Edge
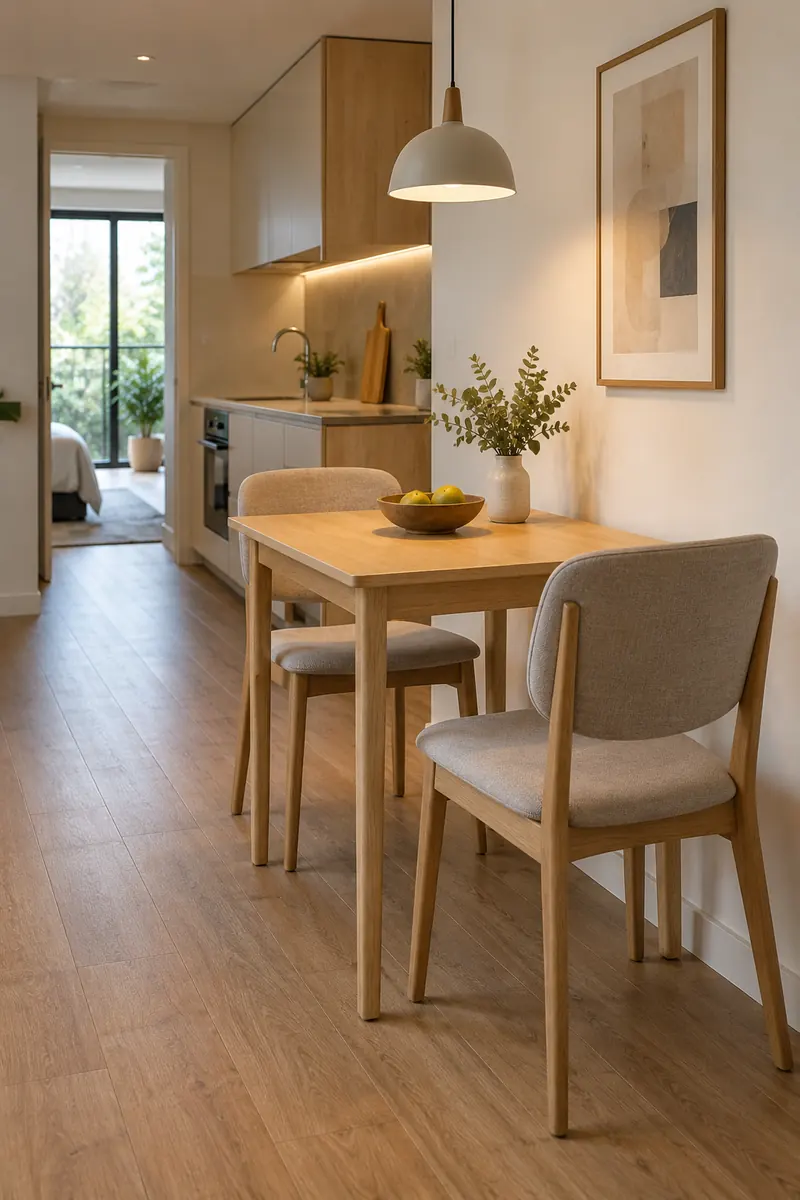
- Measure a quiet wall near the kitchen and mark the table footprint on the floor.
- Choose a modest table that suits your normal household rather than occasional crowds.
- Place two chairs where they can slide out without blocking a doorway.
- Test the route past the table with someone seated before settling the layout.
An edge position gives a dining area its own address while protecting the middle of the room. A compact rectangular table can sit parallel to a wall, with seats on the accessible sides. Keep its surface mostly clear so meals, paperwork, and a relaxed cup of coffee remain easy.
6. Open Divider Shelving
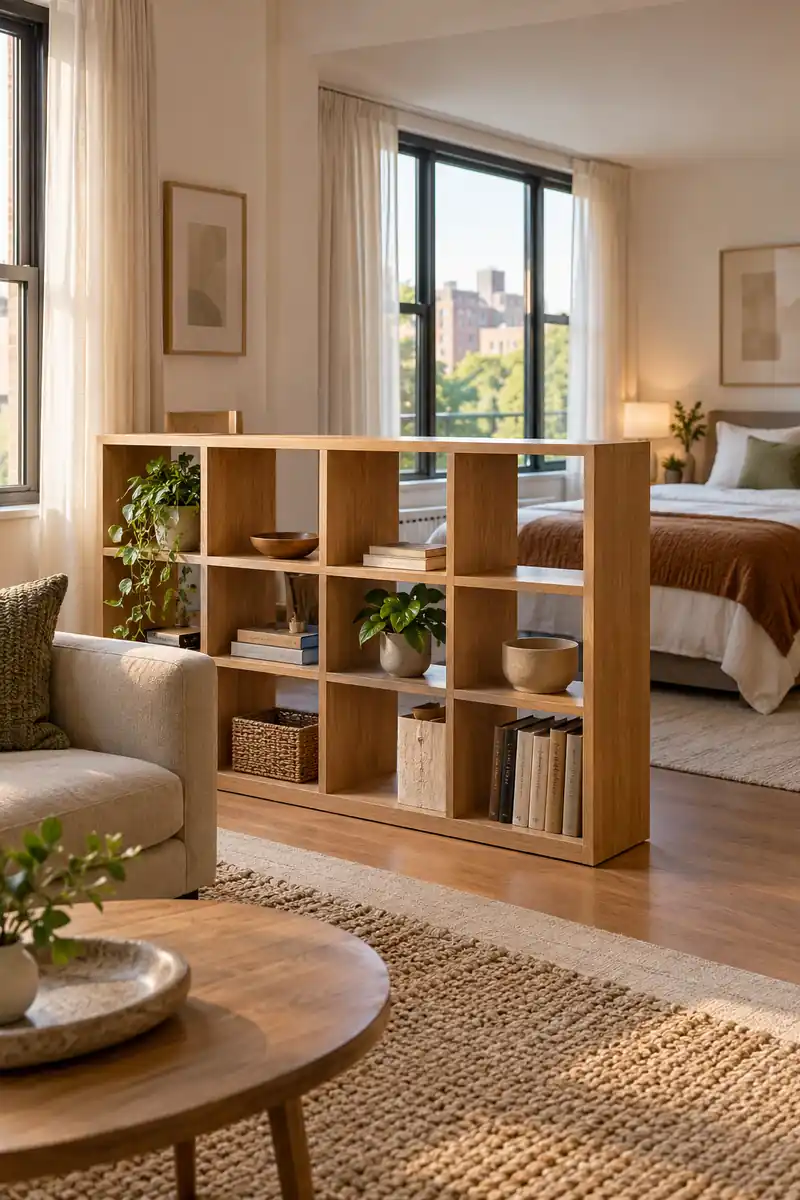
| Detail | Open Shelving | Solid Cabinet |
|---|---|---|
| Light | Views through open compartments | A stronger visual boundary |
| Storage | Best with selective display | Conceals more everyday items |
| Appearance | Lighter when partly empty | Calmer when doors are closed |
An open shelf can suggest a room boundary while retaining glimpses of the window beyond. Choose a unit designed for its position and follow the manufacturer’s stability and anchoring instructions. Do not improvise a freestanding installation for a wall dependent bookcase. Keep heavier items low and leave several compartments empty.
7. Window Facing Workspace
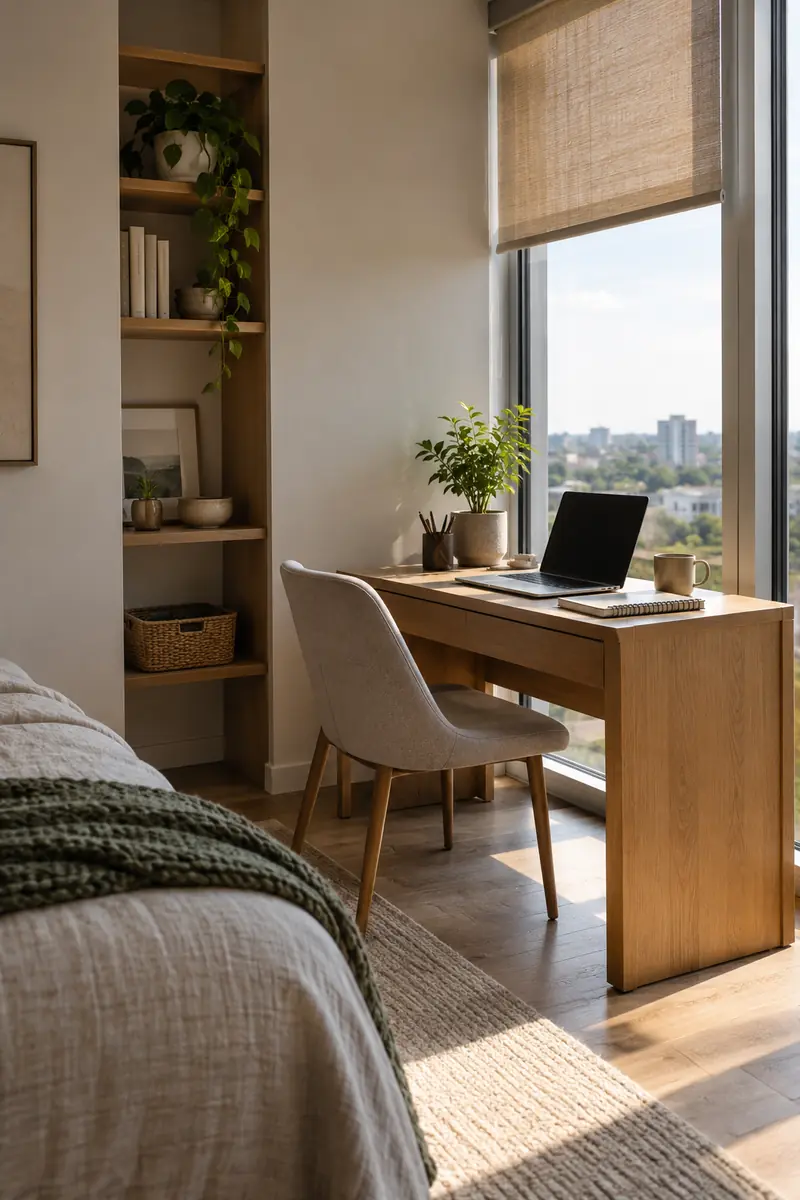
DO
- Check glare on your screen at the time you usually work.
- Choose a desk depth that supports your equipment.
- Leave the window and its controls easy to reach.
DON’T
- Cover a radiator or ventilation grille with the desk.
- Fill the whole windowsill with work supplies.
- Run a power cord across the walking route.
A workspace near daylight can feel like a destination within one shared room. Place the desk beside the window if facing it creates uncomfortable contrast or glare. An adjustable blind helps you respond to changing light, while a small drawer lets work disappear when you switch to evening activities.
8. Matching Storage Heights
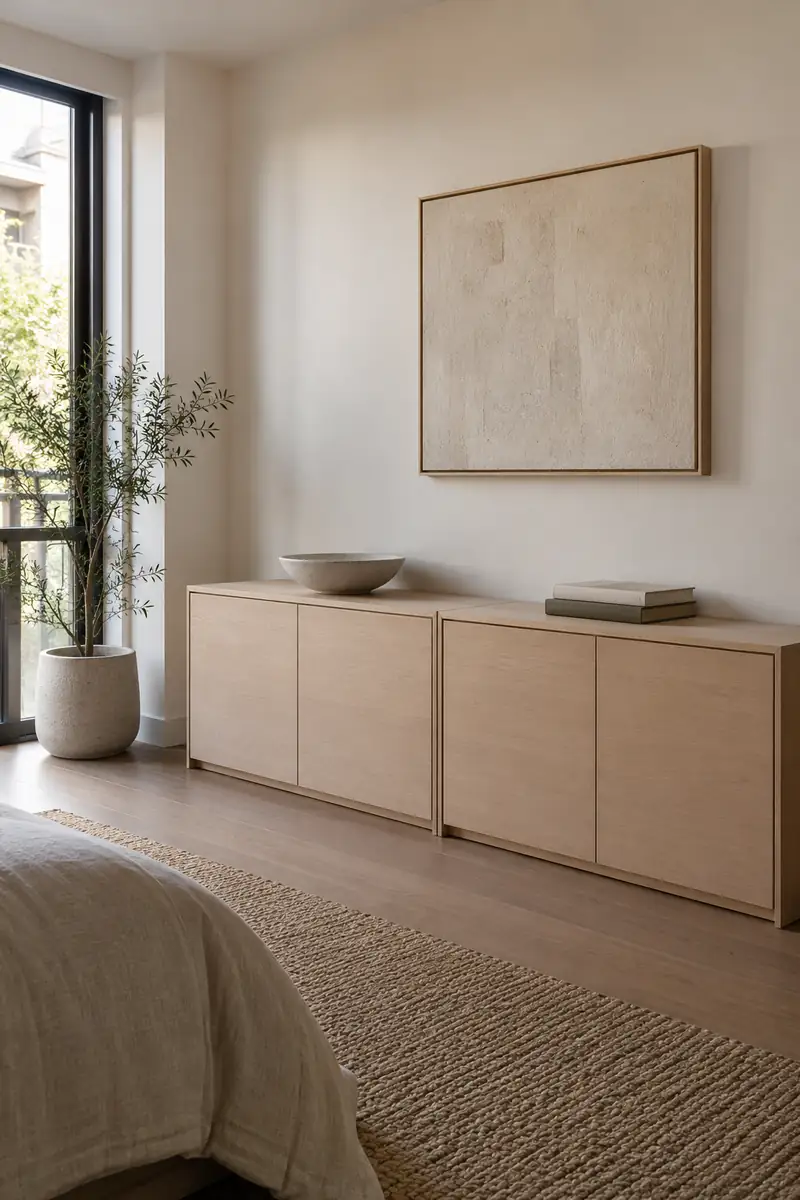
Best position: Along one uninterrupted wall.
Starting point: Two compatible cabinets with aligned tops.
Visual effect: A quieter horizontal line.
Finishing touch: One shared wood tone or paint color.
Storage looks more intentional when neighboring pieces share a height or a clear alignment. Measure baseboards and wall irregularities before assuming two units will sit flush. You can also group existing cabinets by depth and color, keeping the shallowest piece beside a doorway where a protruding corner feels awkward.
9. Sofa Back Boundary
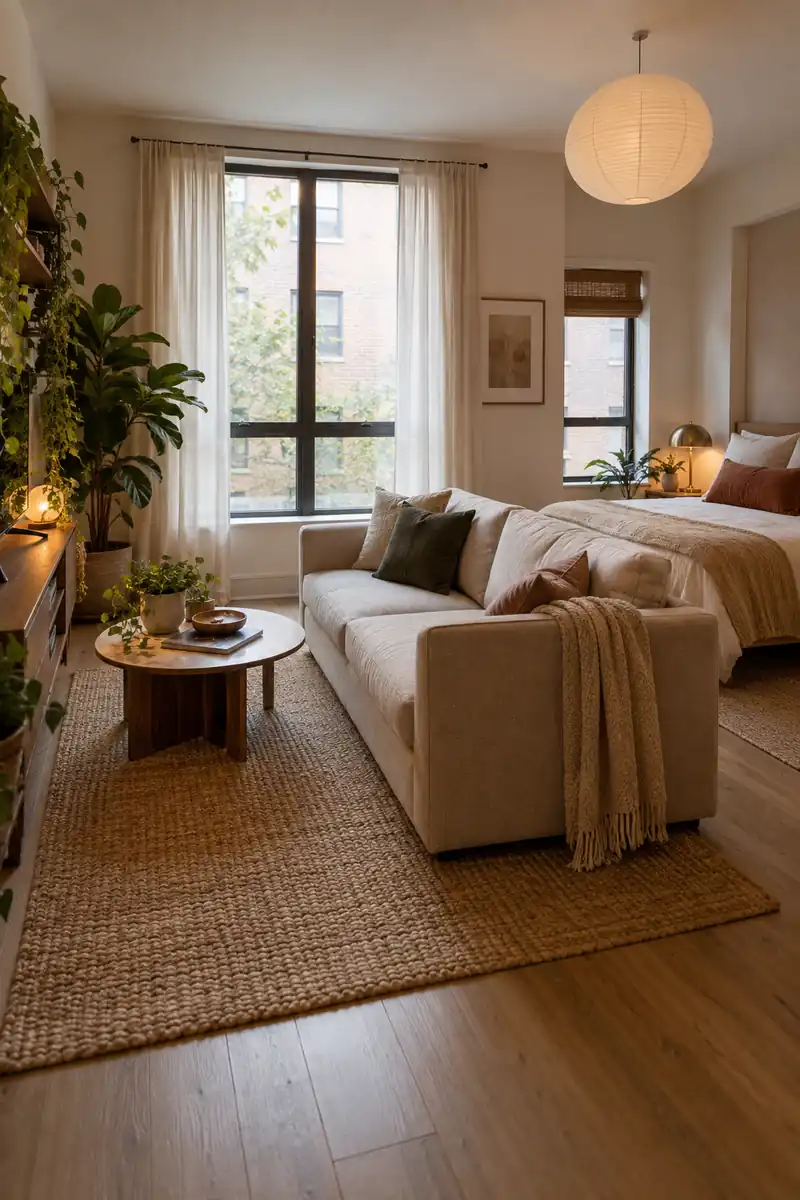
Let the back of your sofa do a little architectural work. Position it toward the sleeping zone so the seat faces the living area, then check that the arrangement leaves a natural route around it. A neatly finished upholstered back looks considered when it is visible from the bed.
Resist adding a console behind the sofa automatically. In a compact studio, that extra strip of furniture can consume the space you just gained. Start with the sofa alone and live with it for several days, adding a slim surface only if you genuinely miss somewhere to set things.
10. Recessed Room Corners
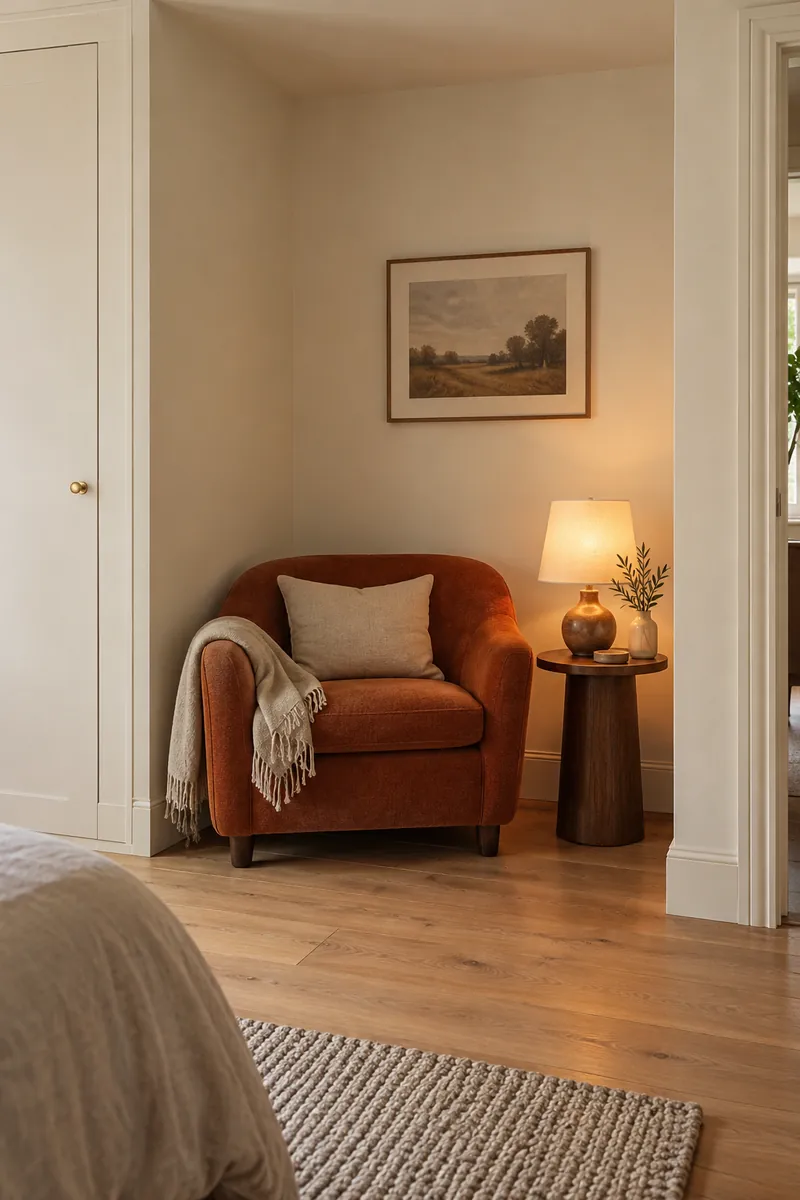
- Look for an existing recess before choosing another freestanding cabinet.
- Measure width at several heights because older walls are rarely perfectly square.
- Give the recess one clear job, such as a reading chair or desk.
- Keep any door, service panel, socket, or ventilation opening accessible.
An awkward indentation can become a useful pocket when you size the contents carefully. A small chair and wall light might fit where a standard desk will not. Avoid filling every inch merely because it is available; a little visible wall around the furniture helps the corner look deliberate.
11. One Quiet Floor
Quick Tip:
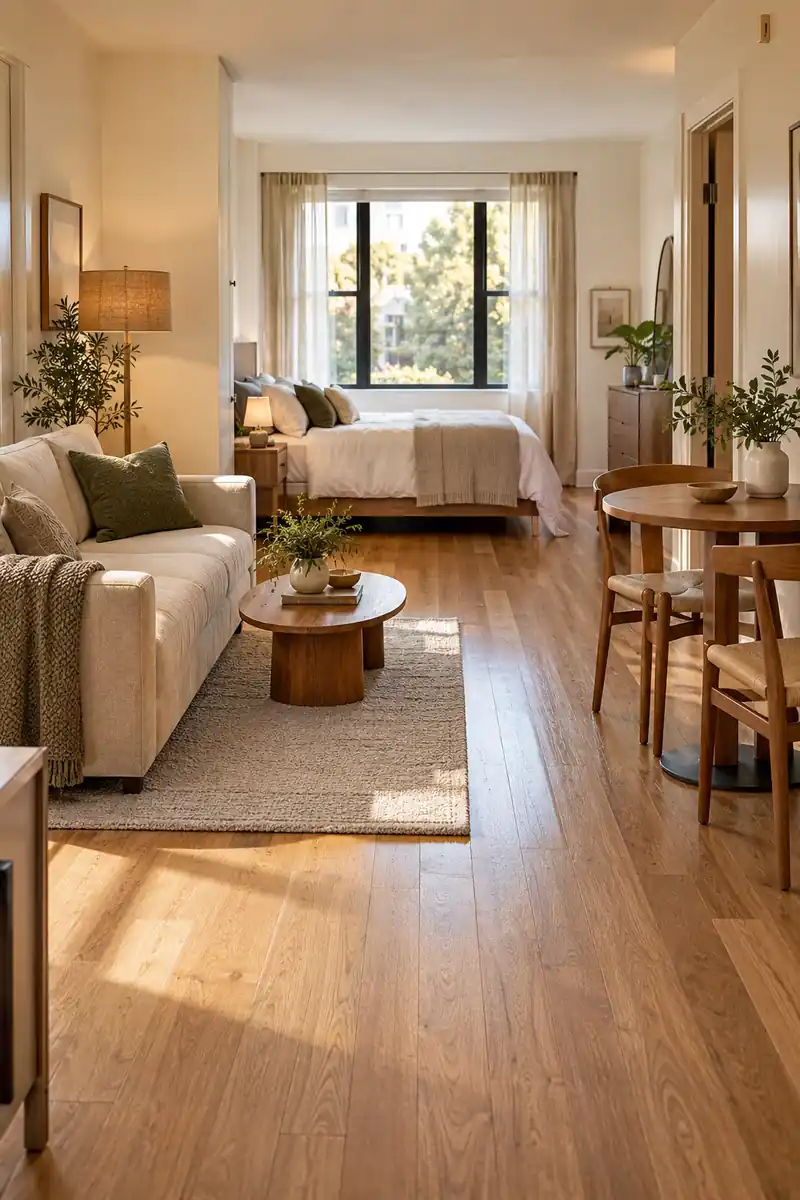
Keep the largest visible floor areas visually connected. If you cannot change the flooring, choose rugs that complement its color rather than trying to hide every different patch.
A continuous view of the floor makes the room easier to read. Let its existing tone guide the main wood finishes, and avoid placing bulky storage along every exposed edge. Renters can use removable rugs for comfort without covering floor vents, trapping door swings, or committing to permanent flooring changes.
12. Balanced Bed Position
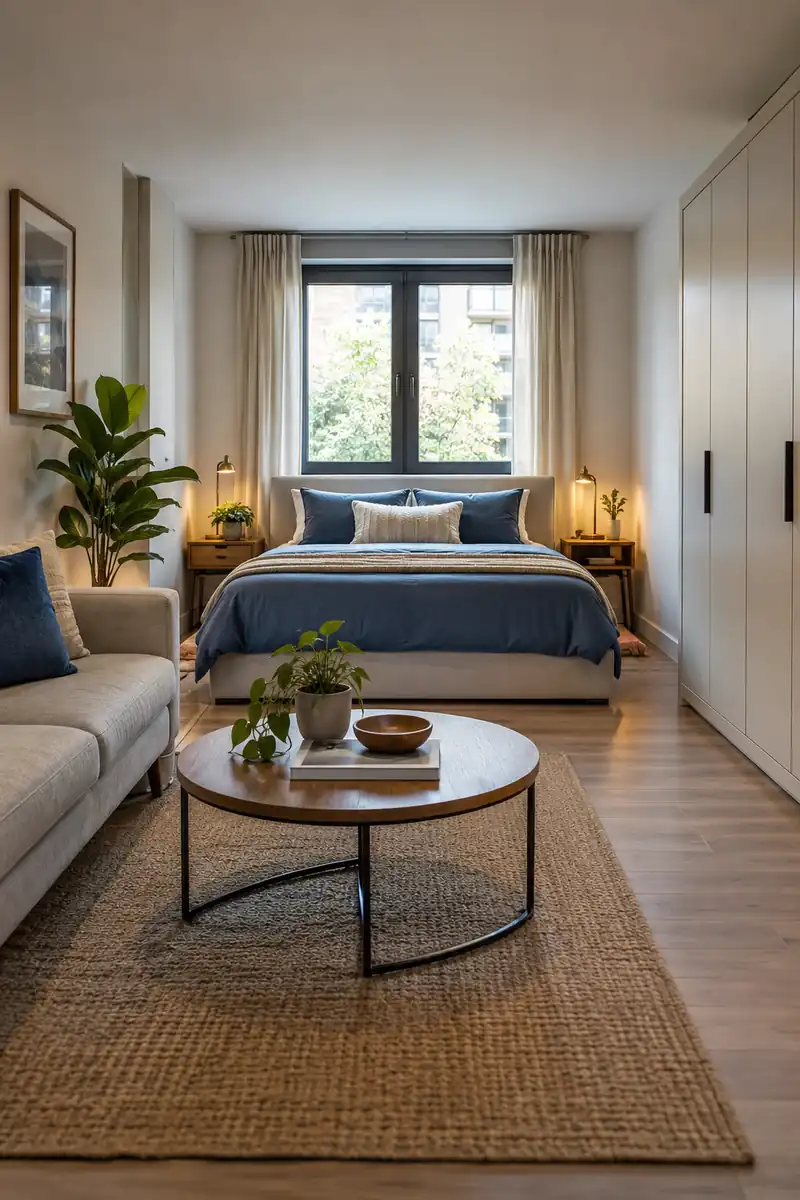
BEFORE: The bed floats at an angle, leaving triangular gaps that cannot hold much. The route to the wardrobe zigzags around its corners.
AFTER: The bed aligns with a straight wall, creating a clearer rectangular living area. The wardrobe opens without nudging other furniture aside.
Think about making the bed as well as sleeping in it. Keep the access you need around the mattress, especially when two people share it. A corner position may save floor area, but it changes how you climb in and change sheets. Test those ordinary tasks before committing fully.
13. Nested Occasional Tables
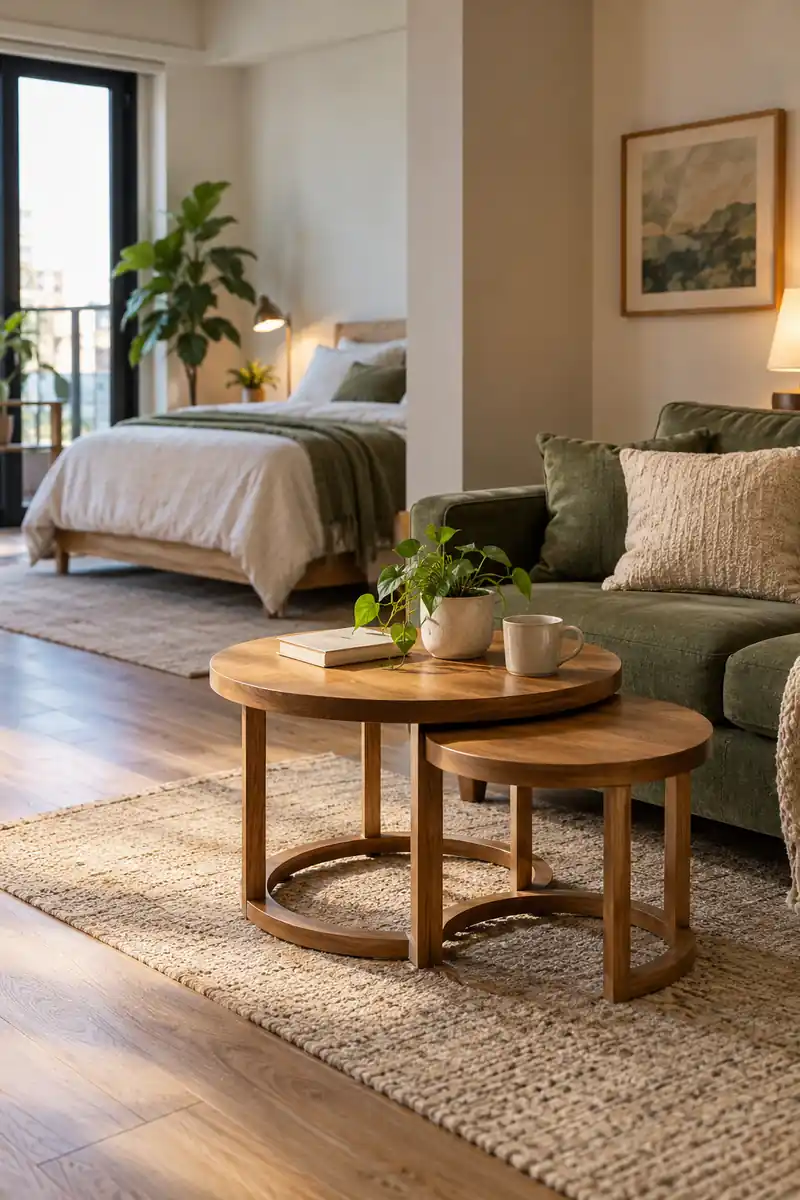
- Choose nesting tables that can park together beside your main seat.
- Check the smaller table slides out smoothly without lifting the larger one.
- Bring out the second surface only when a guest or activity needs it.
- Return both to their home position before the walkway becomes crowded.
Flexible surfaces work best when they have a convincing resting place. A pair of nesting tables can replace a large coffee table if you mostly need room for a drink and book. Check stability on your actual flooring, and keep the smaller piece out of the main walking route.
14. Shallow Entry Storage
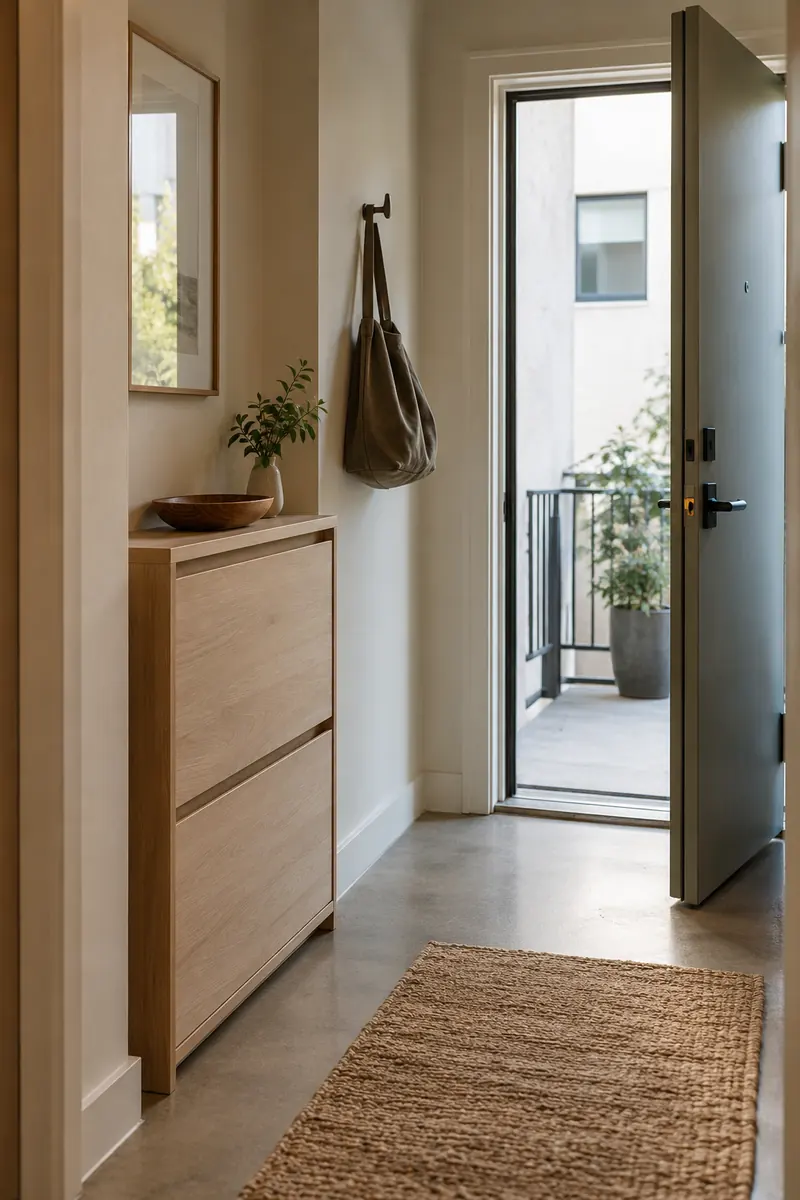
| Detail | Slim Closed Unit | Wall Hooks And Tray |
|---|---|---|
| Footprint | Needs a small floor area | Uses an approved wall position |
| Contents | Conceals shoes and bags | Keeps daily pieces visible |
| Best fit | A modest entry recess | A very narrow arrival zone |
Give arrivals a dedicated landing place so coats and bags do not travel straight to the sofa. Check door swings before adding a cabinet, and follow mounting instructions for hooks or wall dependent furniture. Keep the arrangement small enough that entering with groceries still feels simple and the exit stays clear.
15. Grouped Tall Storage
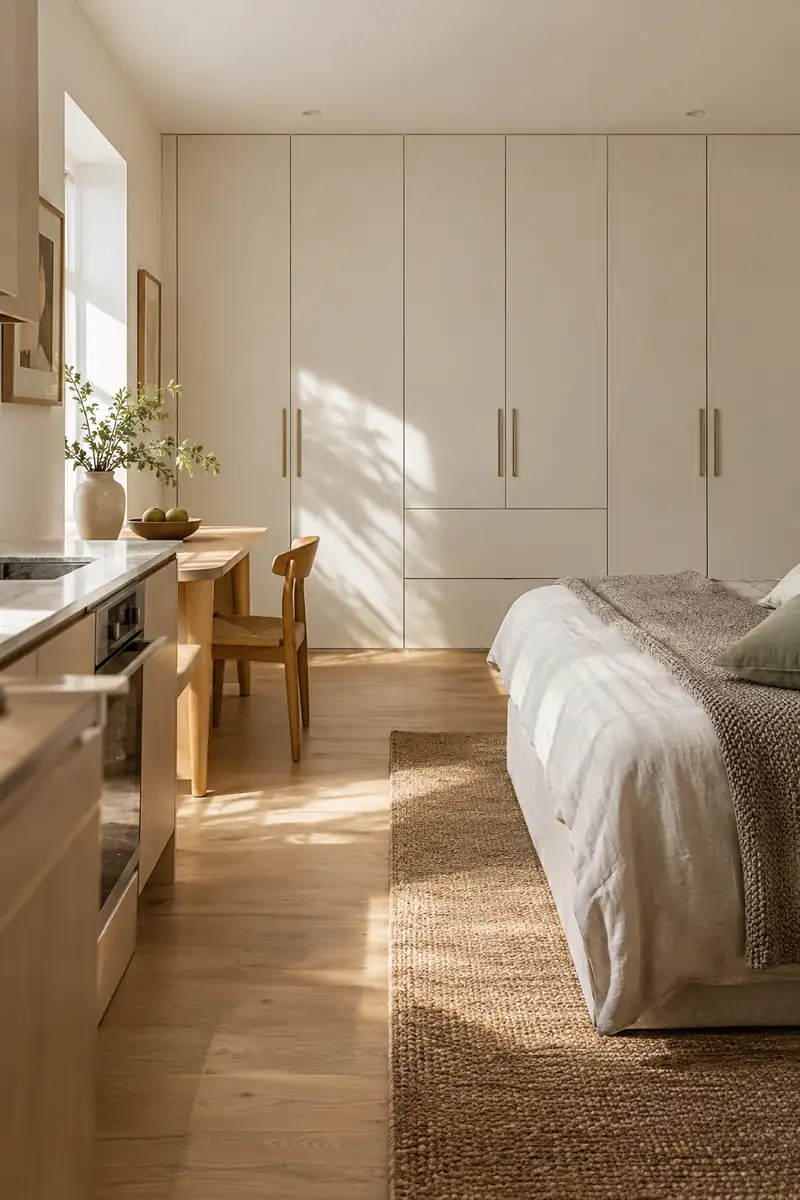
DO
- Concentrate wardrobes on a wall that already feels enclosed.
- Match cabinet depths when they sit side by side.
- Follow the furniture maker’s anchoring instructions.
DON’T
- Scatter tall units across every part of the room.
- Cover a window to create more wardrobe space.
- Leave heavy storage unsecured when anchoring is required.
One concentrated storage wall can feel calmer than several unrelated towers. Plan the arrangement around door access, ceiling obstructions, and the room’s existing openings. If a unit requires wall fixing, get the necessary permission before buying it; choose another suitable storage type if the approved installation cannot be completed.
16. Compact Conversation Pair
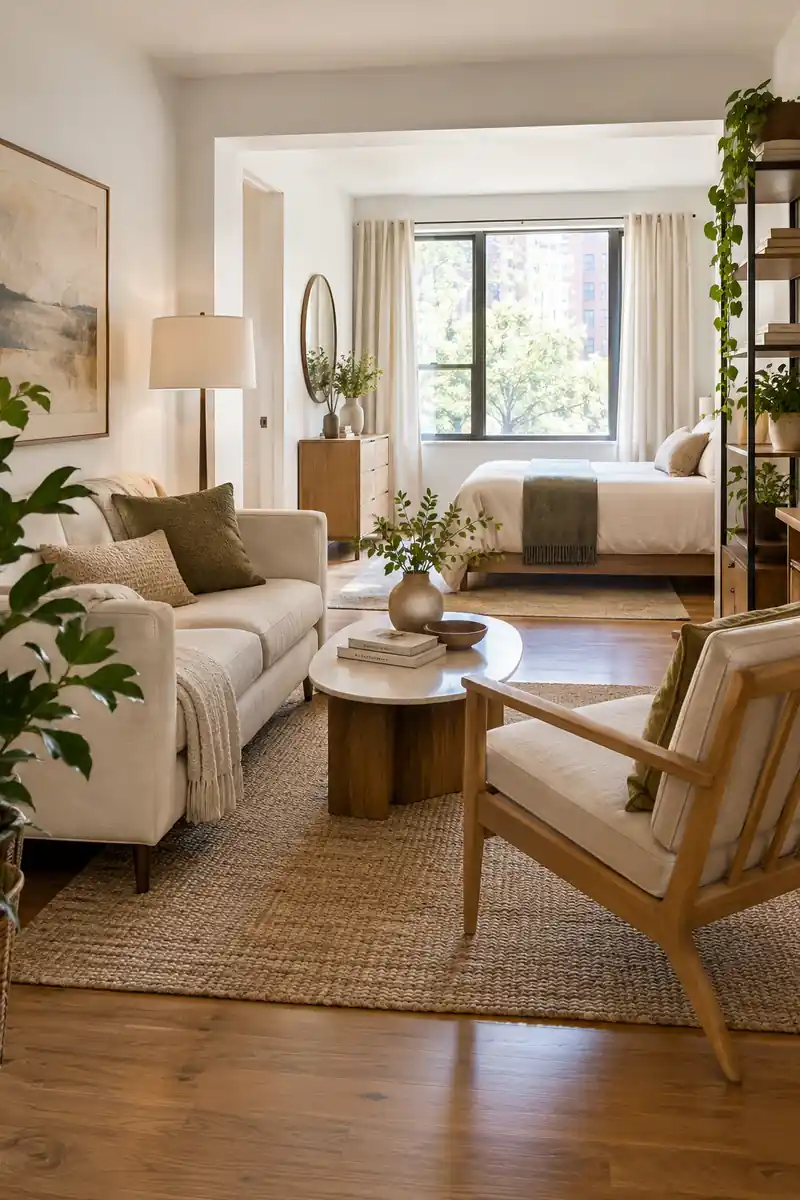
Anchor: One small sofa.
Companion: A lightweight occasional chair.
Arrangement: Seats angled toward each other.
Check: Space to walk between the seating and sleeping zones.
Two seats can make a studio feel sociable without lining every wall with furniture. Try a sofa and a modest chair before assuming you need a sectional. Angle the chair slightly inward, keep its back outside the main route, and choose a small shared surface that both people can reach.
17. Underbed Storage Plan
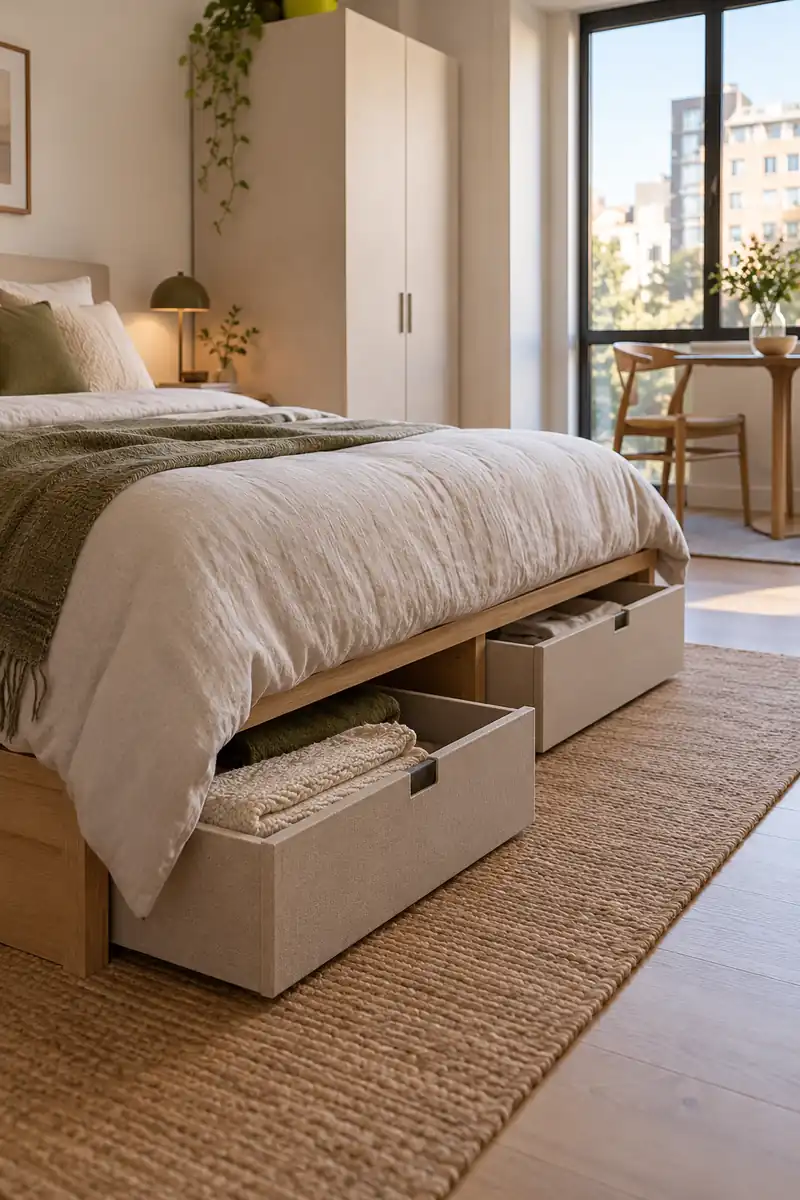
Use the space beneath the bed for items you genuinely need to keep nearby. Measure the usable height under the frame and the room required to pull a container out. Low boxes with lids can hold spare bedding, seasonal clothes, or a small collection of bags without adding another cabinet.
Group the contents by how often you need them, placing everyday items on the easiest side to reach. Avoid cramming containers around cables, heaters, or a bed mechanism. Check the frame instructions for storage limits, and leave enough room to clean underneath so this useful zone stays pleasant to use.
18. Light Passing Furniture
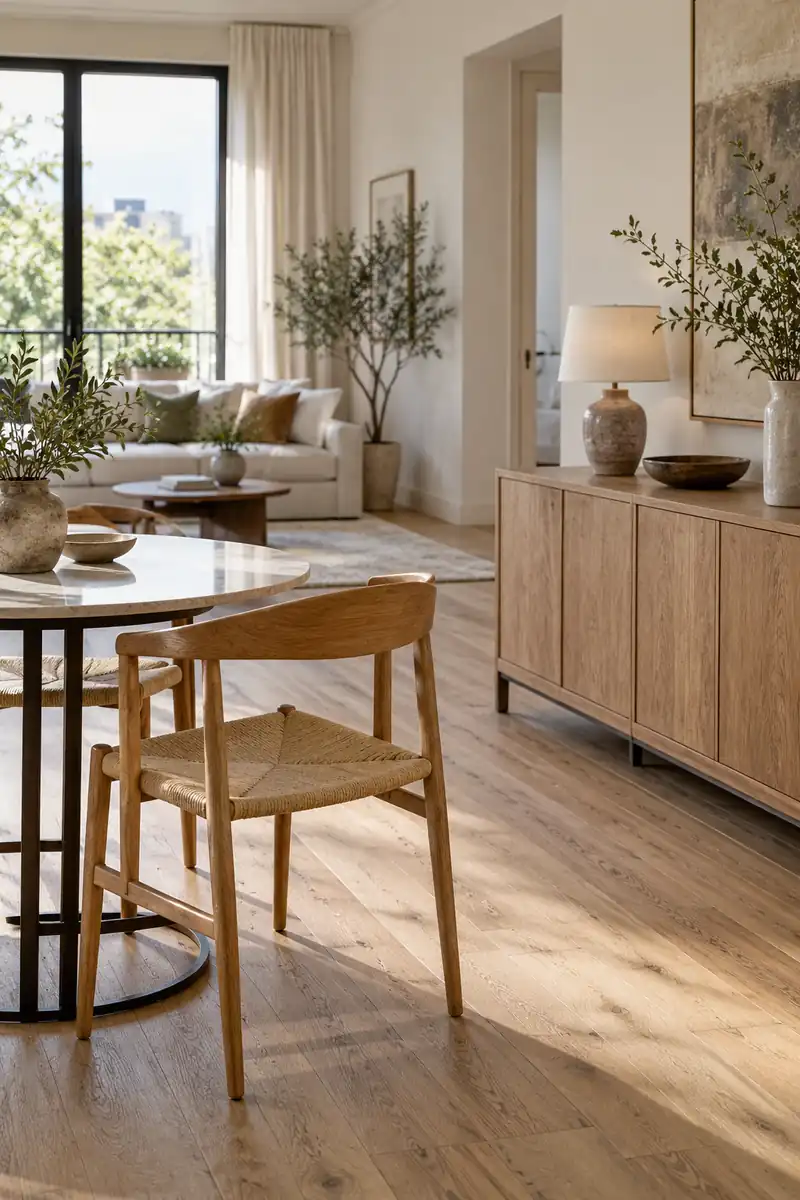
- Choose a dining chair with an open back where the view across the room matters.
- Try a side table with a slender but stable frame.
- Balance open pieces with some closed storage for everyday clutter.
- Keep transparent surfaces away from routes where their edges are hard to notice.
Furniture with visible space around its structure can reduce the feeling of a crowded interior. You do not need every piece to be delicate or see through. A solid cabinet paired with an open framed chair often gives a more useful balance of storage, comfort, and an uninterrupted view.
19. Corners For Task Lighting
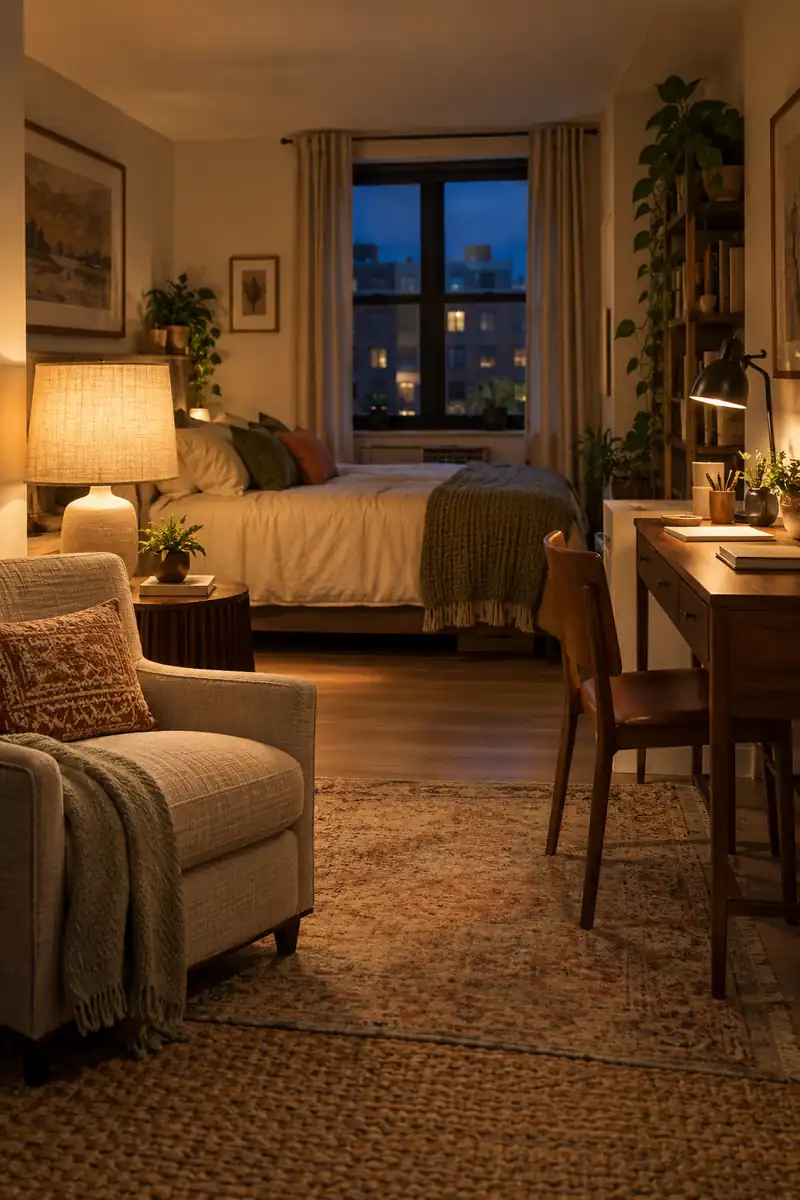
Quick Tip:
Place light where an activity happens, then check the room after dark. A reading lamp near the chair and a desk lamp in the work area can make separate zones feel useful.
Choose stable lamps suited to the available surfaces and follow their bulb and clearance instructions. Route cables along furniture edges rather than across open floor. You can create distinct evening pockets without adding ceiling fixtures, which makes this approach especially practical when you cannot change the apartment’s permanent lighting.
20. Single Focal Wall
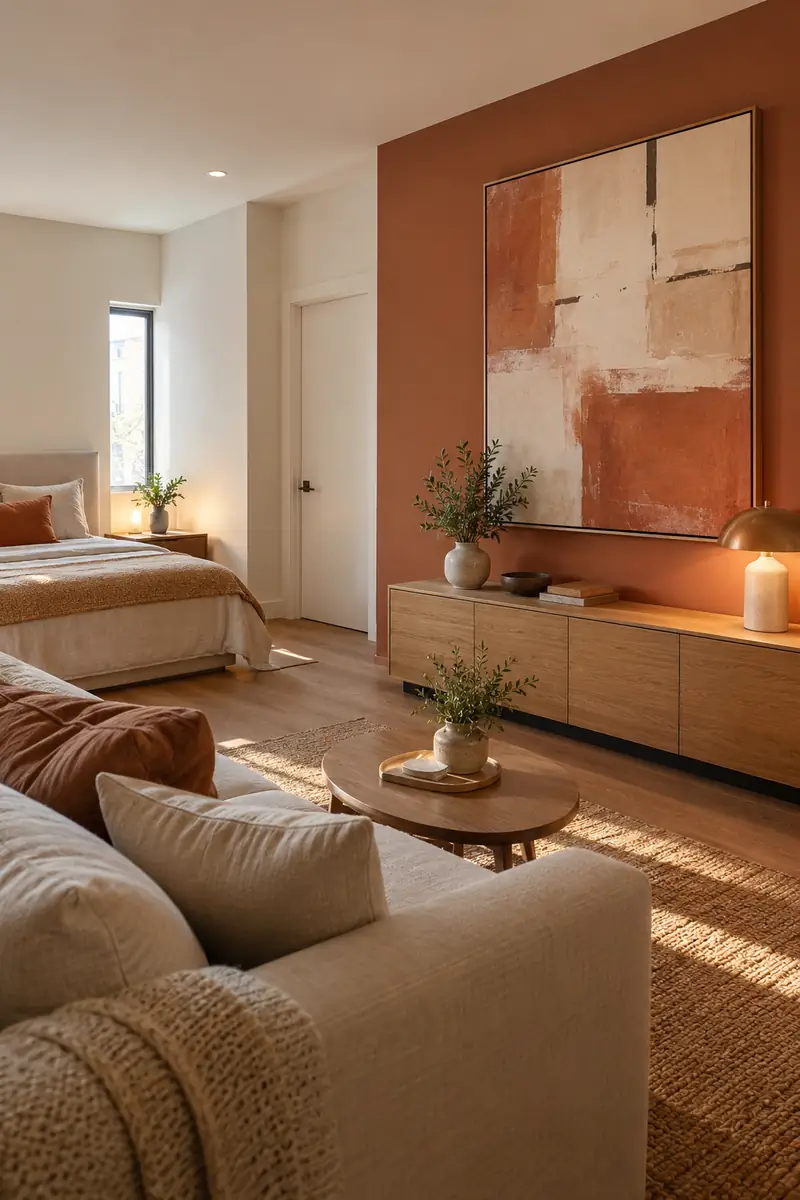
BEFORE: Artwork, storage, and bright textiles compete on every wall. The eye keeps jumping between several equally busy areas.
AFTER: One living area wall holds the strongest visual feature. Quieter neighboring walls give the room a clearer center of attention.
Choose a focal point that you enjoy from the main seat, such as a large print or a carefully arranged low cabinet. Scale the surrounding pieces to support it. If wall mounting is needed, follow the hardware instructions and rental rules, and avoid adding heavy artwork above the bed.
21. Flexible Room Reset
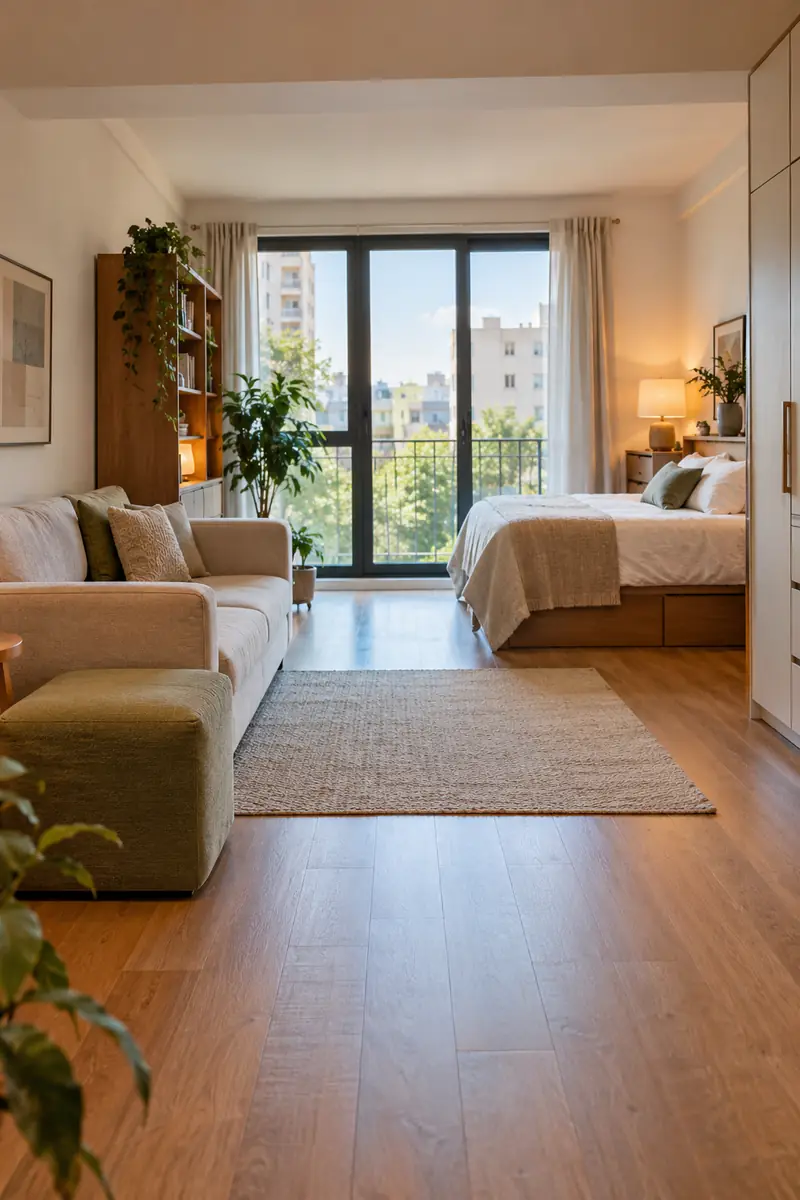
- Identify one activity that needs occasional extra floor space, such as stretching.
- Choose a light occasional piece that can move without disturbing the main layout.
- Give that piece a real parking spot against a quiet wall.
- Practice changing the arrangement and putting it back without blocking an exit.
A studio can support different routines when the reset is small enough to repeat. Keep the bed and main storage settled, then let an ottoman or chair provide the flexibility. If changing modes requires stacking furniture or moving heavy cabinets, simplify the plan until it feels manageable every day.
Conclusion
A spacious feeling starts with a room that supports the way you live. Choose the studio room interior ideas that solve your biggest daily frustration, then make one change before buying anything else. Clear a route, test a better bed position, or give a hardworking corner a more useful purpose. Let the layout settle for a few days and notice what becomes easier. Save your favorite ideas to Pinterest so you can return to them when you measure or shop. Try a small adjustment this week, and share these ideas with someone making a compact home feel more comfortable.
Community
Join the conversation
Add a useful idea, ask a specific question, or share what worked in your space. Every comment is reviewed before it appears.