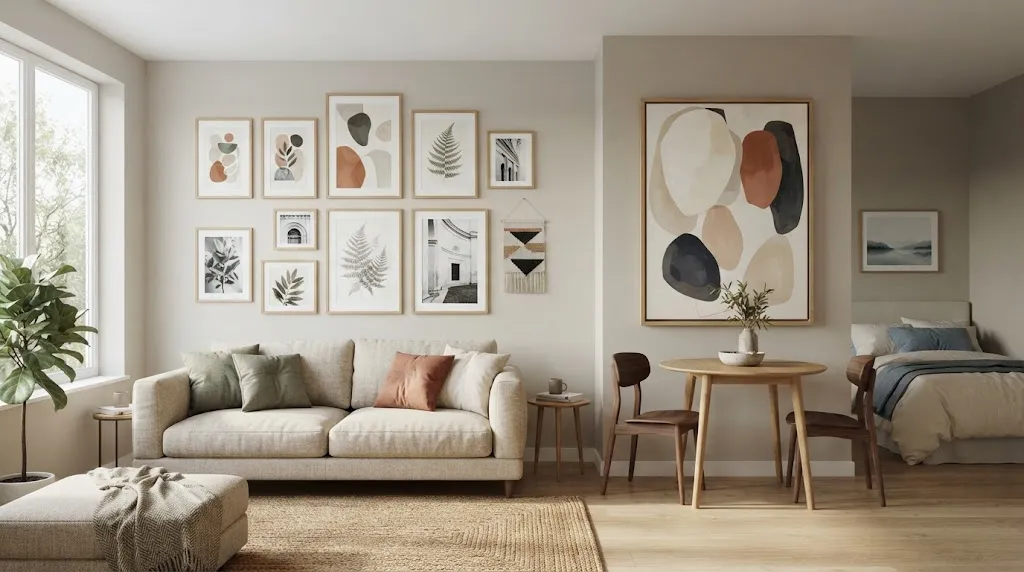
Wall art can completely change the personality of a studio apartment. The right piece can make a blank wall feel finished, define different areas within one open room, and bring color or texture into a space without taking up valuable floor space.
The challenge is that studio apartments usually have fewer walls and less visual separation than larger homes. A piece that looks balanced in a spacious living room can easily feel oversized or disconnected in a compact studio.
That is why styling matters just as much as the artwork itself.
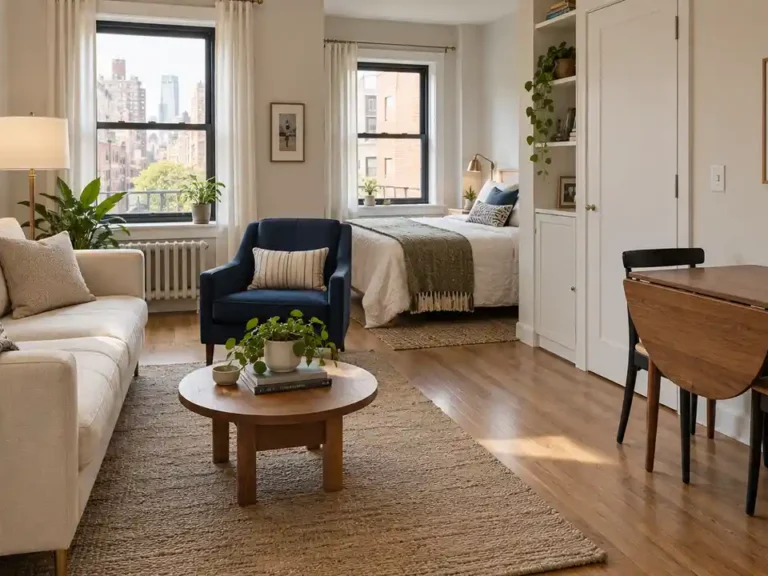
When you style wall art in a studio apartment, think about the relationship between the artwork, furniture, lighting, wall color, and the surrounding negative space. Instead of hanging pieces wherever there is an empty wall, create intentional visual zones that support the way you use the apartment.
These styling tips can help you create walls that feel personal, balanced, and visually interesting without making your studio feel cluttered.
1. Start With the Furniture
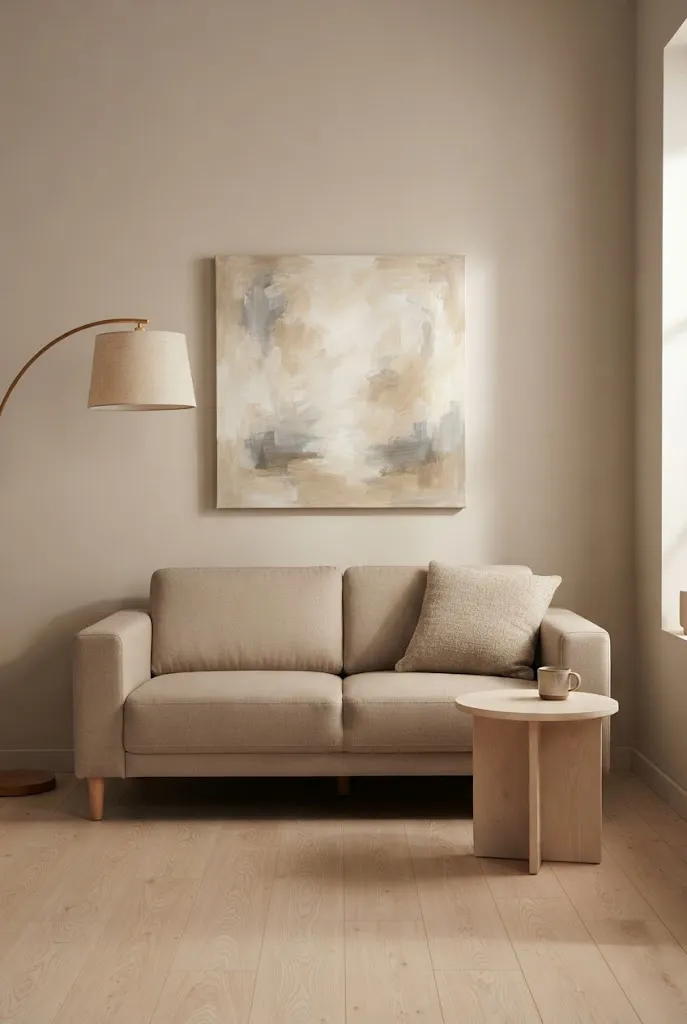
Before choosing where to hang artwork, look at the furniture underneath or beside the wall.
A large sofa, bed, dining table, or console creates a natural visual anchor. Wall art should usually relate to that anchor instead of floating independently on the wall.
For example, a wide artwork arrangement above a sofa can visually connect the wall to the furniture below it.
In contrast, a small piece may work better above a narrow side table or compact console.
Think of the furniture and artwork as one composition rather than two separate decorating decisions.
2. Use One Large Piece as a Focal Point
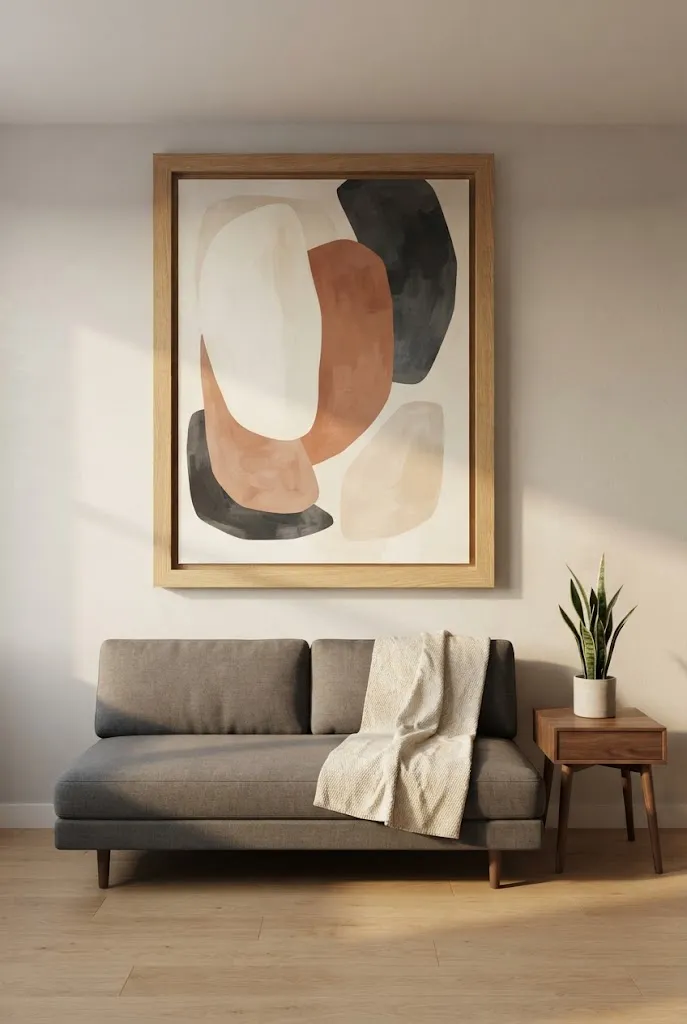
A single large artwork can make a stronger impact than several small pieces competing for attention.
Choose a piece with enough visual presence to suit the wall and furniture beneath it. Abstract art, photography, botanical illustrations, and large graphic prints can all work.
Keep the surrounding area relatively simple so the artwork has room to breathe.
This approach is particularly effective in studios because it creates a clear focal point without requiring numerous decorative objects.
3. Create Visual Zones With Artwork
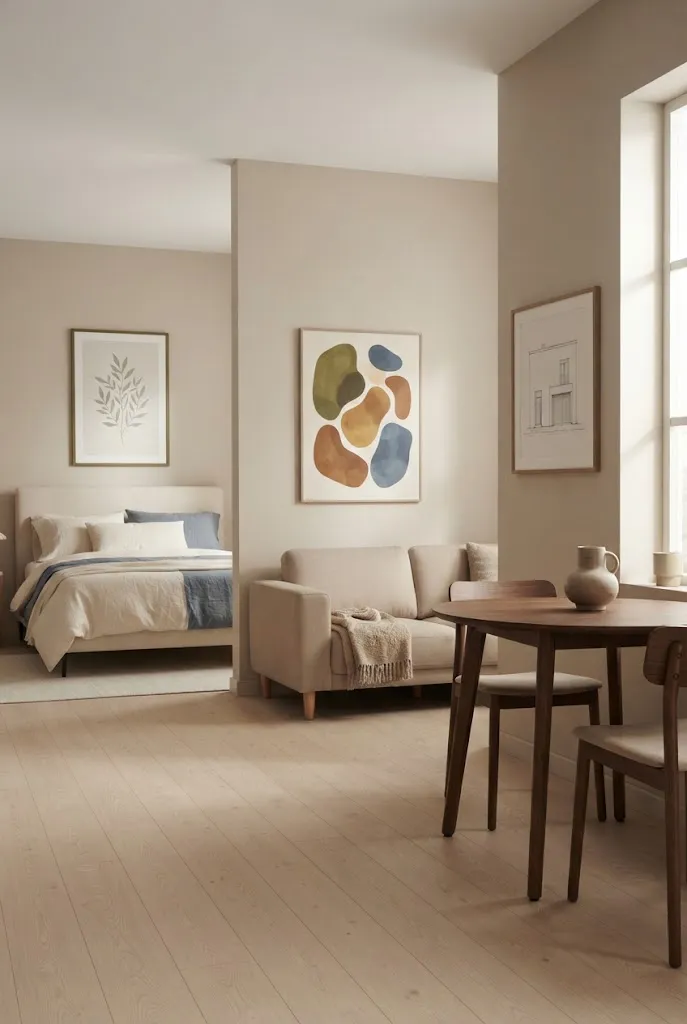
A studio apartment often combines several functions in one room.
You may have a sleeping area, living area, dining spot, and workspace without physical walls separating them.
Artwork can help visually distinguish these areas.
For example, place calming artwork near the bed, a more expressive piece above the sofa, and simple graphic artwork near a workspace.
The artwork does not need to match perfectly. Instead, each zone can have its own identity while still sharing a few colors or materials.
4. Match the Artwork to the Wall Proportion
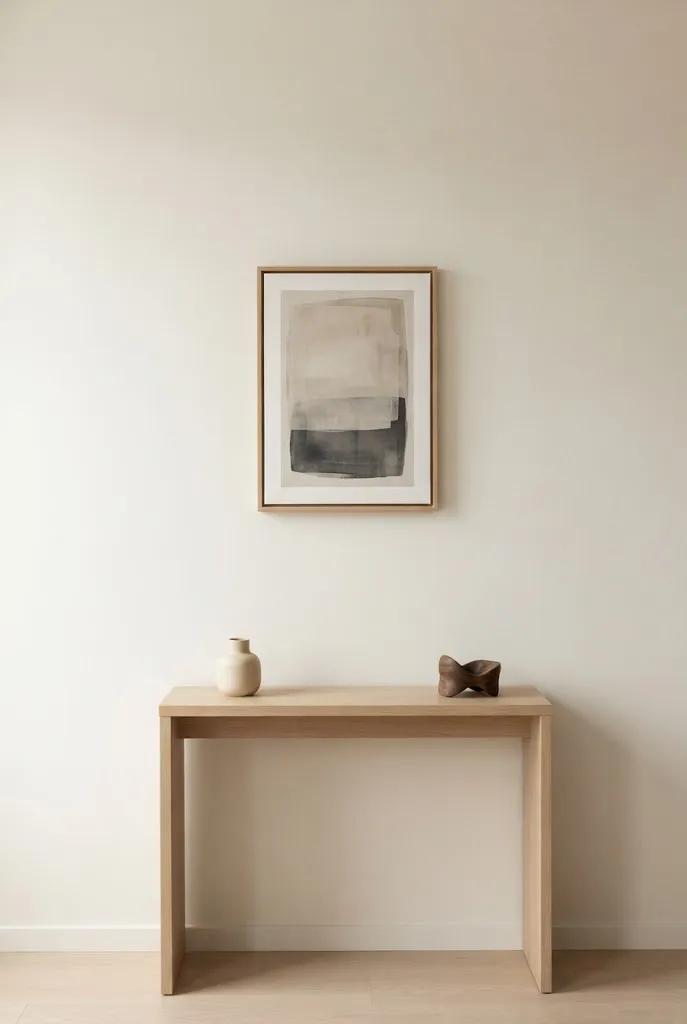
One of the most common styling mistakes is choosing artwork that is too small for the wall.
A tiny print can disappear above a large sofa or bed.
On the other hand, an oversized piece can overwhelm a narrow wall or make a small room feel visually heavy.
Measure the wall and furniture before purchasing artwork.
If you are unsure, create a paper template using the approximate size of the artwork and temporarily attach it to the wall. This gives you a better idea of how the finished piece will look.
5. Leave Breathing Room Around the Artwork
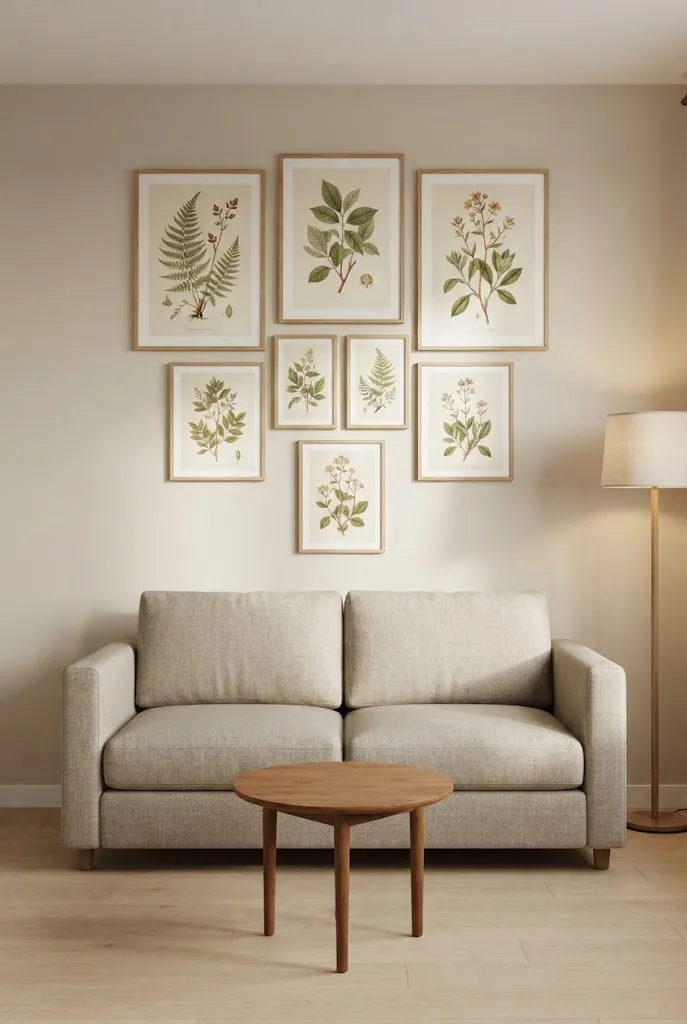
Empty wall space is not wasted space.
It gives artwork room to stand out.
Instead of covering every available section of the wall, allow some blank space around your main pieces.
This is especially important in a studio apartment where furniture, shelving, plants, and other objects may already compete for attention.
A carefully placed artwork surrounded by empty wall space can often make a bigger impact than a crowded gallery.
6. Build a Gallery Wall Around One Theme
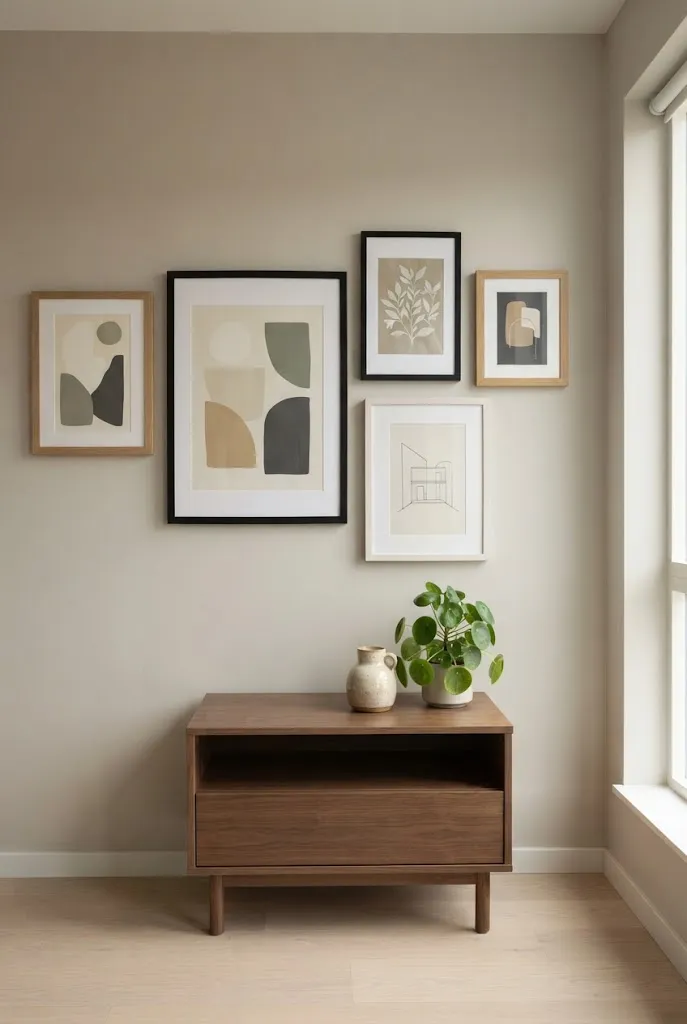
A gallery wall can work beautifully in a studio when there is a clear connection between the pieces.
The theme could be botanical illustrations, travel photography, abstract artwork, black-and-white photography, or a particular color palette.
Choose several pieces that feel related without being identical.
Then arrange them on the floor before hanging anything. Experiment with spacing and proportions until the grouping feels balanced.
Keeping the collection visually connected prevents the wall from looking random.
7. Mix Frame Styles Carefully
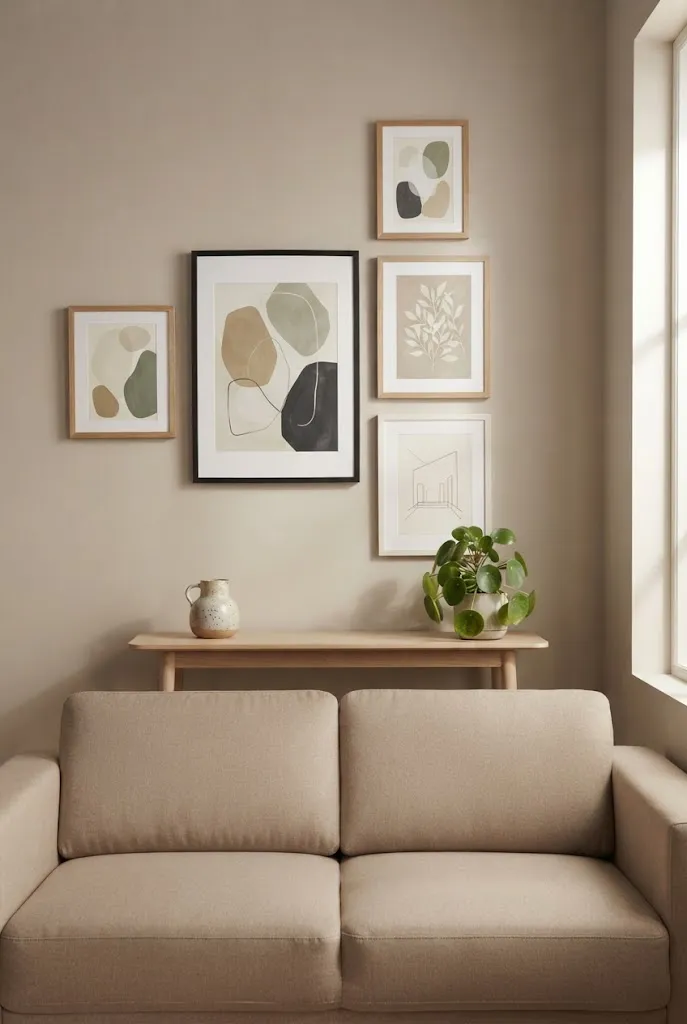
Different frames can add personality to a wall, but too many unrelated finishes can make a small space look chaotic.
If you want variety, establish one consistent element.
For example, you might combine black, natural wood, and white frames while keeping the artwork within a limited color palette.
Another option is to use different frame shapes but the same finish.
The goal is controlled variety rather than complete uniformity or visual randomness.
8. Use Color to Connect Different Areas
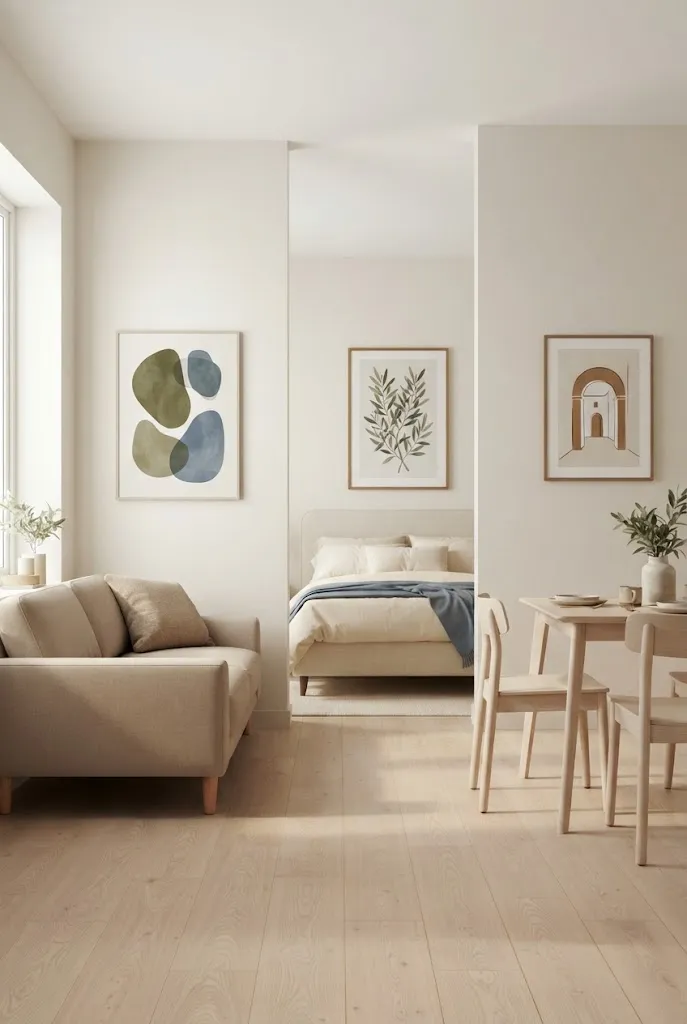
Artwork can help connect separate parts of your studio.
Choose one or two colors from your artwork and repeat them elsewhere in the room.
For example, muted green from a botanical print could appear in a cushion or plant, while warm brown from a frame could be repeated in wooden furniture.
You do not need to match every color exactly.
Subtle repetition creates continuity and helps an open studio feel like one cohesive home.
9. Try Artwork Above the Bed
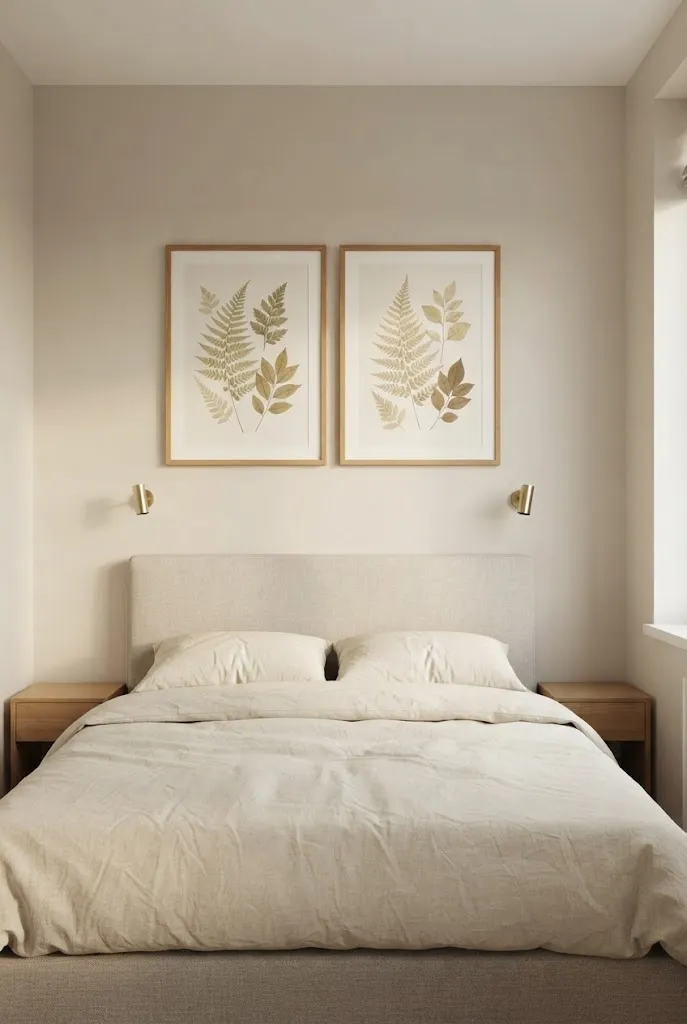
The wall above the bed is a natural focal point in a studio bedroom area.
Choose artwork that supports a calm atmosphere.
Soft landscapes, abstract shapes, botanical prints, simple photography, or restrained line drawings can work particularly well.
If you use multiple pieces, keep the arrangement relatively simple so the sleeping area does not feel visually busy.
Make sure artwork is securely mounted and positioned safely above the bed.
10. Layer Artwork on a Shelf
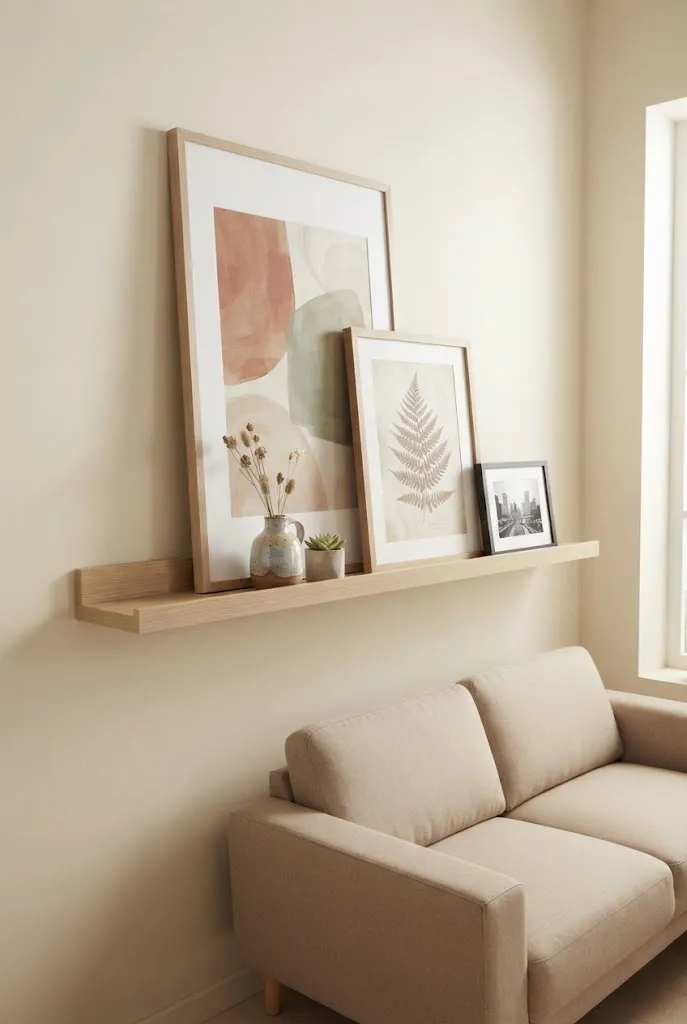
Not every artwork needs to be hung directly on the wall.
A picture ledge, bookshelf, console, or dresser can provide a surface for leaning framed pieces.
Layer a larger artwork behind a smaller print and add one or two decorative objects nearby.
This creates depth without requiring a complicated installation.
The advantage is that you can easily change the arrangement whenever you want to refresh the room.
11. Use a Mirror as Part of the Composition
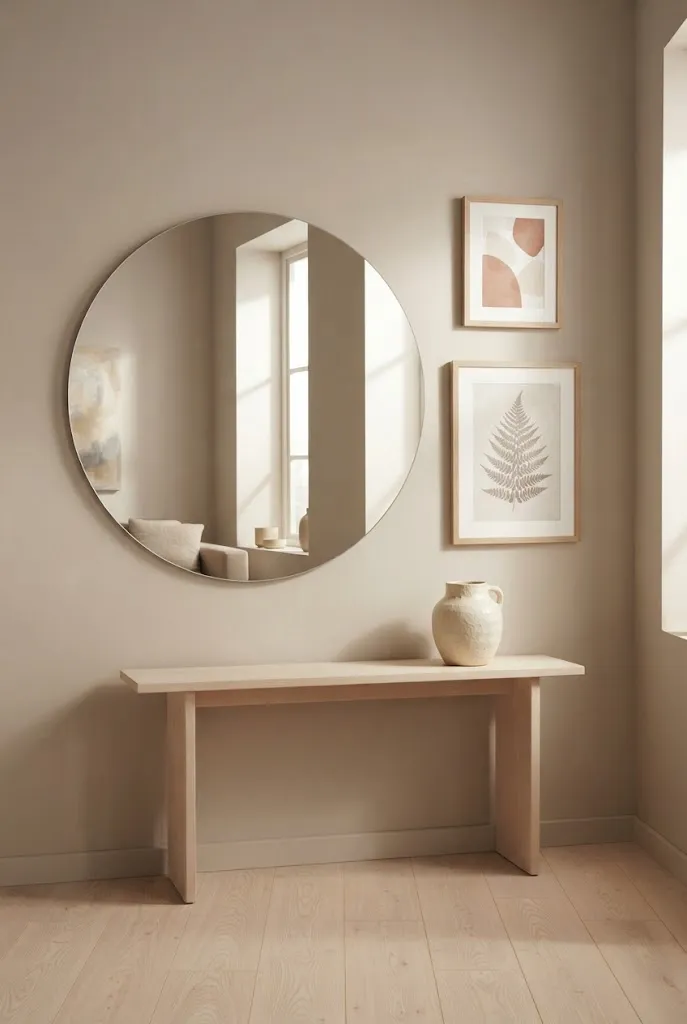
A mirror can work alongside artwork rather than replacing it.
For example, place a framed artwork beside a rounded mirror to create a balanced wall arrangement.
The mirror adds reflection and light while the artwork provides color and personality.
Avoid placing too many reflective surfaces together. One carefully positioned mirror can be enough to make the composition feel more open.
12. Create a Vertical Artwork Arrangement
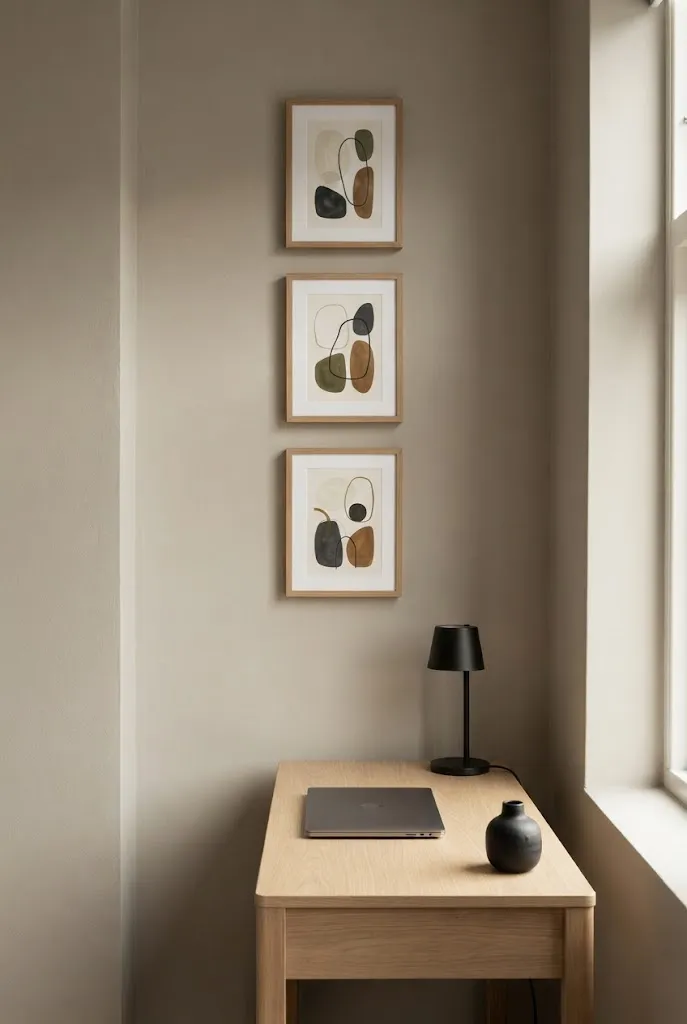
If your studio has high ceilings but limited floor space, use the wall vertically.
Stack two or three smaller artworks in a vertical arrangement instead of spreading them horizontally.
This can work particularly well beside a tall cabinet, narrow desk, or doorway.
Keep the spacing consistent and choose pieces with a visual relationship.
A vertical arrangement can emphasize ceiling height without taking up additional floor space.
13. Use a Consistent Mat Around Small Prints
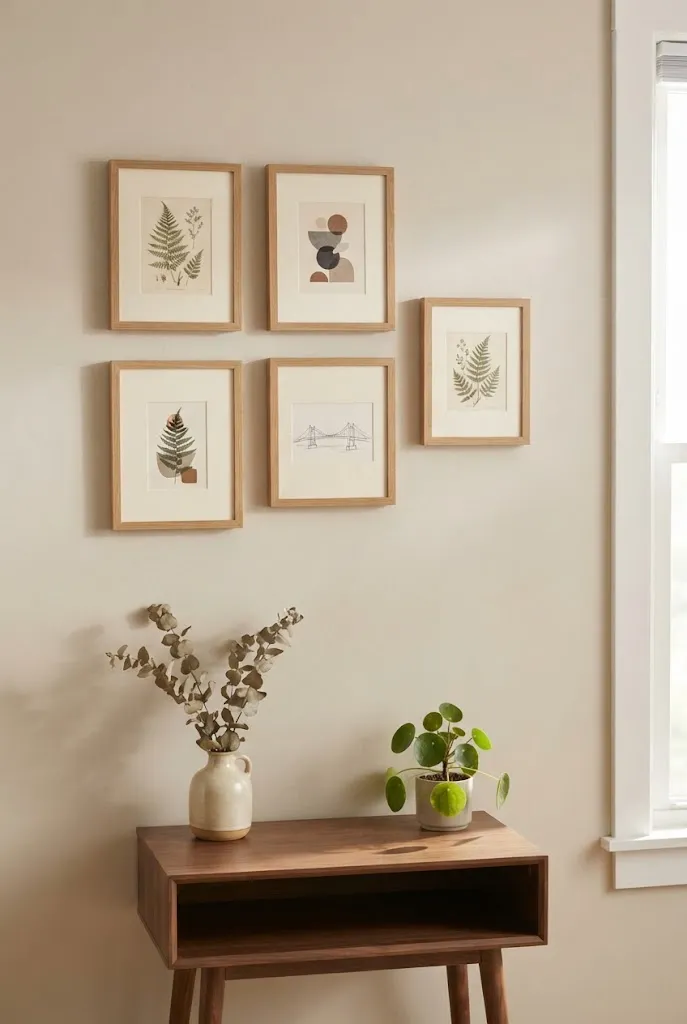
Small prints can look more substantial when displayed with generous mats.
A white, cream, or lightly colored mat creates visual breathing room between the artwork and frame.
This can also make several inexpensive prints feel more cohesive.
Use the same mat size across multiple frames if you are creating a collection.
The extra negative space can give small artwork a more refined presentation.
14. Hang Art Near the Dining Area
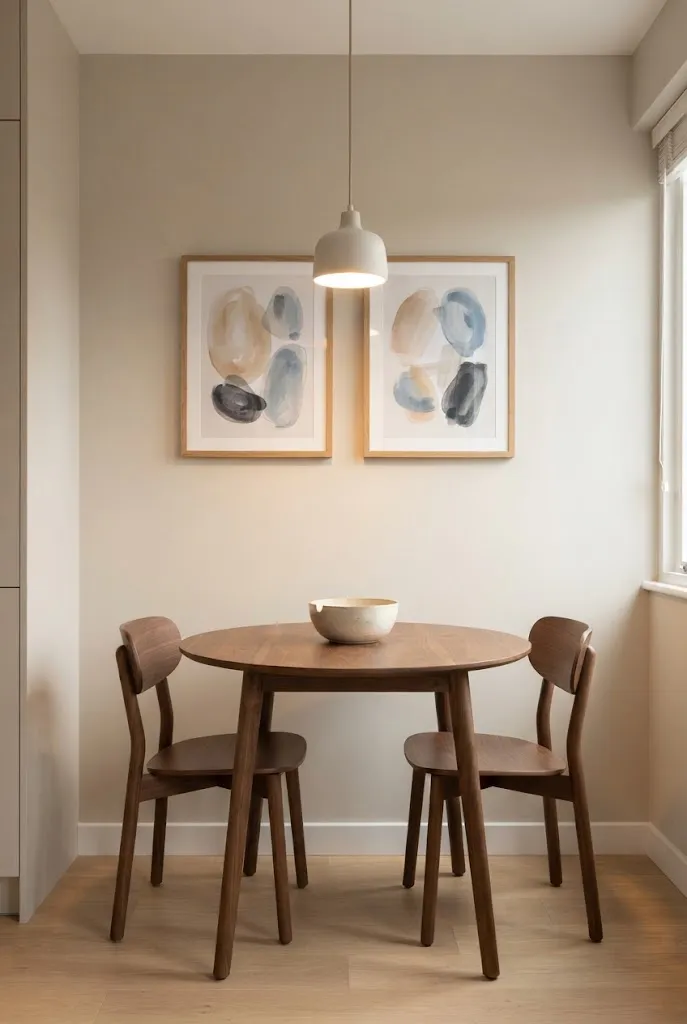
A small dining area can benefit from its own visual identity.
Place one or two pieces above a compact dining table to define the area within the larger studio.
Choose artwork that complements the dining furniture without competing with the kitchen.
A simple still life, abstract print, botanical illustration, or architectural image can work well.
Keep the arrangement proportional to the table so the artwork does not visually overpower the dining space.
15. Use a Narrow Wall for a Tall Composition
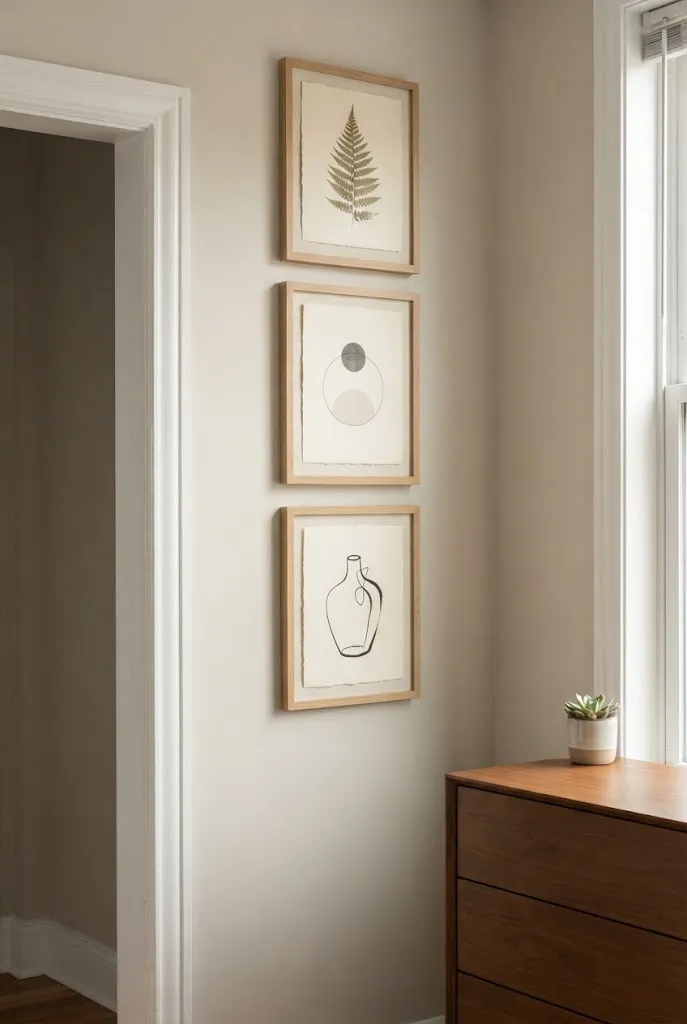
Small apartments often have narrow strips of wall that are difficult to decorate.
Instead of ignoring them, use a vertical artwork arrangement that matches the shape of the space.
A tall framed print, stacked photographs, or a narrow textile can work particularly well.
Keep the artwork relatively slim so it does not make the wall feel crowded.
This is an effective way to make an awkward architectural feature feel intentional.
16. Coordinate Art With Your Lighting
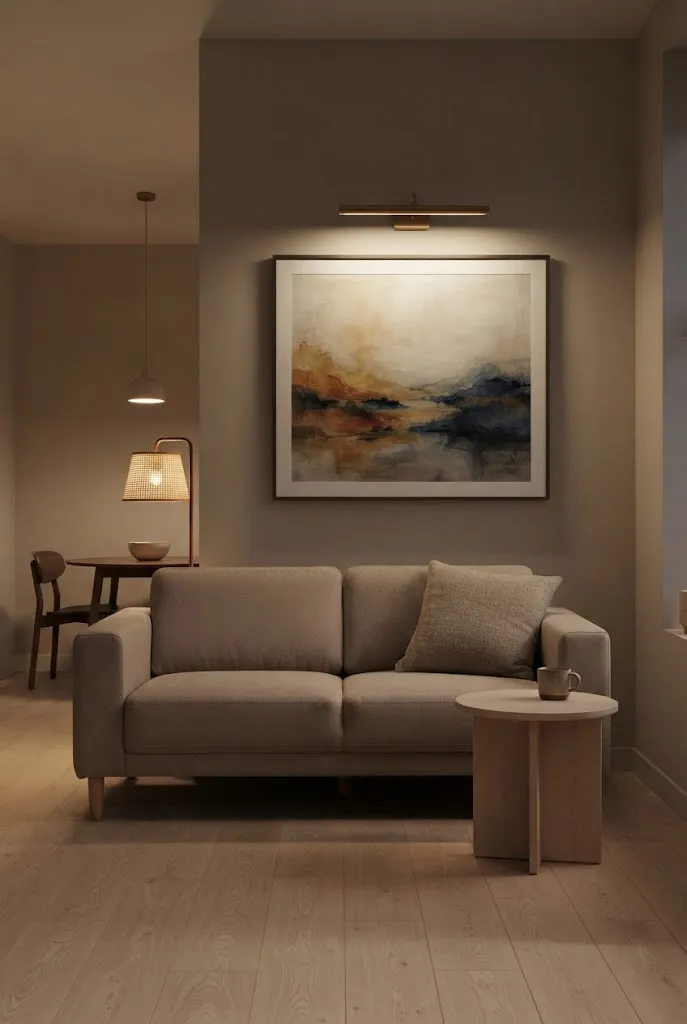
Lighting can dramatically change how artwork looks.
Natural daylight may reveal subtle colors and textures during the day, while warm evening lighting can make neutral artwork appear softer.
Position lamps or sconces so they illuminate artwork without creating harsh reflections.
If you have a picture light, use it to highlight one particularly important piece.
Think about the artwork at different times of day rather than judging the composition only in bright daylight.
17. Use Texture Instead of More Color
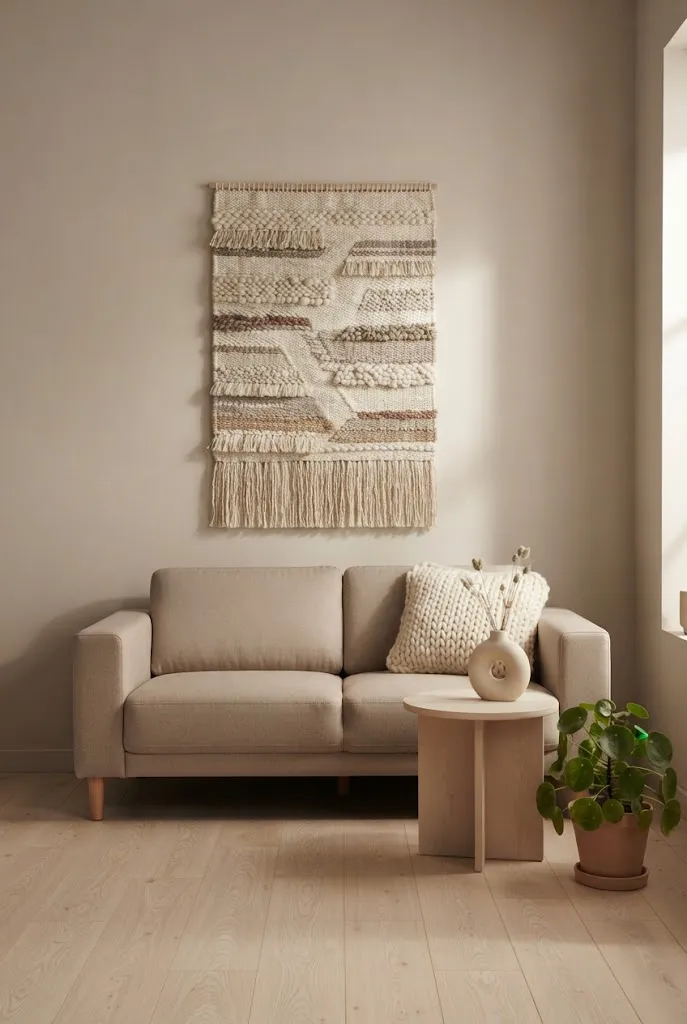
If your studio already contains several colors, wall art does not need to introduce another strong shade.
Instead, use textured pieces such as woven wall hangings, canvas artwork, handmade paper, or natural materials.
Texture creates visual interest without making the color palette more complicated.
This approach works especially well in neutral studios where subtle variations in material provide much of the personality.
18. Keep the Entry Wall Simple
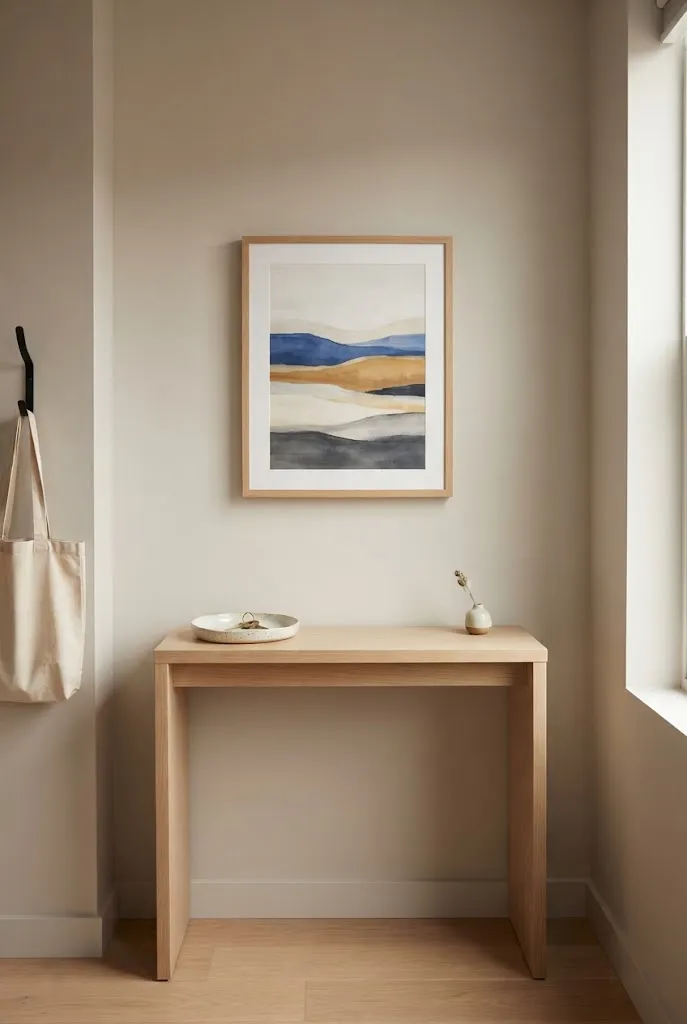
The wall near the entrance is one of the first things you see when entering the apartment.
Instead of covering it with a large gallery wall, consider one medium-sized piece or a simple pair of artworks.
This gives the entry a finished appearance without making the first part of the apartment feel crowded.
A small console, mirror, or hook system can complement the artwork while maintaining a clear walkway.
19. Repeat One Frame Finish Throughout the Studio
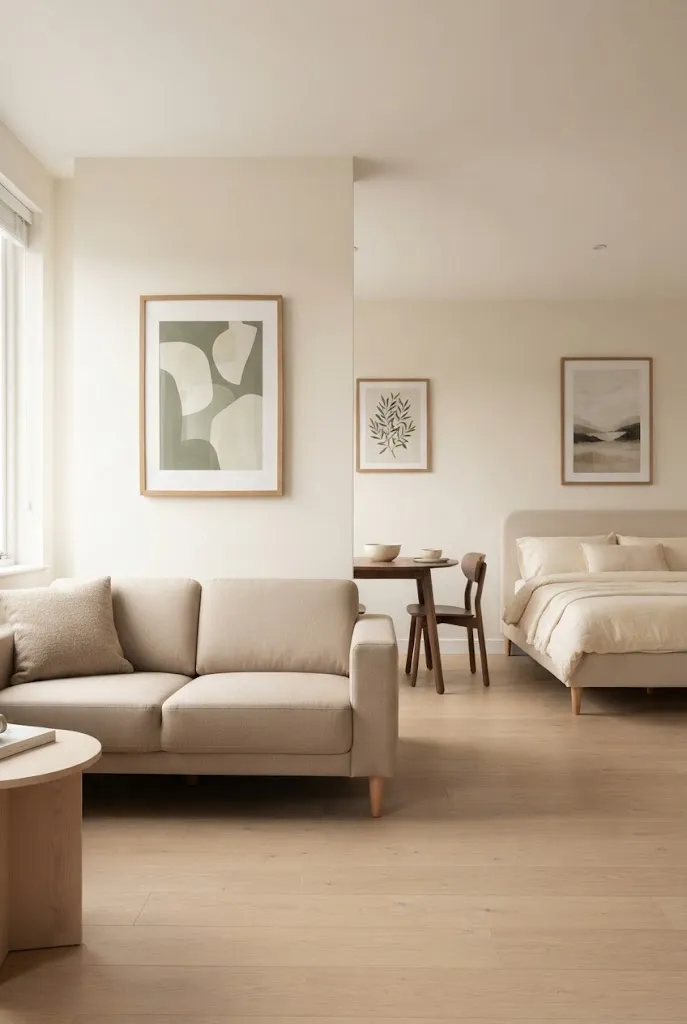
A consistent frame finish can visually connect artwork placed in different areas.
Natural wood frames can complement a warm interior, while black frames can provide contrast in a modern space.
You do not have to use the exact same frame everywhere, but repeating a finish can create continuity.
This is especially helpful when the artwork itself varies in style.
20. Let One Artwork Introduce a New Accent Color
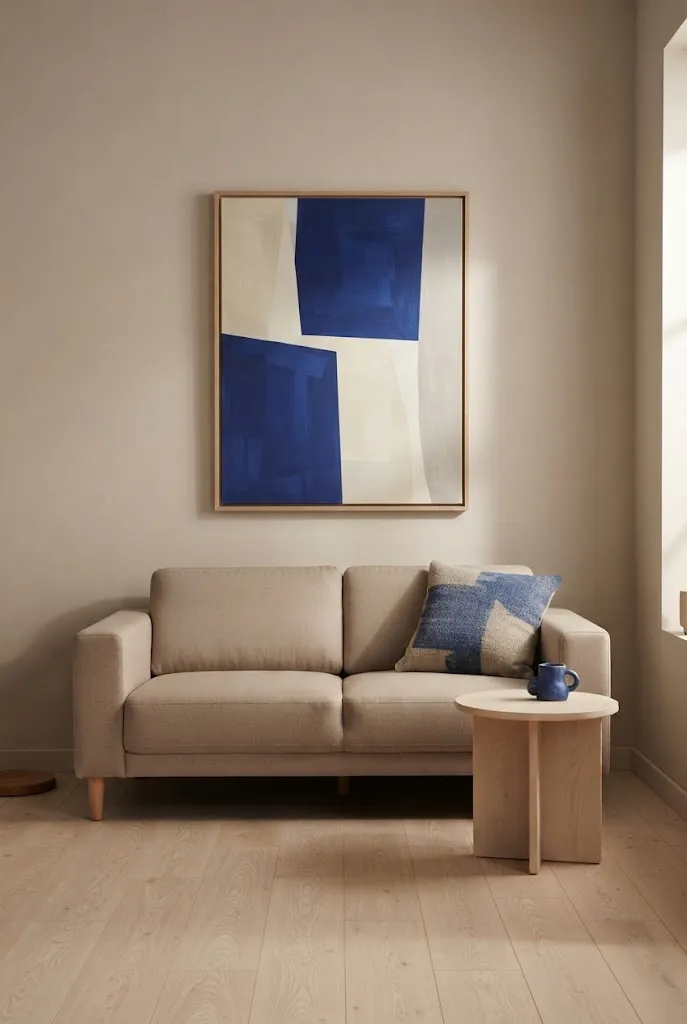
If your studio has a neutral palette, one carefully chosen artwork can introduce a new color.
For example, a muted blue painting can bring cool contrast into a room dominated by beige and warm wood.
Repeat the new color subtly through one or two accessories rather than covering the room in it.
This keeps the artwork visually connected without making the entire apartment dependent on one color.
21. Try Leaning Art for a Relaxed Look
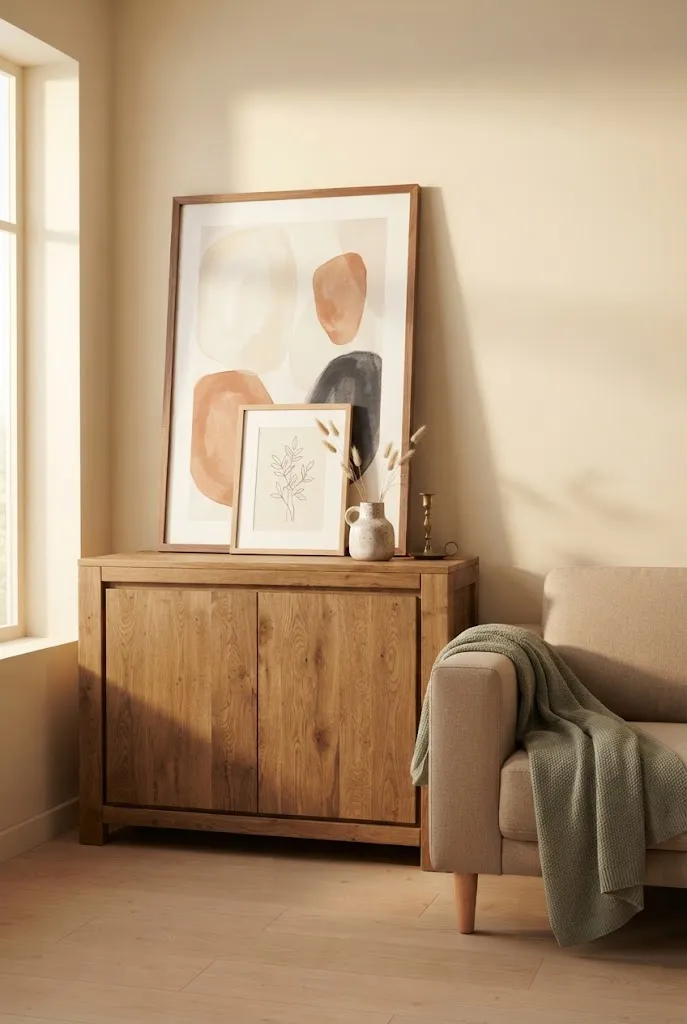
Leaning artwork can make a studio feel less formal.
Place a large framed print against a wall on top of a sturdy console, dresser, or shelf.
Layer a smaller artwork in front if the surface is deep enough to do so safely.
This approach works particularly well for renters because it can reduce the need for wall mounting.
Make sure larger pieces are stable and cannot easily fall.
22. Use Symmetry When the Room Feels Busy
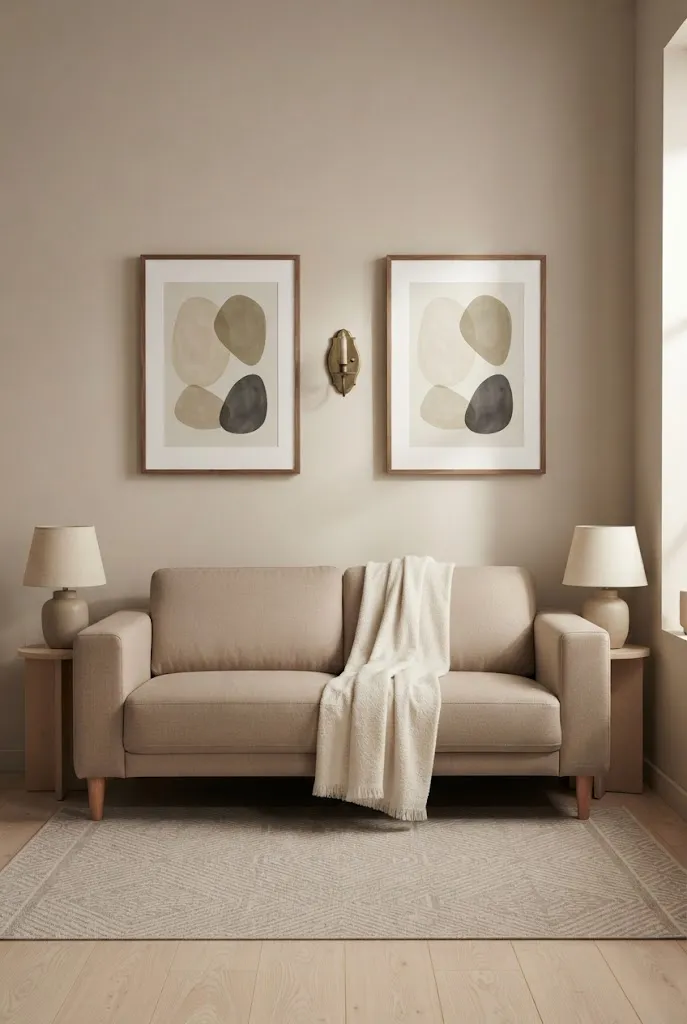
A symmetrical artwork arrangement can bring calm to a studio with many different furniture pieces.
Place two similarly sized artworks on either side of a central object or arrange matching pieces evenly above a sofa.
Symmetry gives the eye a clear structure.
This does not mean everything has to match perfectly. Even approximate symmetry can make a compact room feel more organized.
23. Break Symmetry for a More Collected Look
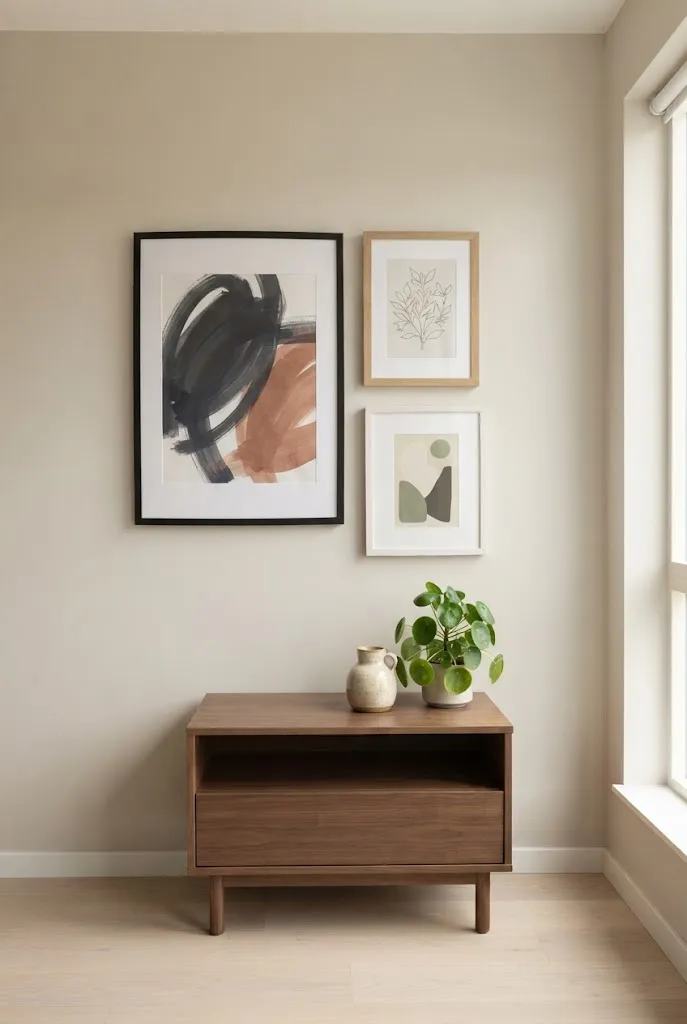
If your apartment already feels too formal, deliberately introduce asymmetry.
Try one large artwork beside two smaller pieces or combine different frame sizes in a balanced but irregular arrangement.
The key is to maintain visual weight.
A large dark frame may need several smaller lighter pieces nearby to create balance.
Asymmetry can make the studio feel more personal and collected over time.
24. Keep Artwork at a Comfortable Viewing Height
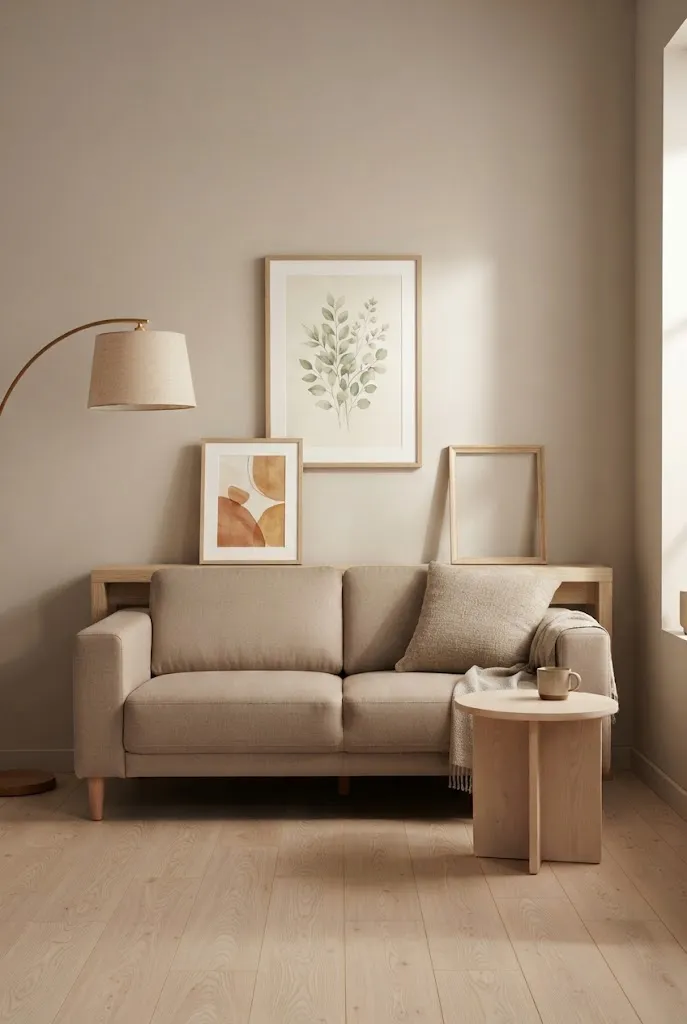
Artwork should be positioned where it can be comfortably viewed rather than simply placed wherever there is empty wall.
When hanging pieces above furniture, keep the relationship between the furniture and artwork visually connected.
Avoid placing artwork so high that it appears detached from the sofa, bed, table, or console below it.
Before making permanent holes, temporarily position the artwork and step back from different parts of the room.
25. Edit Your Wall Art Seasonally
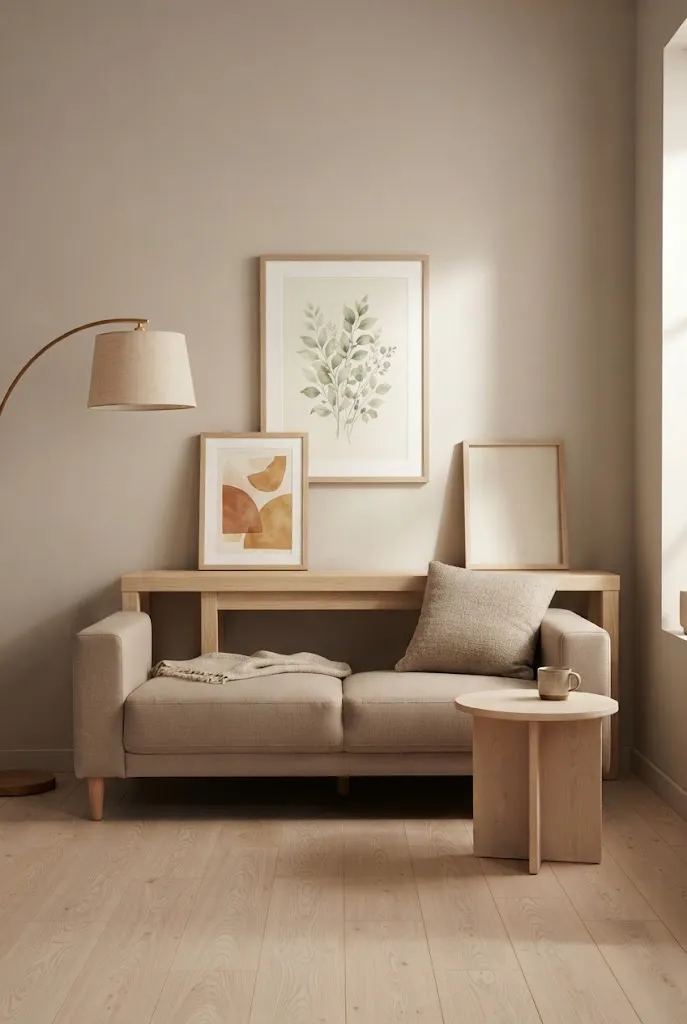
You do not need to display every piece of artwork you own at the same time.
Store a few pieces safely and rotate them occasionally.
A lighter botanical print might suit the apartment during one season, while a warmer abstract piece could create a different mood later.
Rotating artwork can make a studio feel refreshed without requiring new furniture or major decorating changes.
How to Style Wall Art Without Making a Studio Feel Cluttered
The easiest way to keep wall art from overwhelming a studio is to establish a visual hierarchy.
Choose one or two major focal points and allow the remaining artwork to support them.
Pay attention to what is already happening in the room. If you have patterned curtains, colorful cushions, open shelving, and several plants, your artwork may need to be quieter.
If the furniture is simple and neutral, you have more freedom to use expressive artwork.
Scale is equally important. A few appropriately sized pieces can make a stronger impression than many tiny decorations scattered around the apartment.
How to Arrange Wall Art Before Hanging It
Planning the arrangement first can prevent unnecessary holes and disappointing layouts.
Place your artwork on the floor and recreate the wall arrangement there.
Measure the overall width and height of the grouping. Then use paper templates on the wall to test the size before installing the actual pieces.
Step back and view the arrangement from the main areas of the studio.
Remember that wall art should look good from multiple angles because a studio does not usually have separate rooms hiding different walls.
Common Studio Apartment Wall Art Mistakes
One common mistake is decorating every empty wall simply because it is available.
Another is choosing artwork that is too small for the furniture underneath it.
Using too many unrelated frame styles can also make the apartment feel visually disconnected.
Avoid matching every piece of artwork perfectly. A studio can look more interesting when the artwork has variation while sharing a common color, frame, or theme.
Finally, do not ignore the rest of the room. Artwork should support the furniture, lighting, textiles, and architecture rather than competing with them.
Frequently Asked Questions
How do you style wall art in a studio apartment?
Start by considering the furniture and function of each area. Choose artwork based on scale, create clear visual zones, repeat a few colors or frame finishes, and leave enough empty wall space around important pieces.
Should wall art match the furniture?
It does not need to match exactly. However, repeating colors, materials, or finishes can help artwork feel connected to the rest of the studio.
How many pieces of wall art should I use in a studio apartment?
There is no universal number. Focus on creating a few intentional compositions rather than filling every wall. The size and arrangement of the pieces matter more than the total number.
Is a gallery wall good for a studio apartment?
Yes, when it is carefully edited. Use a consistent theme, color palette, frame finish, or spacing system to prevent the gallery wall from becoming visually overwhelming.
How can I make small wall art have a bigger impact?
Use a generous mat, a substantial frame, careful placement, and enough empty space around the piece. Grouping several small works can also create a stronger visual presence.
Final Thoughts
Learning how to style wall art in a studio apartment is less about following a strict decorating formula and more about understanding proportion, balance, and visual flow.
Start with the furniture and the function of each area. Choose artwork that fits the scale of the wall, use color and frame finishes to create connections, and resist the temptation to decorate every empty surface.
A studio can have expressive artwork without feeling cluttered. The secret is giving each piece a purpose within the overall composition.
With thoughtful placement and a little editing, even a small apartment can have walls that feel personal, polished, and full of character
Community
Join the conversation
Add a useful idea, ask a specific question, or share what worked in your space. Every comment is reviewed before it appears.